
Fog Tee Sew Along — 2 — Neck and Shoulders
21—January 2021
We will now construct the neck and shoulders. Both the Boatneck and Crewneck Views are covered, skip ahead to the view you are sewing!
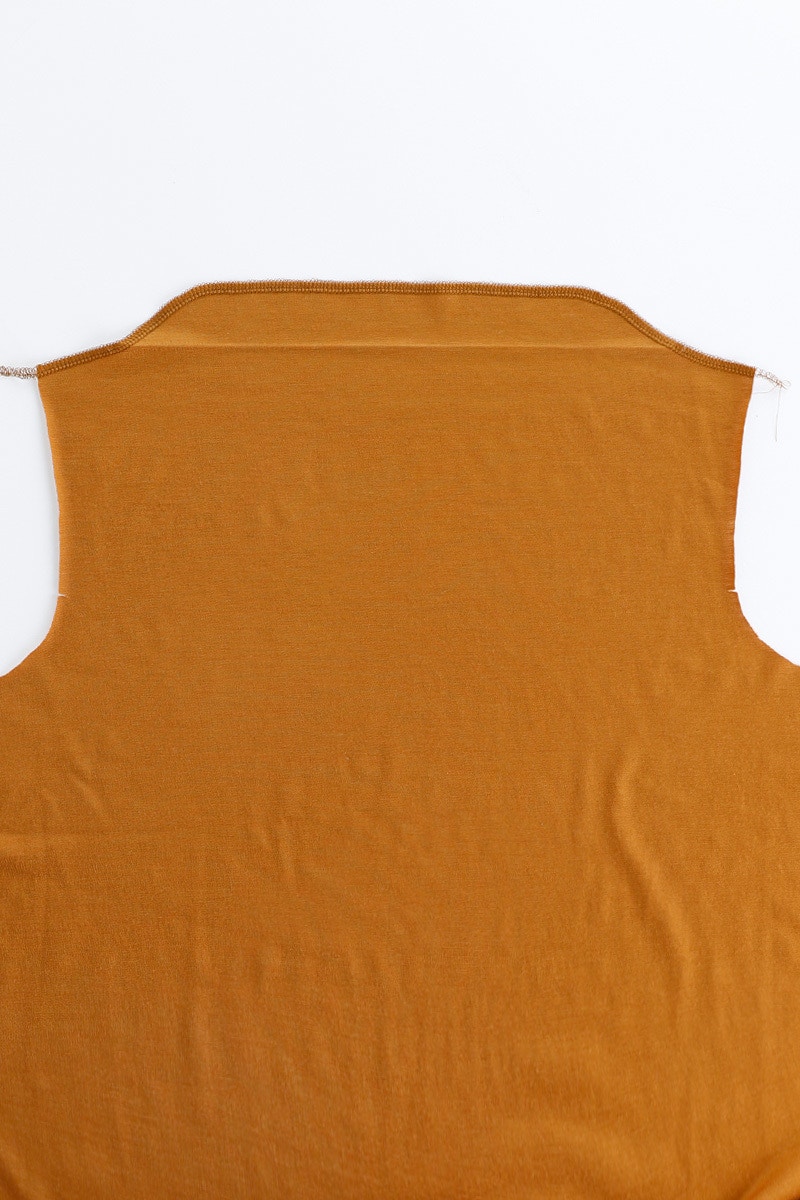
If you are sewing the Boatneck view, neaten the neck and shoulder edge of the front and back pieces separately. We have used an overlocker, but you could also use a zig-zag stitch on your sewing machine.
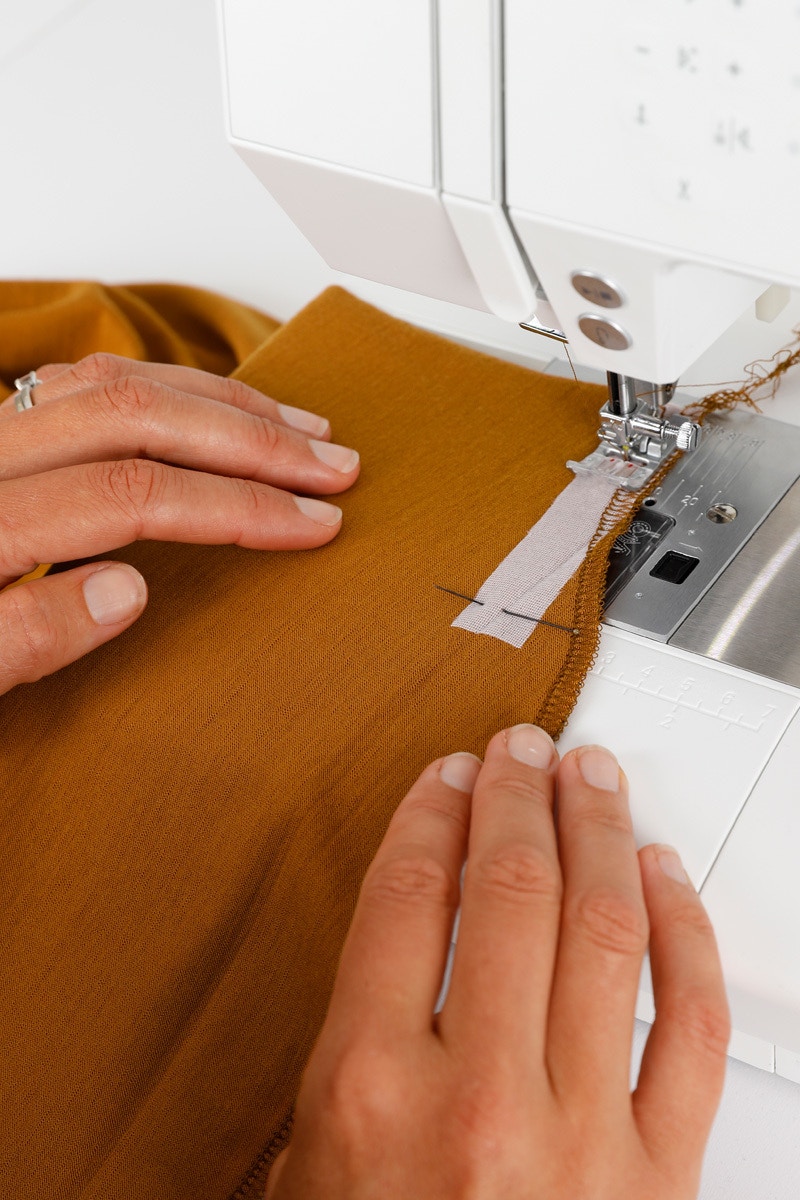
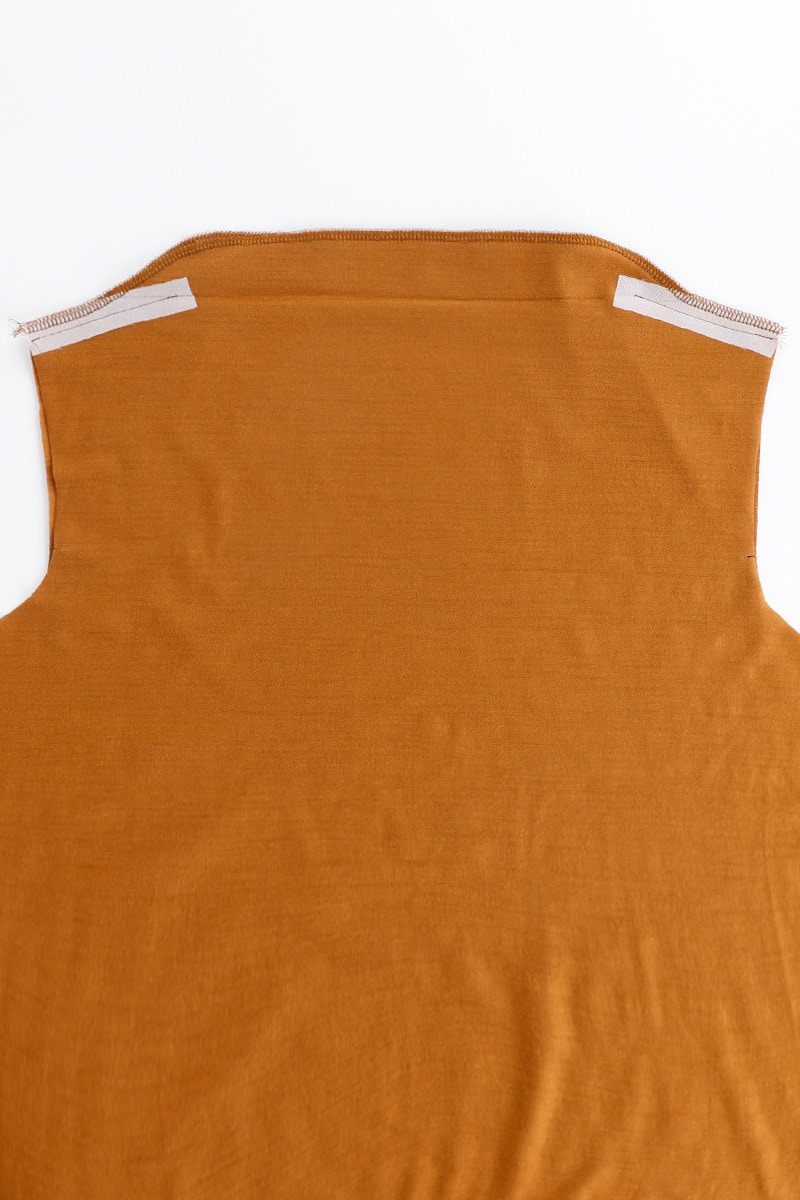
With the right sides together, pin the front piece to the back pieces at the shoulders. Match the + and shoulder notches. Using a straight or stretch stitch (if your sewing machine has the capability), sew the shoulder seam from the armhole to the +. Repeat for both shoulders.
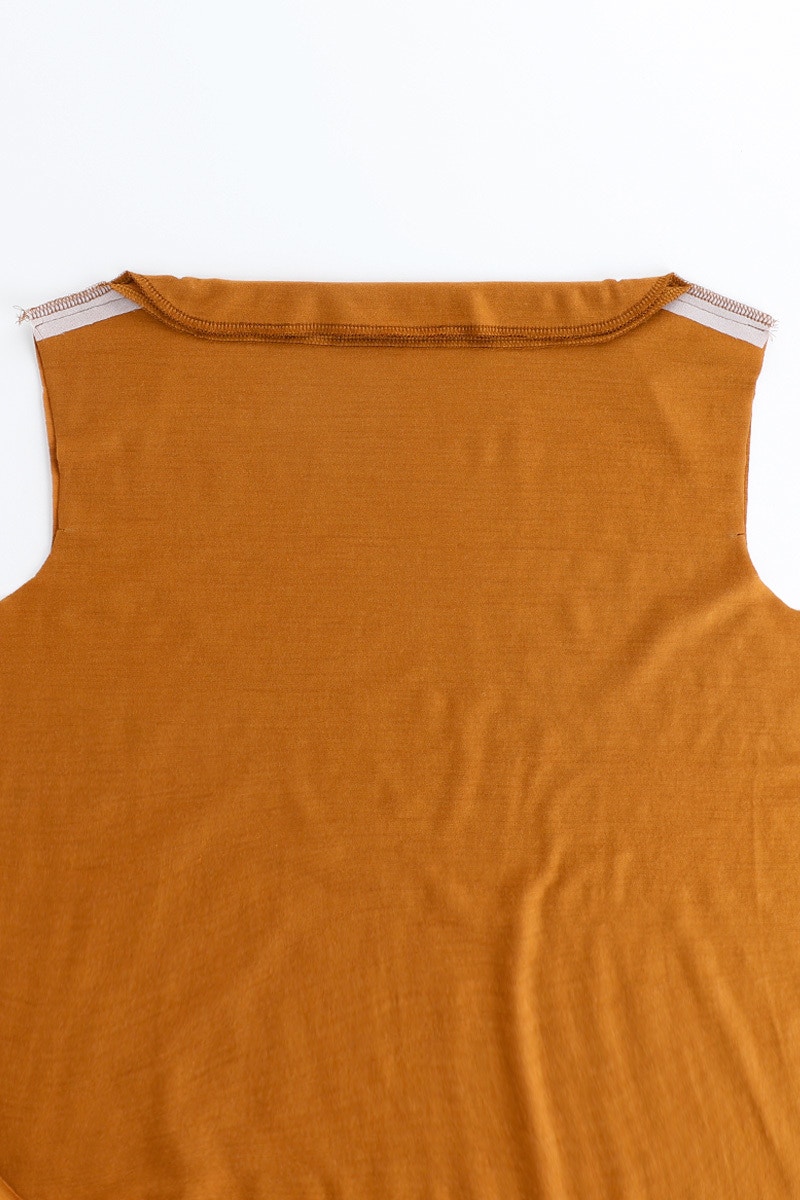
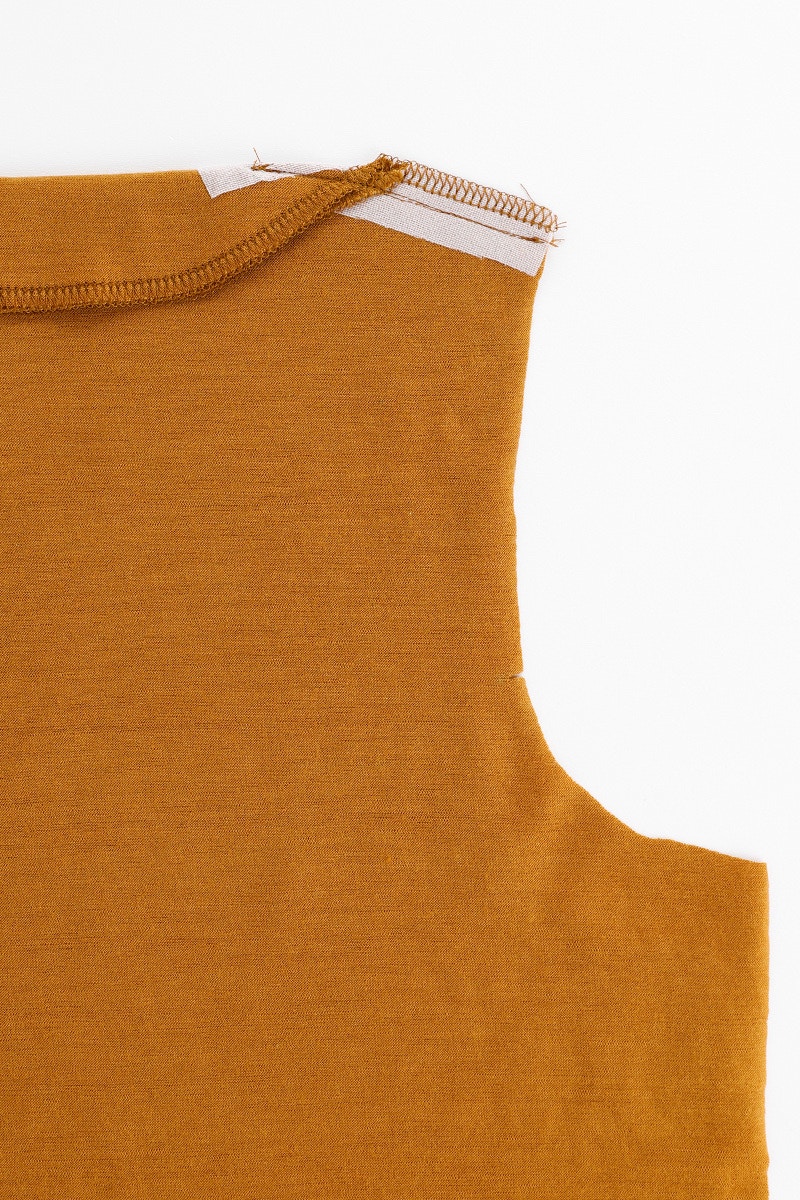
Next, we will finish the neck opening. Lay your tee down, inside out, with the front piece on top. Fold the back facing over the neck opening so both the facings are on the front. Pin the facing in place along the shoulders. Now bag out the neck facing by resewing over the shoulder seam, following the stitching from the previous step, catching the facing as you go.

Fold the back facing over to the back again so the neck opening is visible. Now press the shoulder seams towards the back.
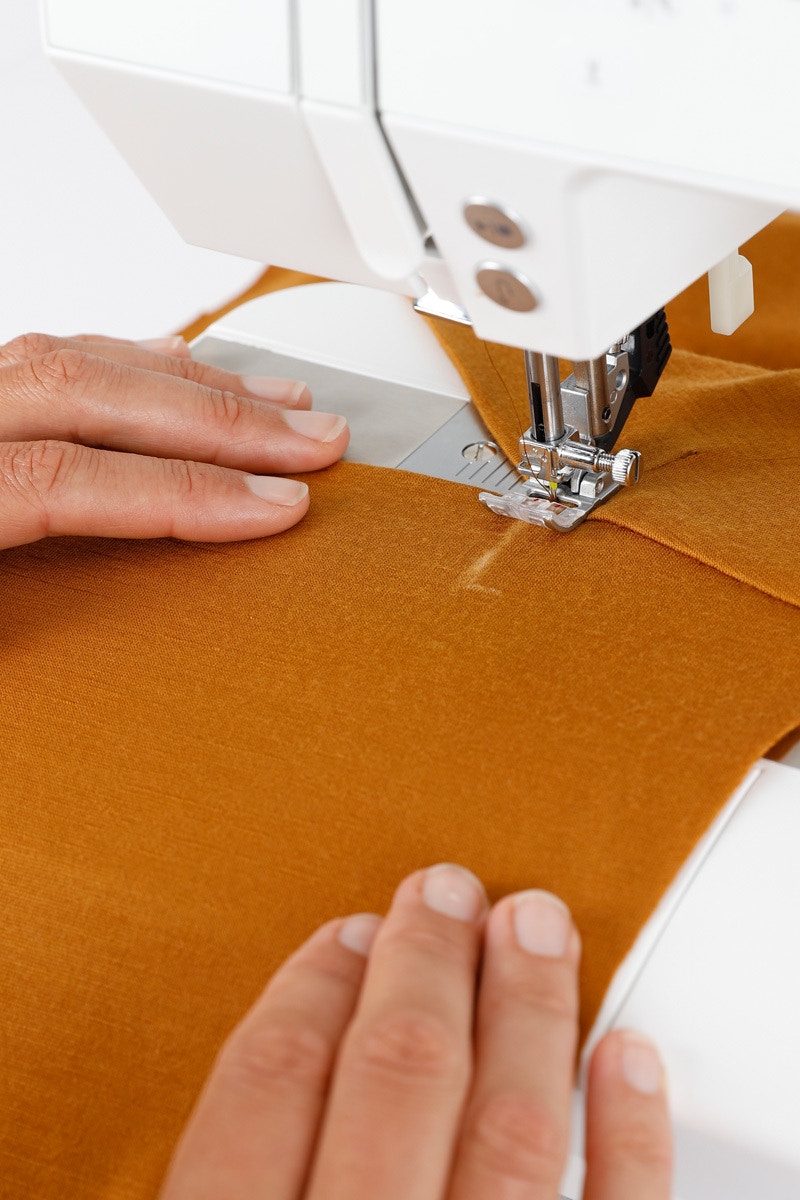
You will now secure the facings with some top stitching. Sew your stitching at a right angle to the neck opening and extend it the entire width of the facings. Repeat the top stitching at each end of the neck opening.
Now move on to assembling the body.
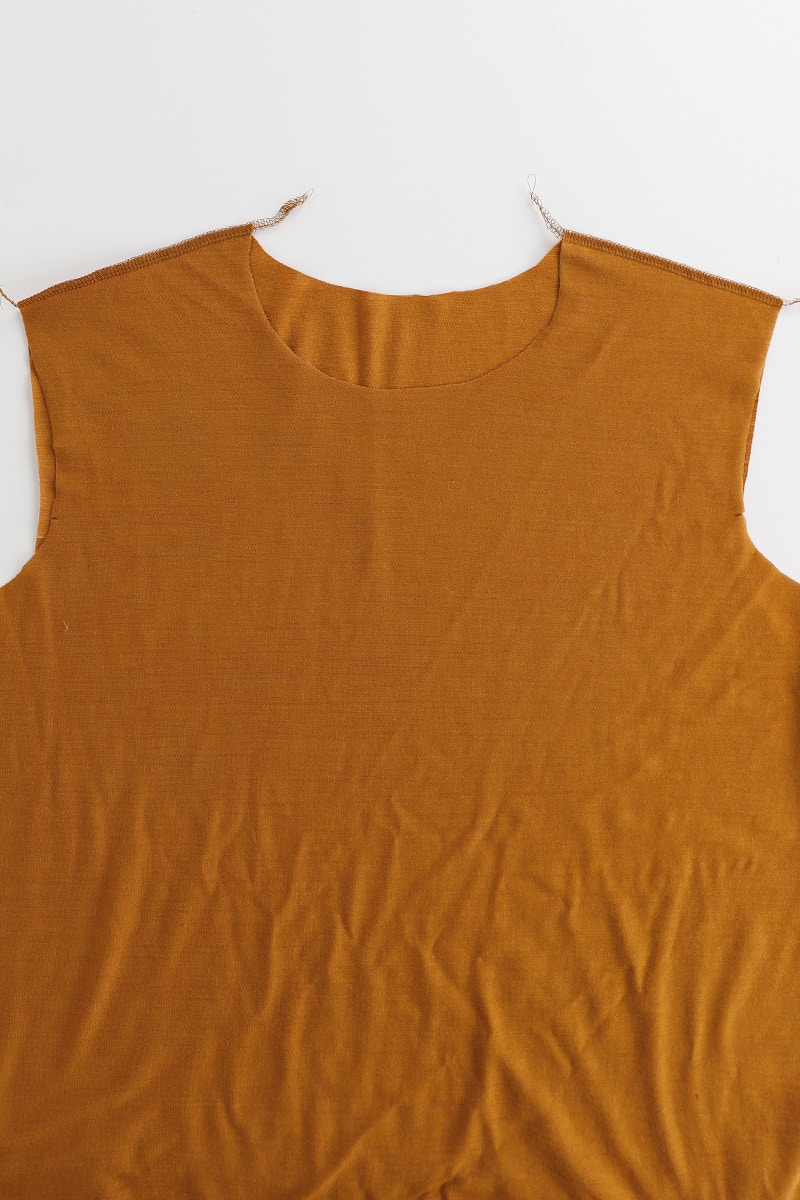
Attach your front and back pieces at the shoulders with the right sides together and press the seams towards the back.
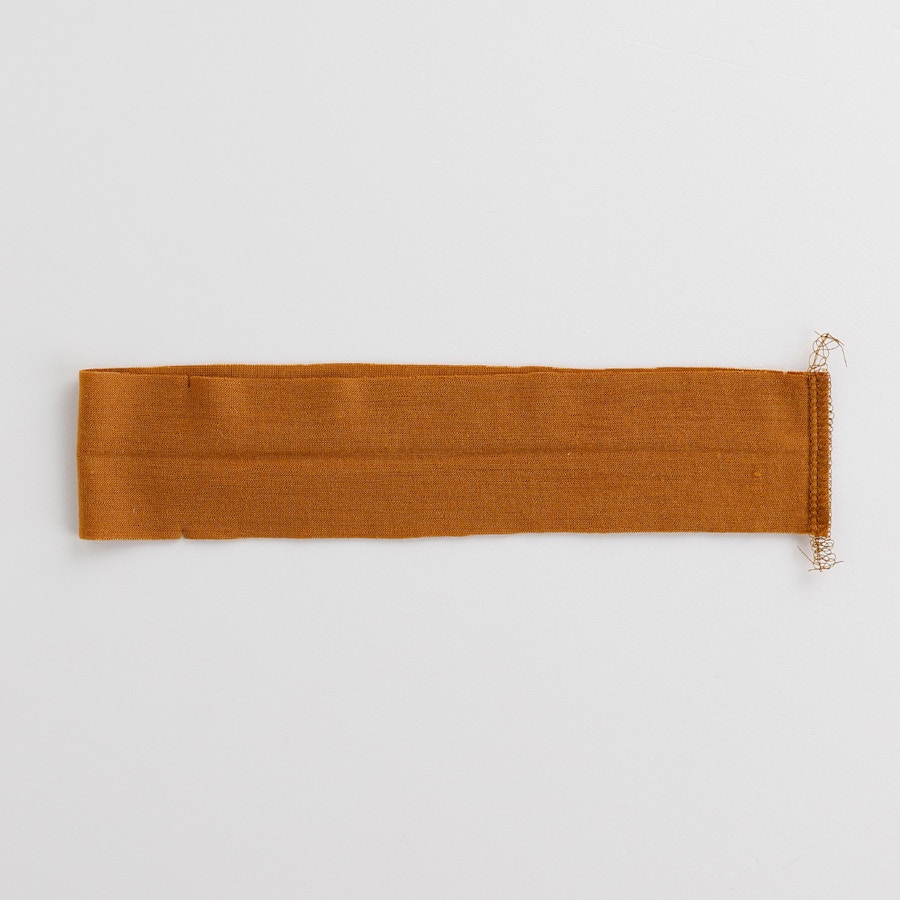
With the right sides together, overlock the short ends of the neckband together to create a circle.
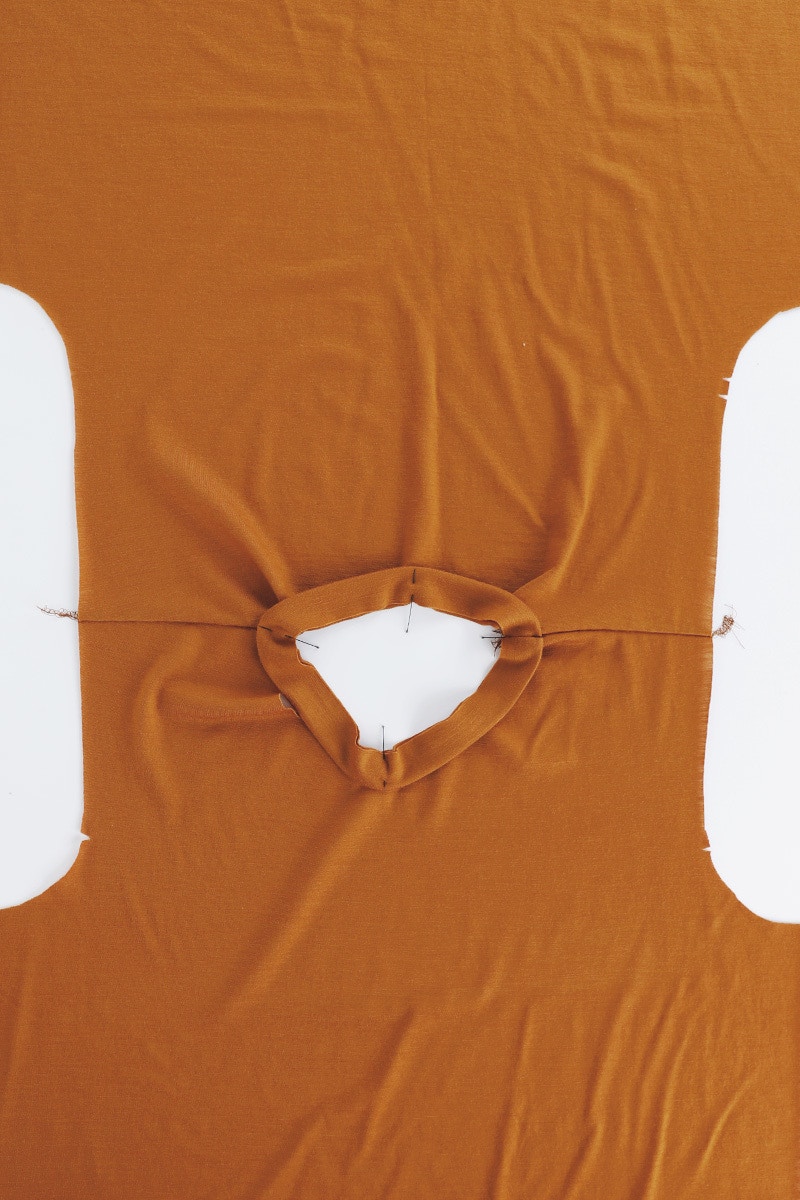
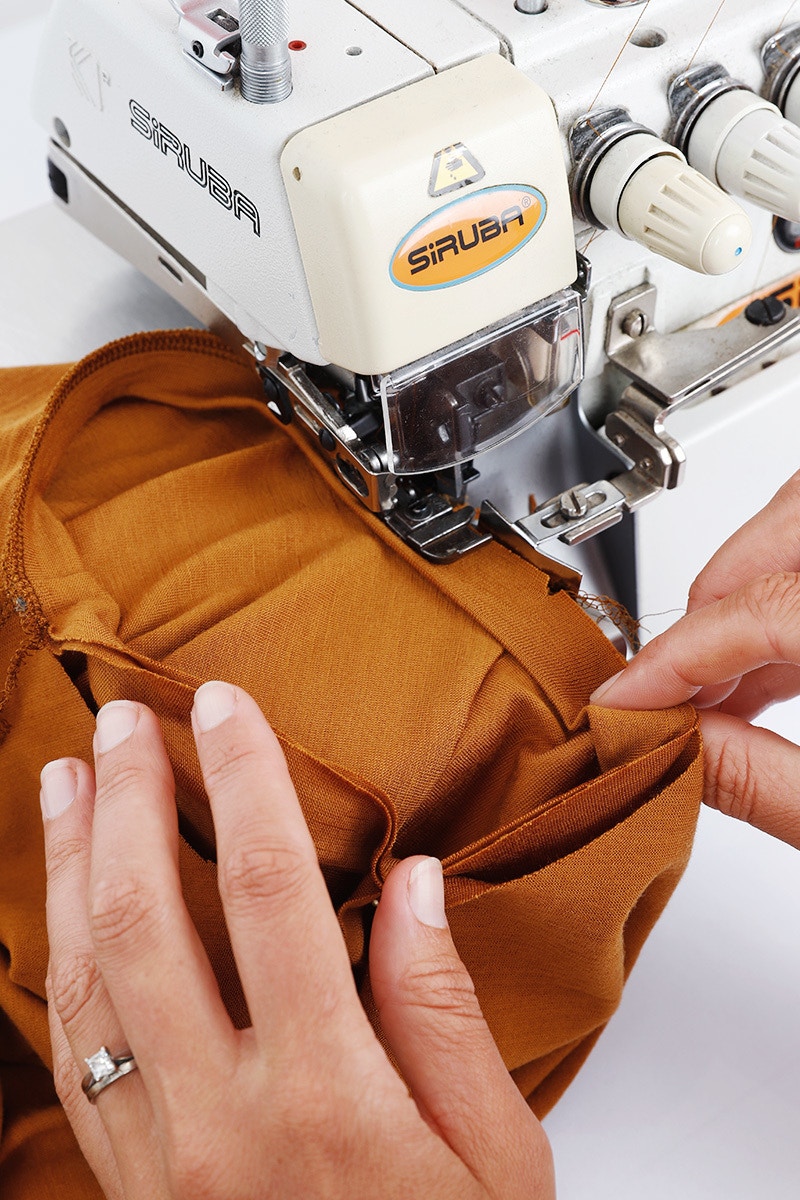
Fold the neckband in half lengthwise with the wrong sides together and pin it to the right side of your tee. The neckband seam will sit at the left shoulder (as worn), and the notch will be on the right side. The neckband is slightly smaller than the neck opening on the body. This is to help the neckband sit flat against your body. You may find it helpful to mark the midway points between the seam and the notch on the neckband, and the centre front and centre back at the neck edge of your tee to help distribute the neckband evenly around the neck opening.
Overlock your neckband to the body, matching the seams and notches as you go. You will need to stretch the neckband slightly as you sew.
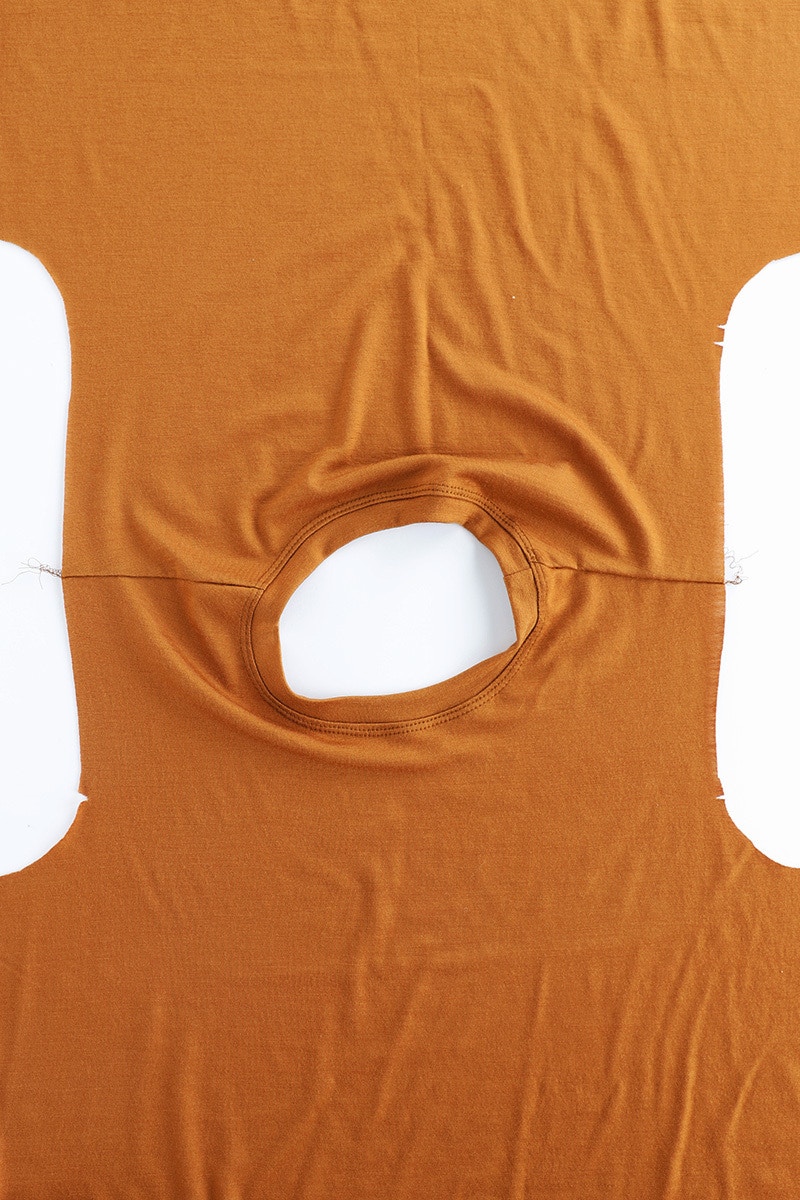
Now it is time to complete your neckband by topstitching the seam allowance to the body using a twin needle or your preferred finishing stitch.
Move on to assembling the body of your Fog Tee!
Check out the Fog Tee pattern in our Online Store here. Don't forget you can always email us via patterns@thefabricstore.co.nz if you need advice!
Fog makes from our wonderful community are also popping up over on Instagram, follow @makebytfs and use #TFSFogTee so others can check out your creations!


