Sparrow Pant + Short Sew Along

3 — Assemble Leg and Finishing Touches
09—December 2021
Now for the final steps in sewing your Sparrow Pant or Short; assembling the legs and finishing touches!
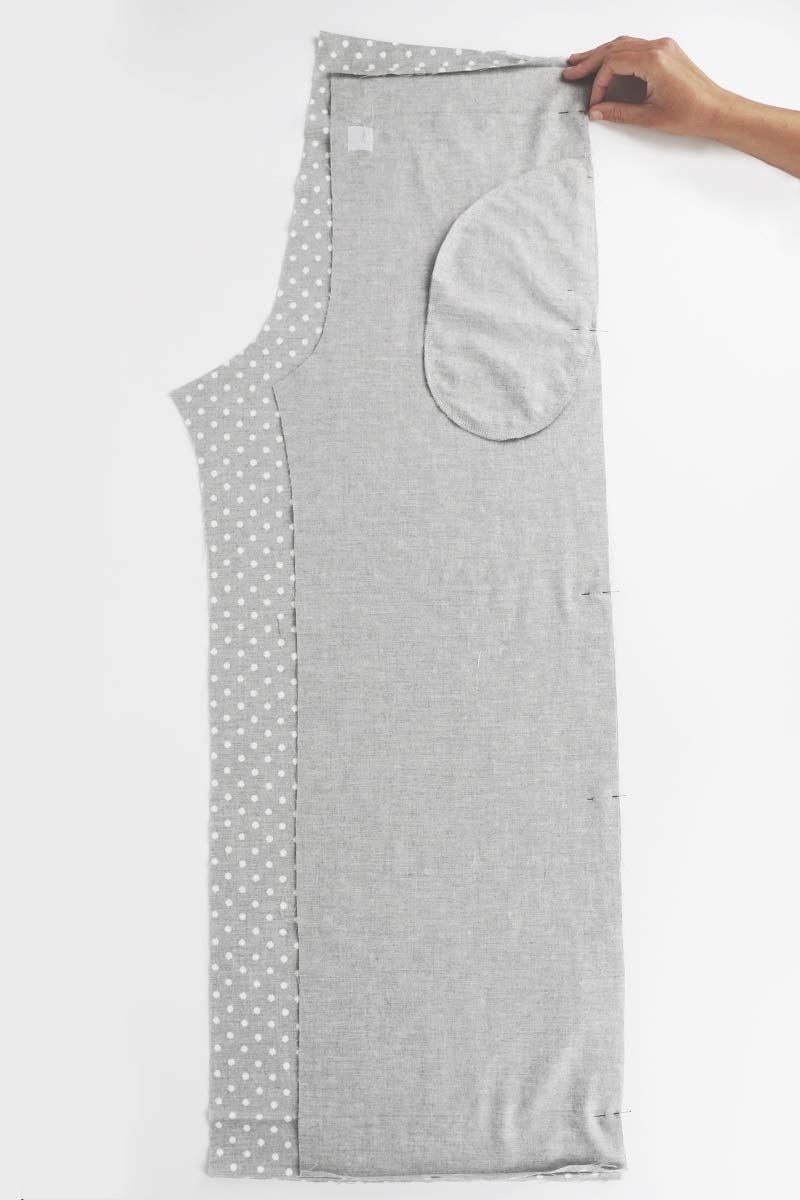
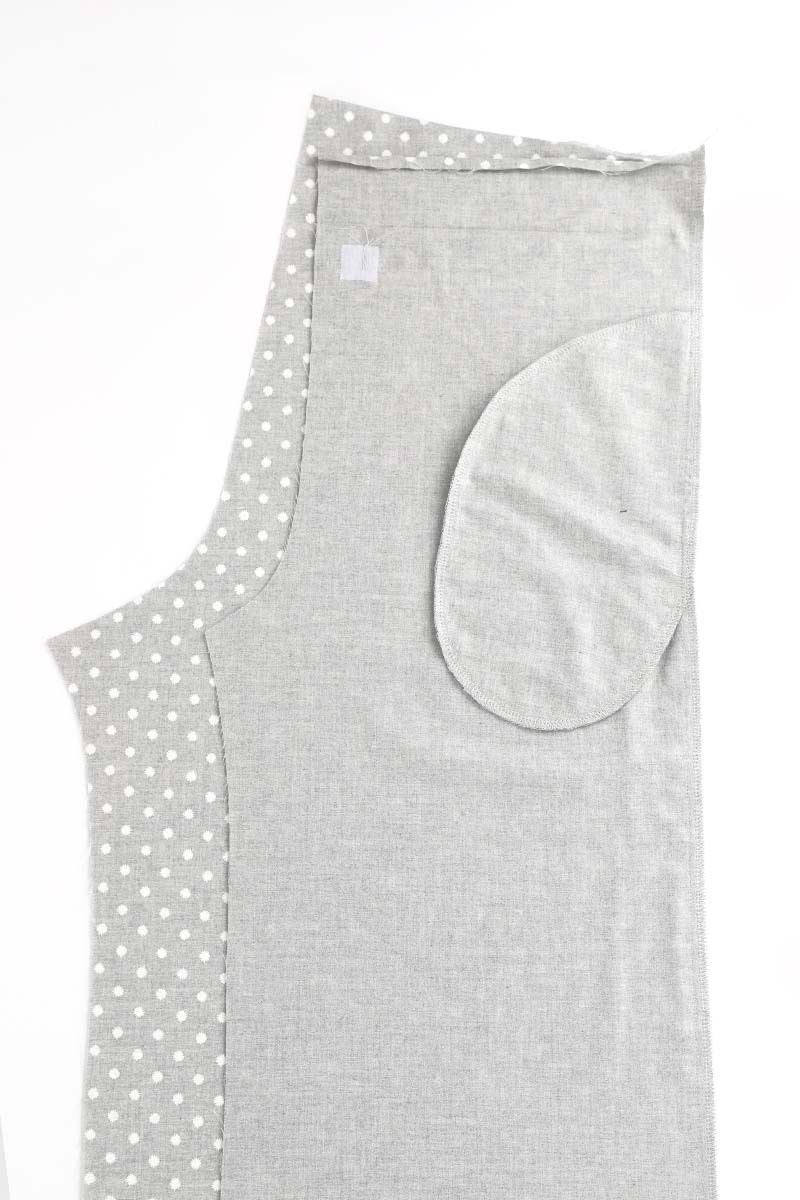
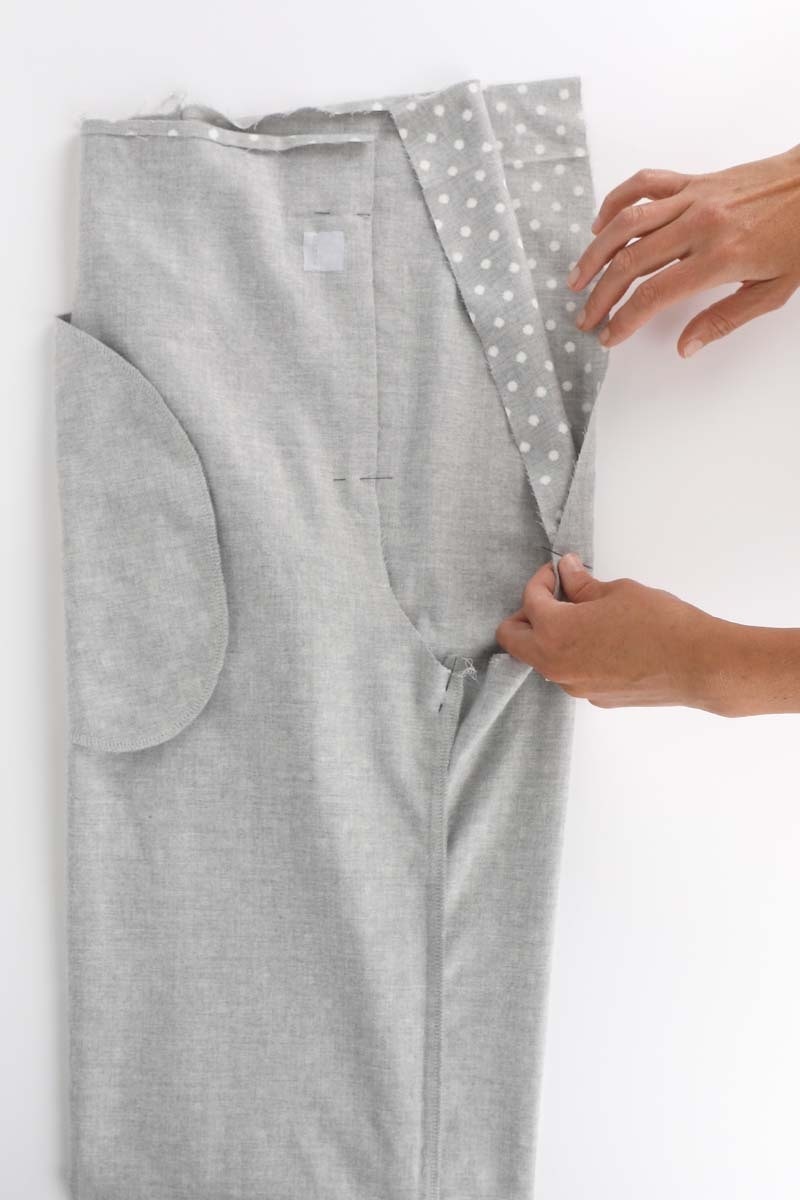
With the right sides together, pin the front to the back at the side seam. Sew the side seam with a 1cm seam. Take care near the pocket edge not to accidently catch the pocket opening in this seam. You can either pin it back a little, or tuck it under as you get close to it. Neaten the seam and then repeat for the other side.
Press the seams towards the back.
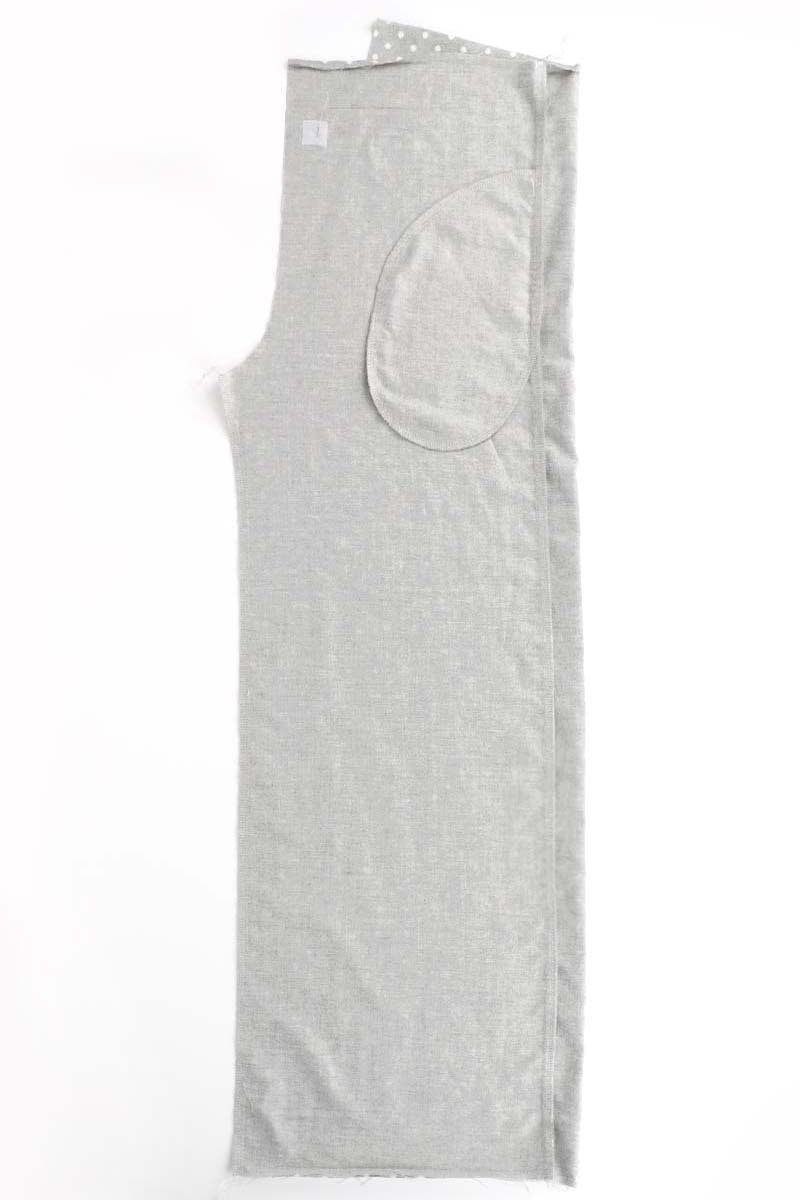
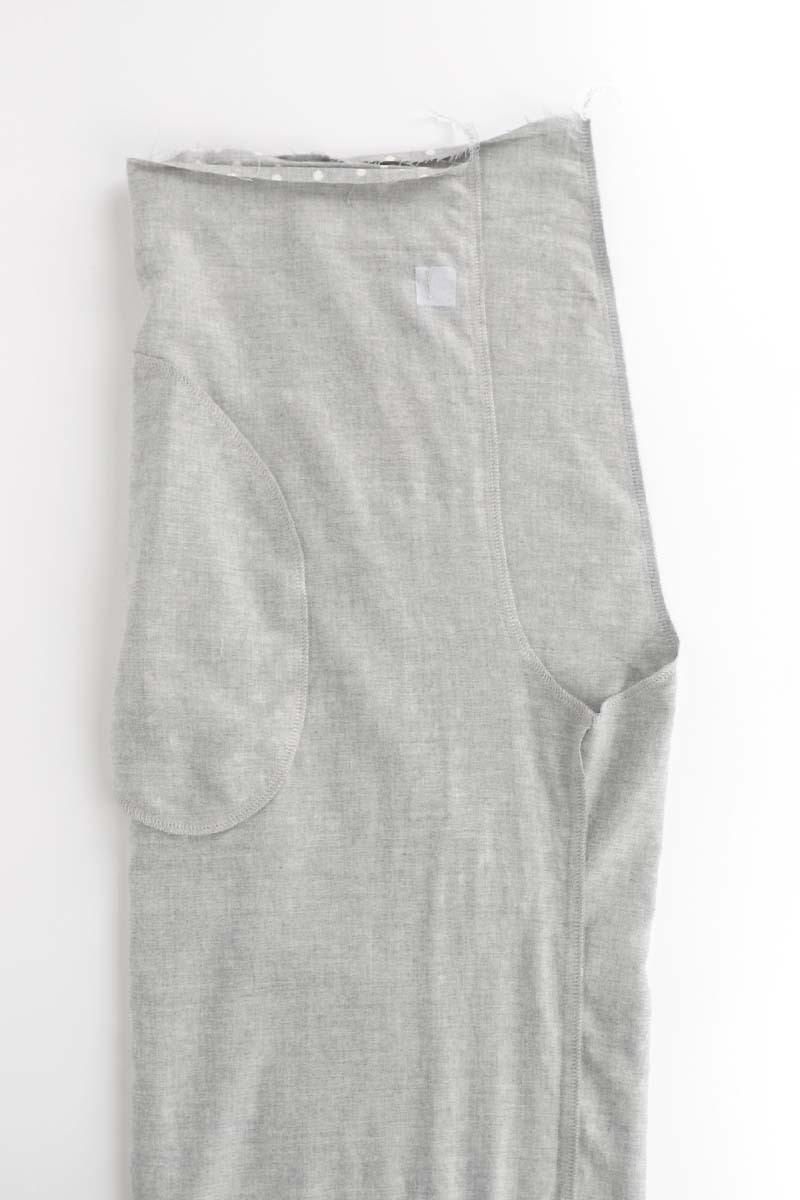
With the right sides together, pin the front to the back at the inner leg. Sew with a 1cm seam then neaten.
Repeat for the other leg.
Press seams towards the back.
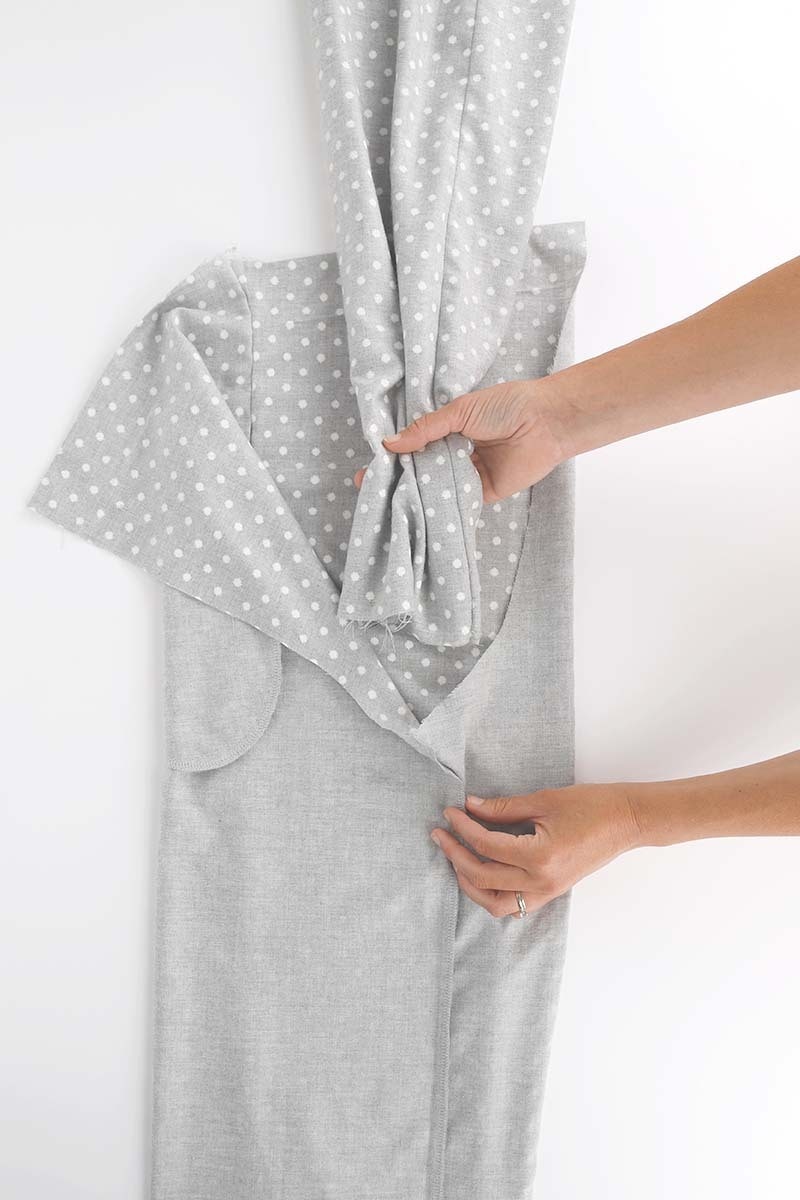
We will now join the two legs together.
With one leg inside out, place the other leg, right side out, inside the first leg so the right sides are together.
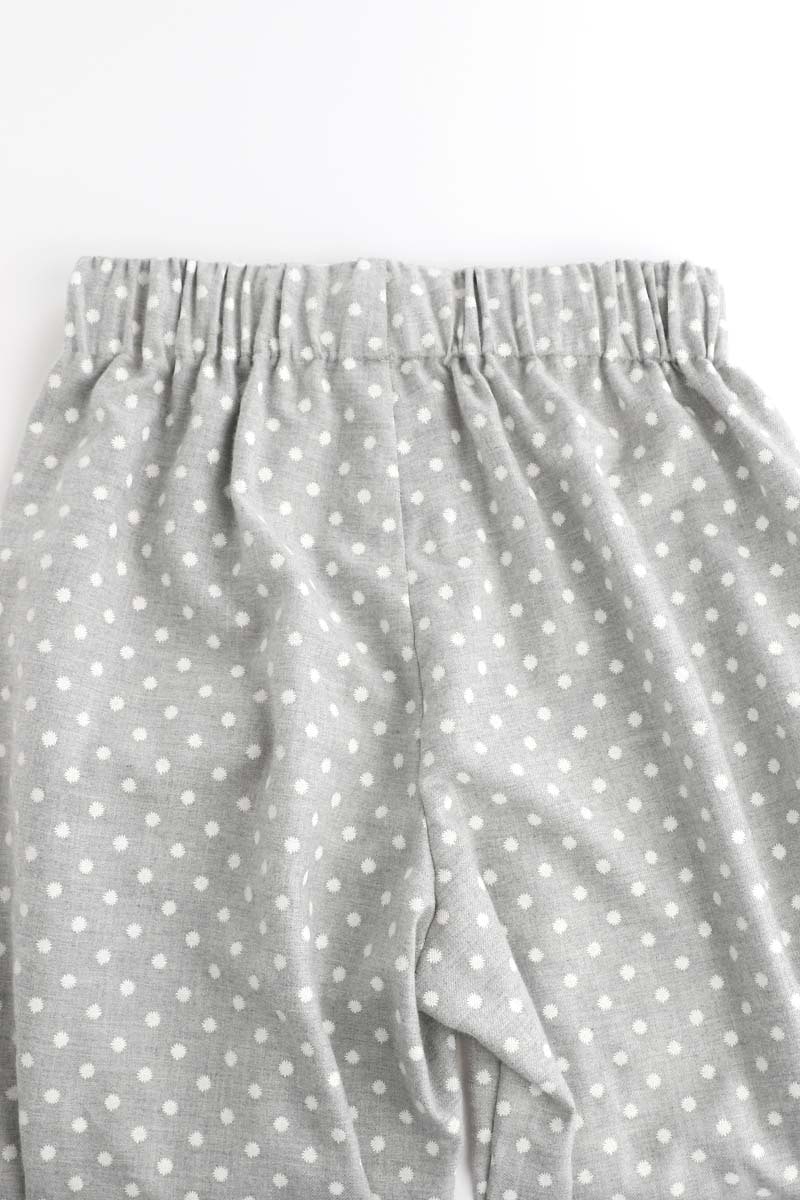
Pin the two legs together through the crotch seam, matching the seams and notches. Sew together with a 1cm seam. Neaten the seam and then press it to one side.

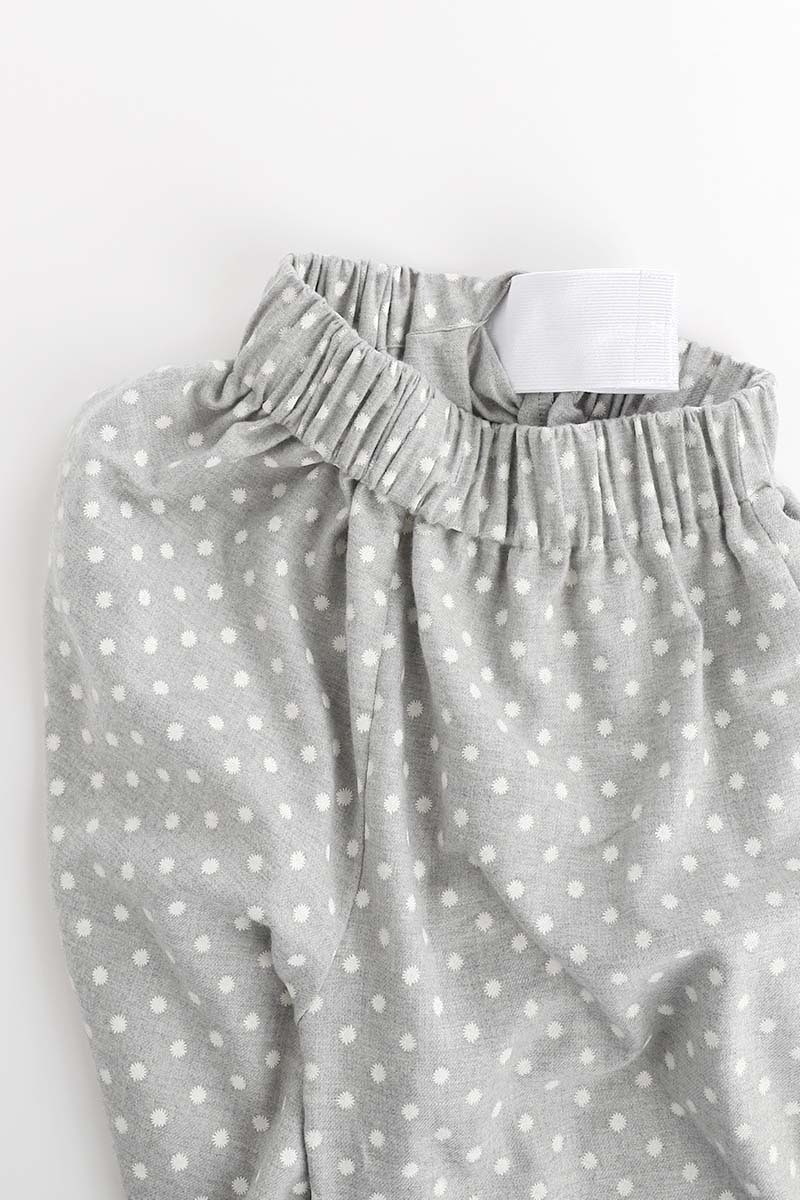
Next, we will create the casing for the waist elastic.
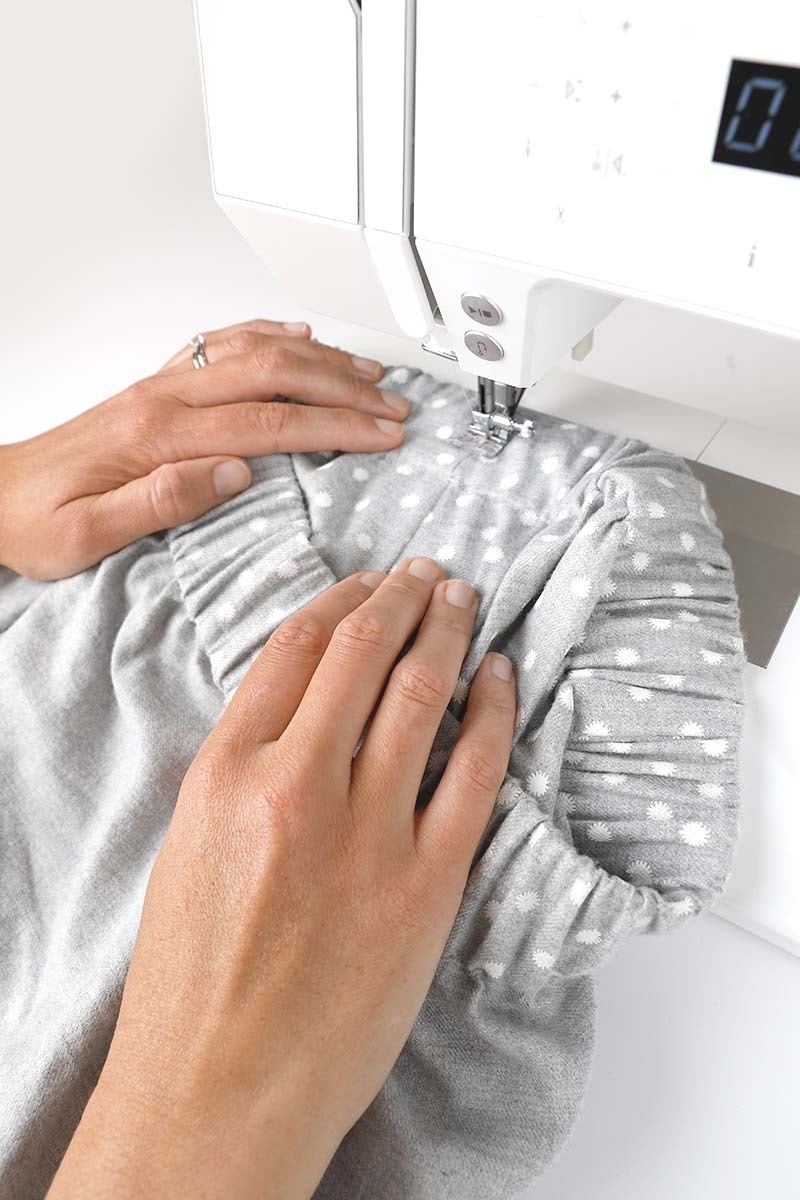
Fold the waist edge over 1cm, then over another 5cm as per your pressing at the beginning. Pin it in place.

Edge stitch the casing closed, leaving a 5cm opening at centre back.
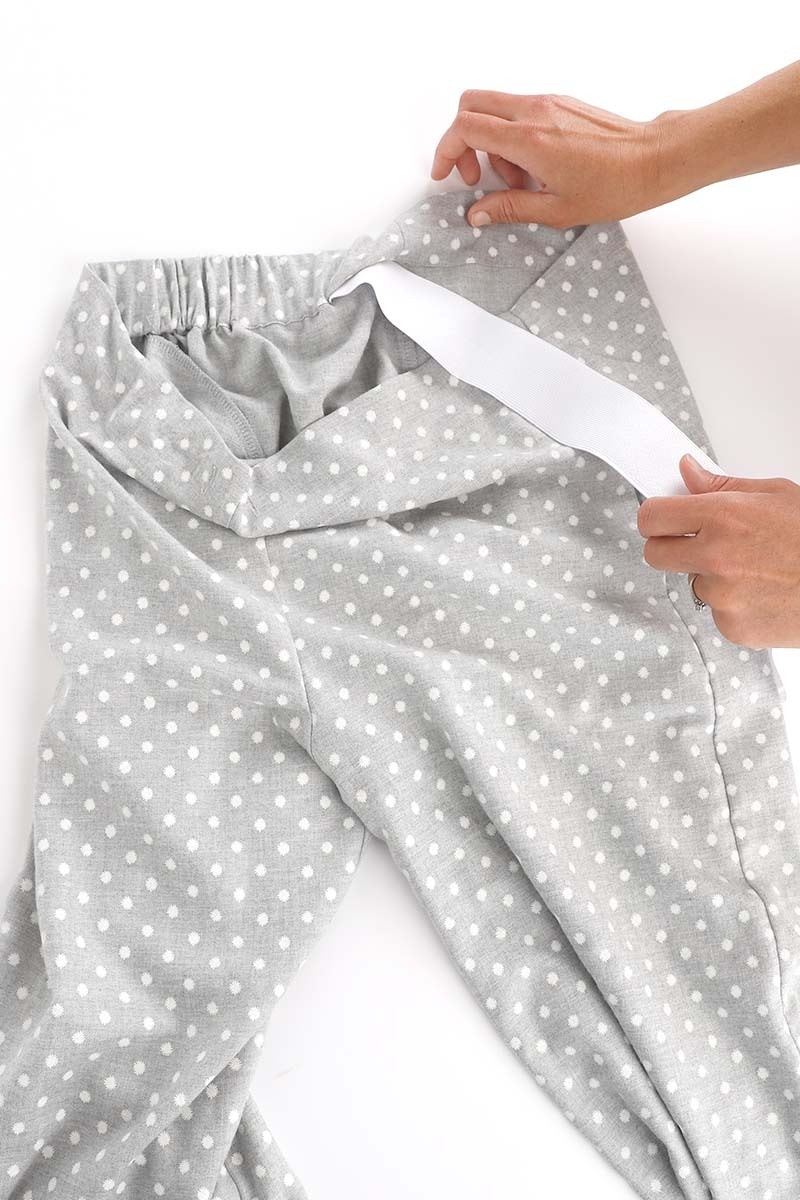
Using a safety pin or bodkin, thread the elastic through the casing. Pin the ends together securely with a 2cm overlap. Now try them on to check they are sitting comfortably and adjust the elastic as needed.
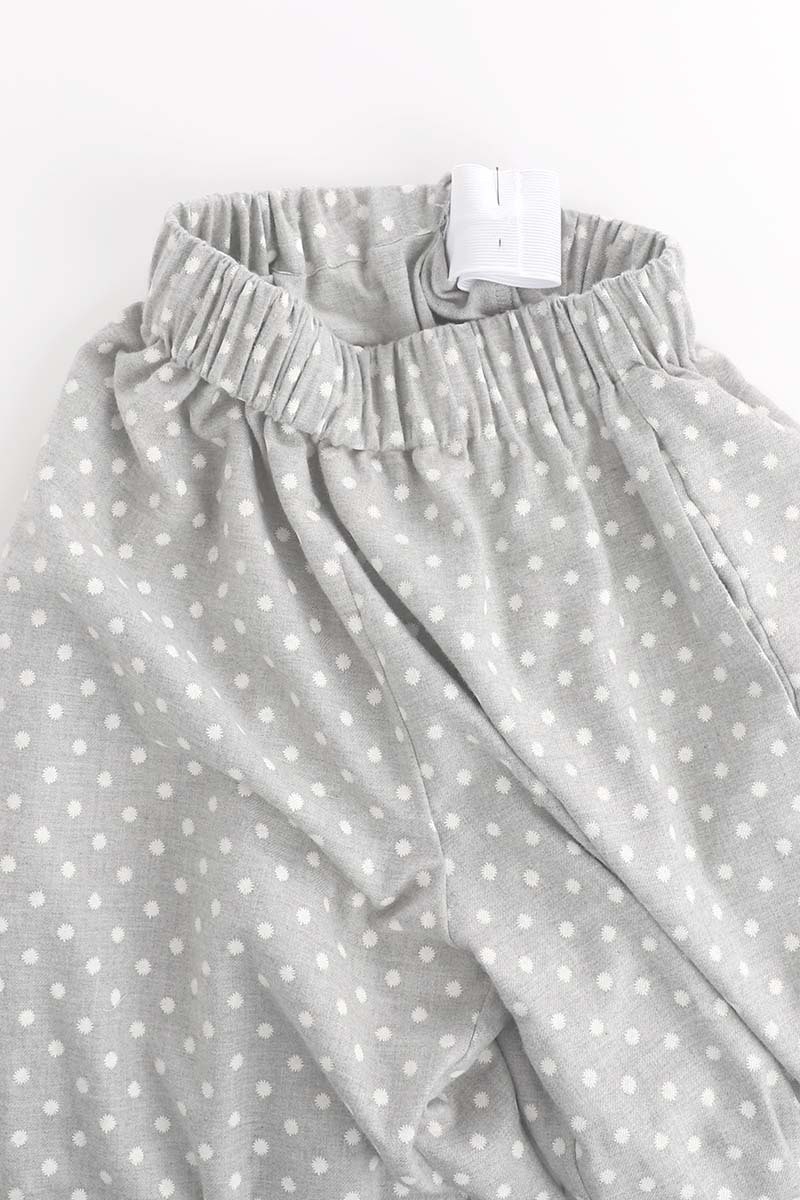
Once everything is comfortable, double-check that the elastic is not twisted, then sew the ends of the elastic together with a 2cm overlap.
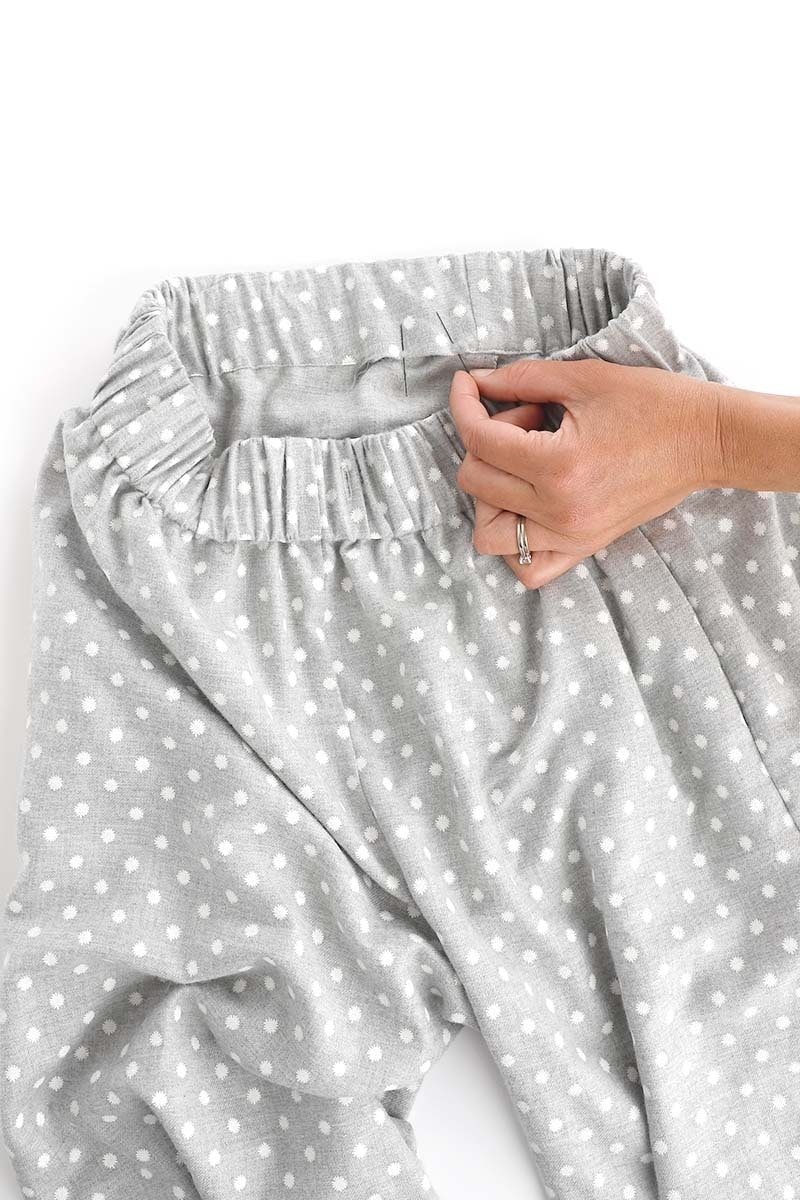
Pin the opening closed, and then edge stitch.
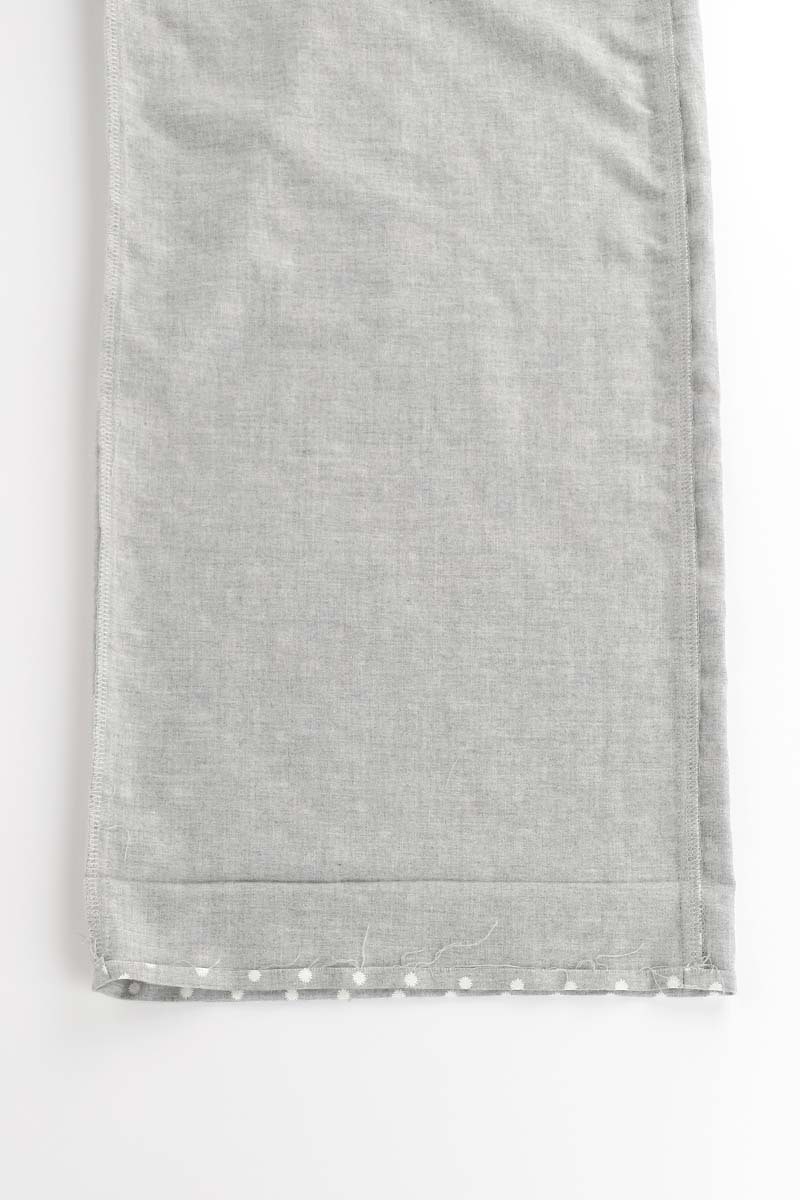
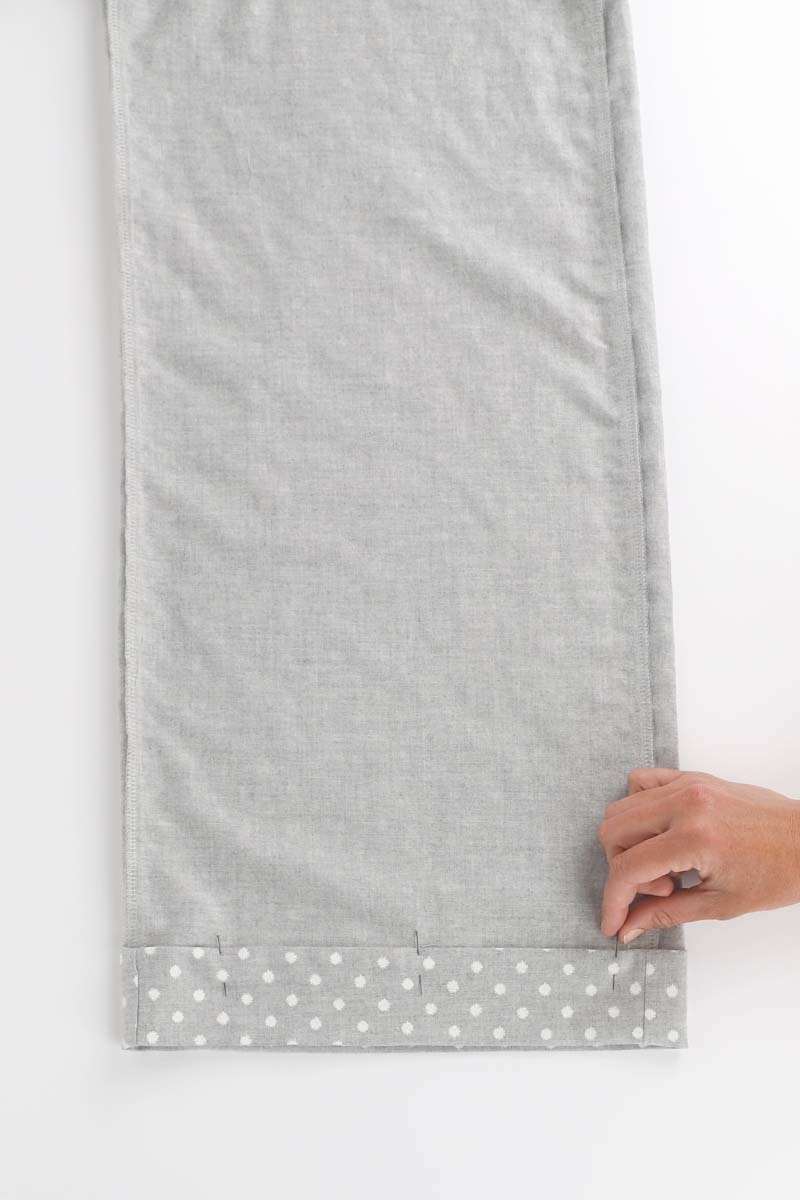
Fold back the hem 1cm, and then a further 6cm at the notches, as per your pressing at the beginning.
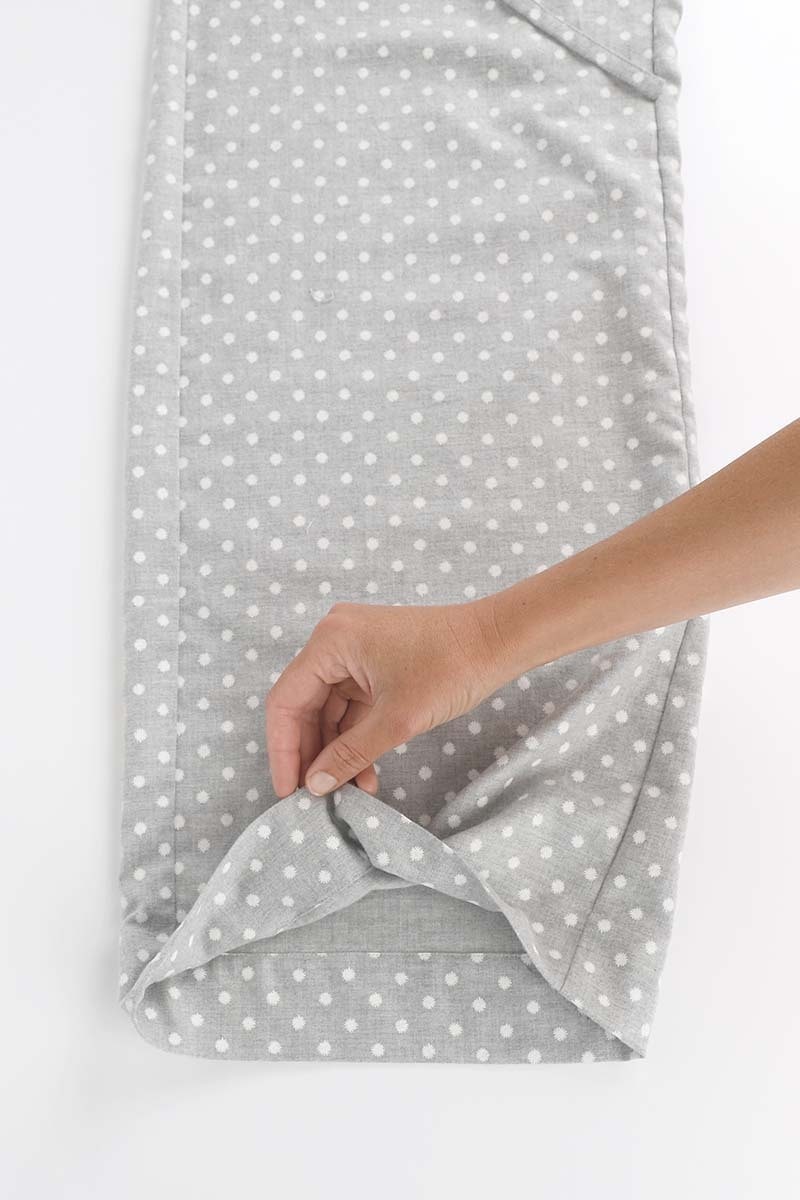
Pin in place then edge stitch to close.
Repeat for both legs.
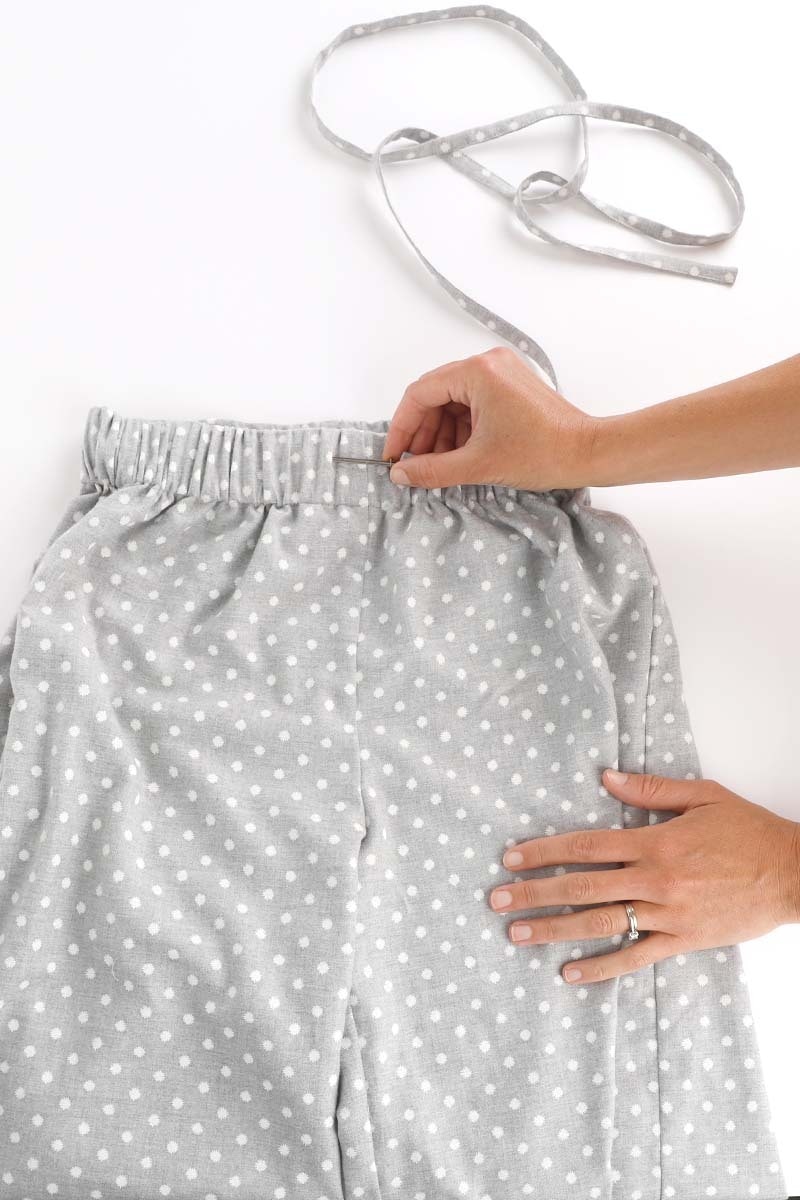
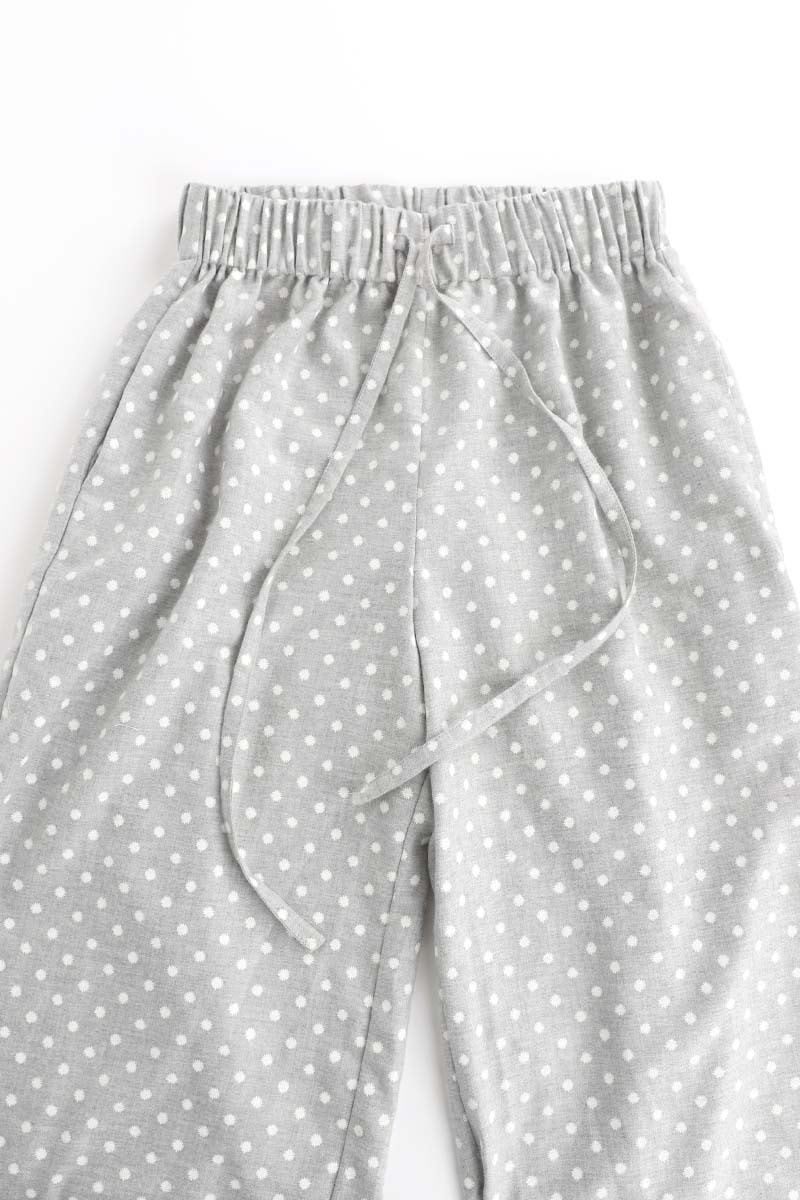
Thread the drawstring through with a safety pin or bodkin. Make sure the tie is sitting flat in the waistband and the ends are even.
Ditch stitch at the centre back in the waist seam to secure the drawstring.

Trim any loose threads and give your pant or short a press!
Your Sparrow Pant or Short is complete!
Check out the Sparrow Pant + Short pattern in our Online Store here. We also have the Sparrow Shirt pattern so you can sew the Sparrow Set!
Don't forget you can always email us via patterns@thefabricstore.co.nz if you need advice!
Sparrow makes from our wonderful community are also popping up over on Instagram, follow @makebytfs and use #TFSSparrowPant or #TFSSparrowShort so others can check out your creations!

