Bloom Shirt + Dress Sew Along

3 — Collars and Collar Stand
21—December 2020
This post covers all three collar styles, jump to the section that matches the collar style you are sewing.
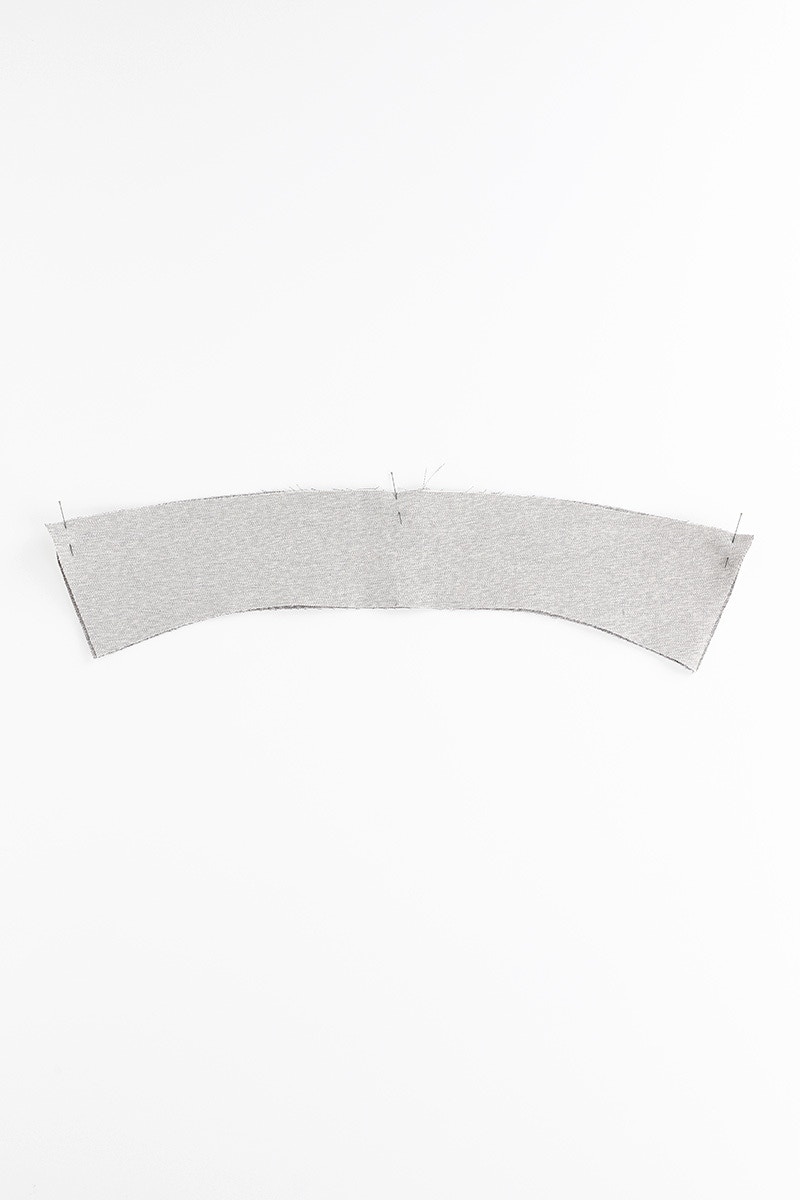
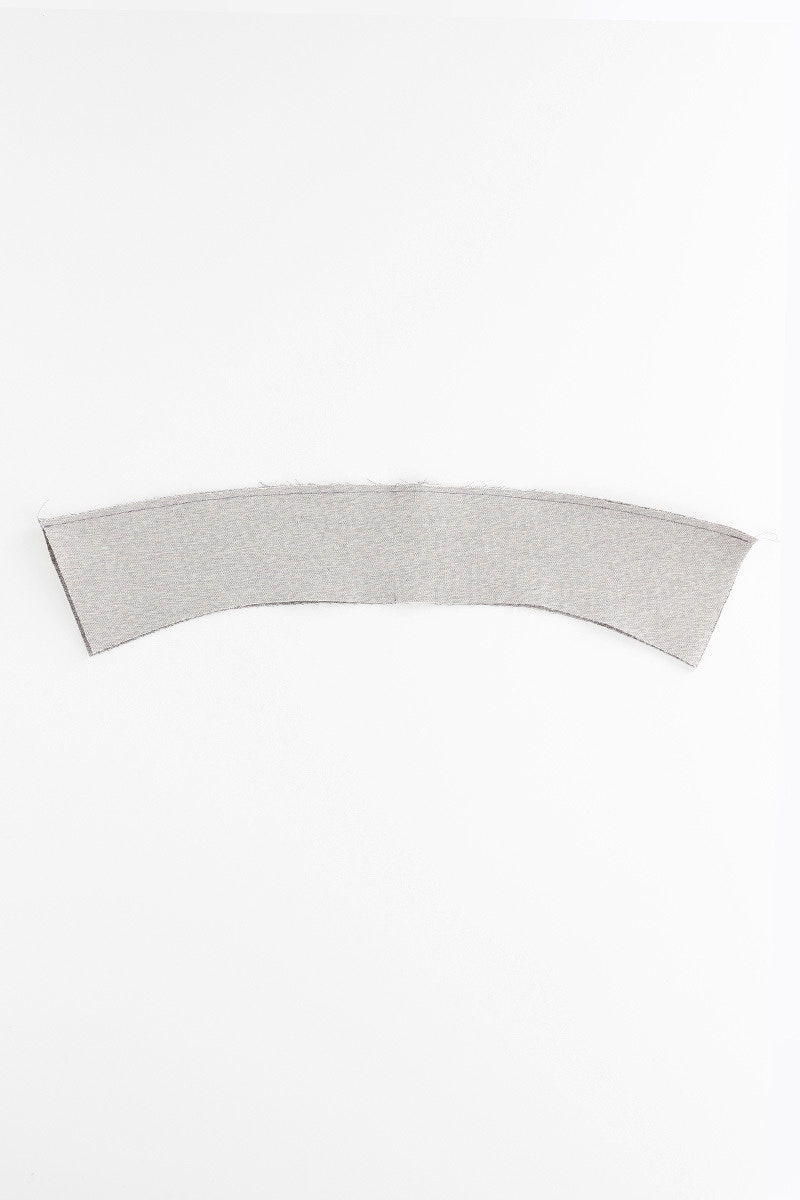
To sew the pointed collar, take your upper and under collar pieces and pin together along the top edge. Sew this edge with a 6mm seam.
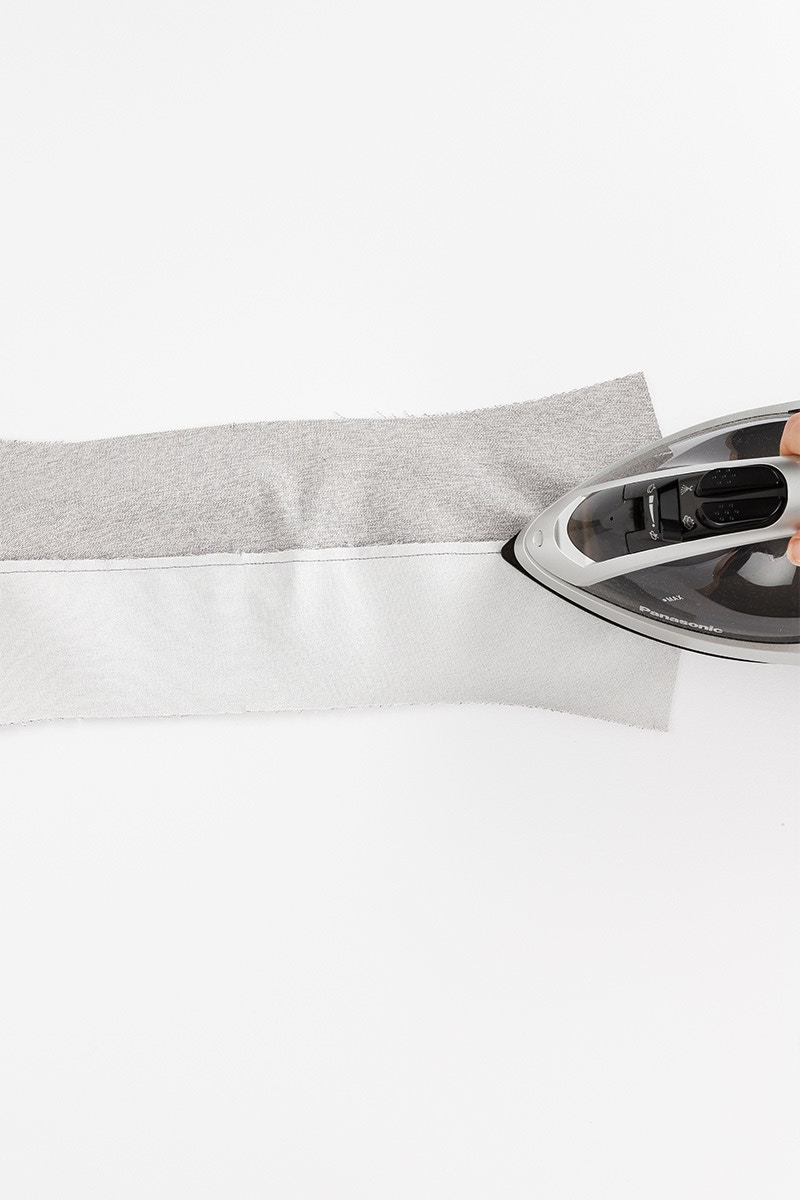
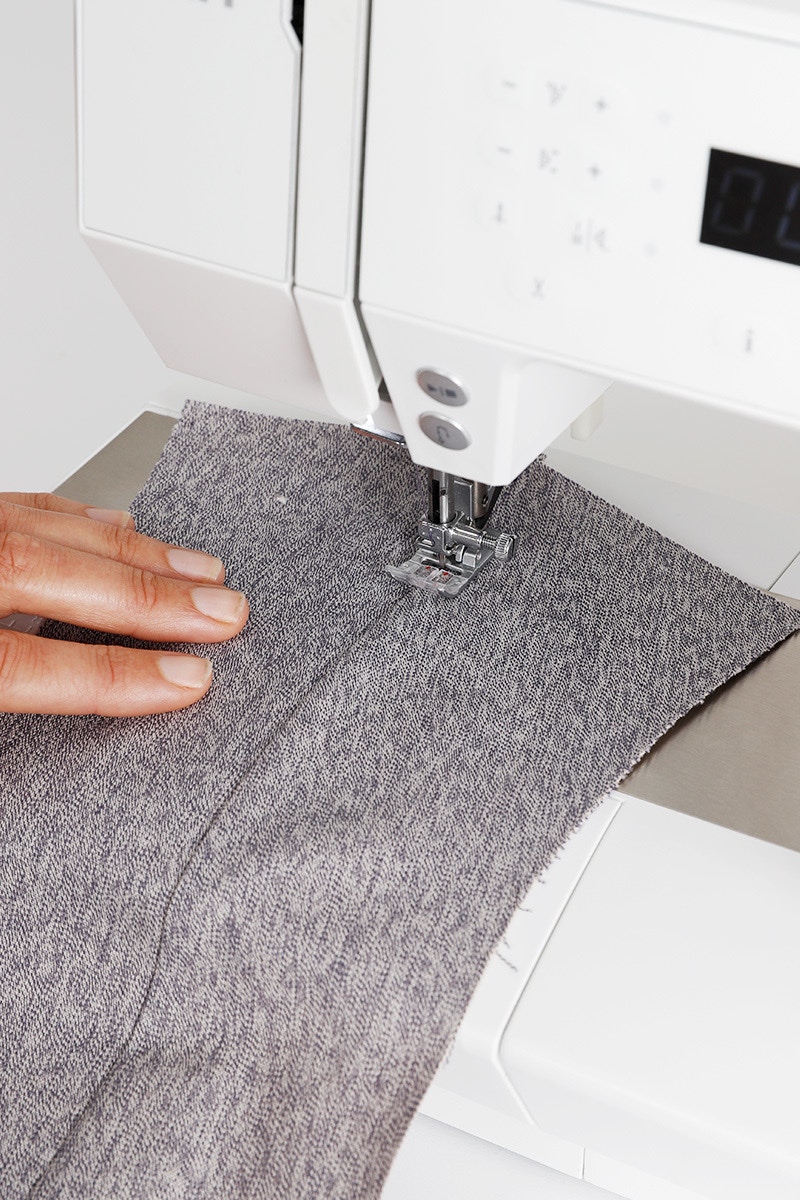
Now, press the seam you have just sewn towards the under collar. Then, from the right side, sew a line of under stitching on the under collar.
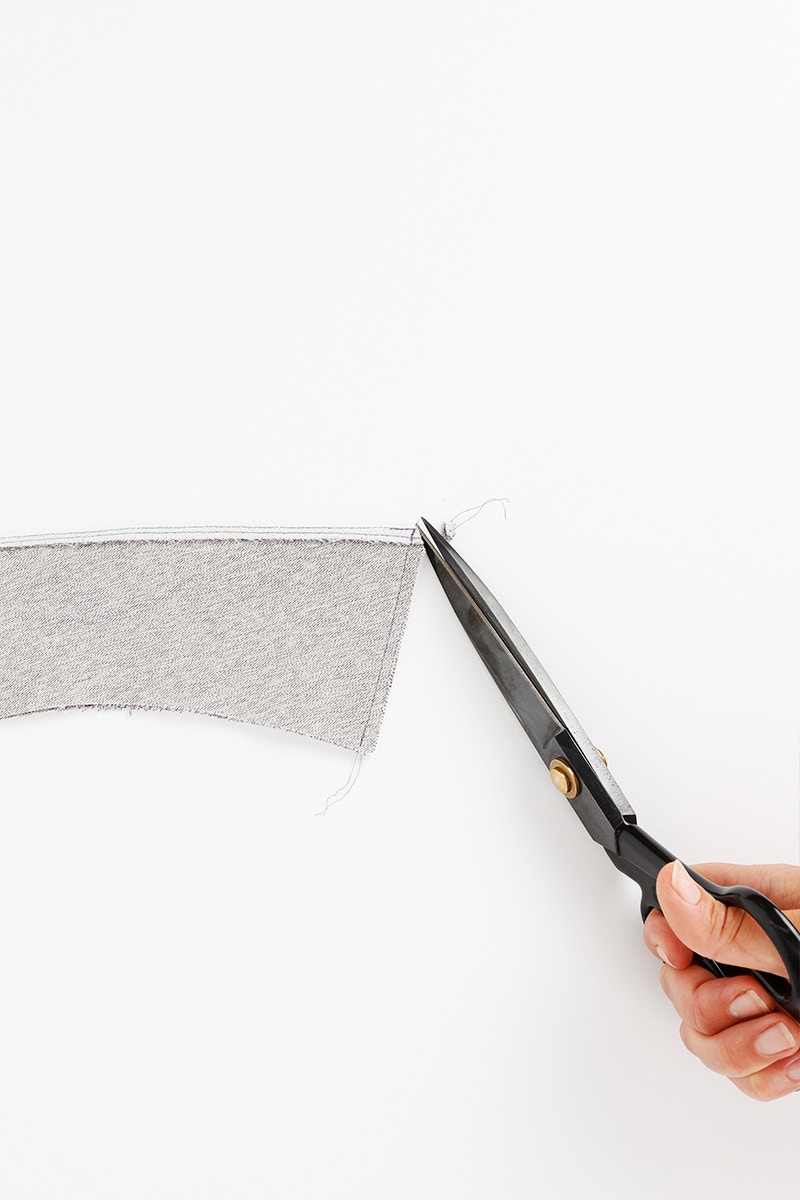
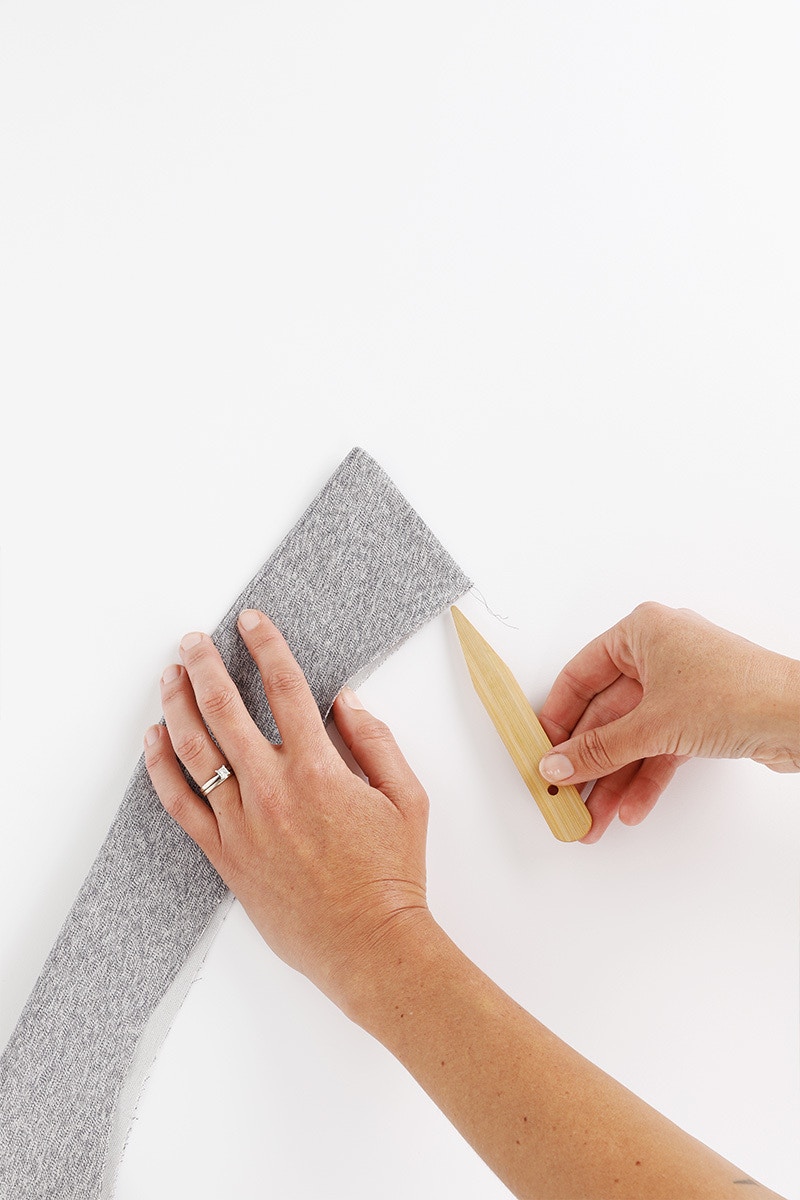
Fold your collar in half with the right sides together and sew the short ends of your collar closed with a 6mm seam. Trim the excess fabric at the corners with a sharp pair of scissors. This helps to reduce bulk at corners. Then turn your collar right side out with the help of a point turner. You could also use a chop stick or knitting needle if you don't have a point turner.

Your collar will look like this on the underside. Give it a press and move on to sewing your collar stand.
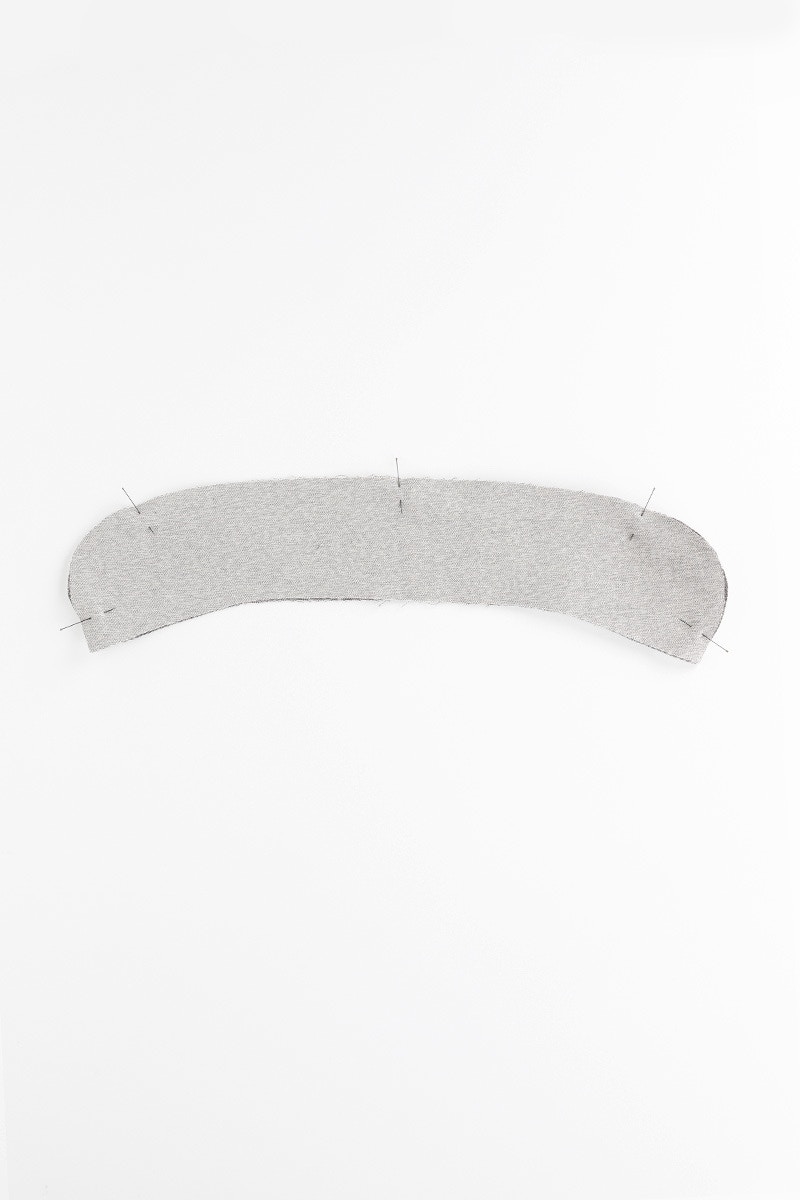
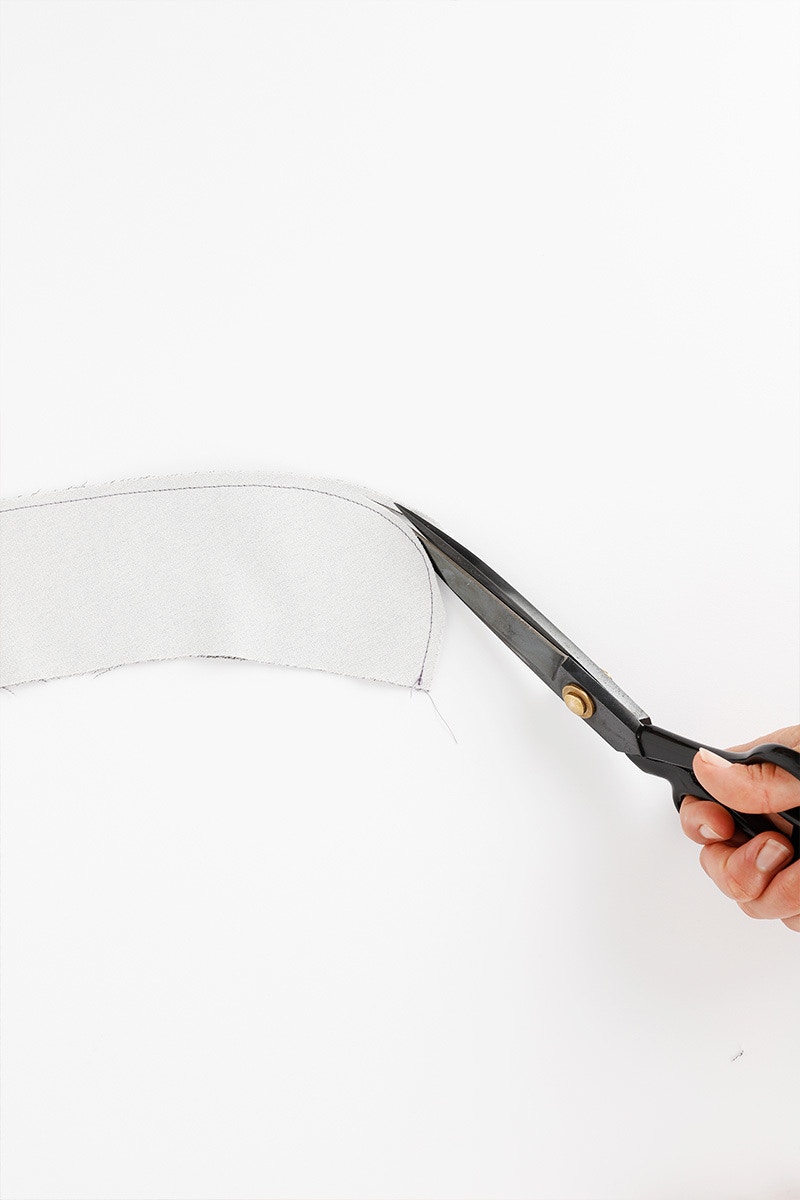
To sew the half penny collar, take your upper and under collar pieces and pin them together along the long curved edge, matching the notches as you go. Sew this seam at 6mm.
Then, with a sharp pair of scissors, trim back the seam allowance at the curves. Be careful not to trim too close the stitching or the seam may fray.
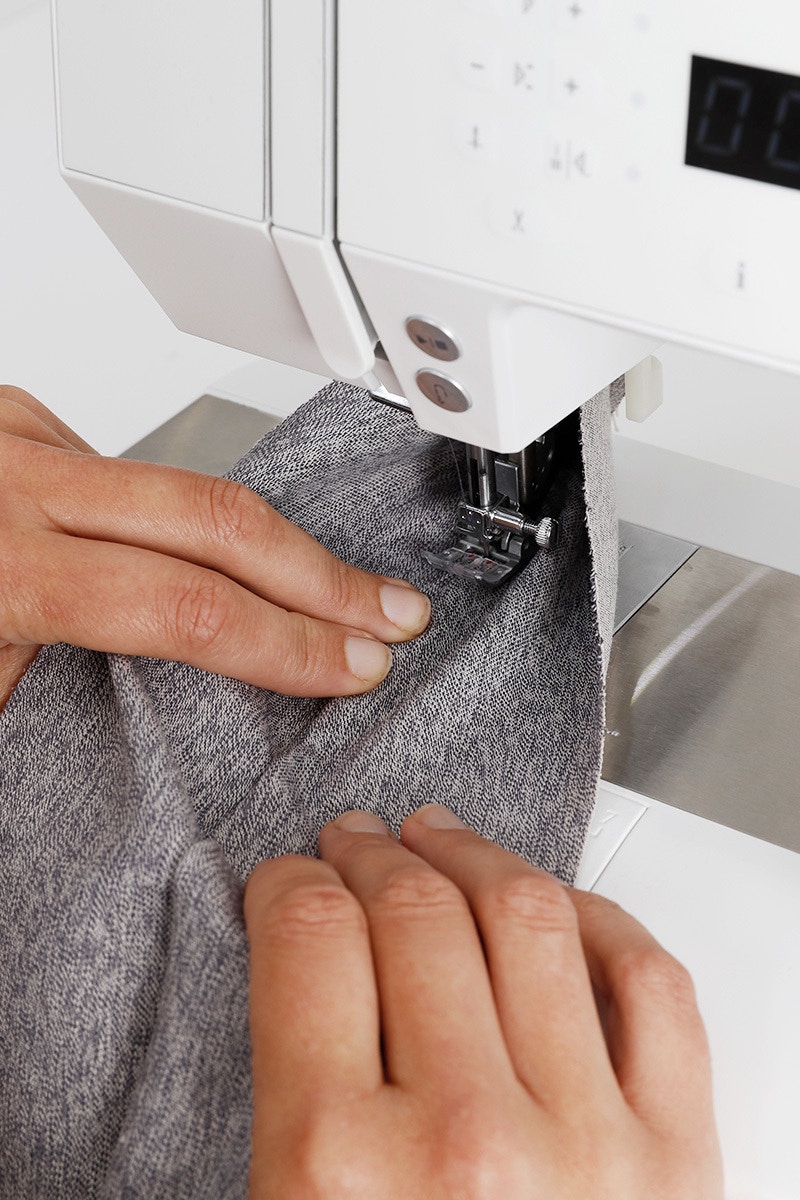
Press the seam allowance towards the under collar. Then, edge stitch on the under collar, starting just after the curve and stopping before it starts again. This is approximately 30cm depending on the size you are making. It can be a little tricky under stitching here due to the curve in the collar. Use your fingers to make sure the seam allowance is going towards the under collar.
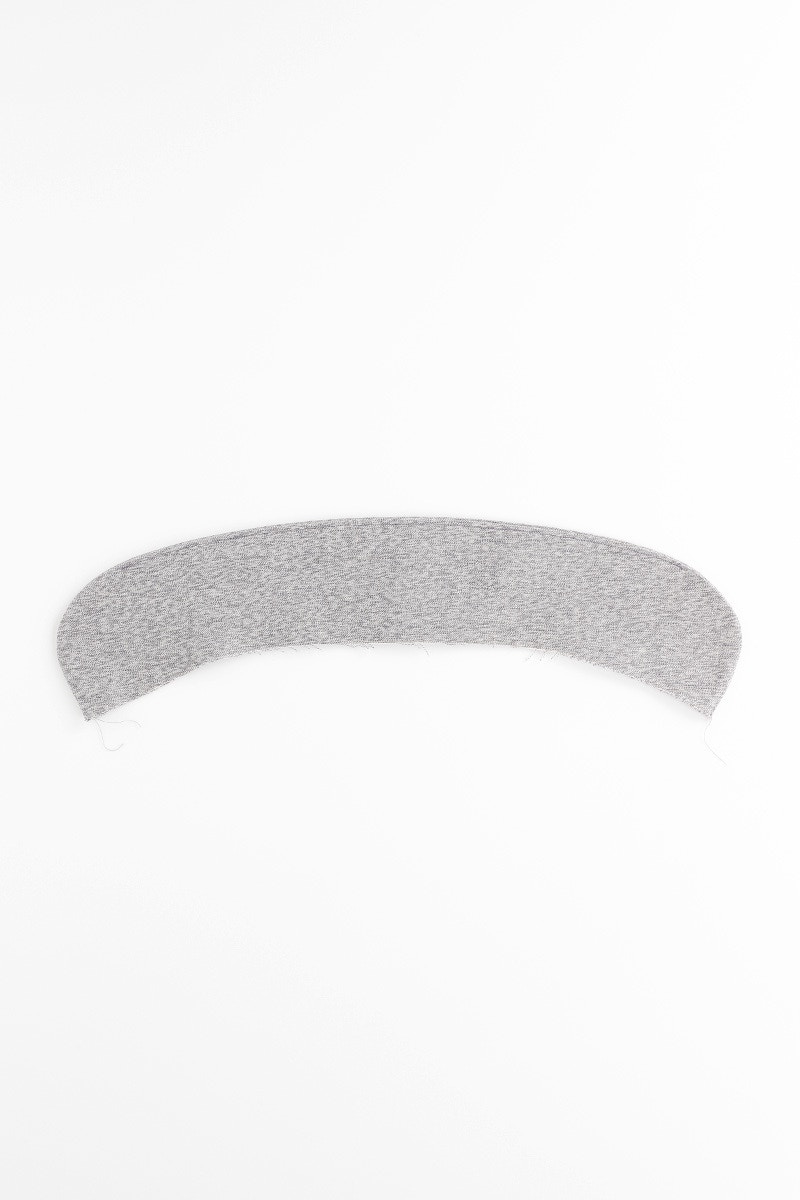
Turn your collar right side out and give it a press, making sure to get a smooth curve at each end. It will look like this from the underside.
Next, scroll down to start sewing the collar stand.
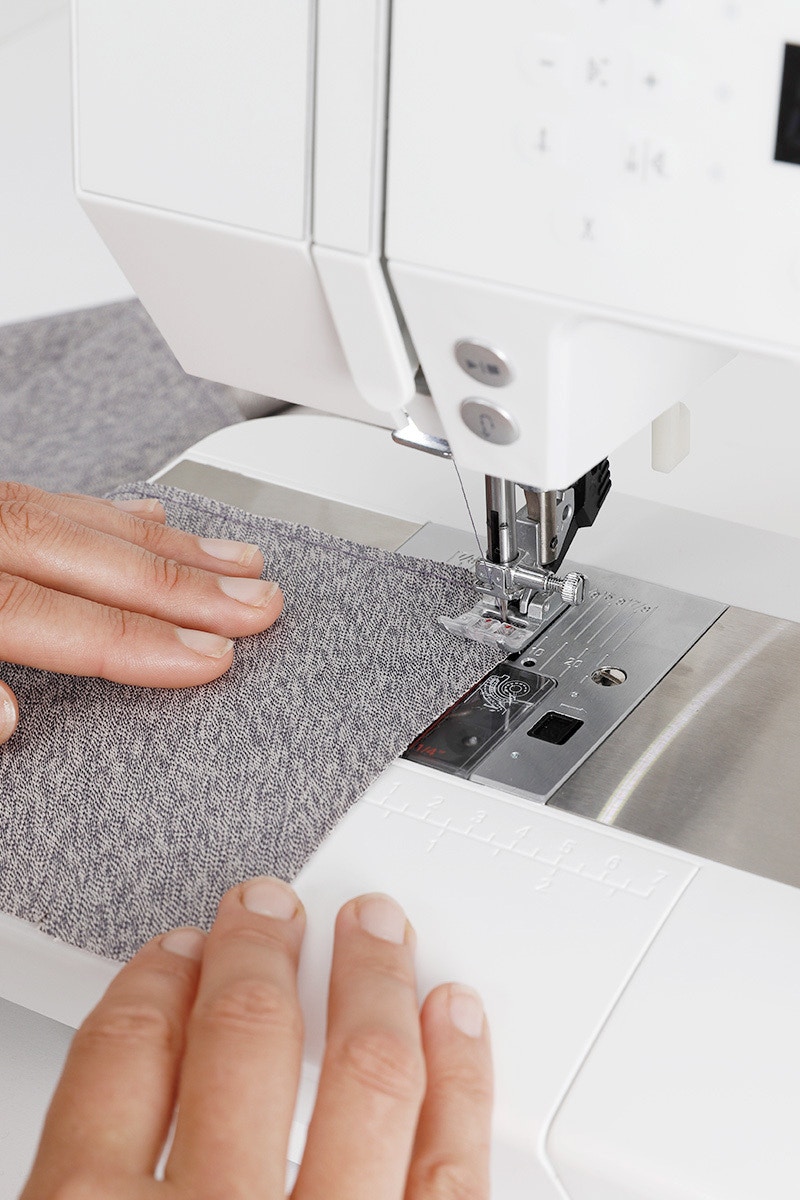
For the pleated collar, start by finishing the three outer, unnotched edges with a 6mm double fold hem. To make this easier, sew a line of stitching at 6mm along the three outer edges. Then, using this stitch line as a guide, fold the edge over twice and edge stitch in place. You may want to use pins to hold it in place, or you can fold the hem bit by bit as you sew.

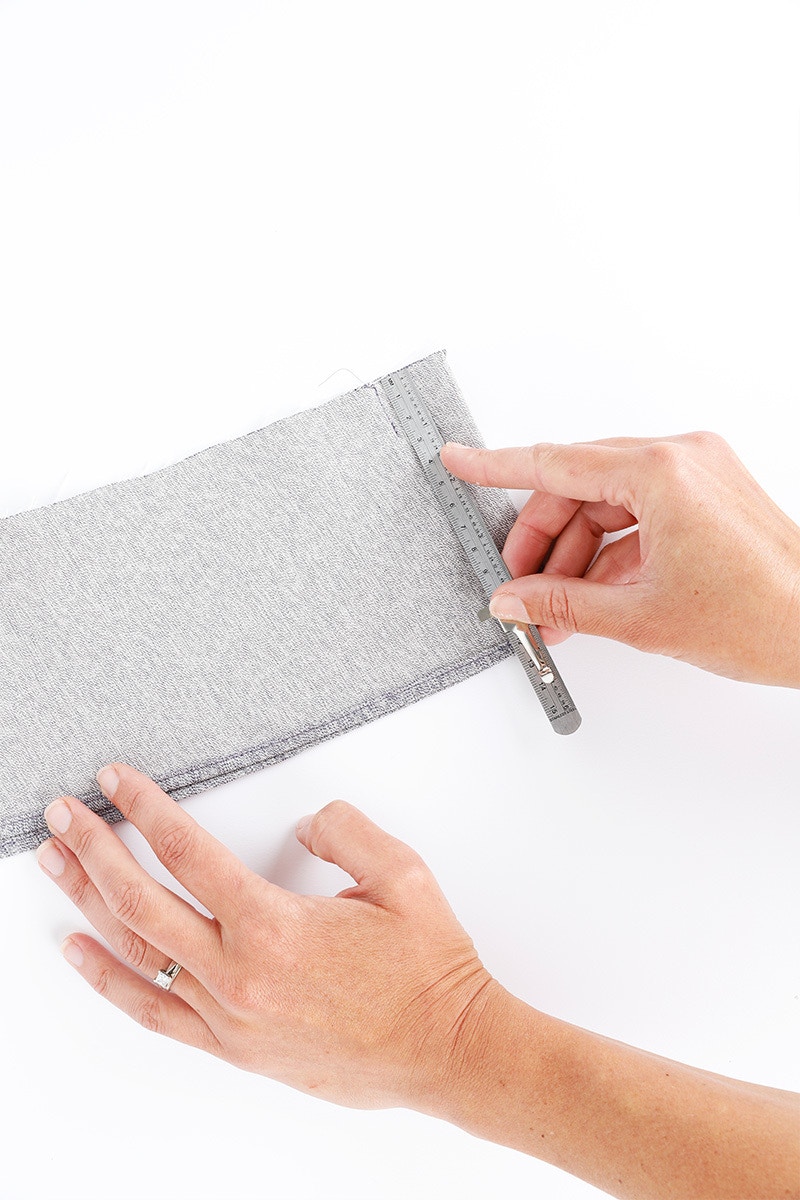
Now we will start to sew the pleats. It is easiest to start at the centre back and work towards the centre front.
Find the centre back notch by folding the collar in half. Match the two notches either side of centre back, then measure down and mark 2.5cm. Sew the line you have just marked back tacking at each end to secure the seam.
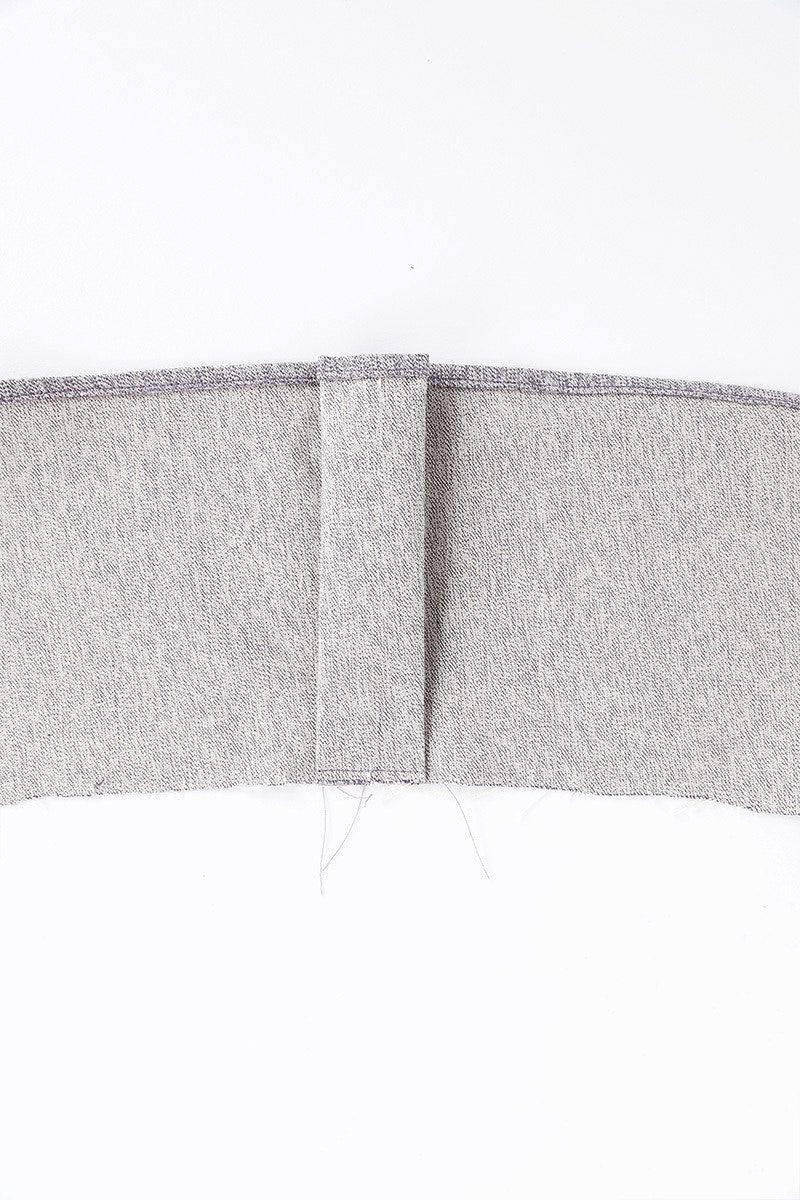
Next, bring the centre back notch to meet the seam you have just sewn to create an inverted pleat. Baste your pleat in place at the neck edge and give it a press.
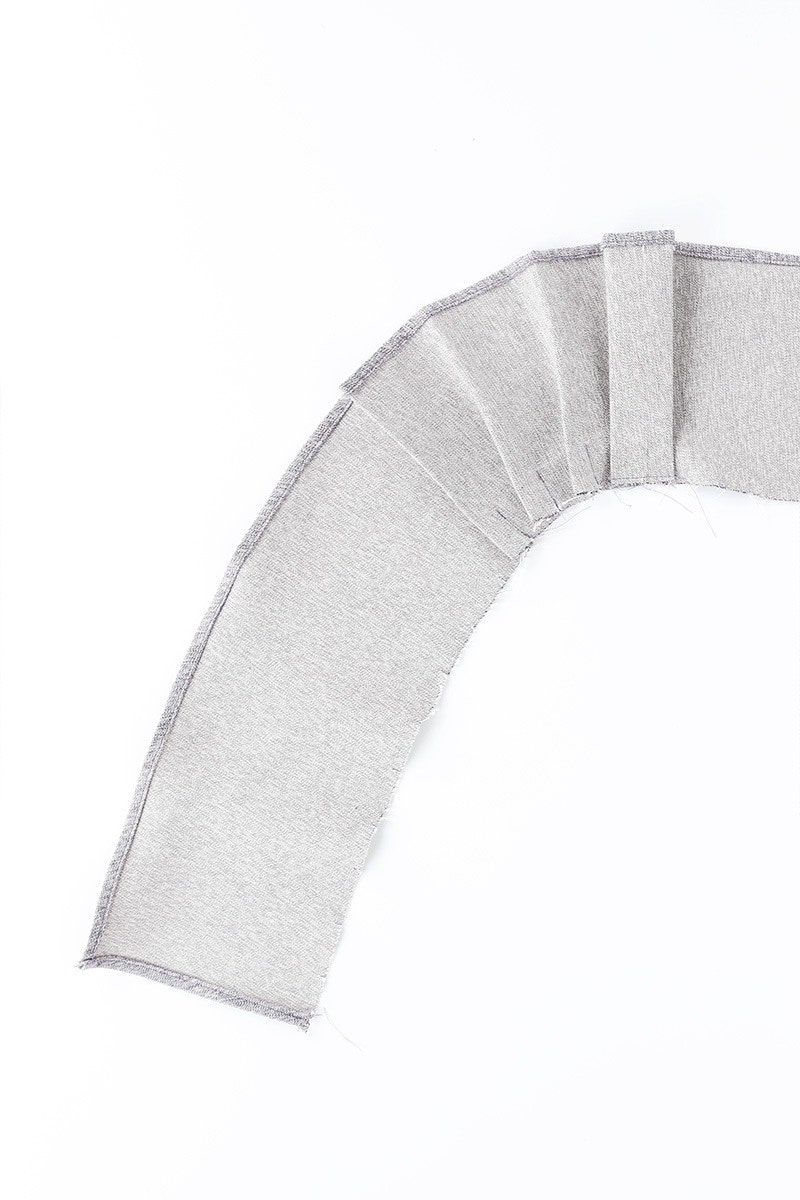
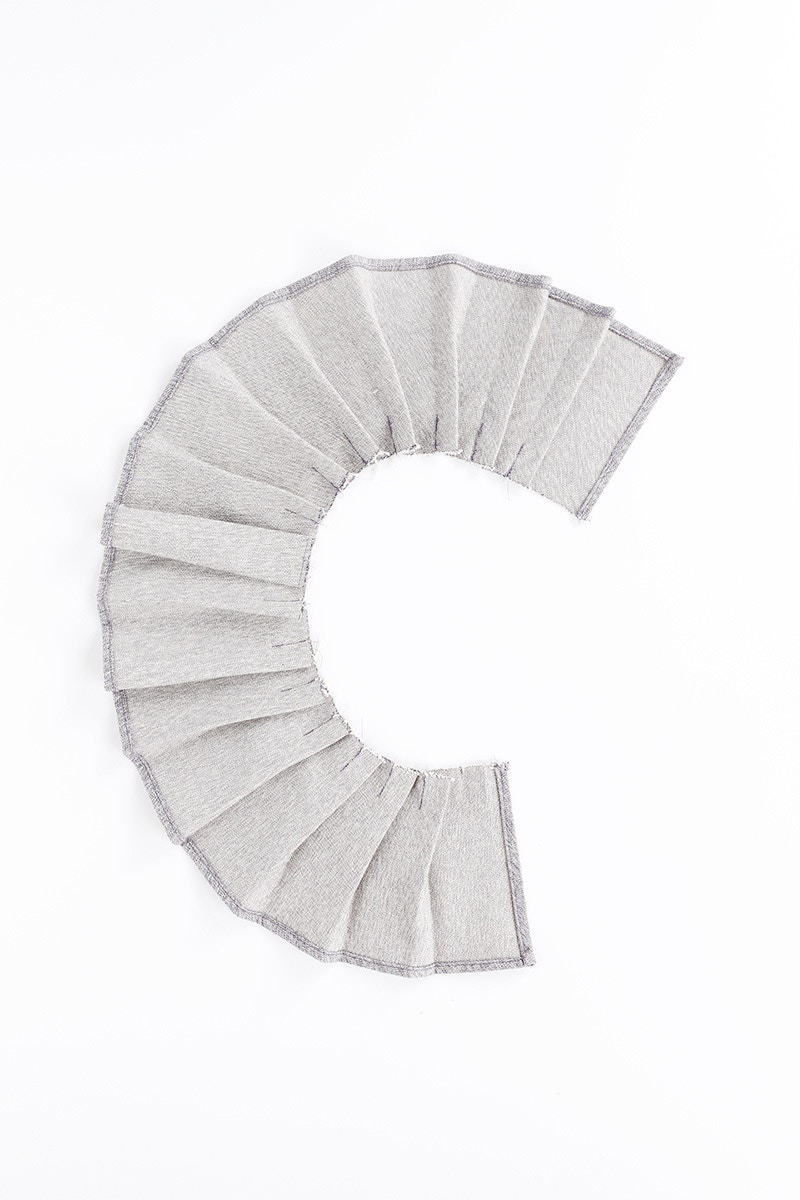
Now, working on one side, out from centre back, bring the next two notches together and sew from the notch down 2.5cm. Continue sewing the pleats in this way until you have 14 pleats in total, seven either side of centre back. Press these pleats so they open towards the centre back, and the pleat excess is towards the front when viewed from the right side.
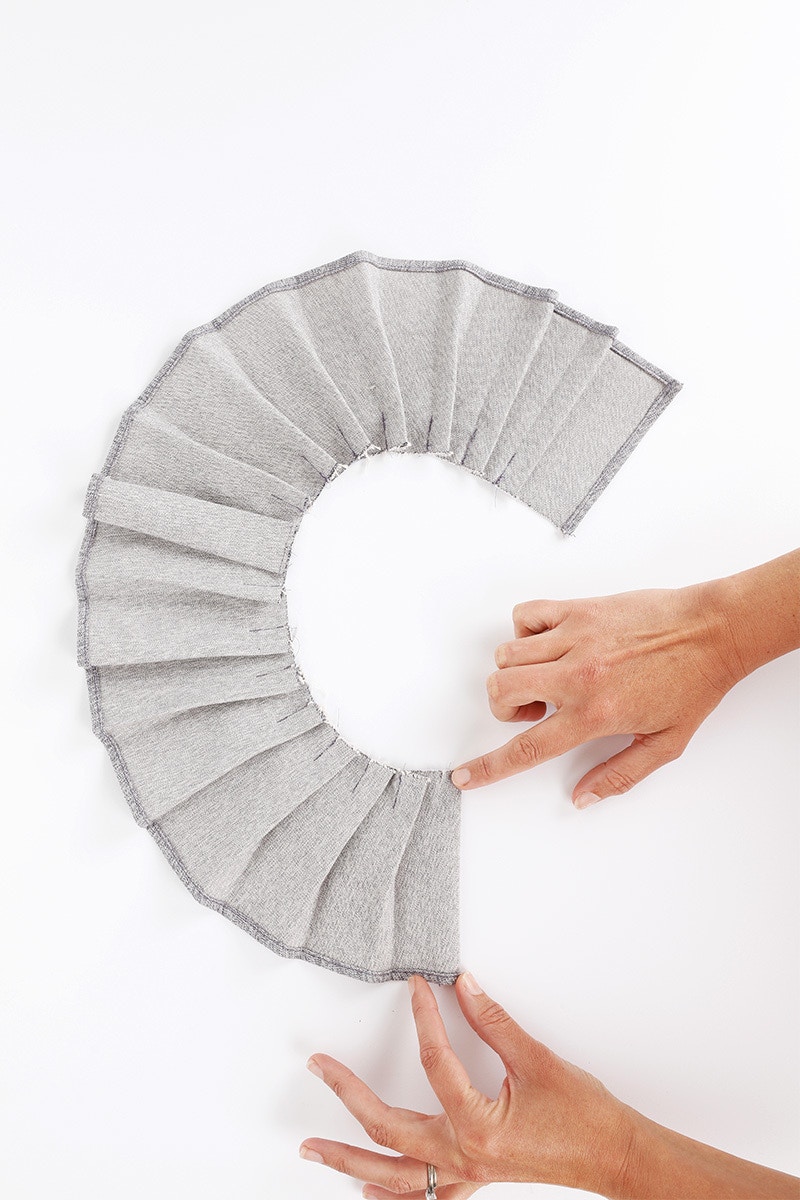
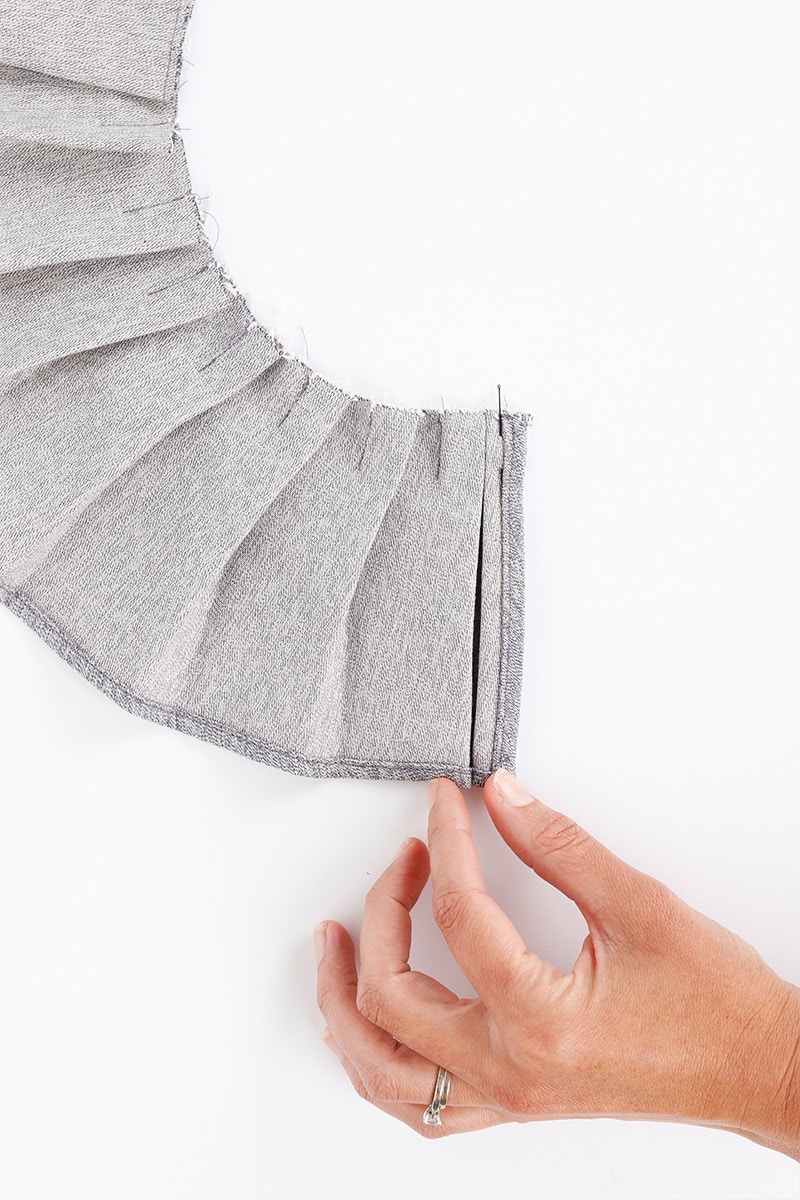
The final pleat is at the centre front. It faces the opposite direction to the pleats you have just created. Fold the centre front edge right sides together to meet the last notch. Then, fold the two layers back at the notch, wrong sides together to create the pleat. Sew a line of basting stitches along the neck edge to fold everything in place.
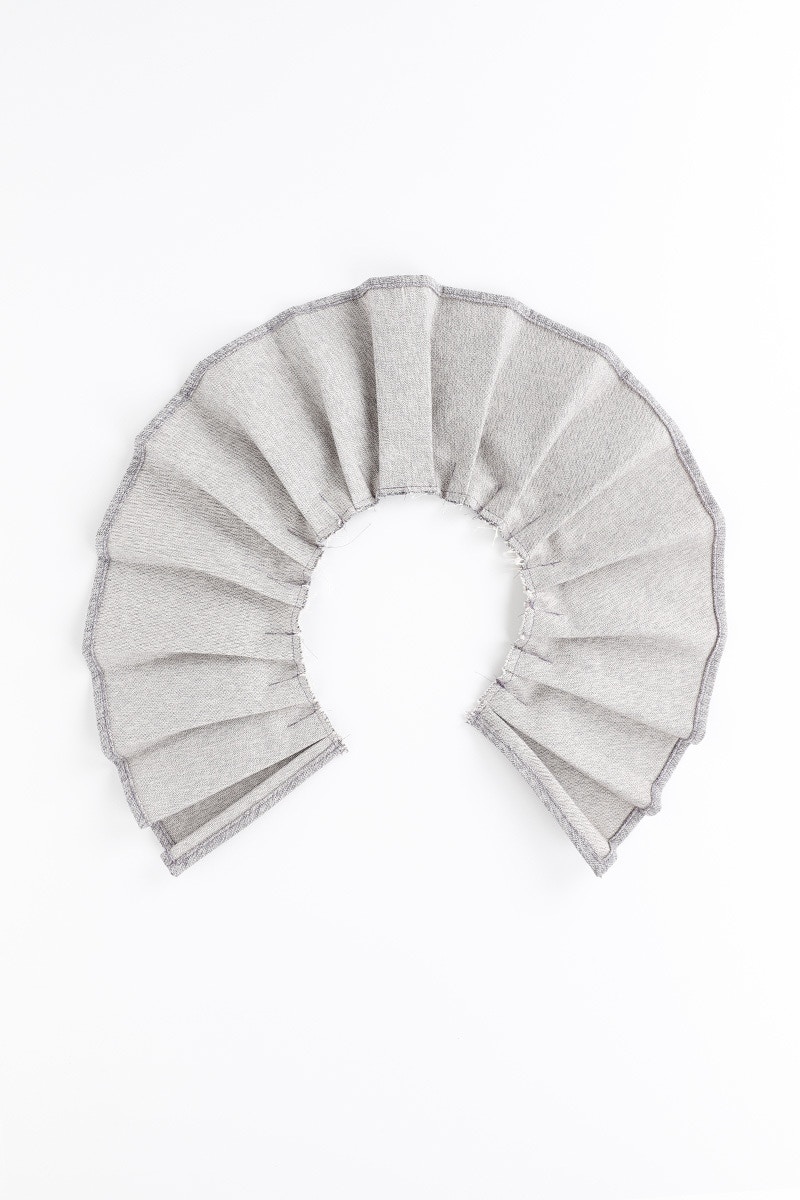
Give your pleated collar a gentle press.
We will now sew the collar stand! The collar stand is slightly narrower for the pleated collar but the sewing process is the same as for the pointed and half penny collars.
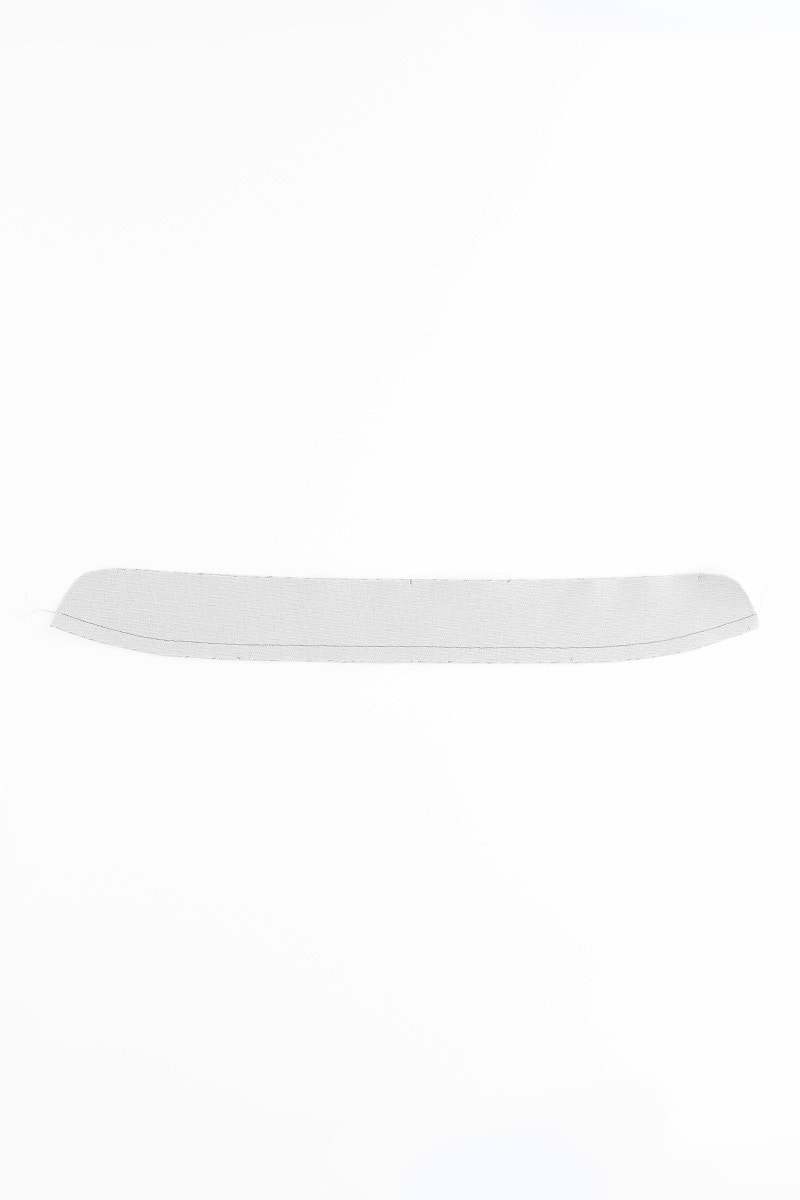
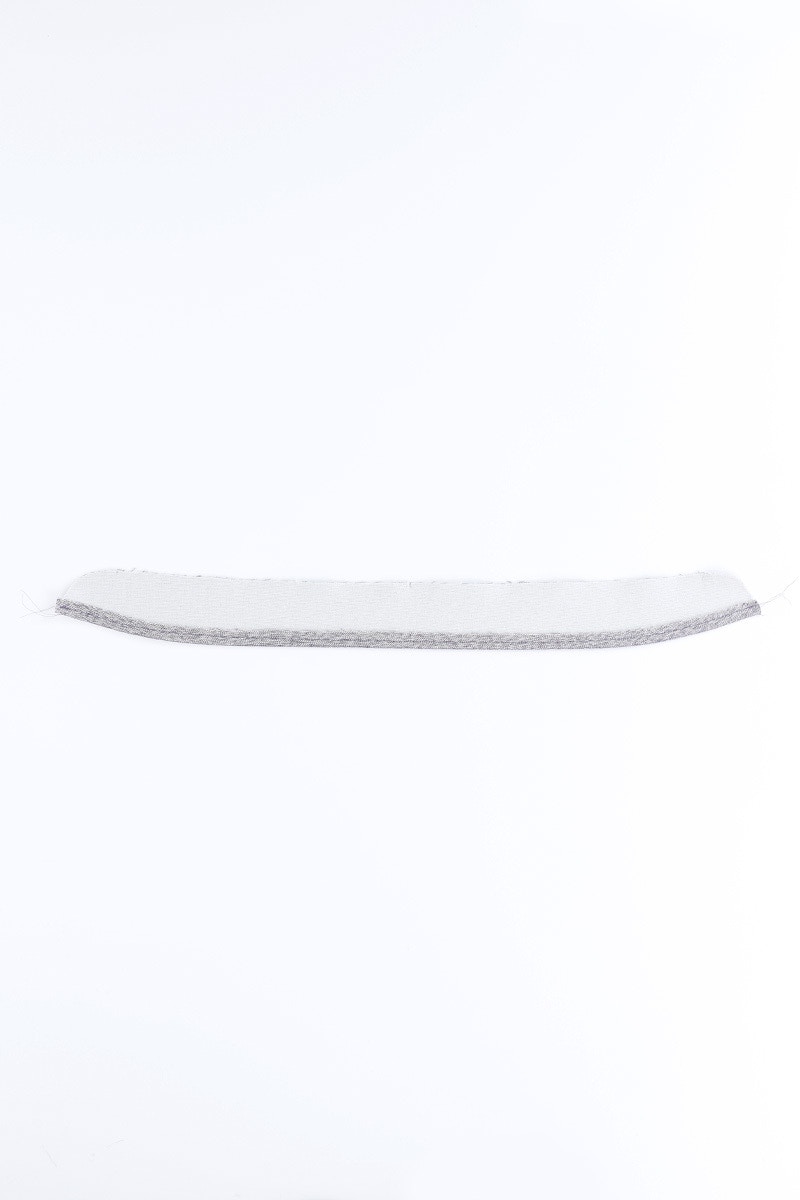
We will now sew the collar stand.
On the lower edge of the interfaced collar stand piece, sew a line of stitching 1cm from the edge. Using the stitching line to guide you, turn up the 1cm seam allowance to the wrong side and press. Sew a line of top stitching to hold the seam allowance in place.


Next, we will sandwich the raw edge of your collar between the two collar stand pieces. Place the un-interfaced collar stand piece on the bottom, right side up. Then, place the collar piece, right side up, on top. Pin it in place, matching the notches as you go.
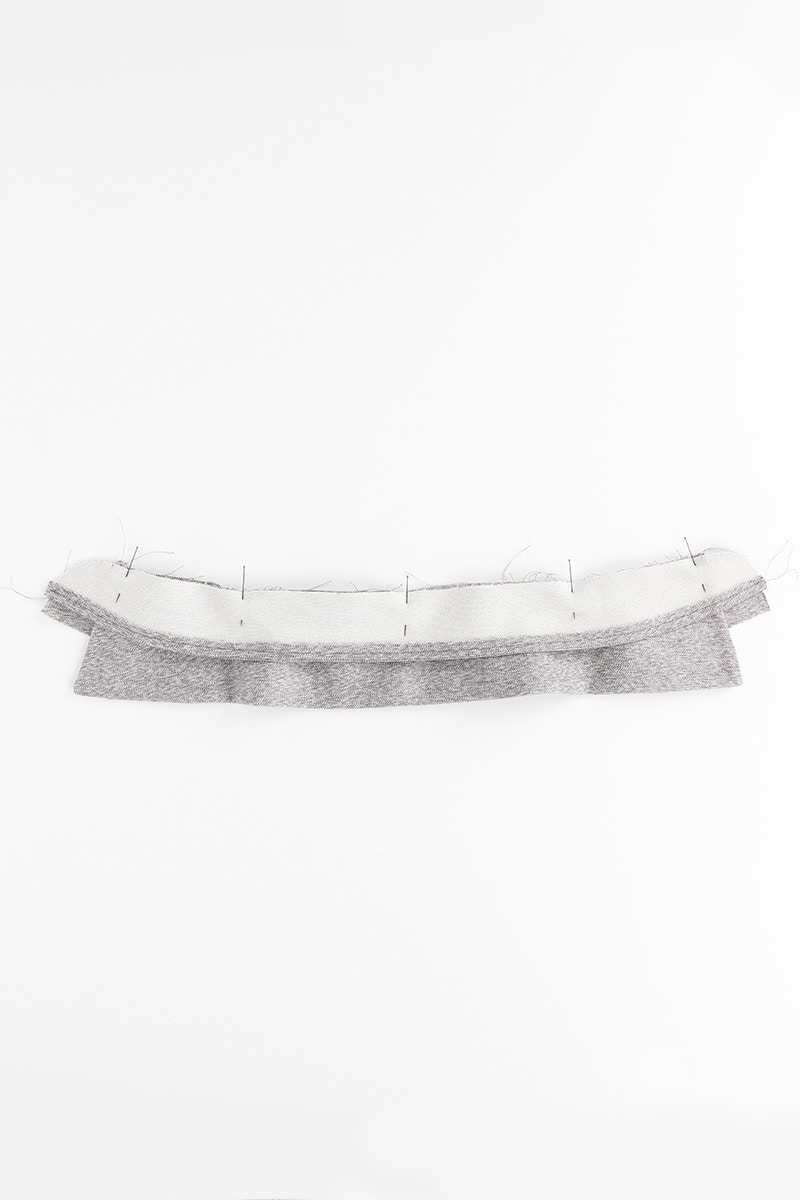
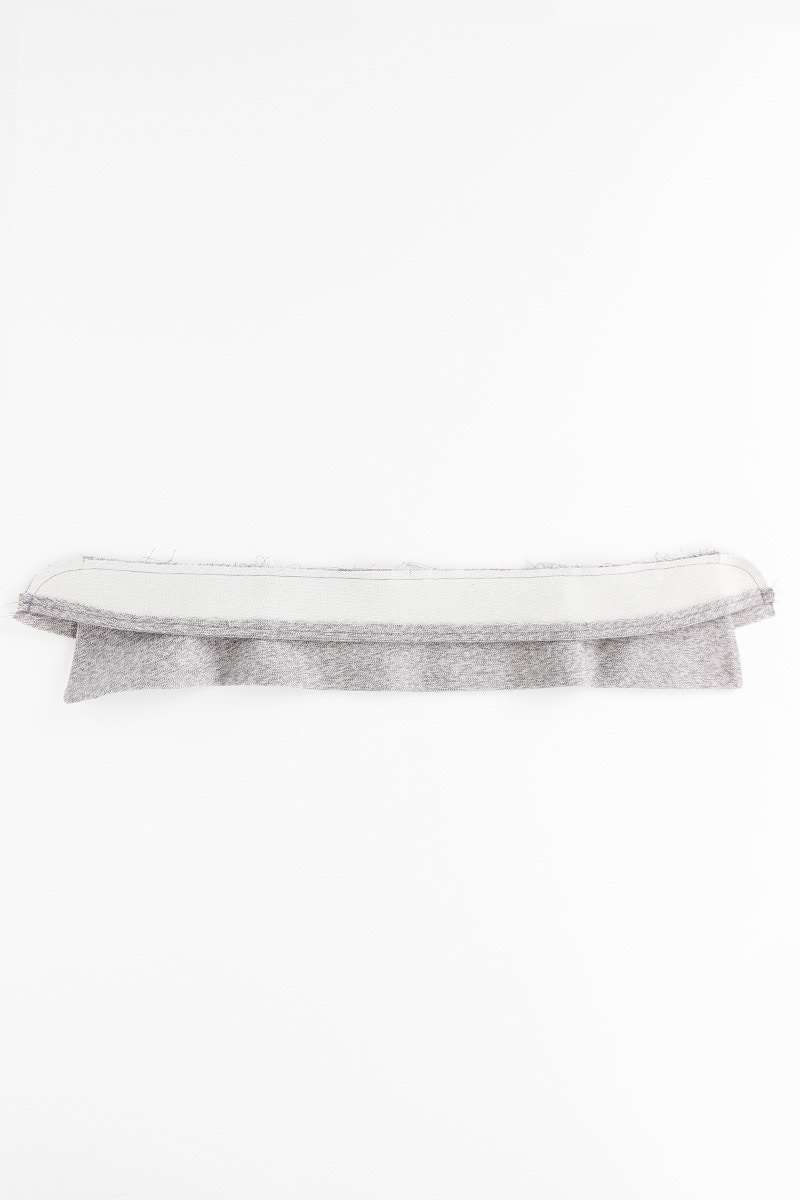
Next, place the interfaced collar stand on top and pin it together through all the layers. Sew the upper edge of the collar stand closed with a 6mm seam.
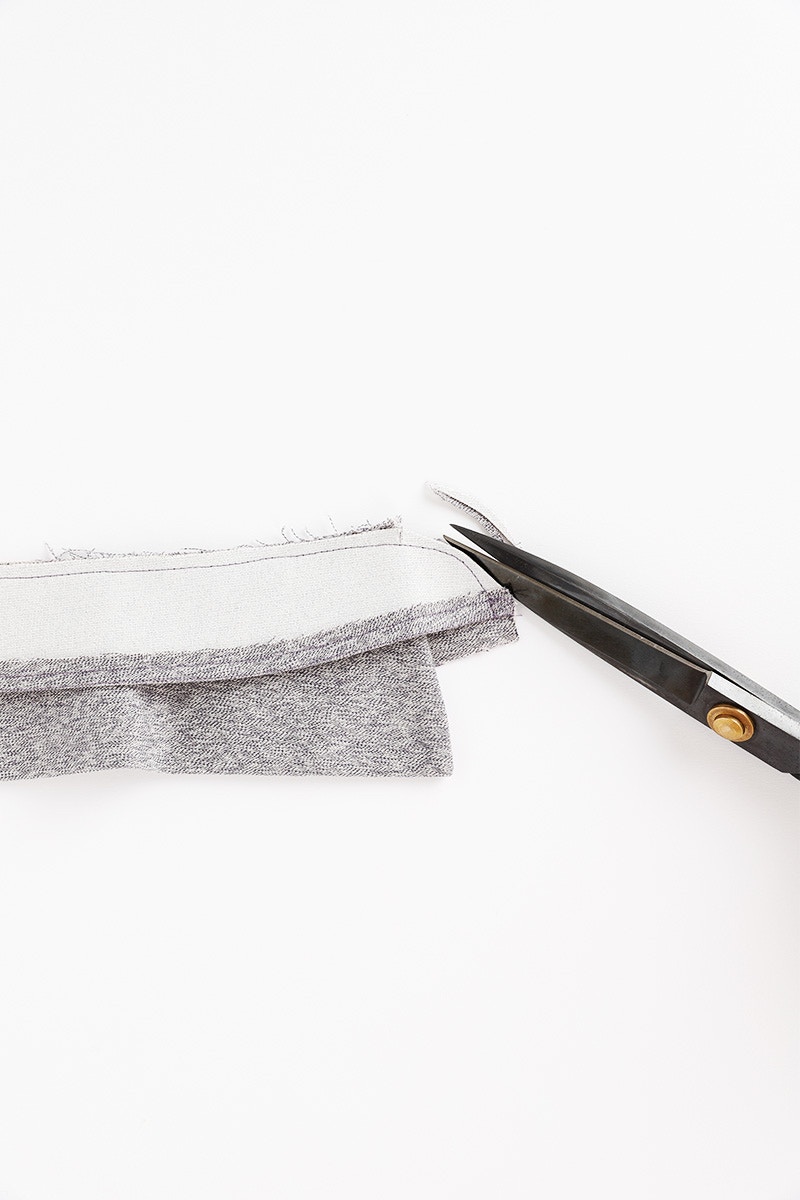
Now, trim the seam allowance back to 3mm at the curved edges. Be careful not to get too close to your stitching.
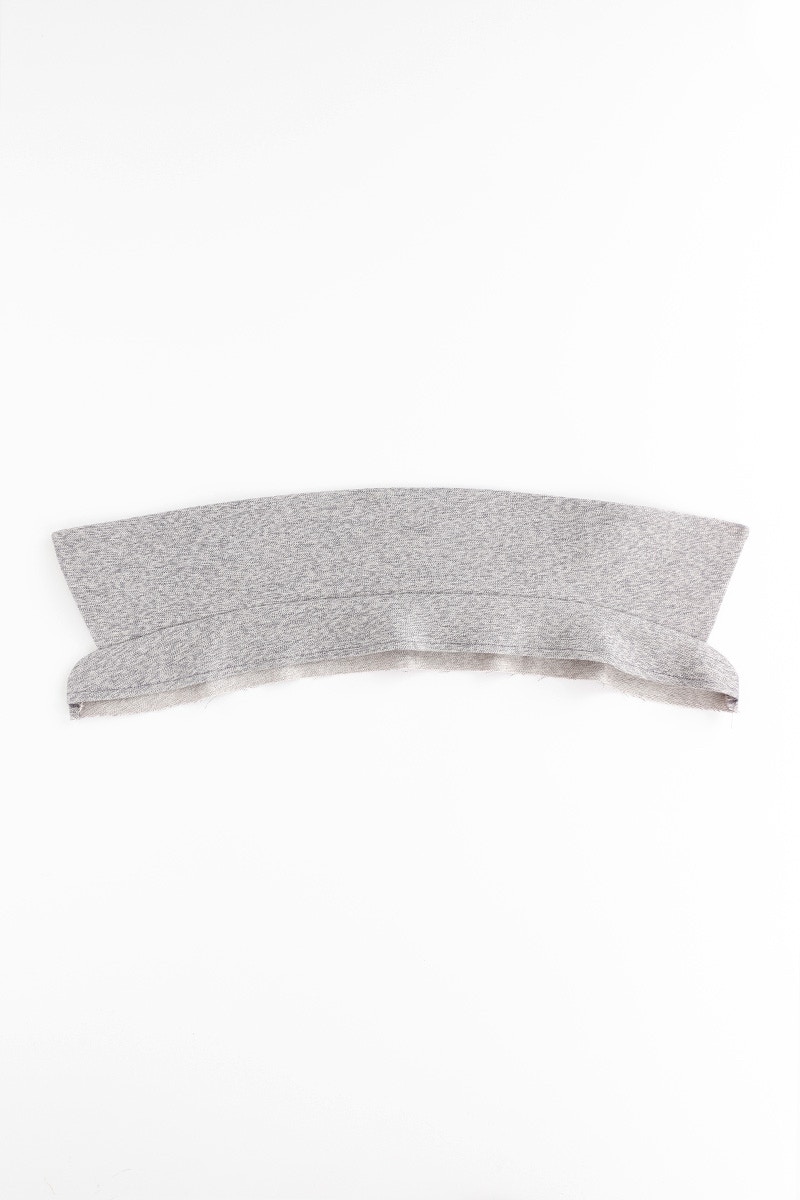
Turn your collar out and give it a press!
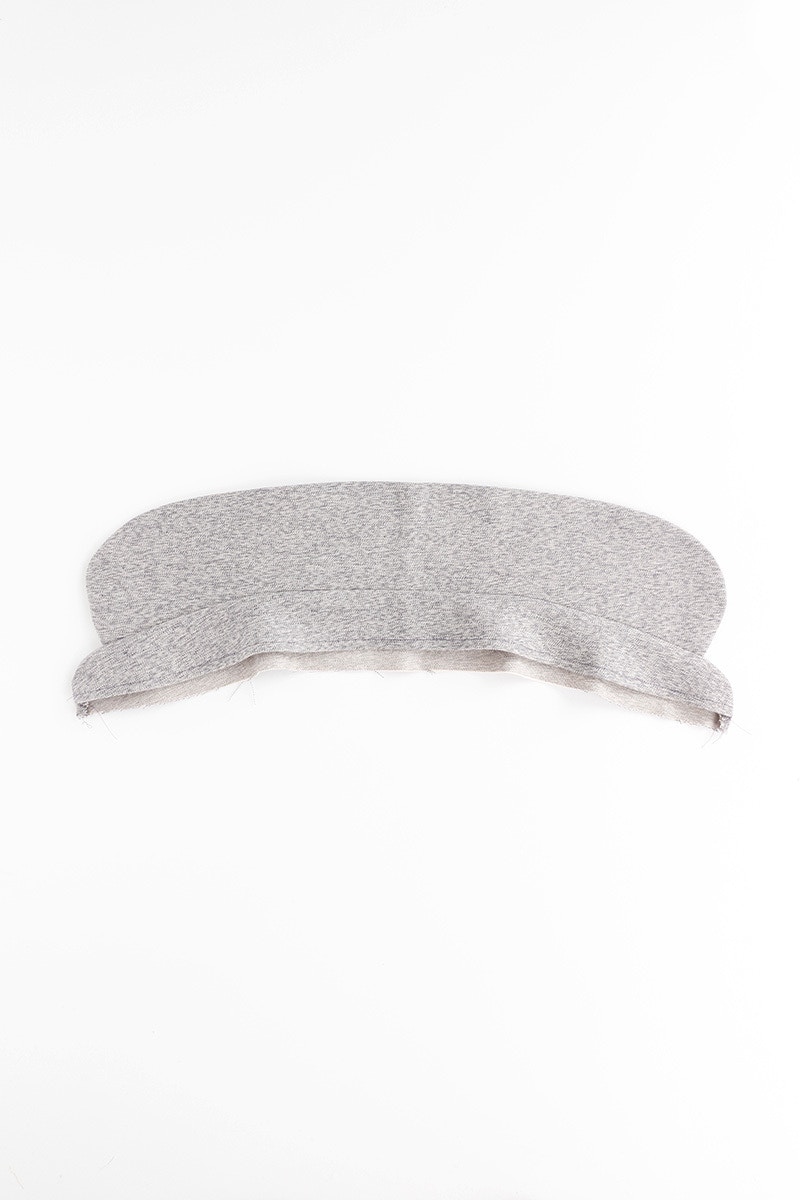
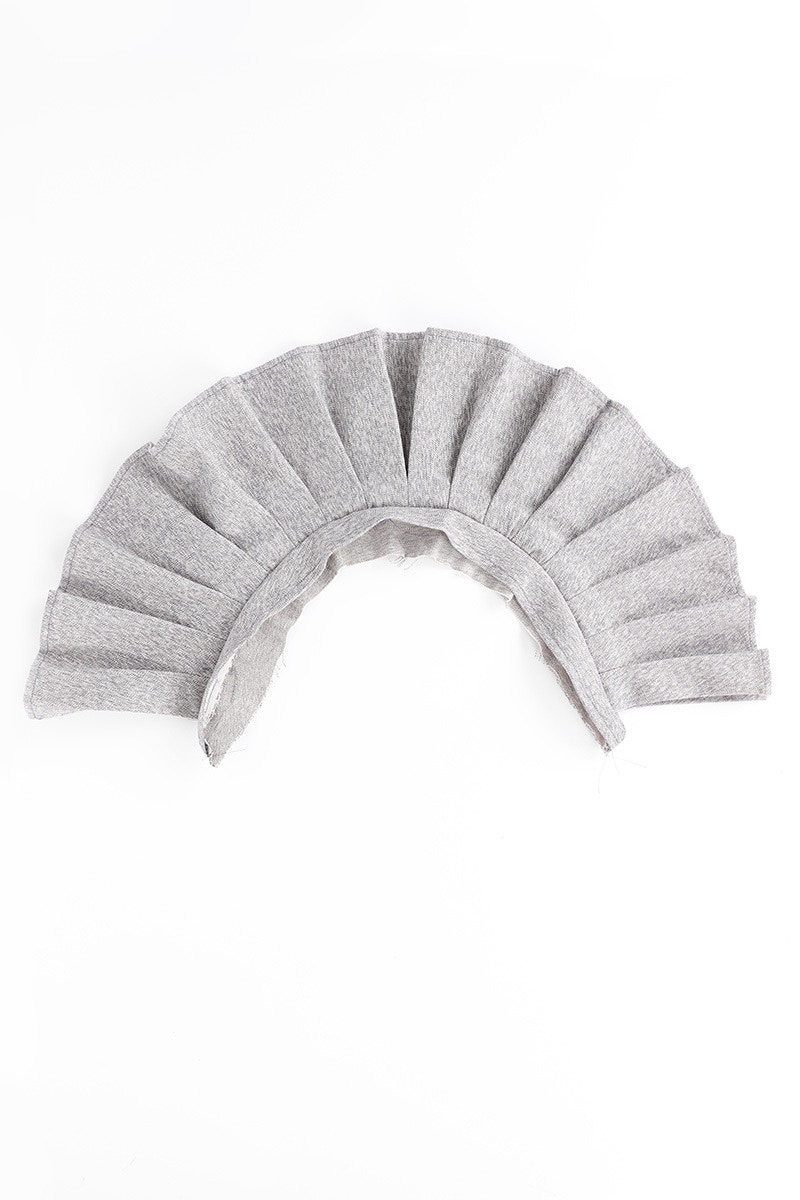
If you are sewing the half penny or pleated collar it will look like this.
Next we will sew the cuffs and sleeve plackets.
Don't forget you can always email us via patterns@thefabricstore.co.nz if you need advice!
Bloom makes from our wonderful community are also popping up over on Instagram, follow @makebytfs and use #TFSBloomShirt and #TFSBloomDress so others can check out your creations!


