Cass Pant Sew Along

3 — Constructing the Fronts and Zip Fly
15—February 2021
Now we will sew the fronts, including the zip fly and side pockets.
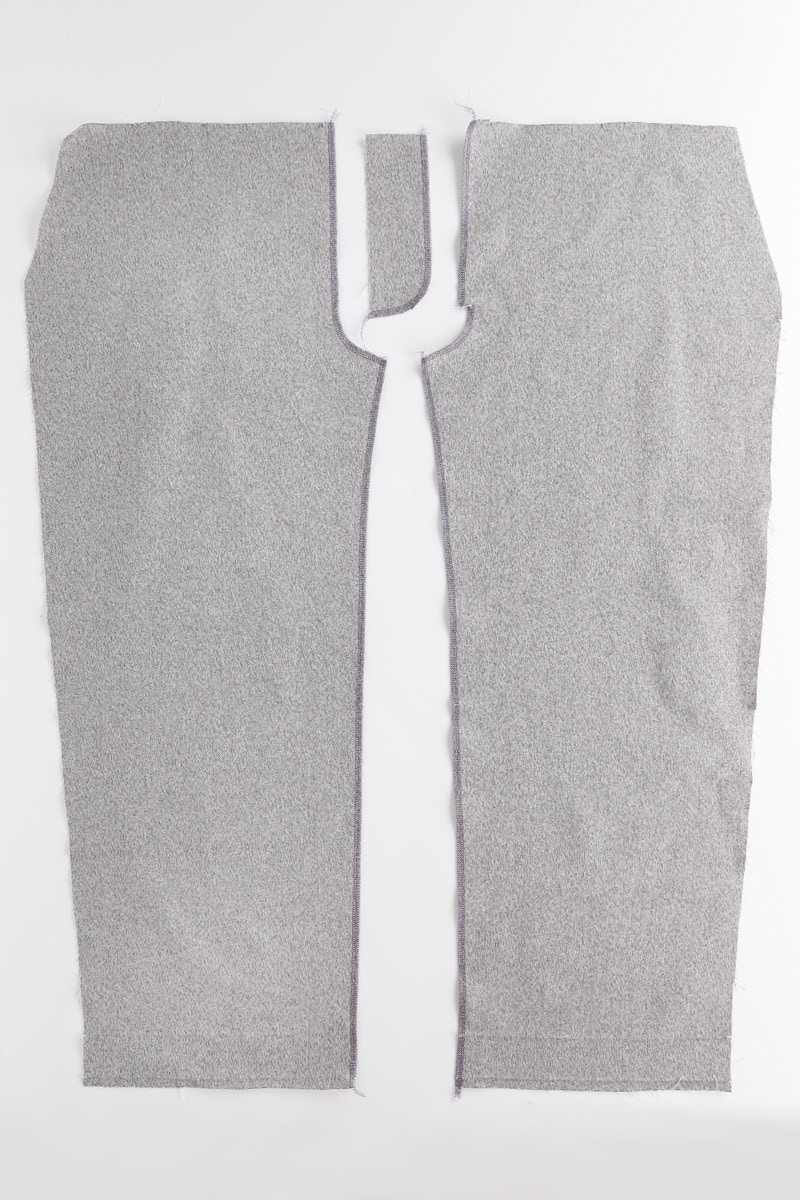
The first step in sewing the fronts is constructing the fly. Take your front pieces and neaten the centre front and inner leg edge of each piece separately. Next, neaten the curved edge of the fly facing.

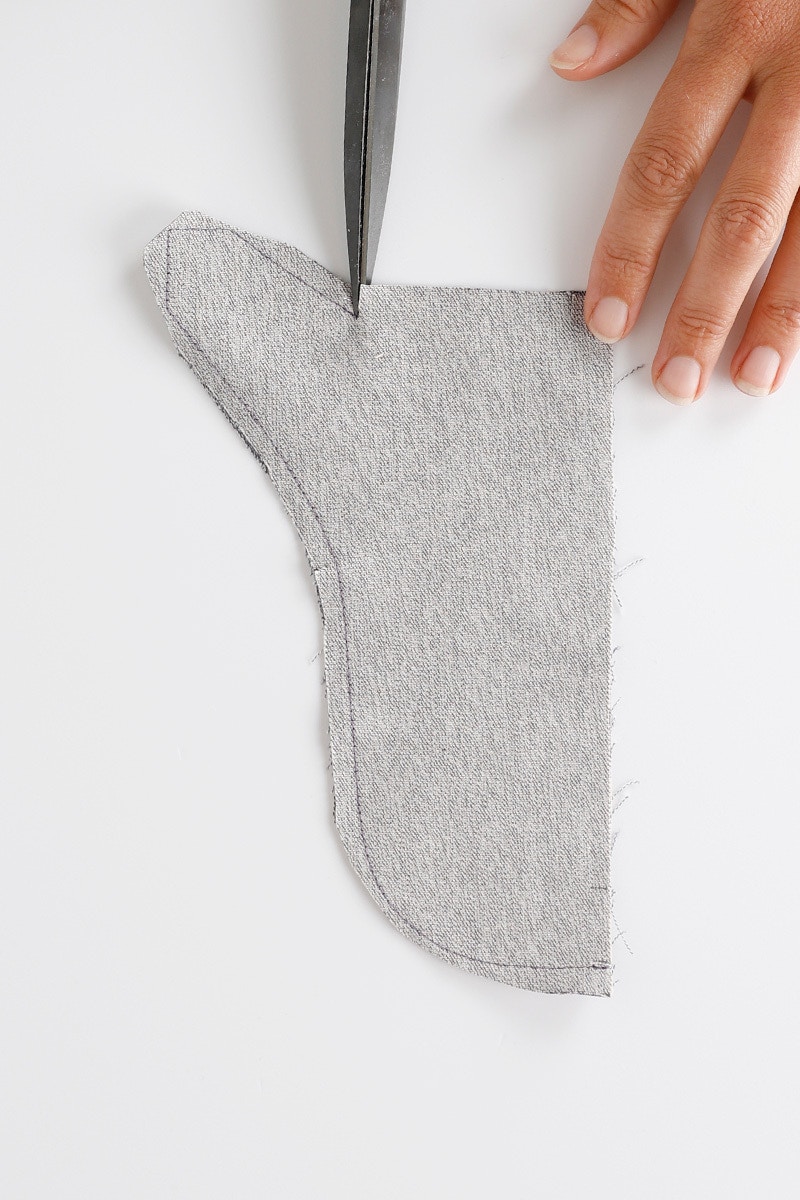
Take your fly guard pieces and with right sides together, stitch around the curved edge and the buttonhole extension with a 6mm seam, finishing at the notch on the waistline. Clip into the end of the seam at the waistline and trim the corners.
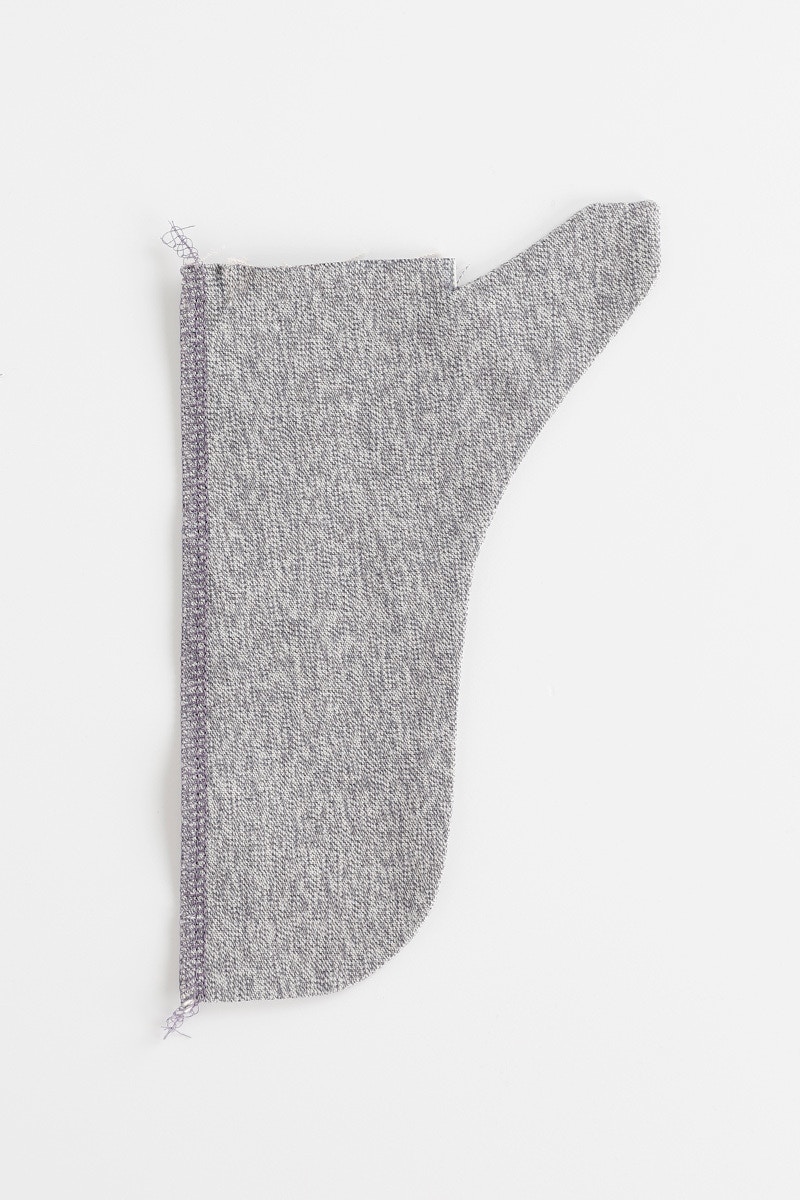
Turn the fly guard right side out using a point turner to help then give it a press.
Neaten the long straight edges of the fly guard together.

Take your right front leg and the fly facing pieces and with the right sides together, align the straight edge of the fly facing to the centre front edge of the right front leg, matching the notches. Pin them together and then sew with a 1cm seam.

Press seam towards the fly facing then understitch. Now put the right leg aside whilst you work on the left leg.
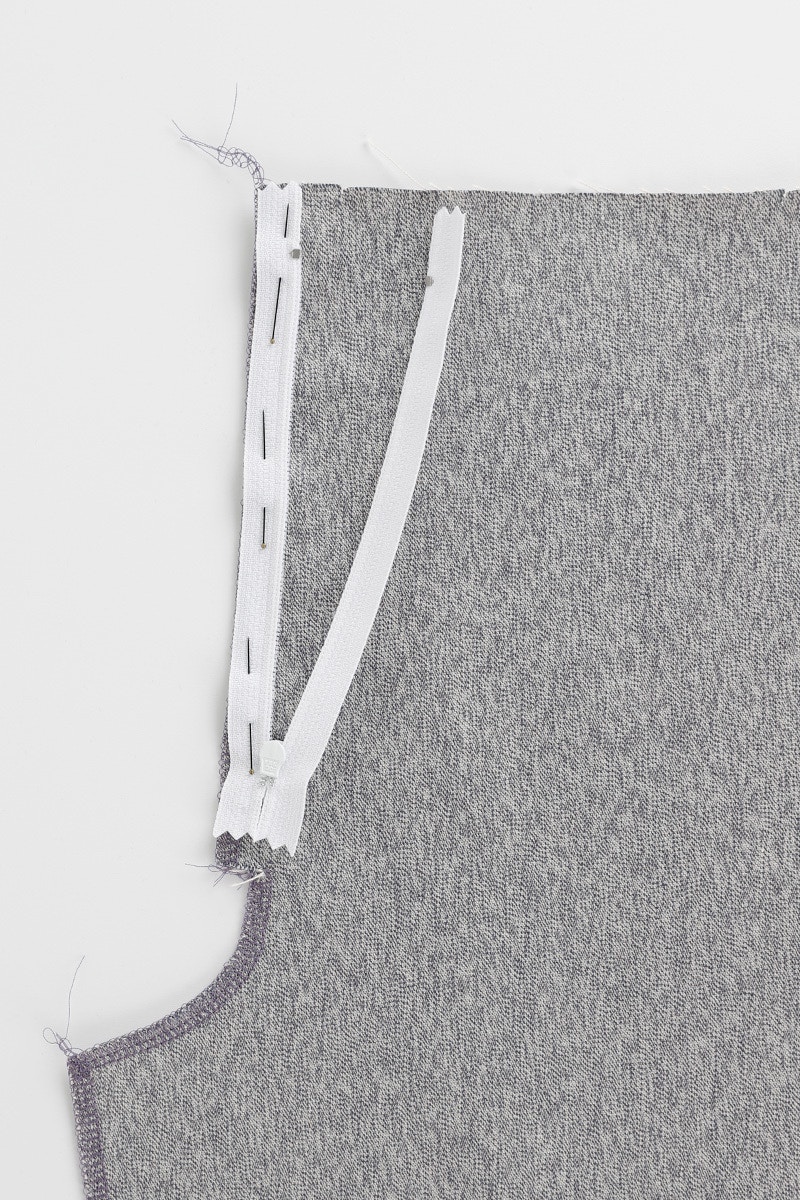
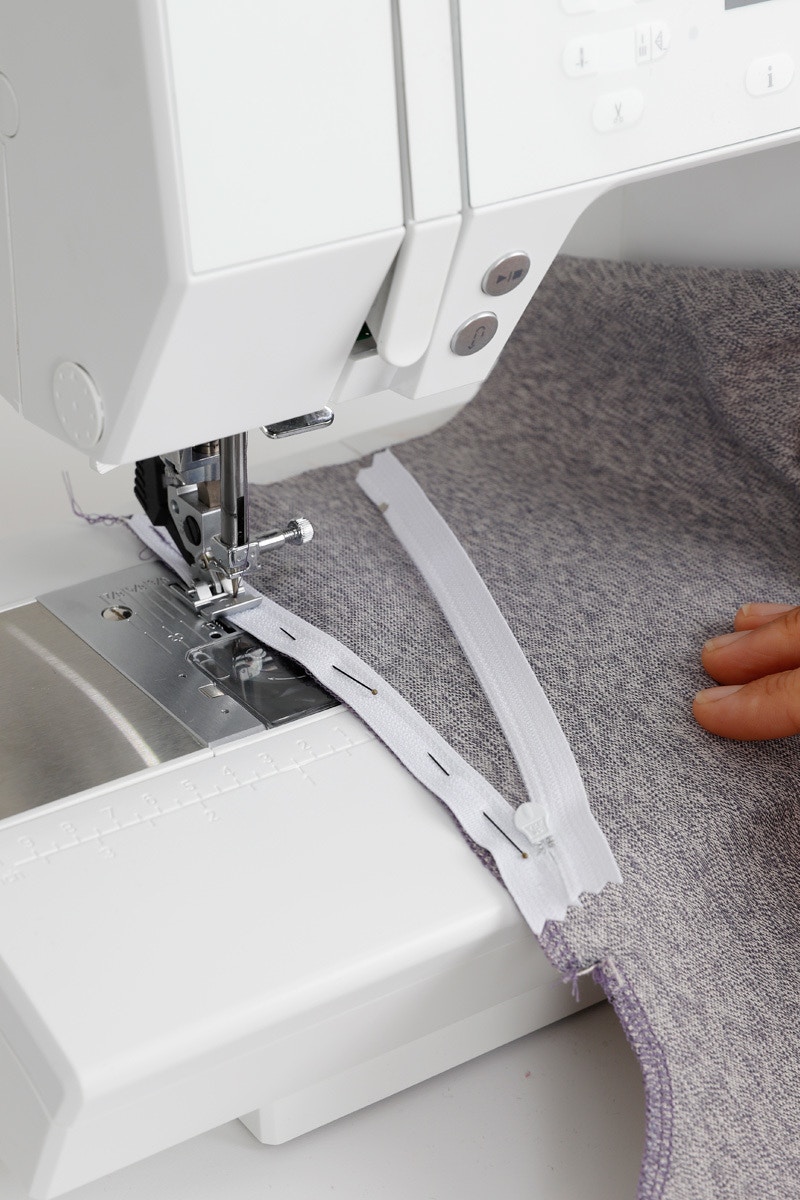
With your left front leg facing up, place the zip right side down on the pattern piece. Align the left edge of the zip tape (as you are looking at it upside down) with the centre front edge of the pattern piece. The zip stop at the bottom of the zip will be at the notch and the tape tails will fall below the notch. Pin the zip in place and then stitch down 6mm from the edge of the zip tape using a zip foot.
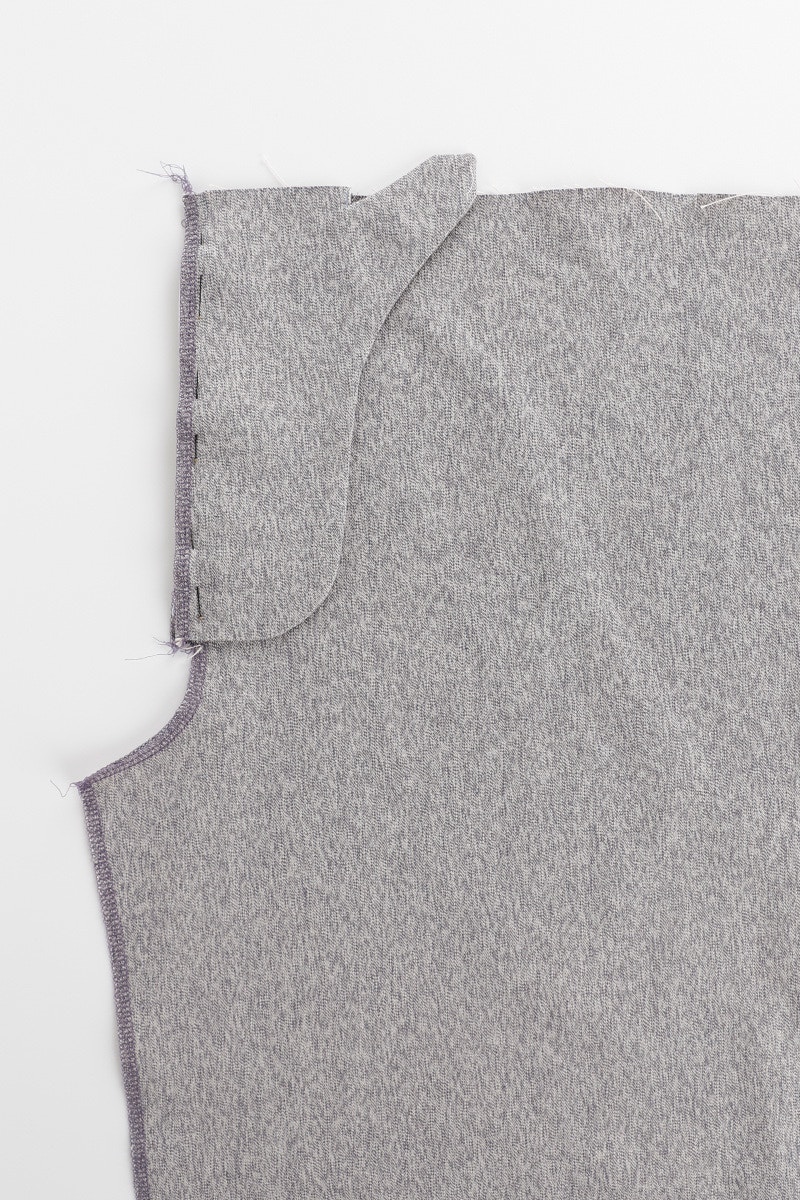
Now, with your left front leg still face up and the zip face down, place the fly guard on top of the zip so the zip is in between the left leg piece and the fly guard. Make sure the straight edges align and the notches match. Pin together through all layers and stitch them together with a 1cm seam.

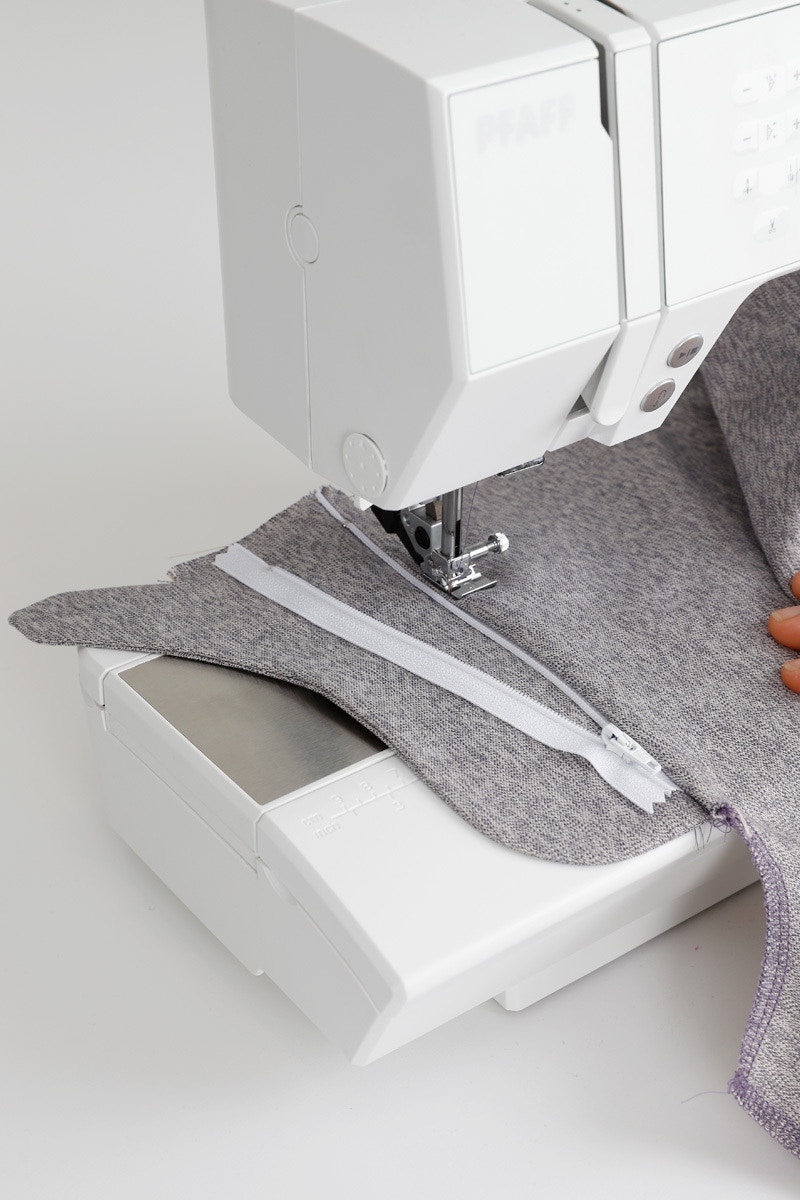
Now, fold the zip and the fly guard out so the zip, fly guard, and left leg are all right side up. Press the left leg piece along the fold line next to the zip teeth then edgestitch on the left front leg down length of the zip.
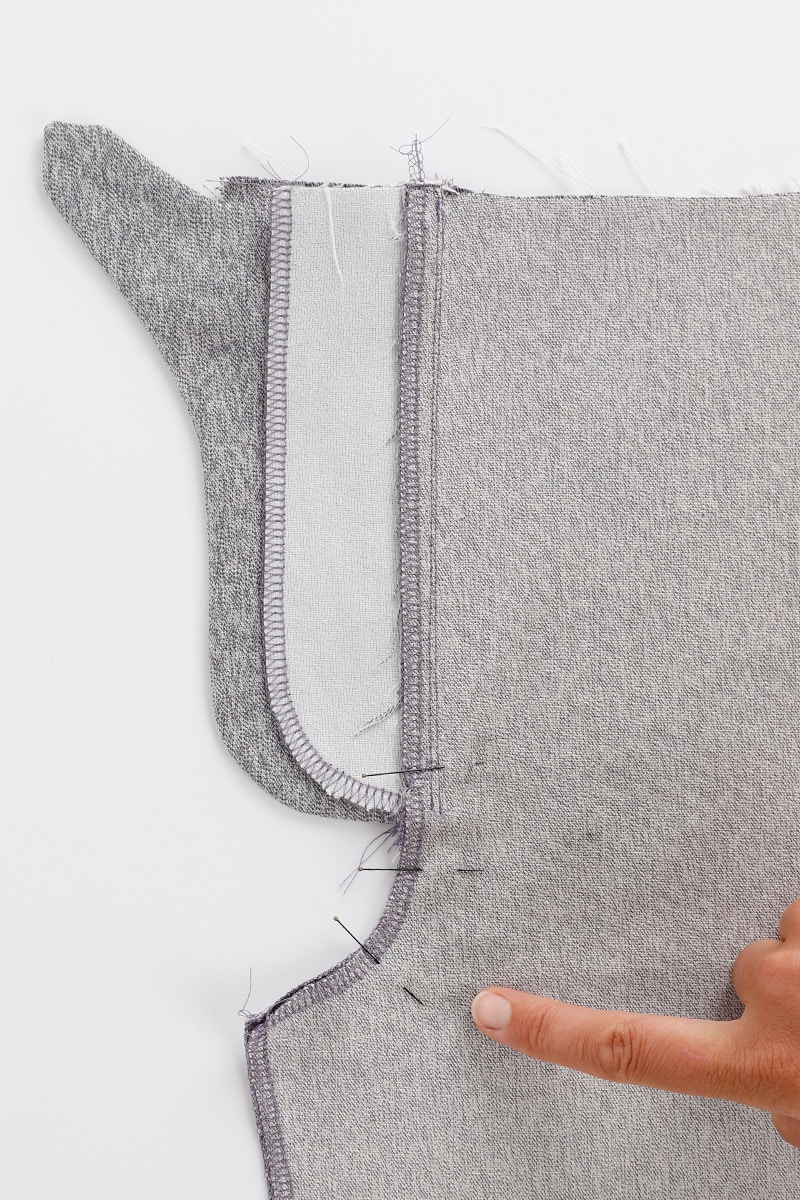
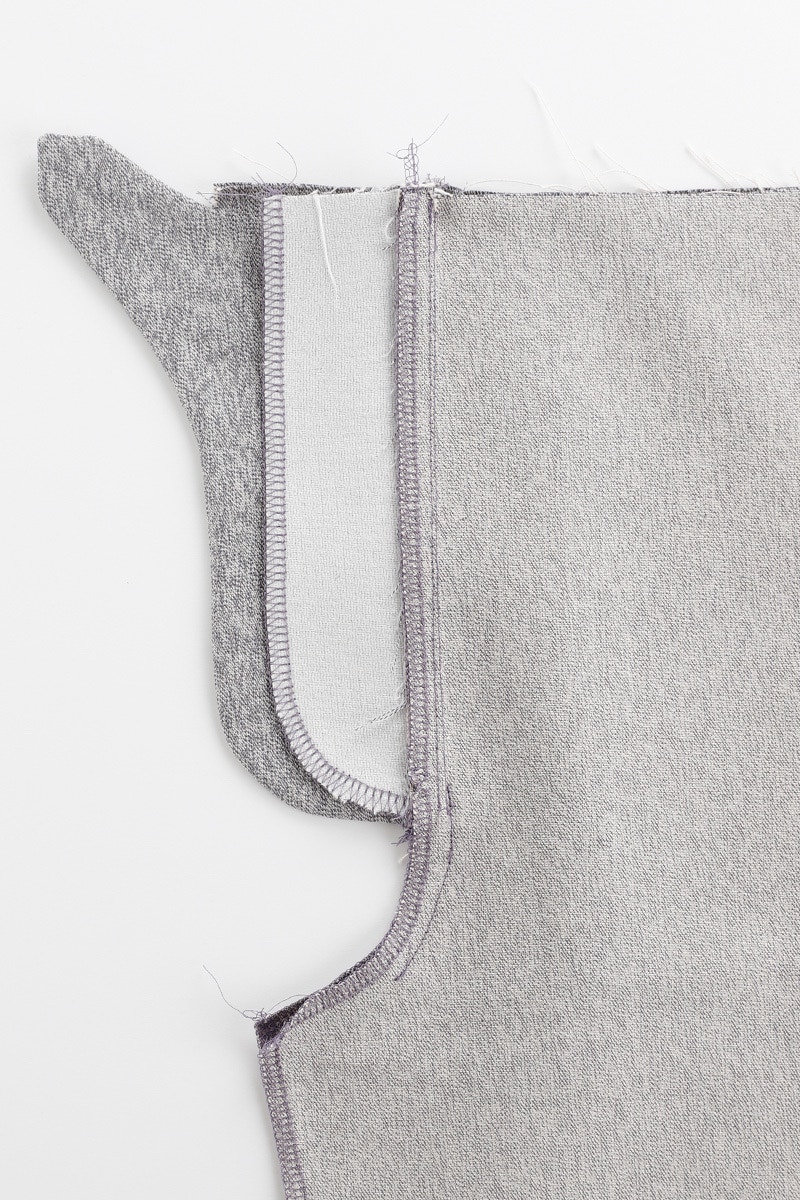
Now we will join the fronts together! Take your right and left front pieces and place them right sides together, aligning the two pieces through the crotch and pin them together.
Sew the crotch closed with a 1cm seam. Start sewing about 5cm from the inner leg and finishing at the notch at the end of the zip. Sew as close as you can to the fly facing seam but take care not to catch the fly facing or fly guard when sewing.
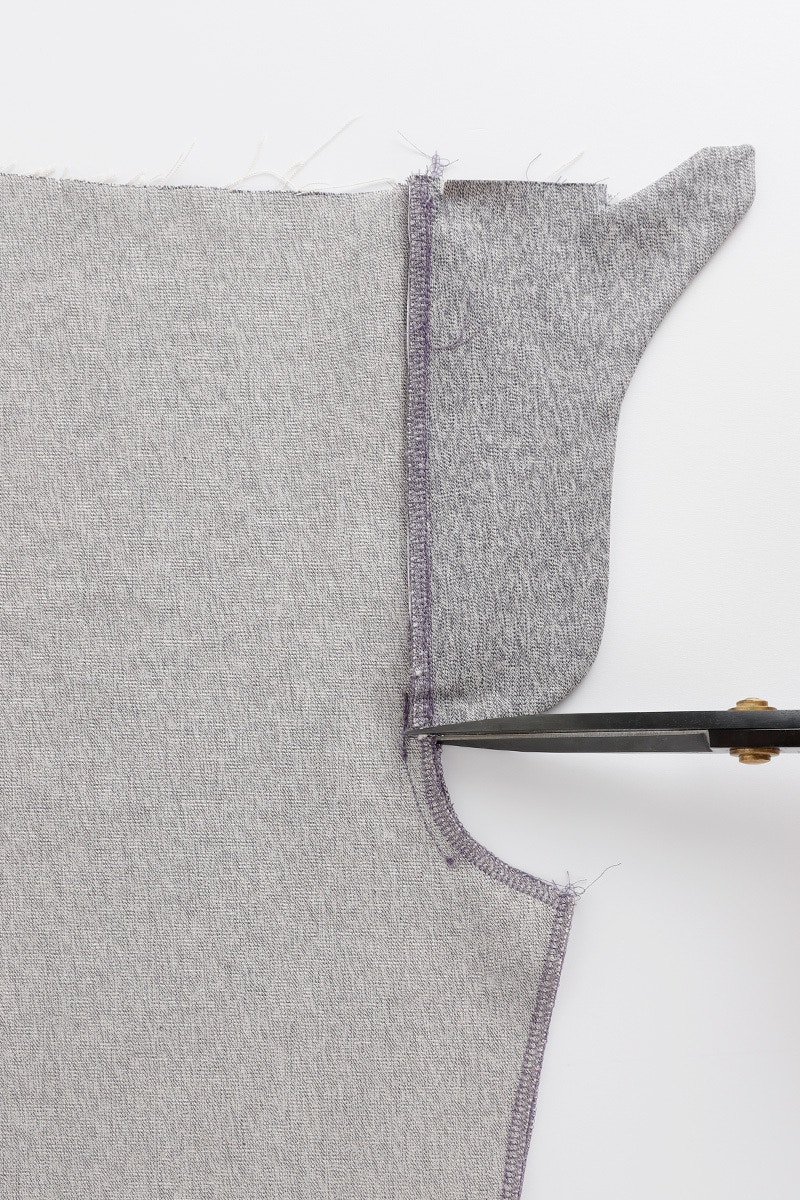

Clip into the seam allowance on the left side only, at the base of the fly facing. Be careful not to clip through the seam. Press the front crotch seam open.
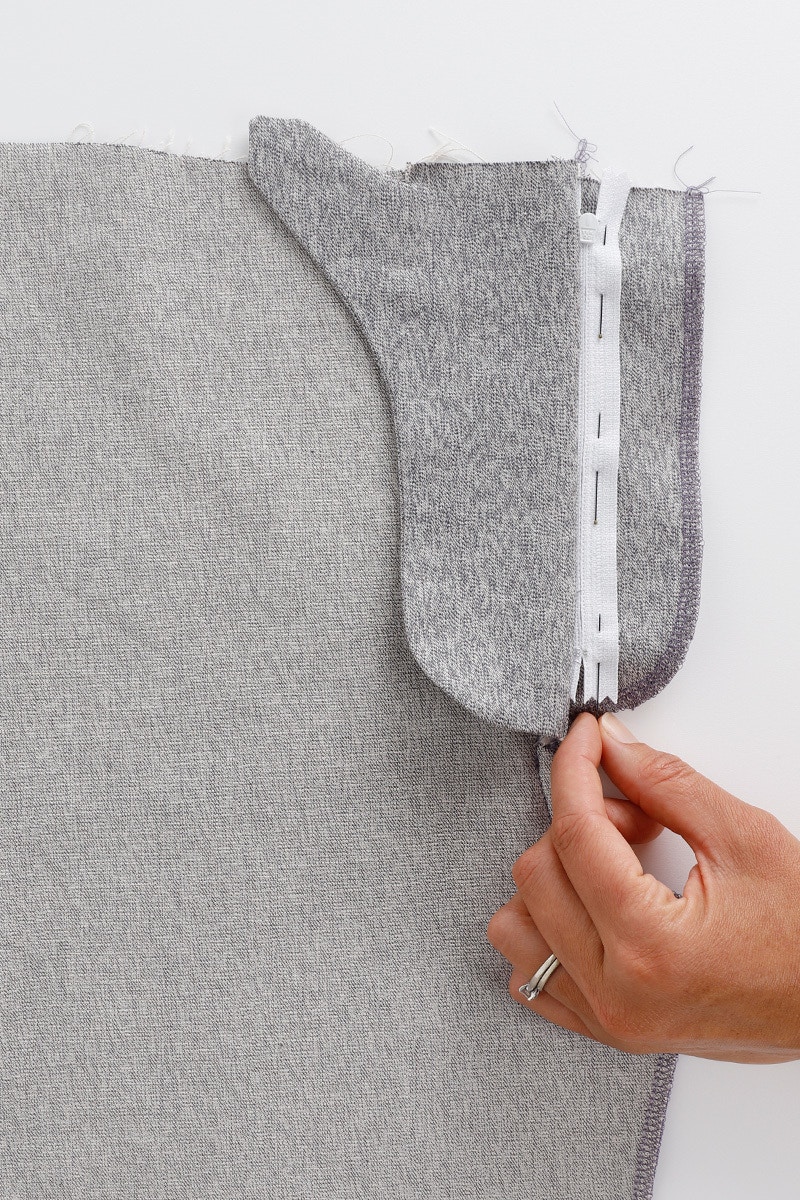
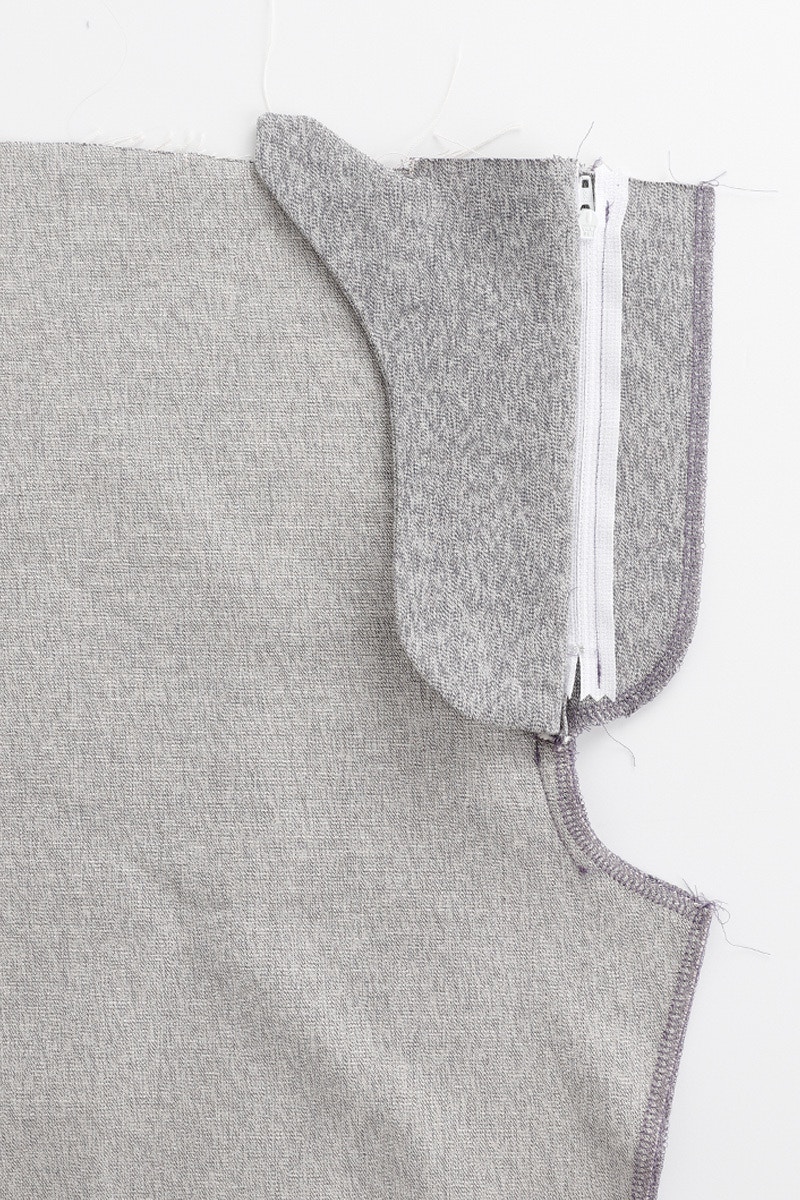
With your left leg facing up, fold back the fly guard so the zip is showing. you can pin it out of the way if that is helpful. Now, ensuring that everything is lying flat, pin the closed zip to the fly facing. Using a zip foot, sew the zip to the fly facing 6mm from the edge of the zip tape.
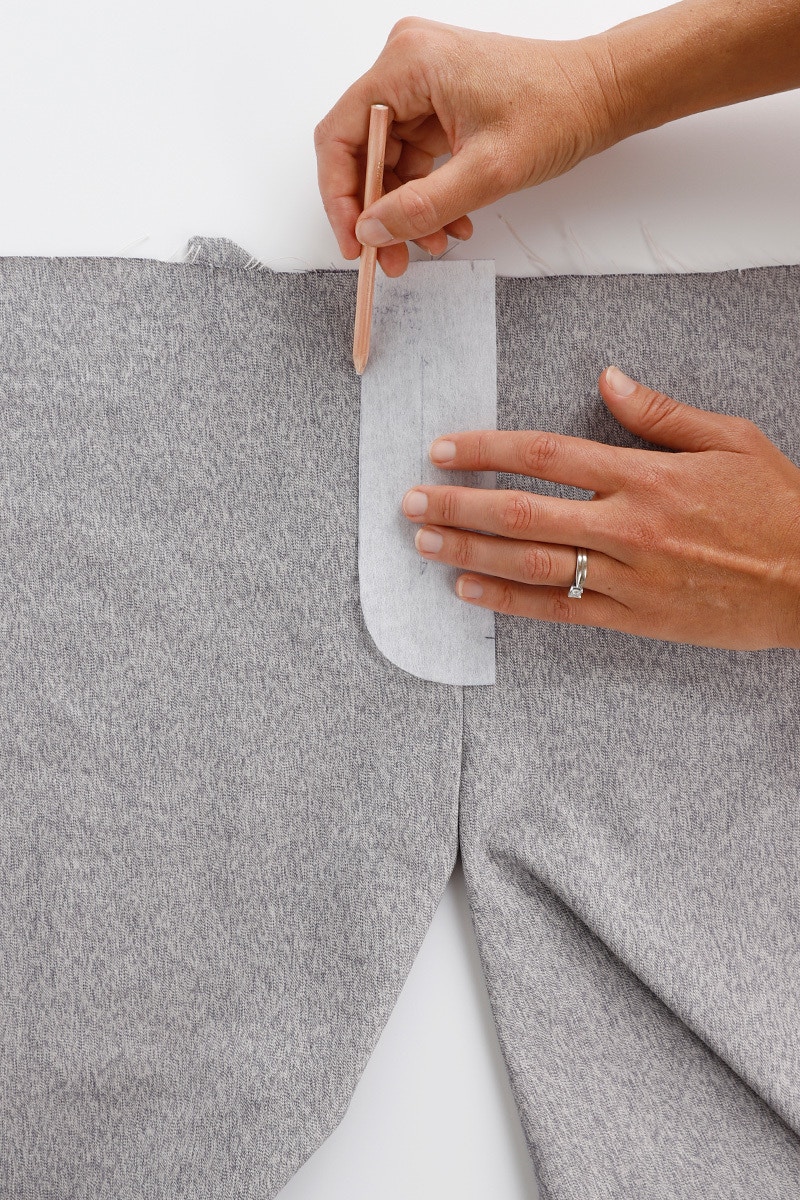
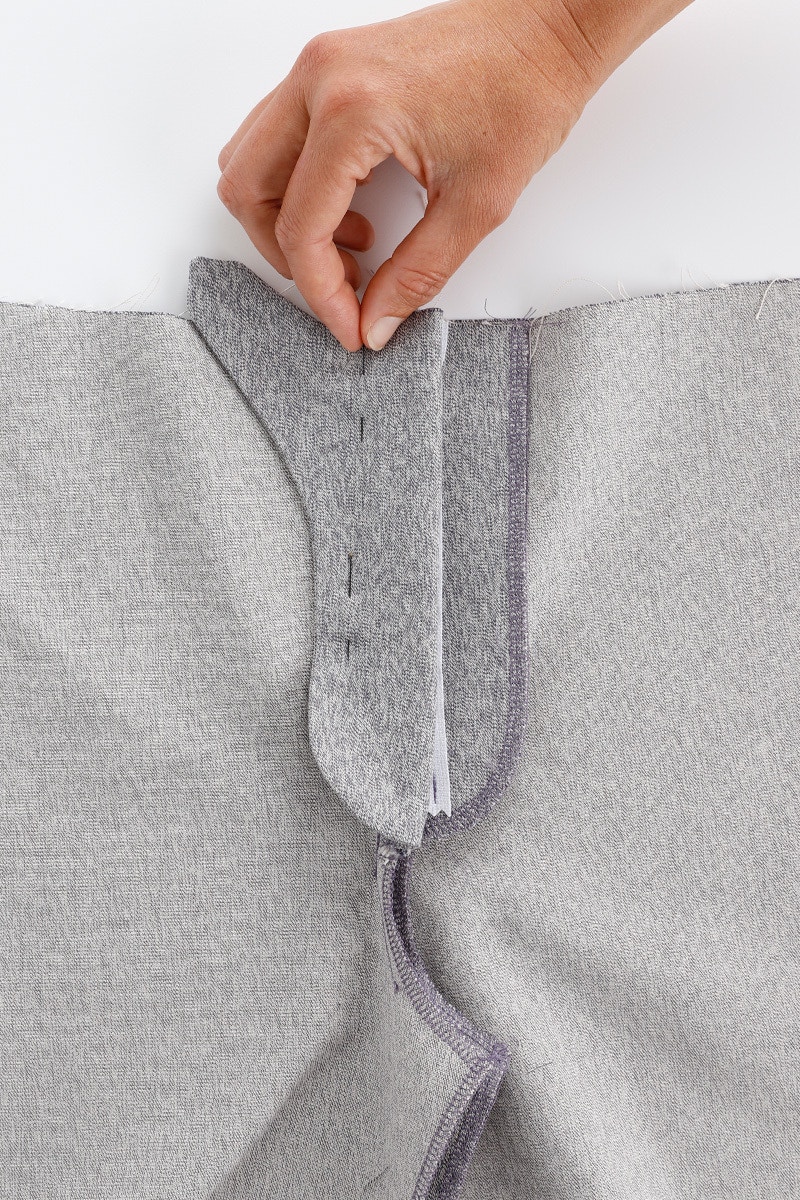
Using the fly facing pattern piece as a guide, draw on the shape of your fly top stitching using chalk or fabric pen. Make sure the chalk or pen can brush or wash off easily, so you are not left with marks on the front of your pants! Fold the fly guard out of the way, pinning it if necessary.
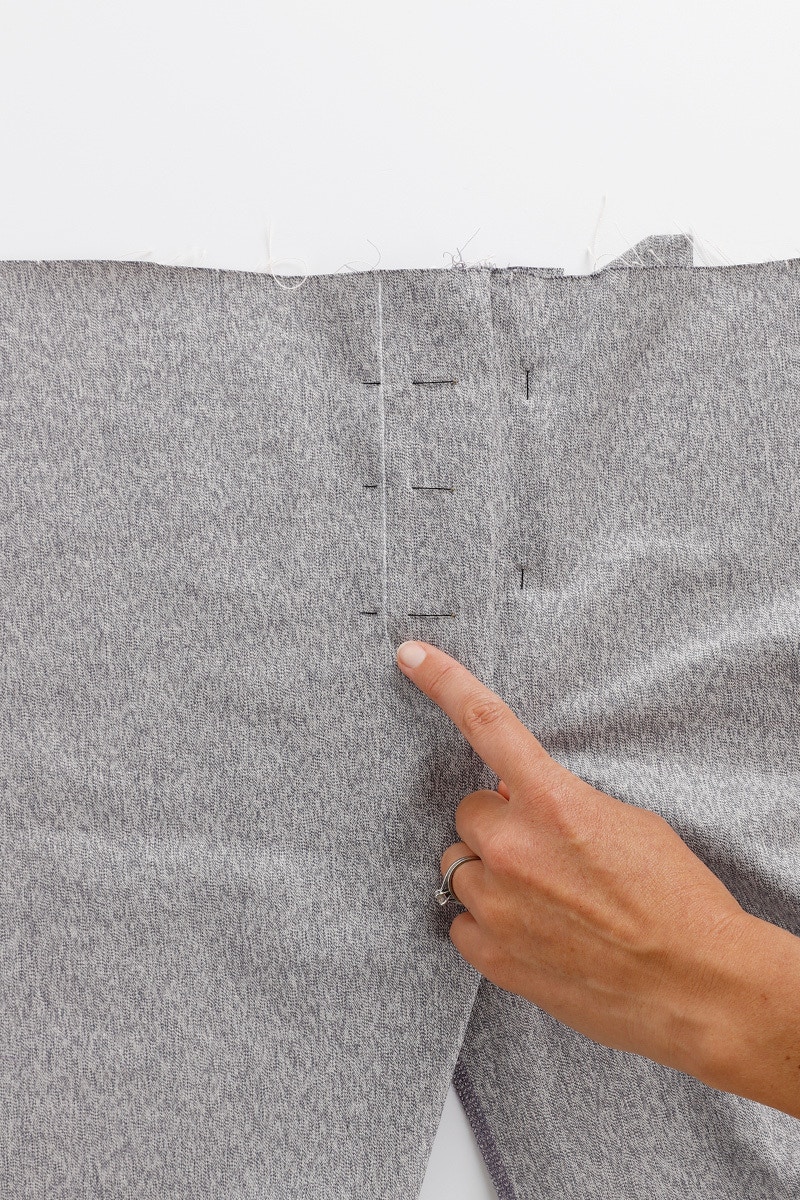
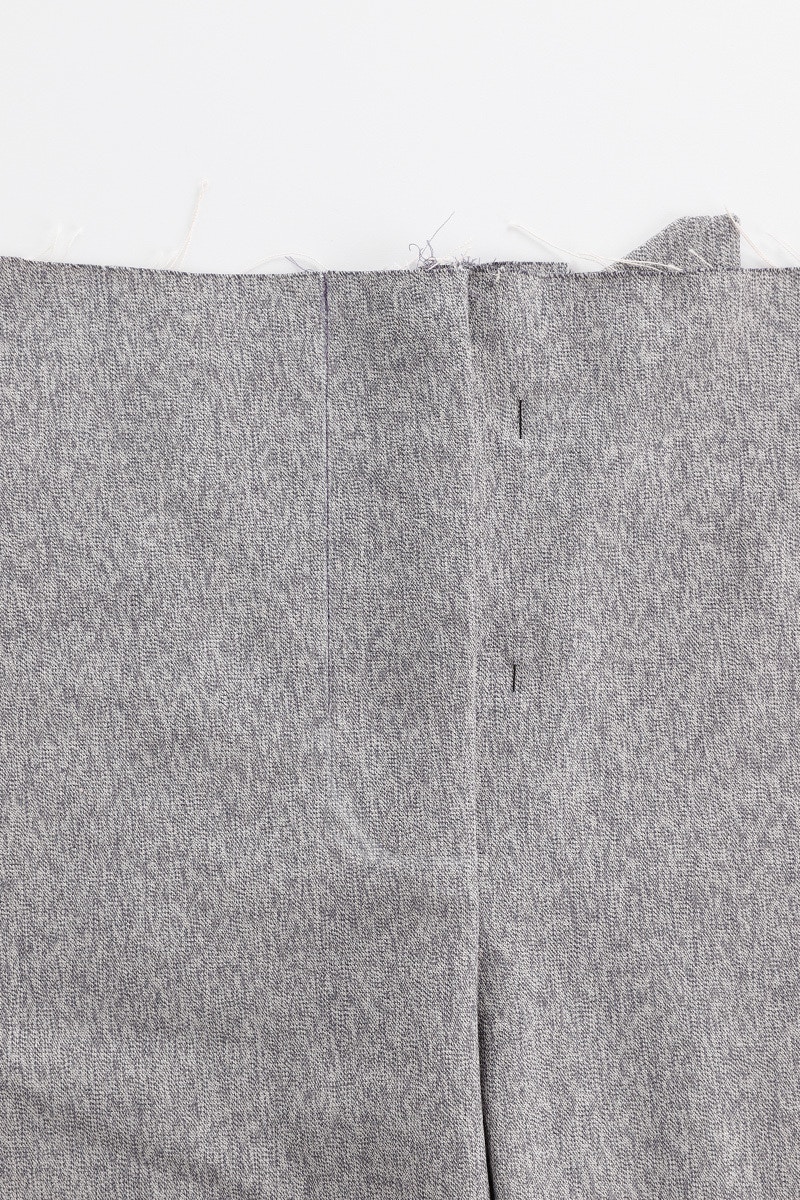
Pin the fly facing to the front, making sure everything is laying smooth and flat.
Starting at the waist topstitch the fly facing in place. Stop just before you get to the start of the curve.
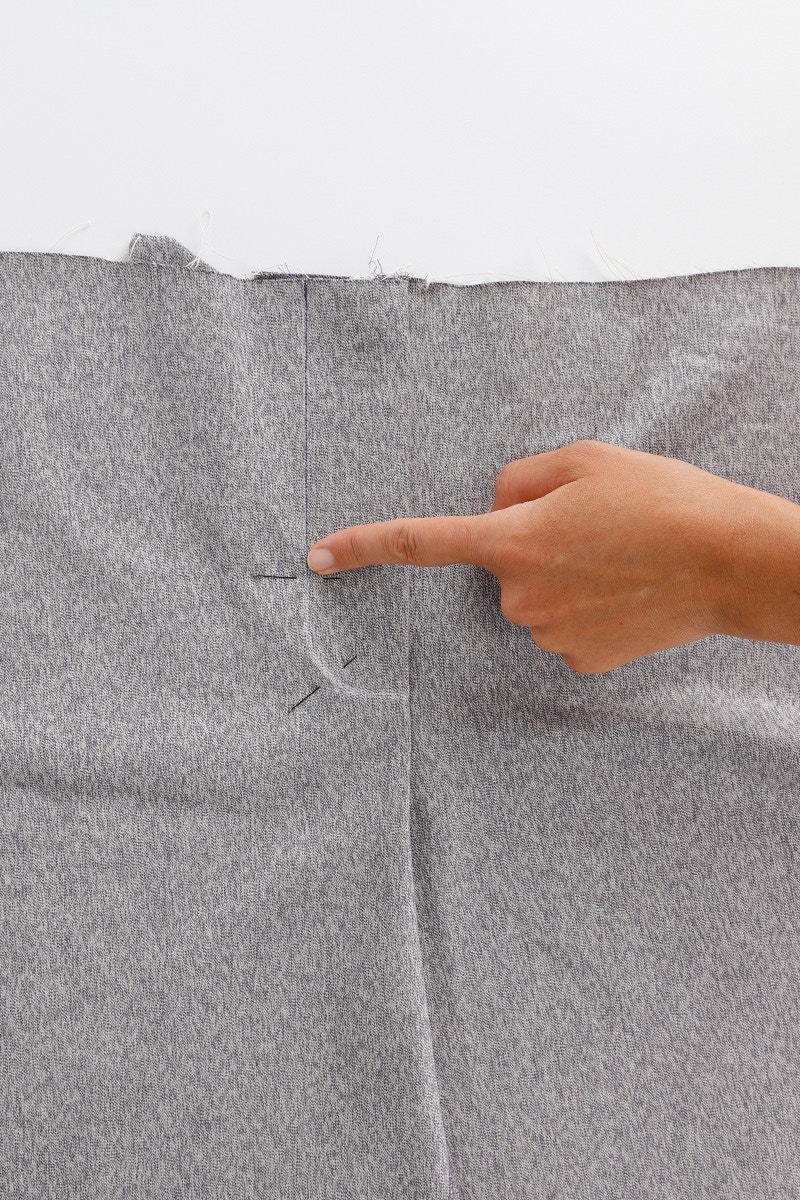

Now, release the fly guard and lie it flat underneath the zip and fly facing. Pin it to hold it in place.
Starting a couple of stitches up from where you left off, continue sewing the remaining curved section of the fly top stitching, sewing through the right front leg, fly facing, and the fly guard. Stop when you reach the centre front seam and back tack to secure.
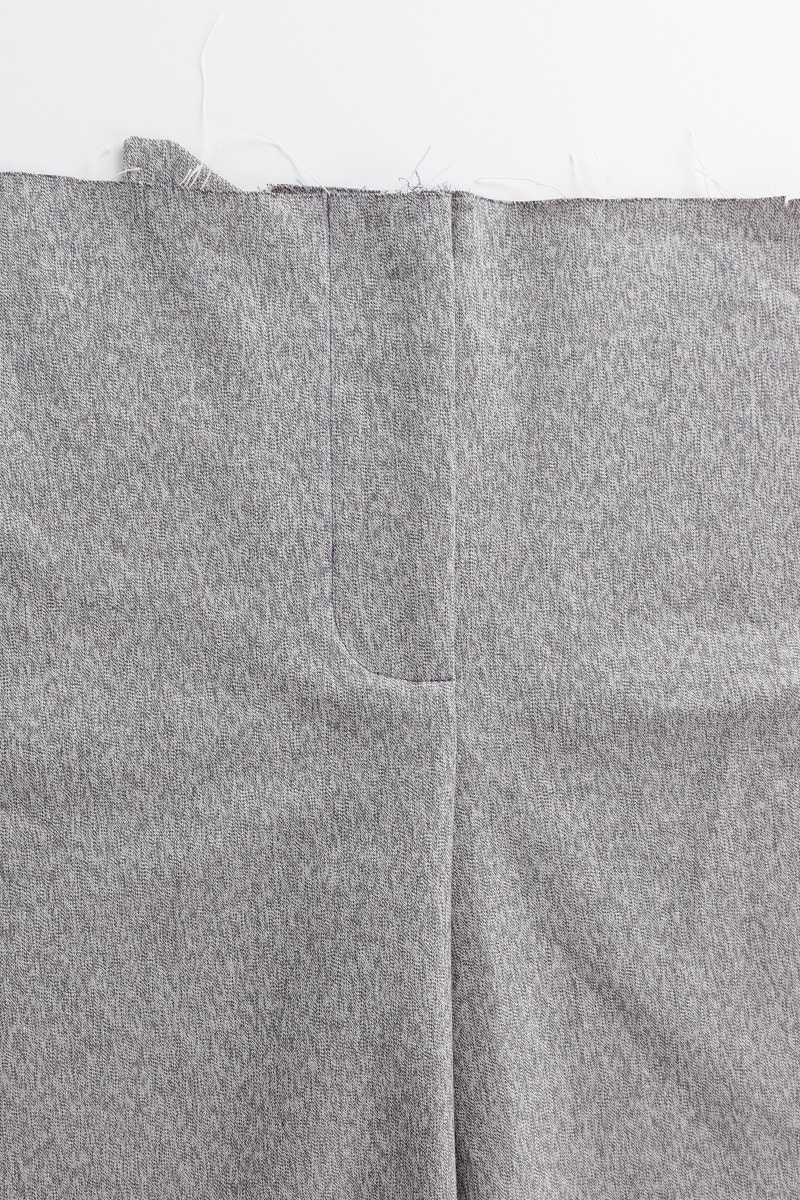
Your zip fly is complete! Give it a press before sewing the front pleats and pockets.


With the right sides together, fold the front pleats in half matching the two notches. From the waist stitch down the pleat, finishing at the + mark indicated on the pattern. Press the pleat excess towards the centre front. The pleat will open to the side seam. Baste the top of the pleat in place at the waist edge, within the seam allowance. Give your pleat a gentle press and repeat for the other side.
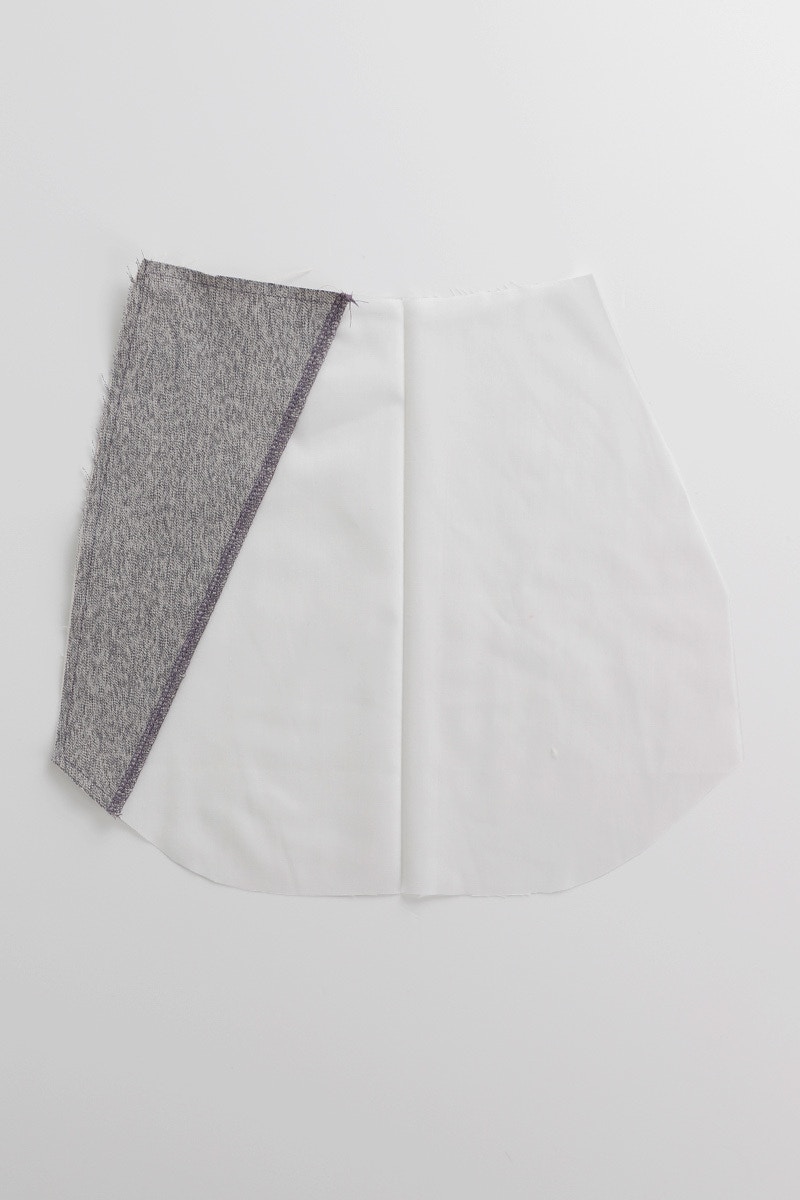
Now we will sew the side pockets. First, neaten the long, un-notched edge of your side pocket bearer piece. Place the wrong side of the pocket bearer to the right side of the pocket bag, matching the notches. Edgestitch around the entire pocket bearer piece to hold it in place.

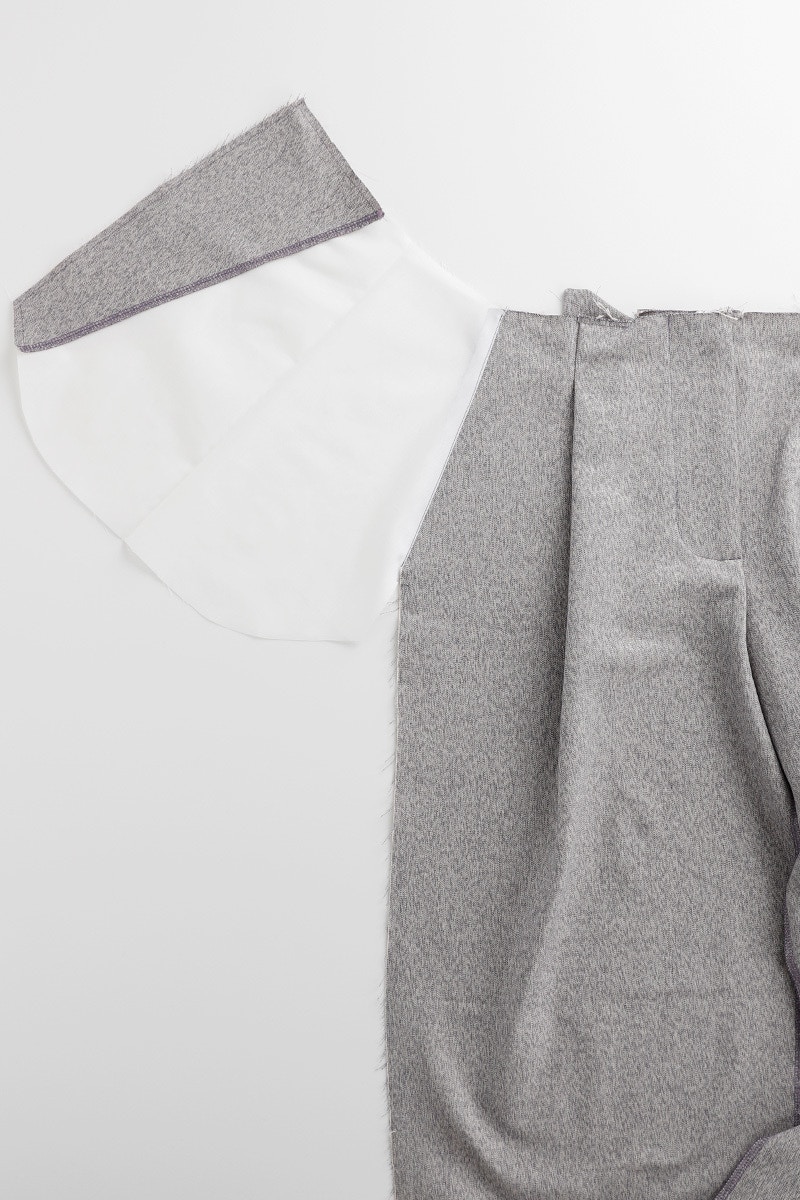
Now, with the right sides together, match up the right front and right pocket bag pieces at the pocket opening and pin in place. Sew this seam and press it towards the pocket bag. Under stitch on the pocket bag.

Fold the pocket bag to the inside of the leg along the seam line and press again. Then, topstitch 6mm from the edge along the pocket opening.
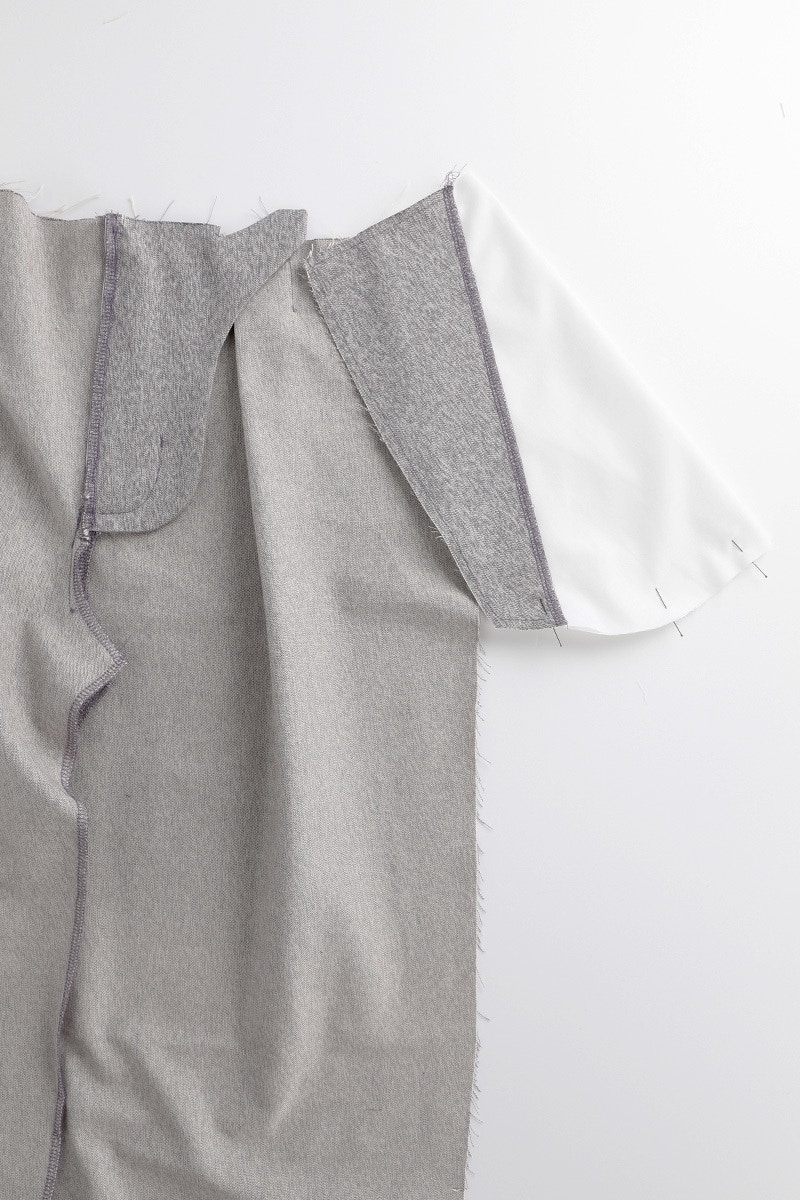
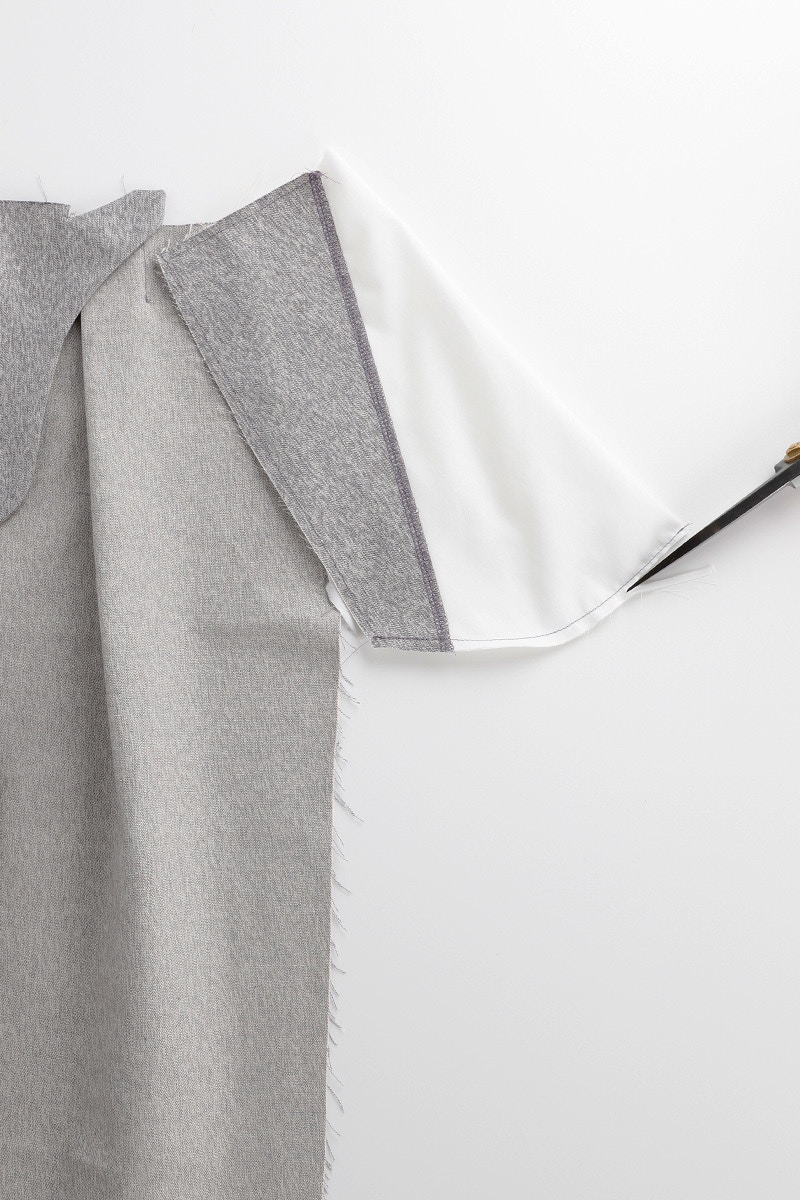
Fold your pocket bag in half at the centre line with the wrong sides together. This is opposite to the way you pressed this piece at the beginning. Pin in the bottom edge closed then sew with a 6mm seam. Carefully trim the seam to 3mm.
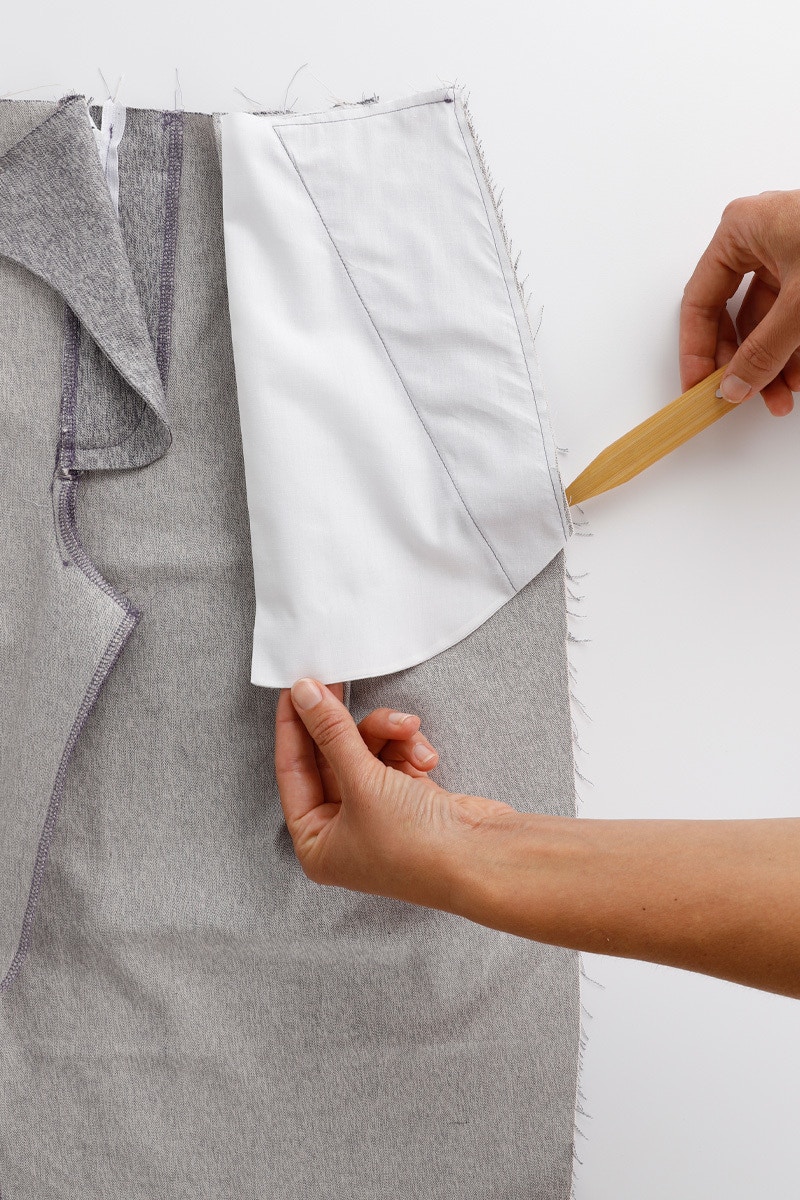

Next, turn your pocket out so the right sides are together. Use a point to ensure the corner is fully turned out and give it a press. Sew the bottom edge again at 6mm to create a French seam. Matching the notches, baste the pocket bag to the side seam and waist seam of the front pant piece within the seam allowance. Now repeat for the other pocket.
Your fronts are complete! Next we will sew the belt loops and waistband.
Check out the Cass Pant pattern in our Online Store here. Don't forget you can always email us via patterns@thefabricstore.co.nz if you need advice!
Cass makes from our wonderful community are also popping up over on Instagram, follow @makebytfs and use #TFSCassPant so others can check out your creations!


