Cloud Sweatshirt Sew Along

3 — Neckline and Assembling the Body
24—January 2022
In this post we cover the Crew Neck, Hoodie and Funnel Neck. Follow along with the view you are sewing!

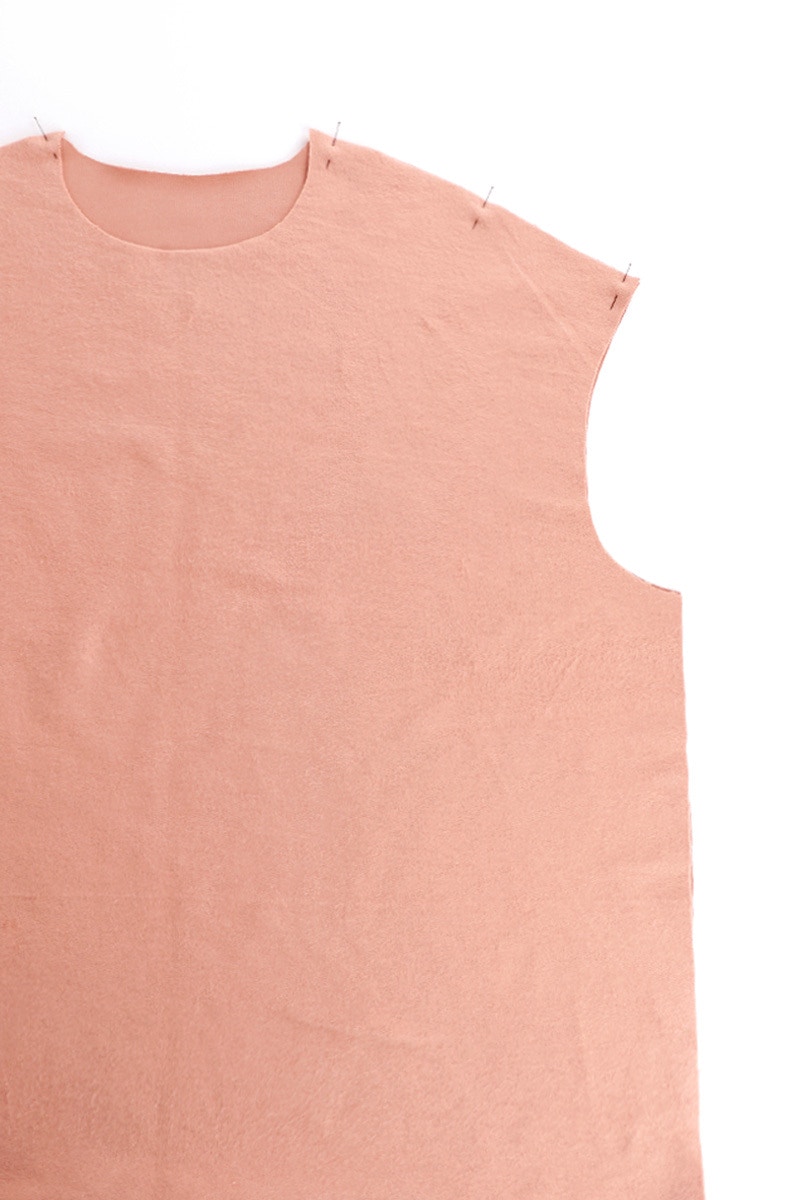
With the right sides together, pin the front to the back at the shoulders then overlock.
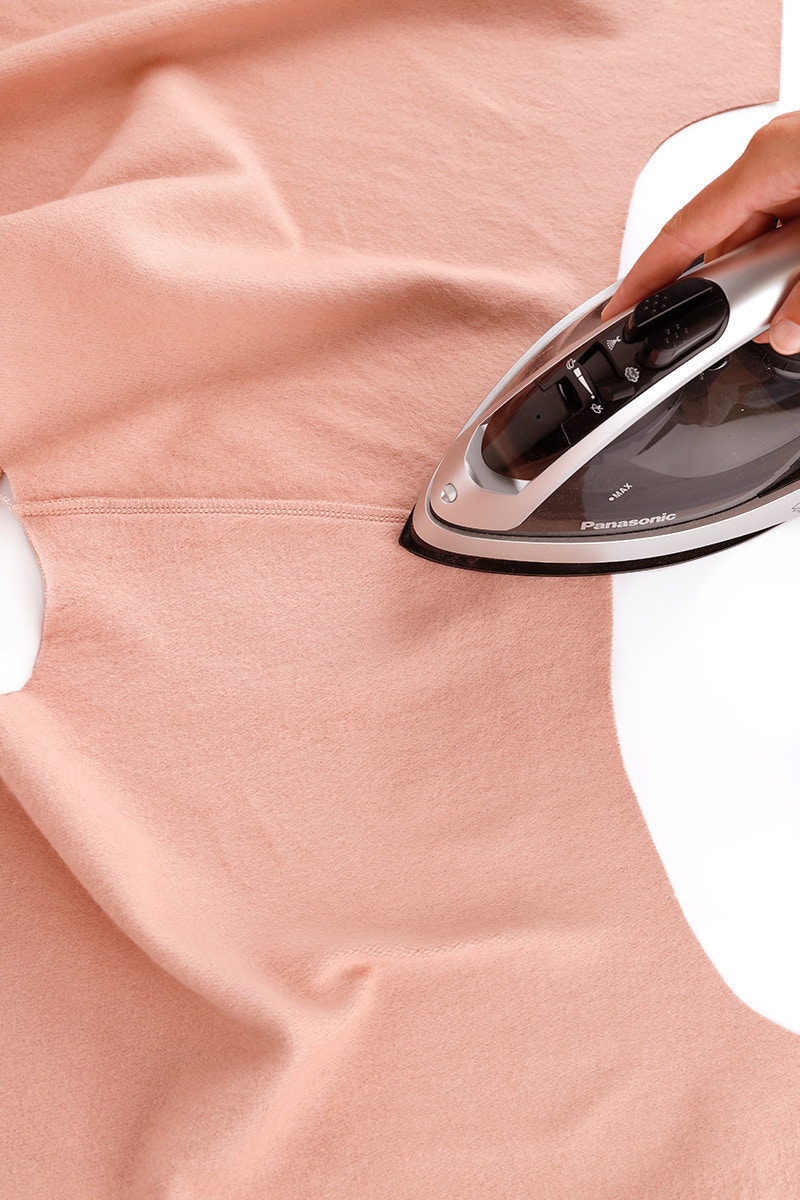
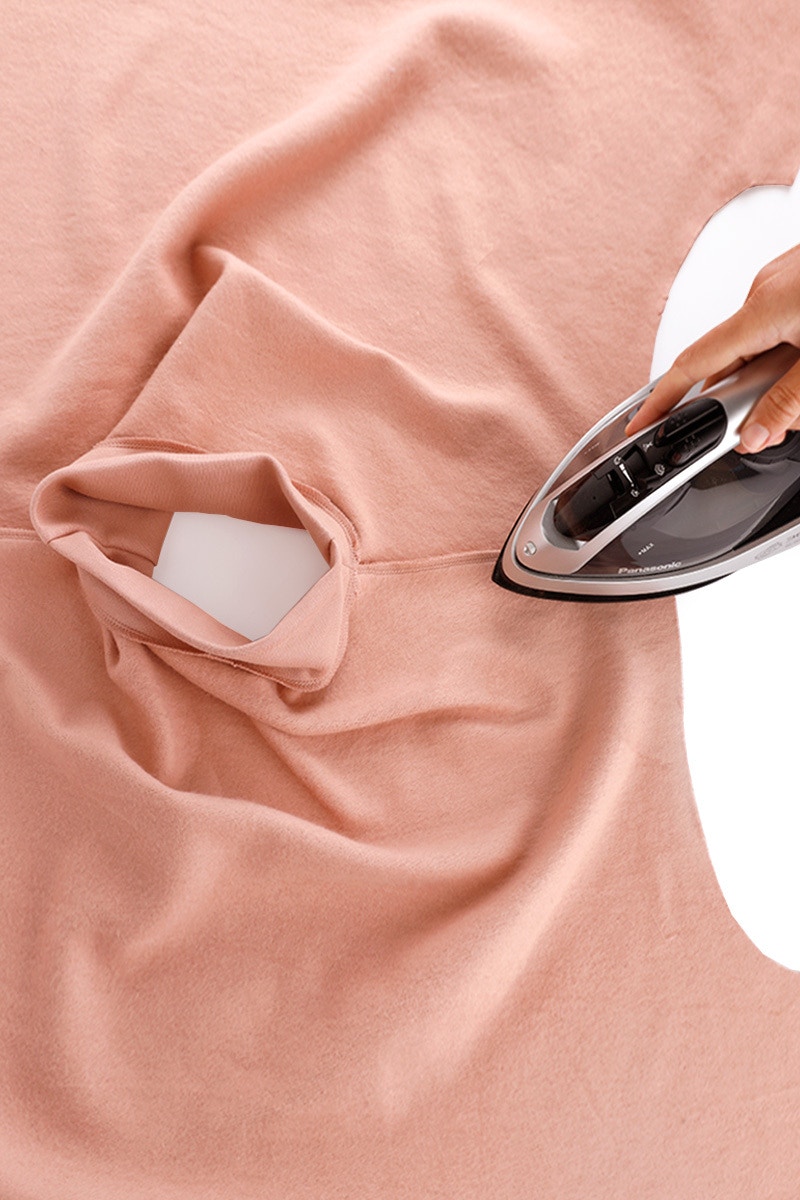
Press the seams towards the back.

With the right sides together, pin and then overlock the short ends of neckband together to create a circle.
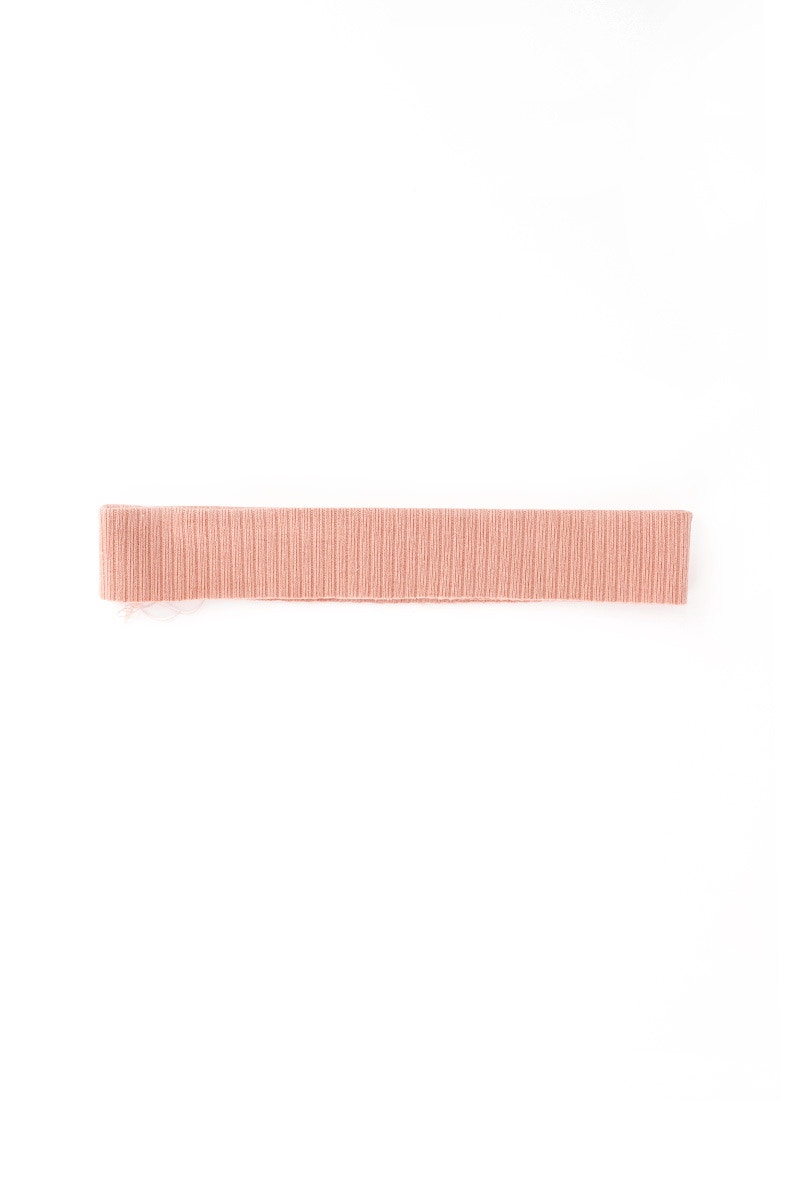
Fold the neckband in half, lengthwise with wrong sides together.
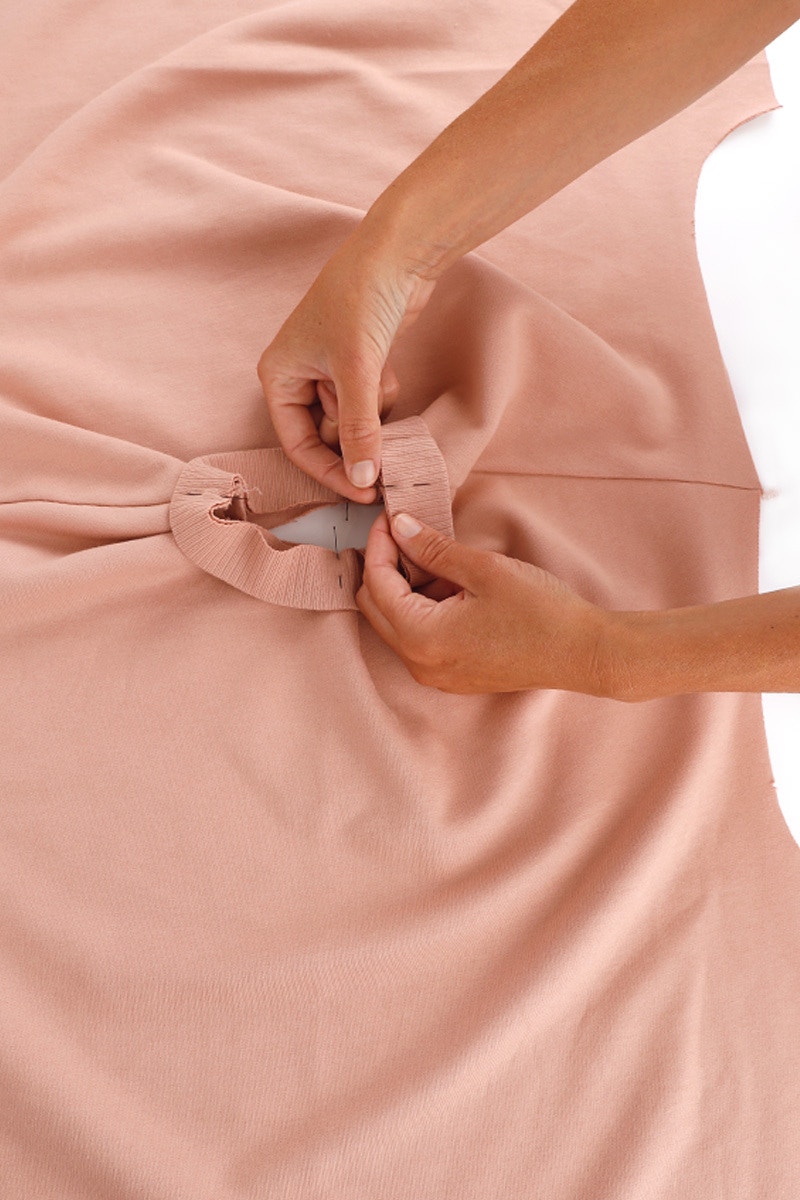
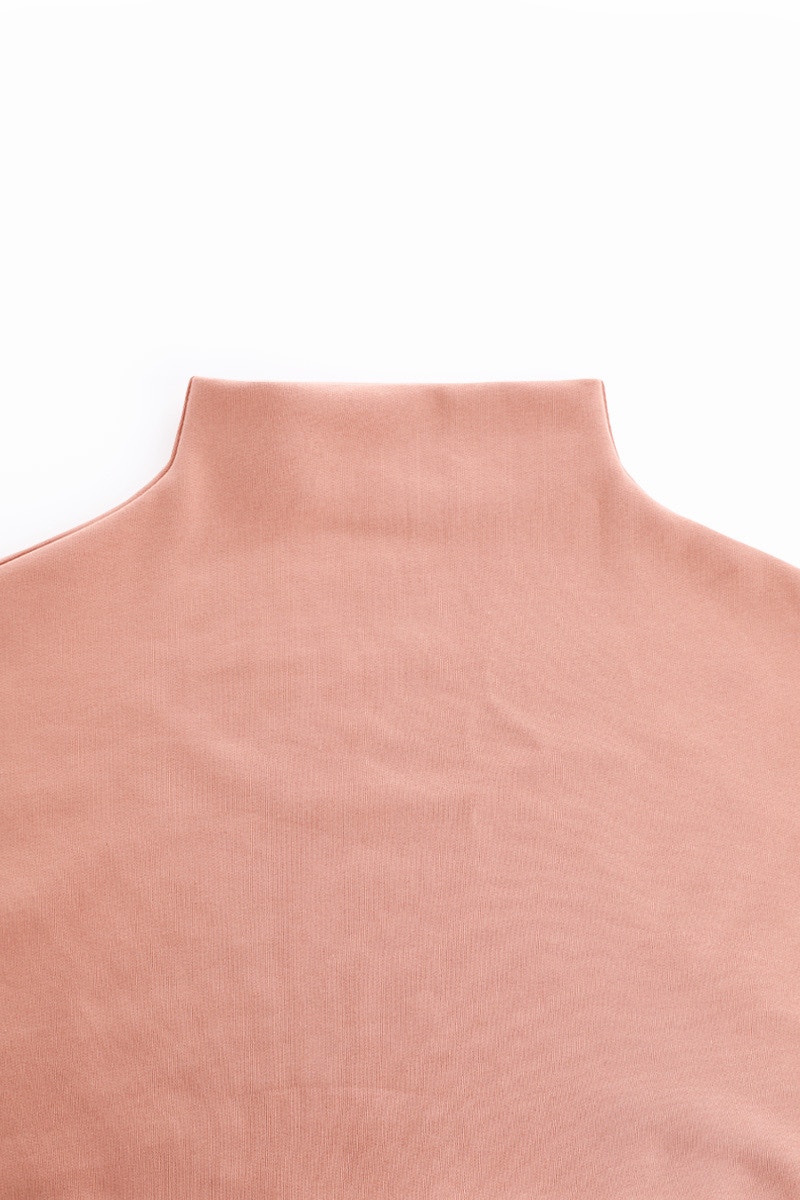
Pin neckband to the right side of the body of the garment. The neckband seam will align with the notch at the back neckline on the left, as worn. The neckband notches align with the shoulder seams.
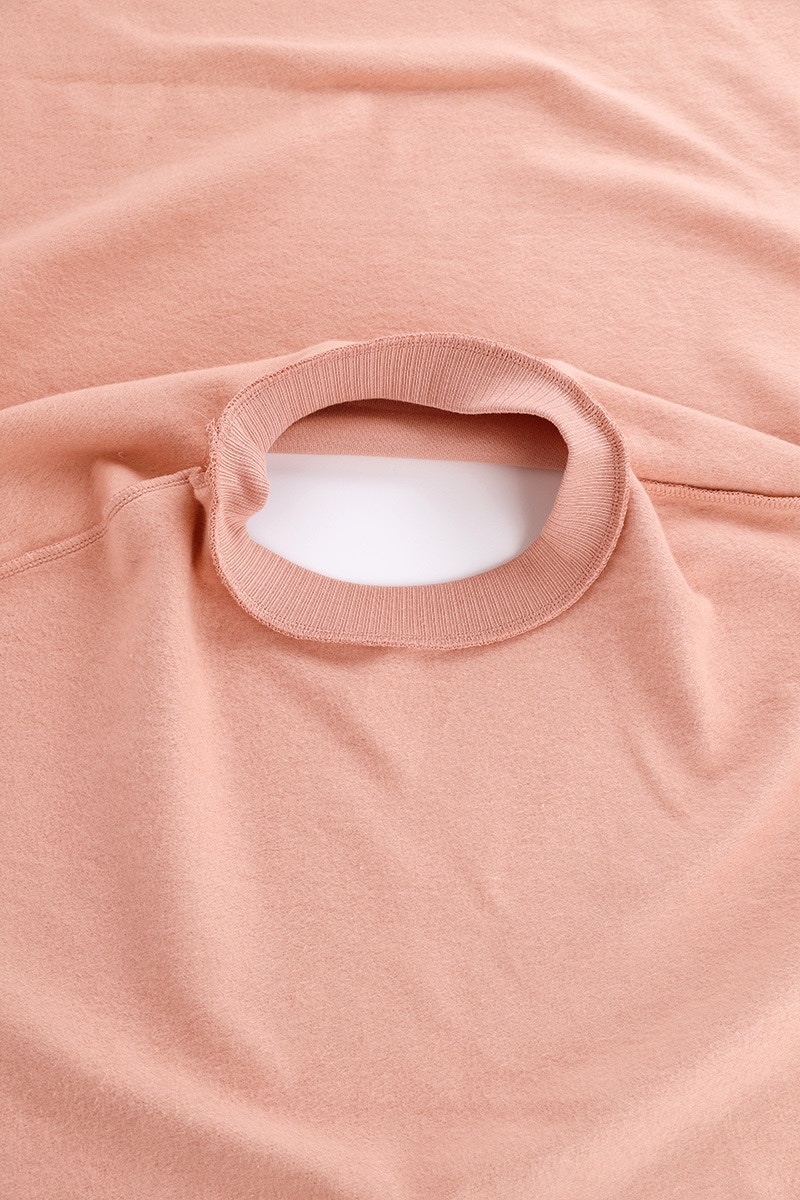
Overlock the neckband to the body. You will need to stretch the neckband to get it to fit. Press the seam towards the body.

Using a twin needle, cover seam, or your preferred finishing stitch, stitch the neckband seam allowance to the body.
Skip down to 'Assembling the Body' at the end of this post.
With the right sides together, pin the front to the back at the shoulders then overlock. Press the seams towards the back.


On each hood piece, mark the buttonholes with a fabric pen, or tailor's chalk, at the place indicated on the Hood Buttonhole Placement Template, over the interfacing you placed at the beginning.
Be sure to mark the buttonholes on opposite sides to create a pair.
Sew the buttonholes as per your machine's manual.


Pin the hood pieces together along the centre seam with the right sides facing.
Overlock them together.

Next, turn the hood so the wrong sides are together.


Bring the seam together so it runs through the centre of the hood. Press.

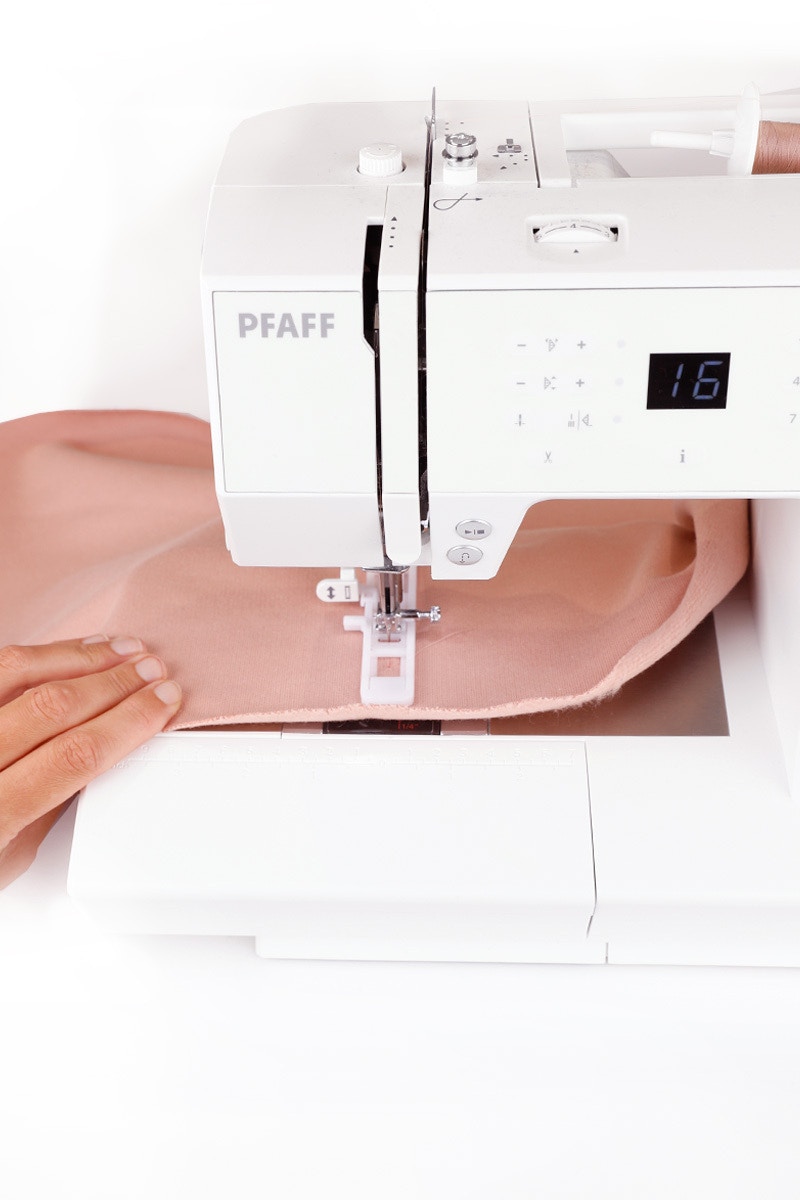
Sew a line of top stitching 1.5cm from the folded edge to form a channel for the drawstring.
Baste the neck edges together with your sewing machine.

Now you will attach the hood to the body.
Pin the hood to the body of the sweatshirt at the neck opening with the right sides together and matching the notches.
The hood will overlap at the centre front. Match the notch on the body, to the channel top stitching on the hood.
Place the right side as worn first, then the left side on top.

Overlock the hood and body together then press the seam allowance towards the body of the garment.
Now move down to 'Assemble the Body' at the bottom of this post.
With the right sides together, pin the front to the back at the shoulders and sides of the funnel neck. Overlock them together.
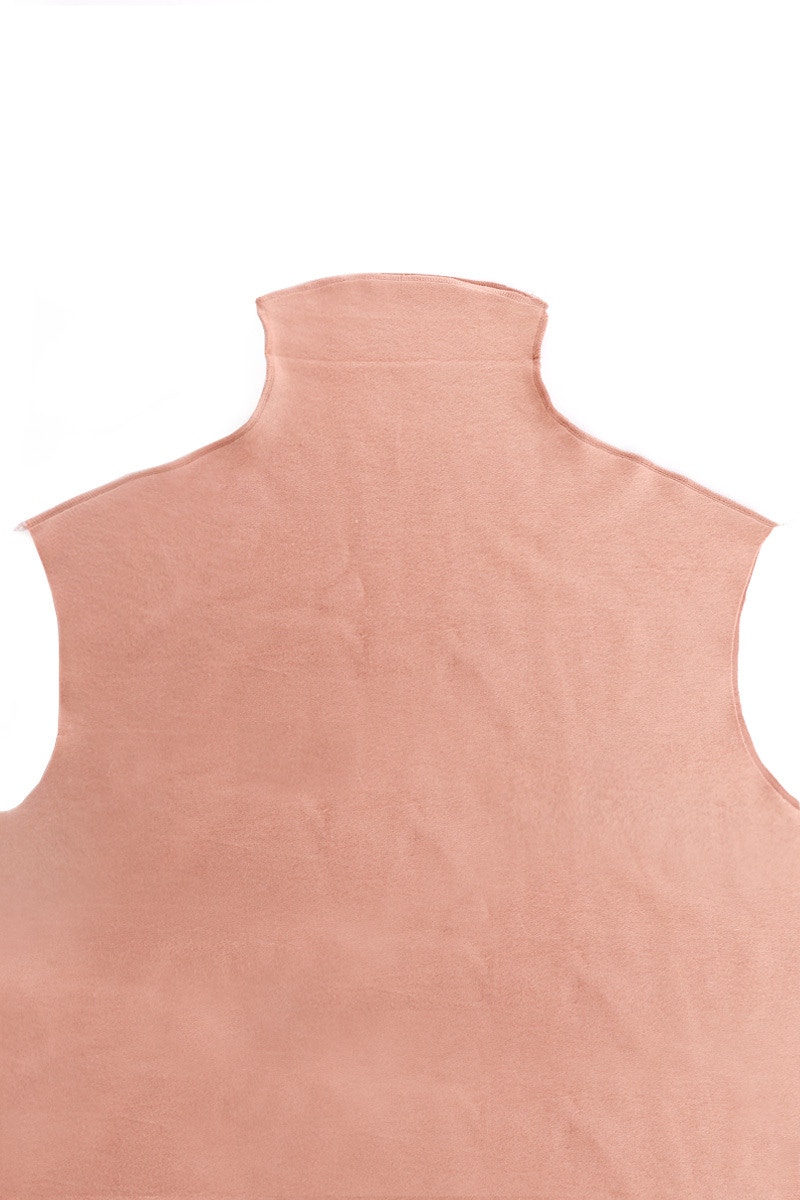
Finish the raw edge of the neck with your overlocker.
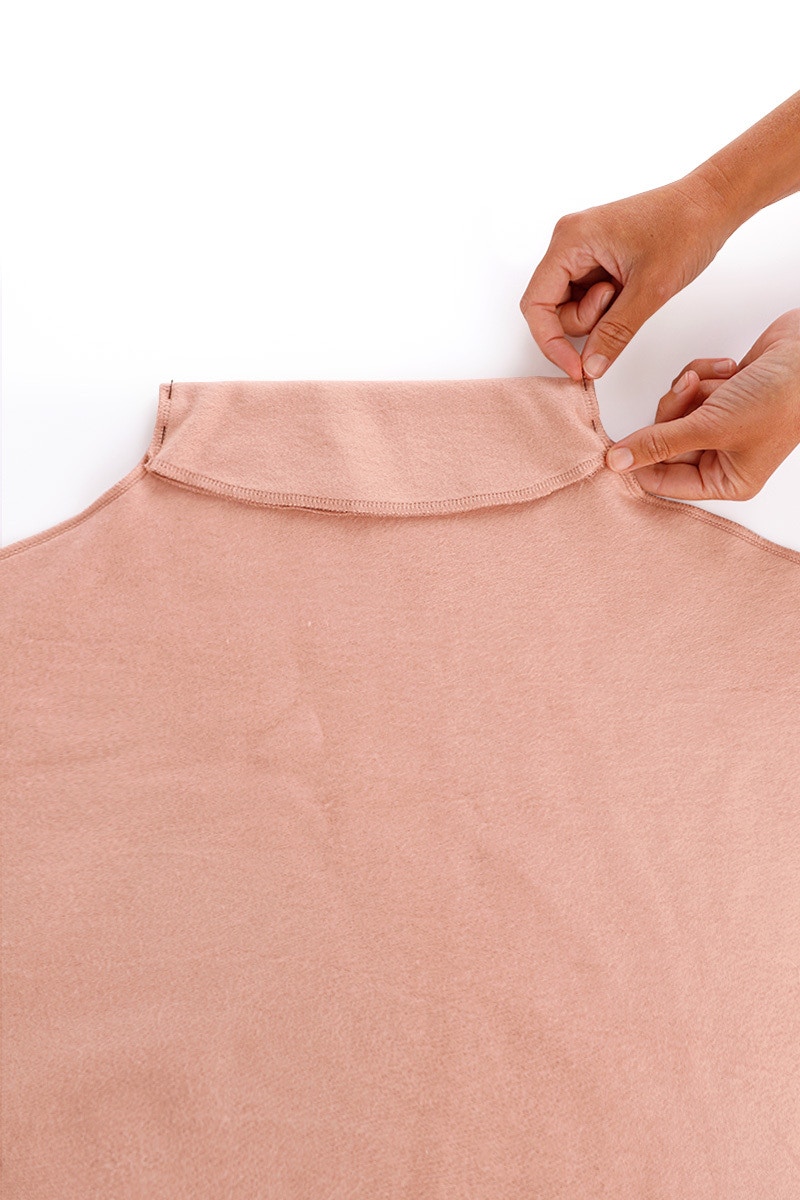

The funnel neck view has a grown-on neck facing. Fold the neck facing to the front at the notches.
Bag out the neck facing by sewing the seam allowances together on each side of the neck.


Fold the back neck facing over to the back.
Press the shoulder seams towards the back.

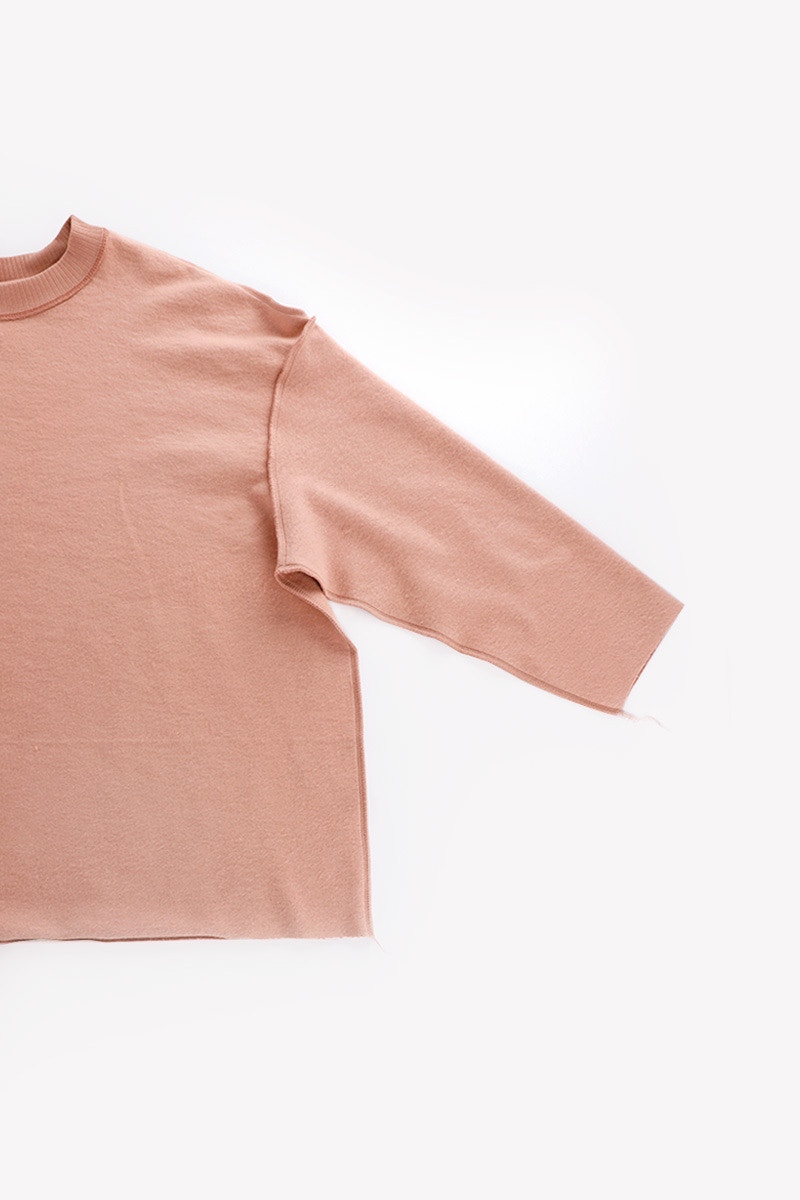
The following steps are for all views, however only the Crew Neck will be shown.
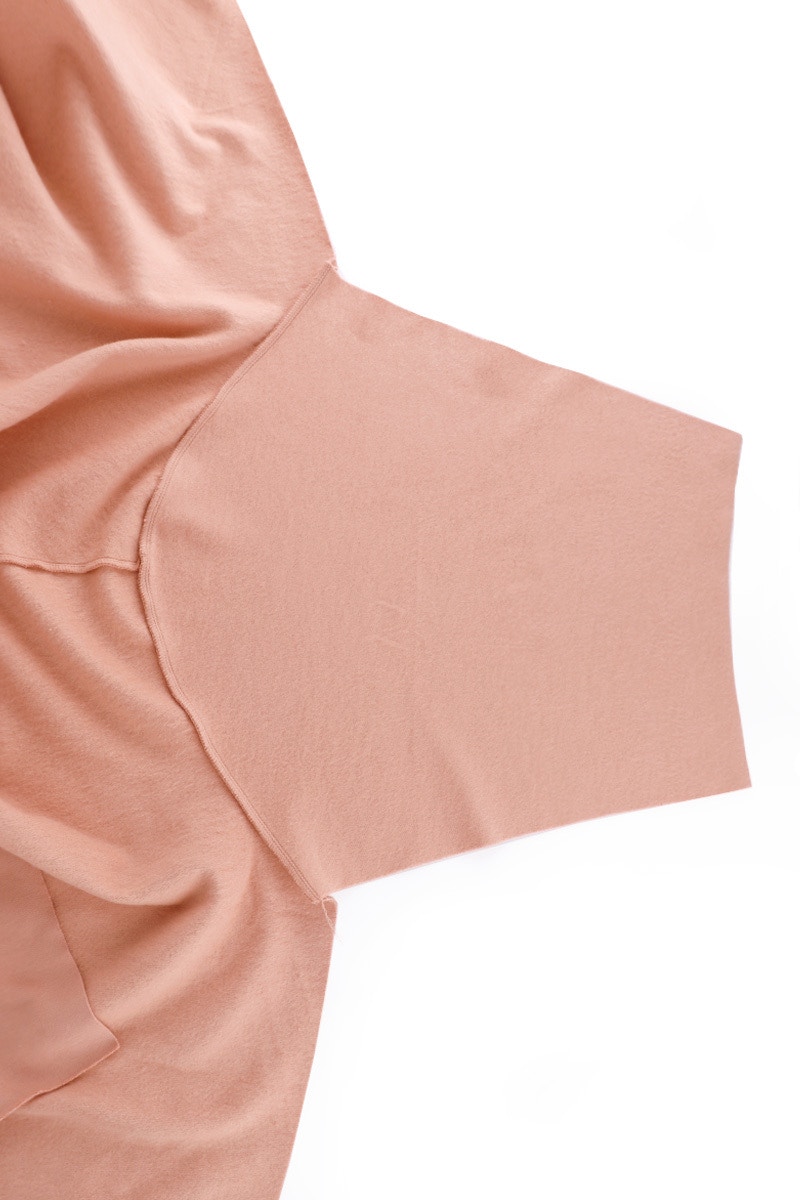
With the right sides together, pin the sleeve to the body, matching the notches. Overlock the seam and press it towards the body.
Repeat for the other sleeve.
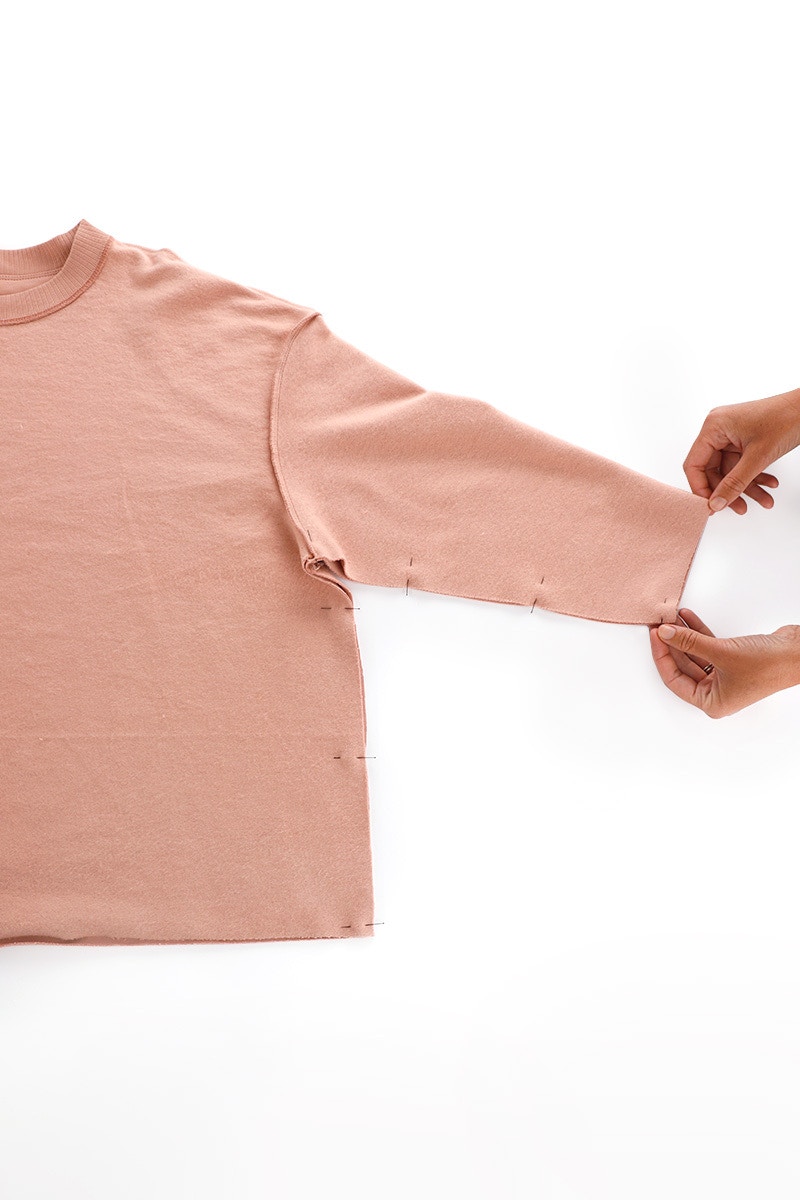
Pin the side seams with the right sides together.
It can help to start by matching the underarm seams, then working towards the body hem and sleeve hem.
Overlock the side seam and repeat for the other side. Press the seams towards the back.
Next up, sewing the cuffs and hems, and doing the finishing touches!
Check out the Cloud Set patterns in our Online Store here.
Don't forget you can always email us via patterns@thefabricstore.co.nz if you need advice!
Cloud makes from our wonderful community are also popping up over on Instagram, follow @makebytfs and use #TFSCloud so others can check out your creations!


