Mabel Dress Sew Along

3 — Shoulders and Neckband
18—March 2021
Now it is time to sew the shoulders and neckband!
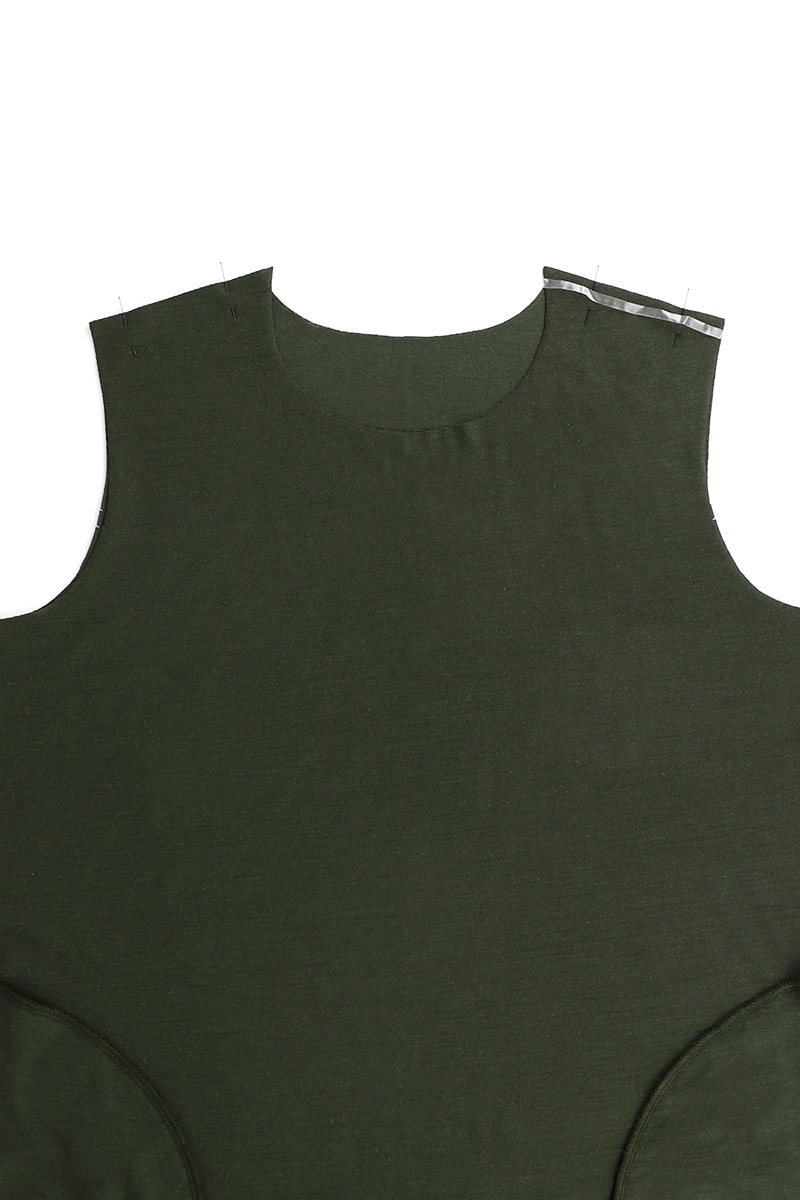
Pin your front to the back at the shoulder seams with right sides together. If you are using mobilon elastic, cut a piece that is at least 2cm longer than the width of the shoulder.

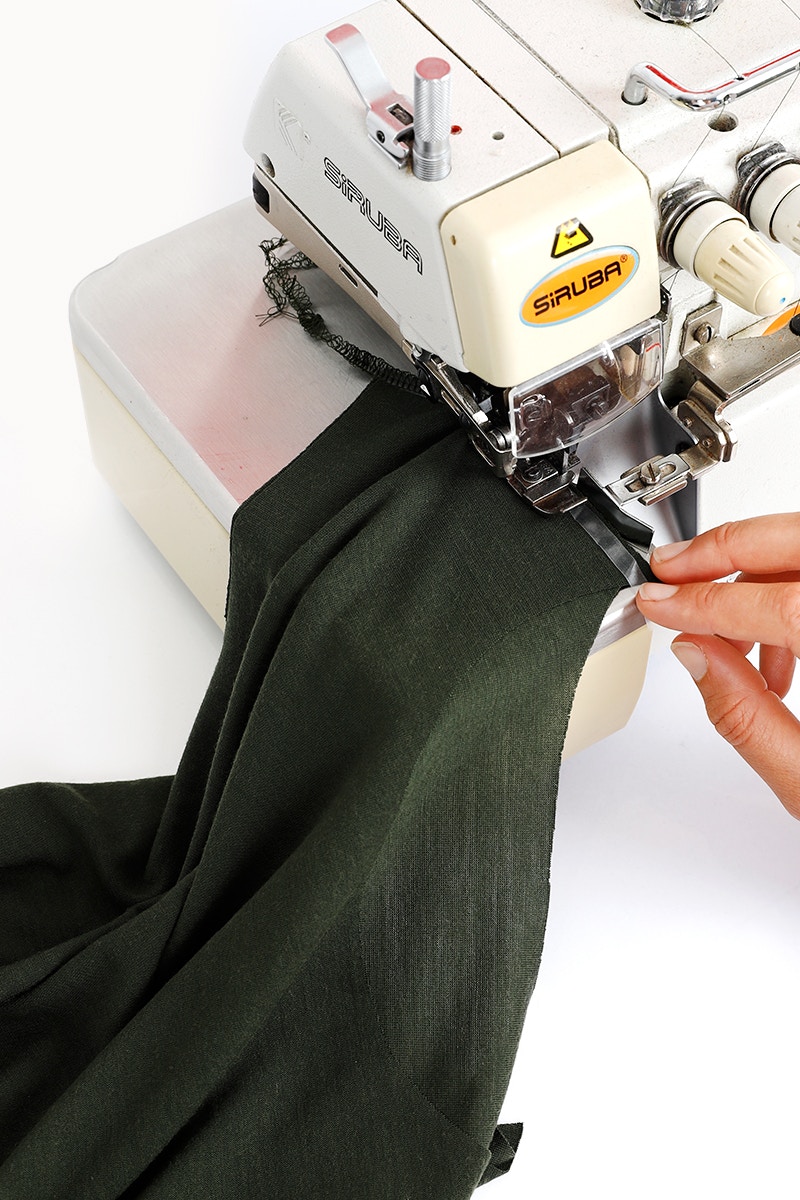
To overlock the shoulders, first catch the end of your mobilon elastic on its own with your stitching to create a tail. Then lift your presser foot and lay the shoulder of your dress underneath the mobilon elastic. Now, continue sewing the shoulder, catching the elastic in the seam as you sew. Run your stitching off the shoulder, catching the mobilon elastic at the other end. Repeat for the other shoulder.
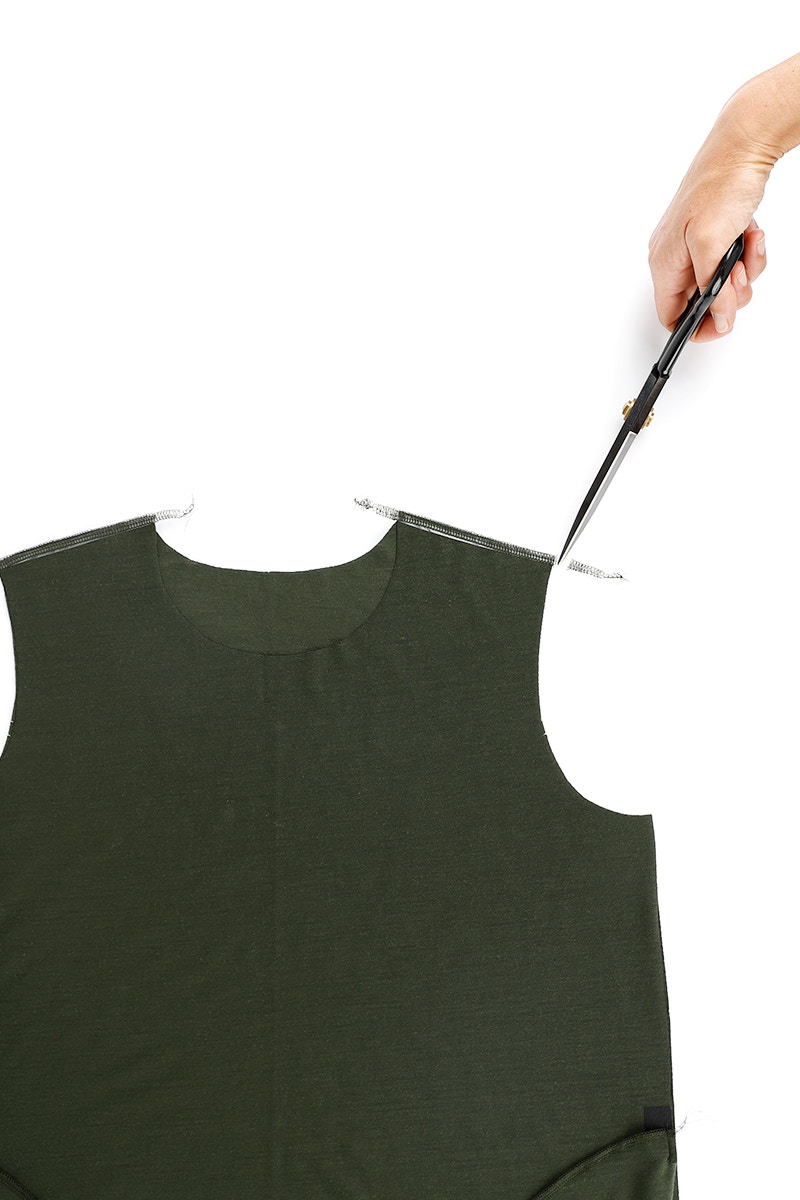
Trim the excess at each shoulder and press the seam towards the back.
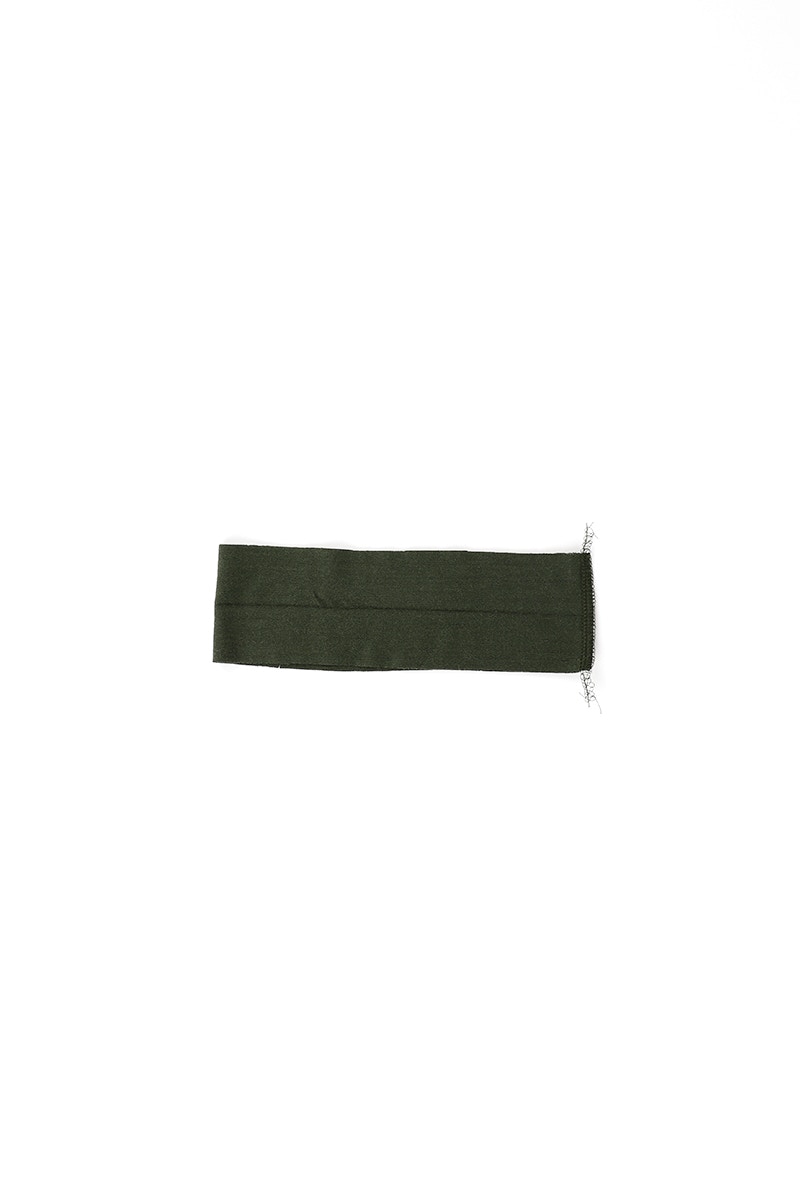
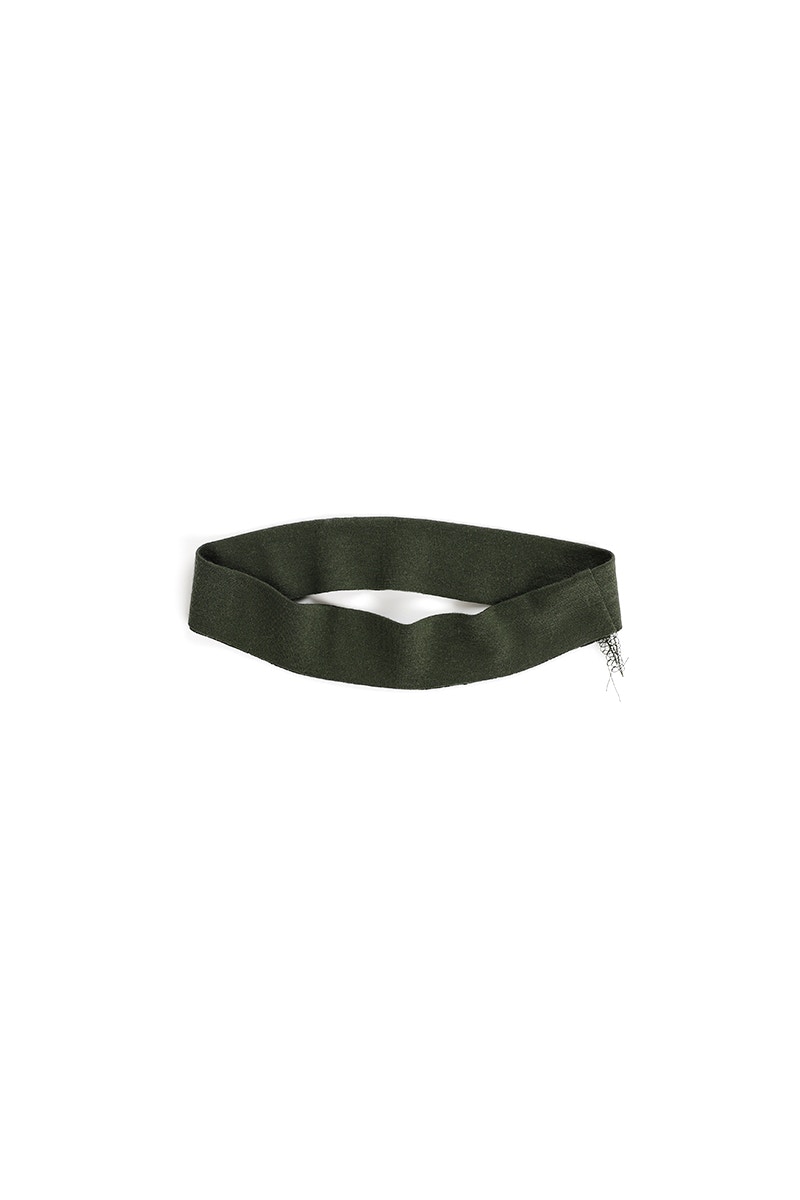
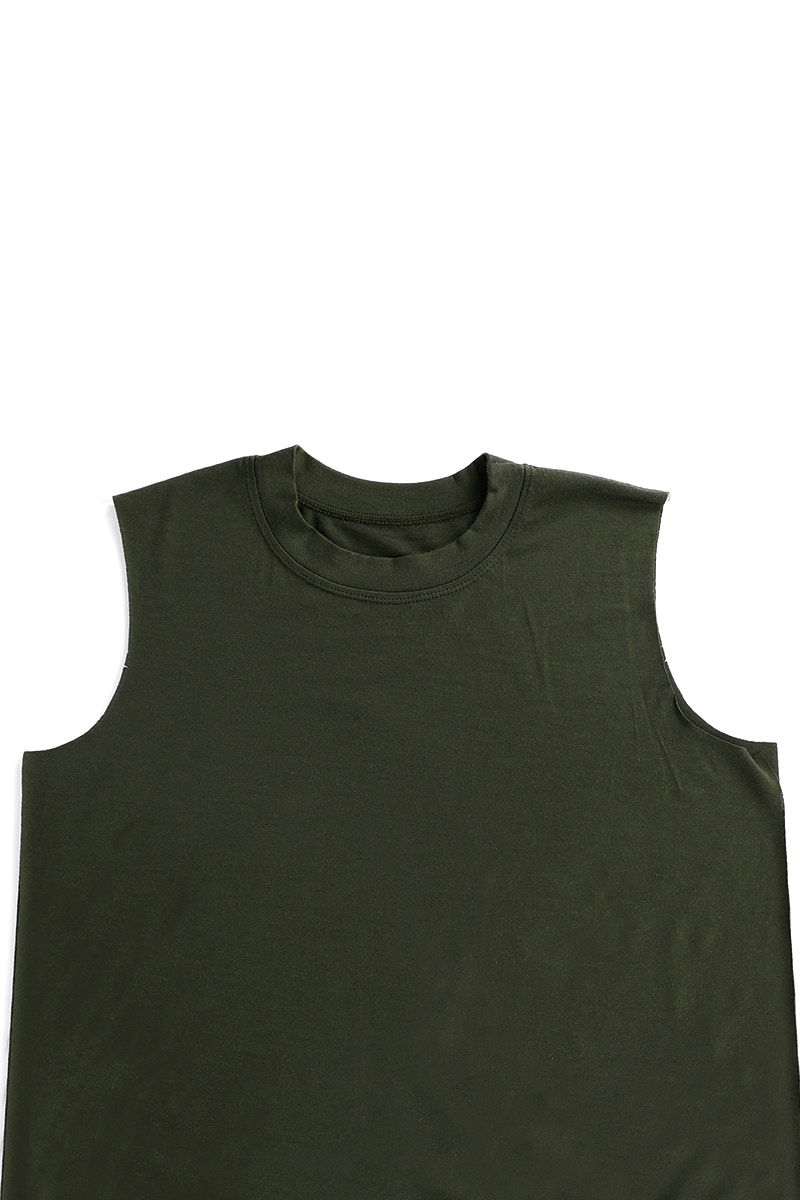
Now we will sew your neckband.
With the right sides together, overlock the short ends of your neckband together, to create a circle. Press the seam towards the front and then fold your neckband in half, lengthways with wrong sides together.
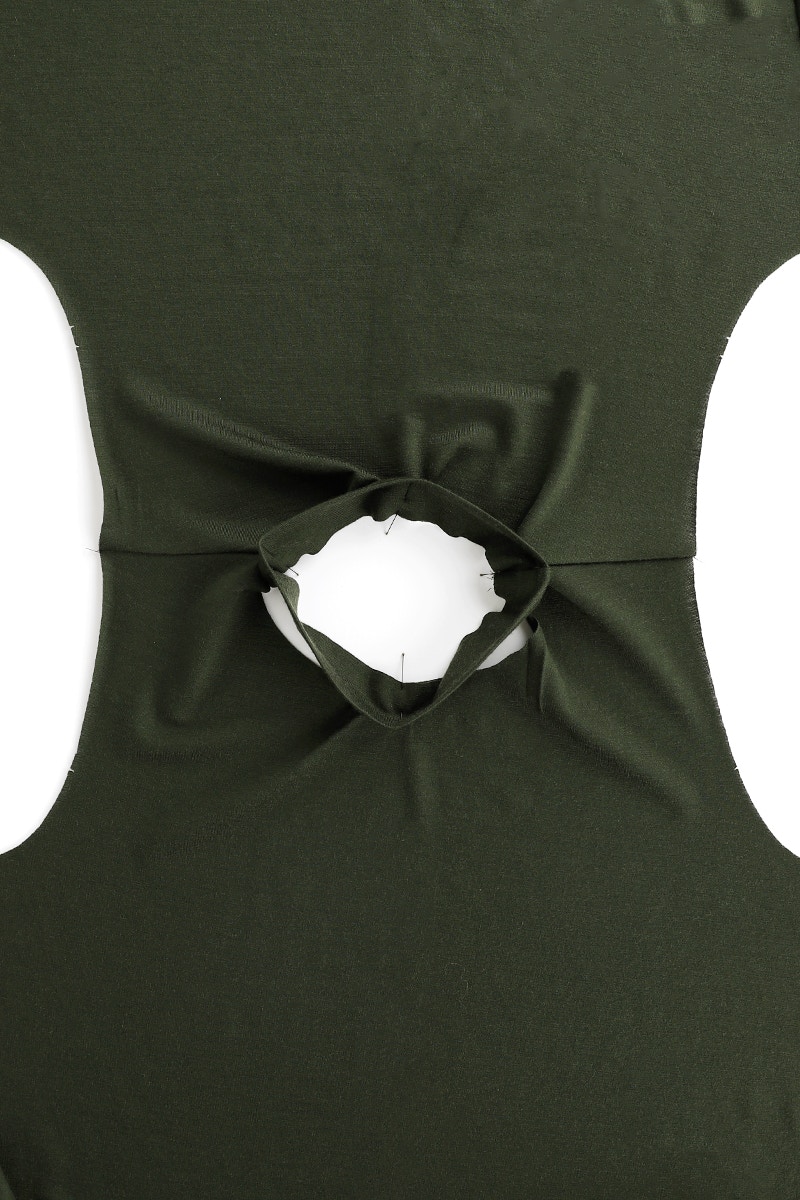
Pin your neckband to the right side of the body of the garment. The neckband seam will match the left shoulder, and the notch will match the right shoulder. You can pin in more places to distribute your neckband evenly around the neck opening.
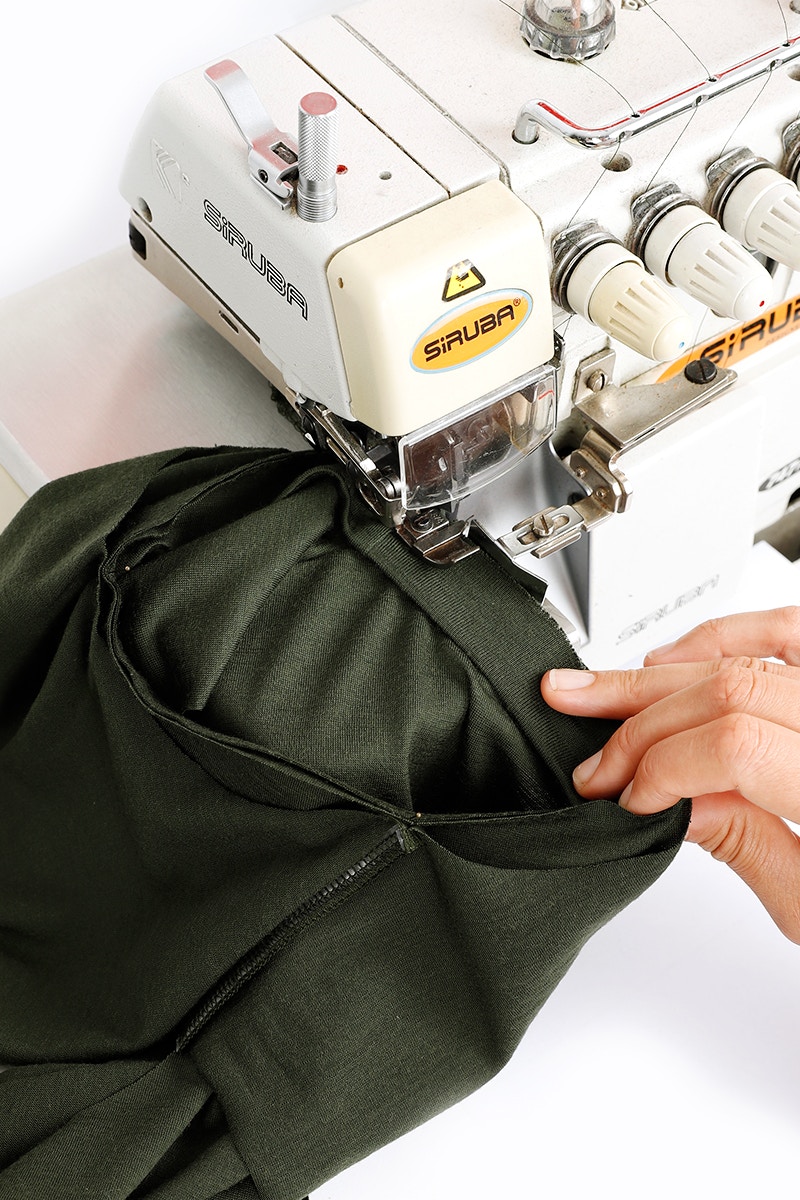
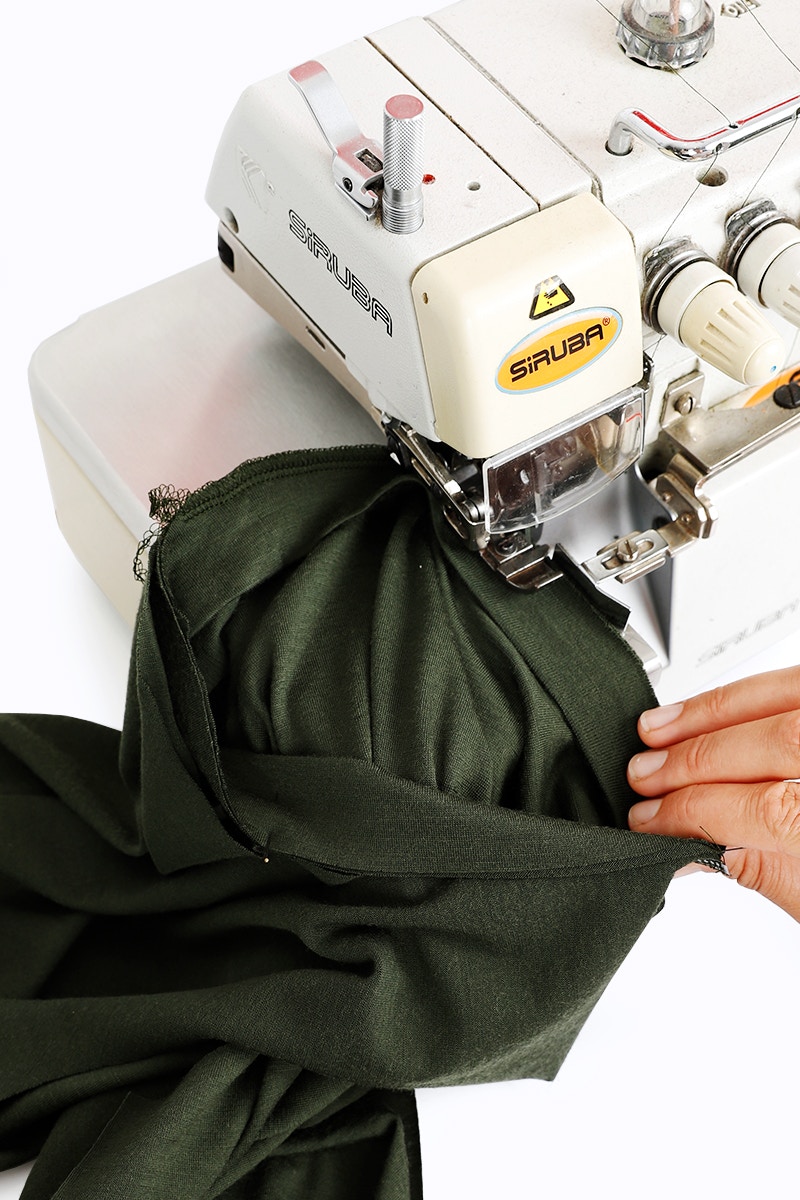
Next, overlock the neckband to the body. Before overlocking, you can baste your neckband to the body if you would prefer. You will need to
stretch the neckband as you sew to ensure it fits. Press the seam towards the body.
Top stitch the seam allowance of the neckband to the body using a twin needle or your preferred finishing stitch, starting and finishing at the left shoulder.
Now it is time to attach your sleeves and complete the sewing of your dress!
Check out the Mabel Dress pattern in our Online Store here. Don't forget you can always email us via patterns@thefabricstore.co.nz if you need advice!
Mabel makes from our wonderful community are also popping up over on Instagram, follow @makebytfs and use #TFSMabelDress so others can check out your creations!


