
5 — Assemble the Pants
15—February 2021
Final step! We will assemble your pants, and do the finishing touches.
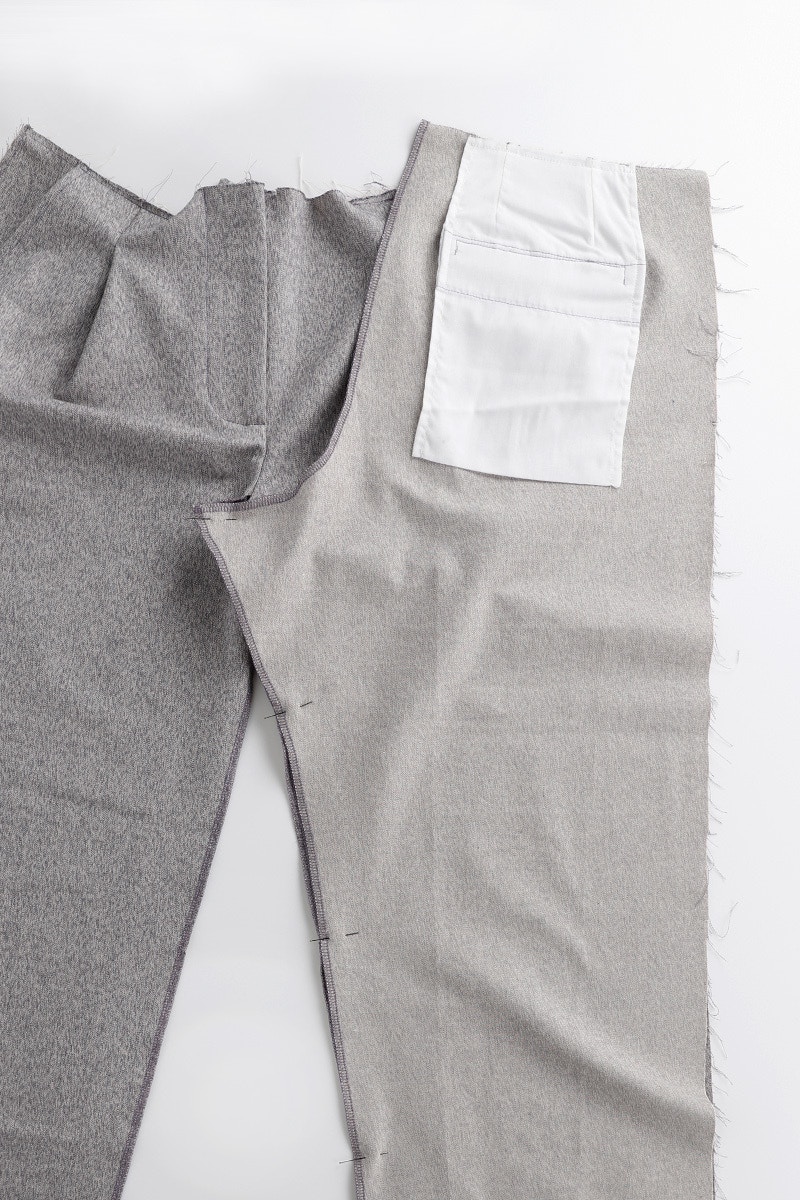
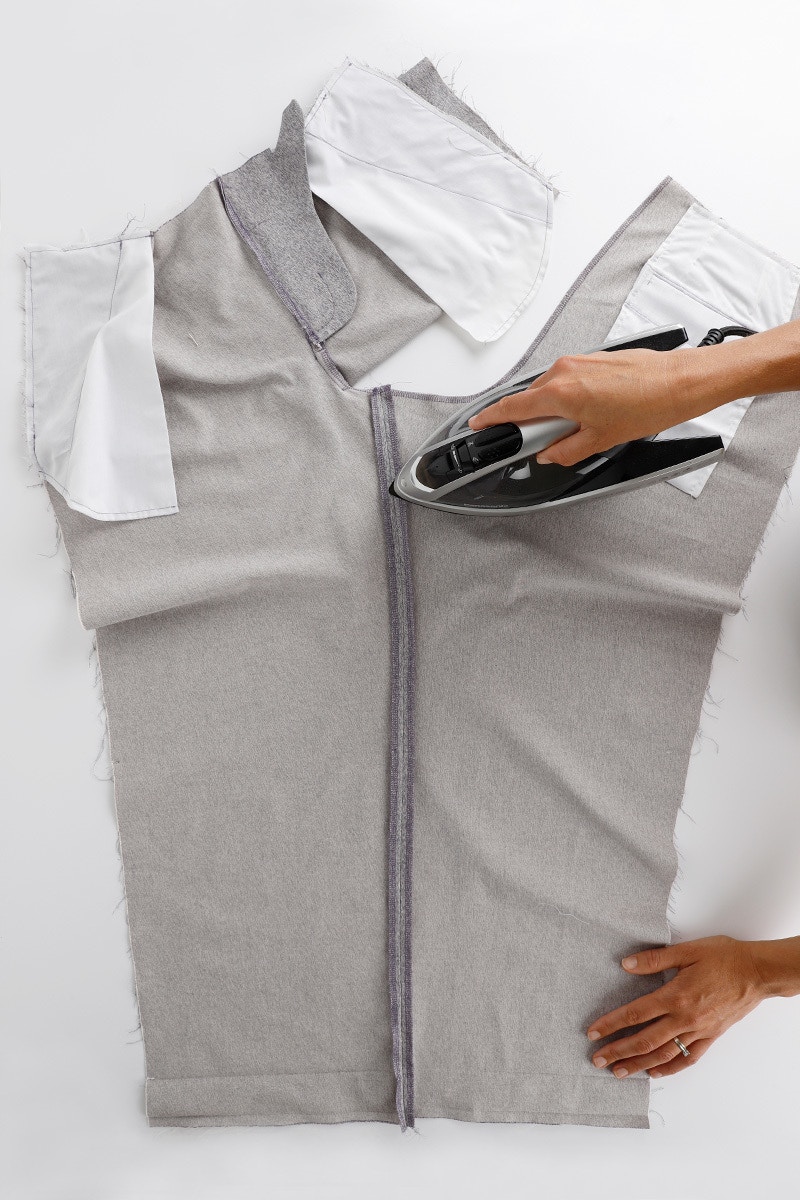
Now it's time to assemble your Cass Pants!
With the right sides together pin the front to the back at the inner seam, matching the notches. Sew and then press the seam open. Repeat for the other leg.
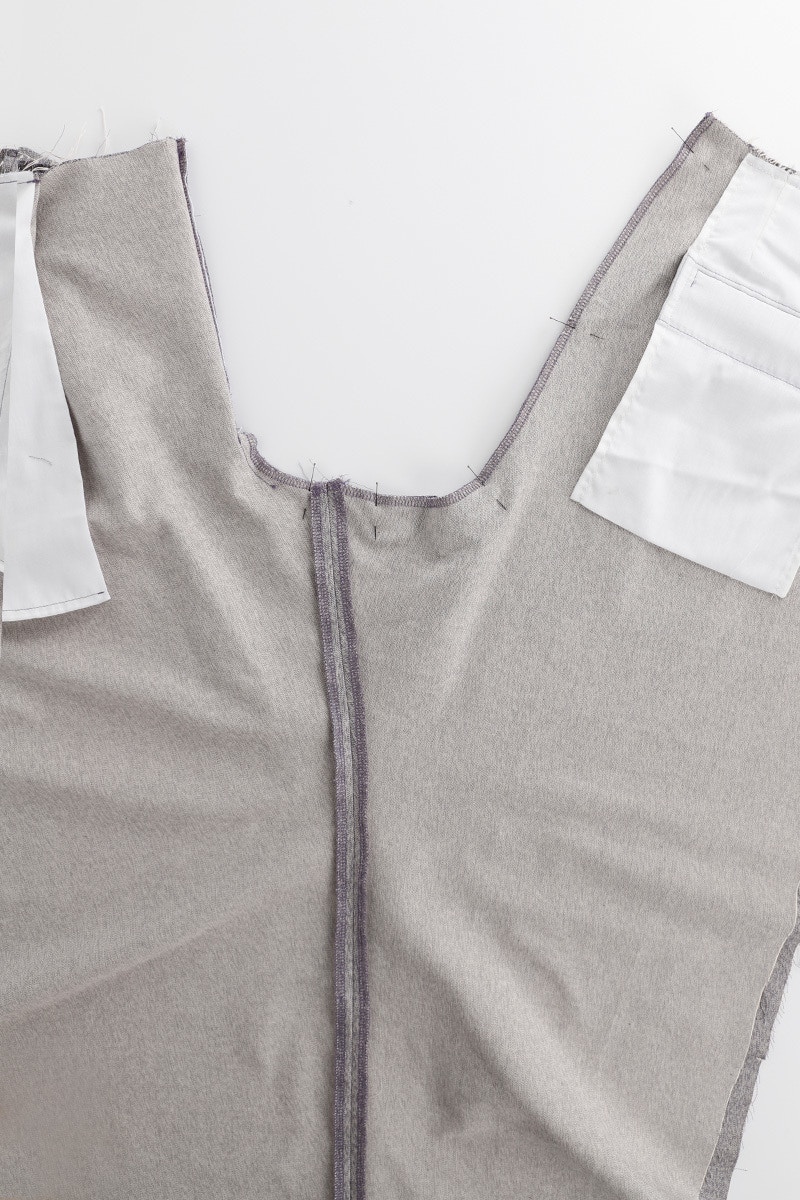
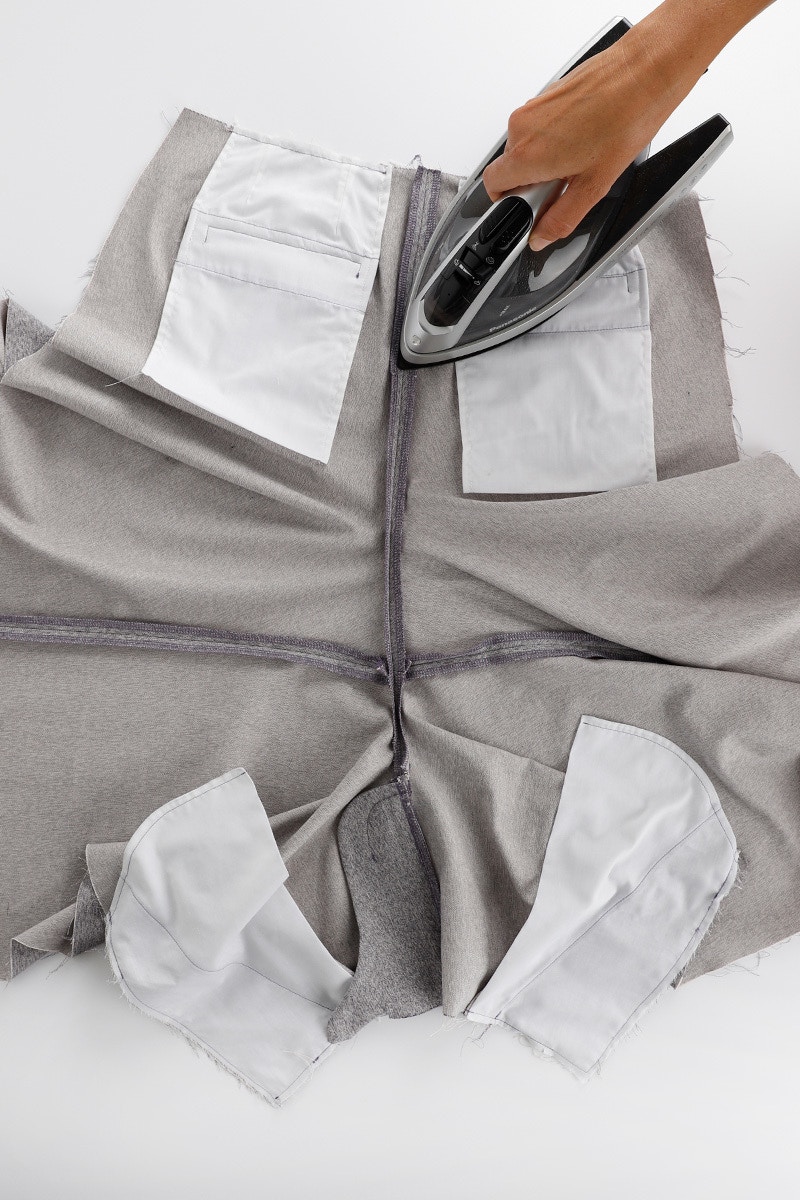
With your right sides together complete the crotch seam. Start at the centre back and sew the back curve, continuing to the front, finishing just past where you left off when sewing the fly. Press the seam open.

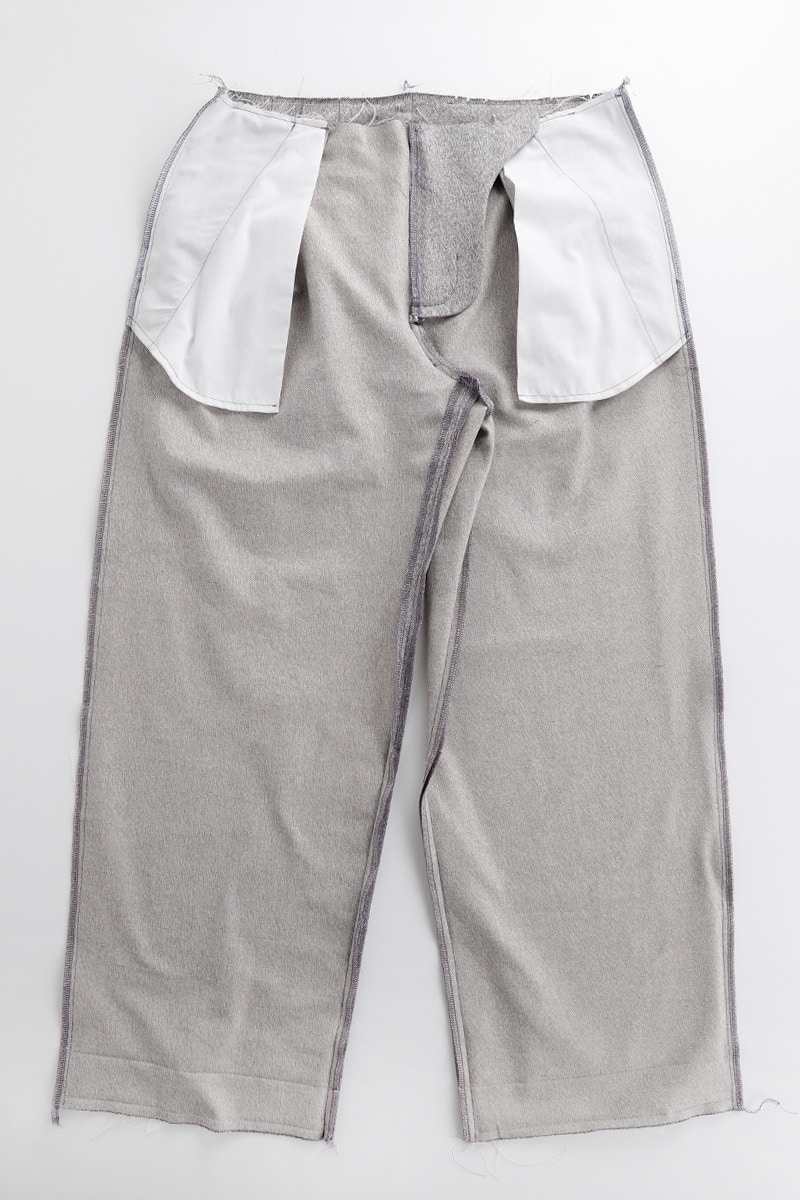
Now we will sew the side seams. With the right sides together, pin the left front piece to the left back piece at the side seam matching notches. Sew the seam and then neaten with an overlocker. Press the seam towards the back then repeat for the other leg.
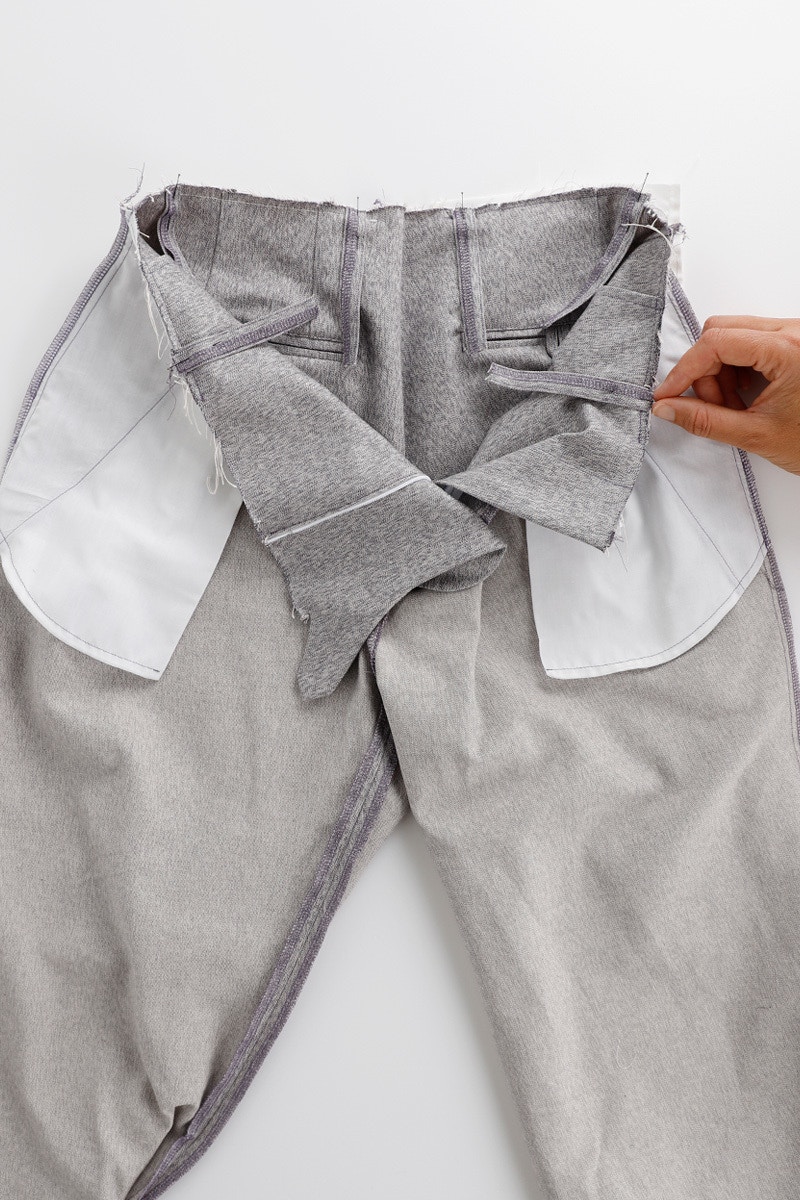
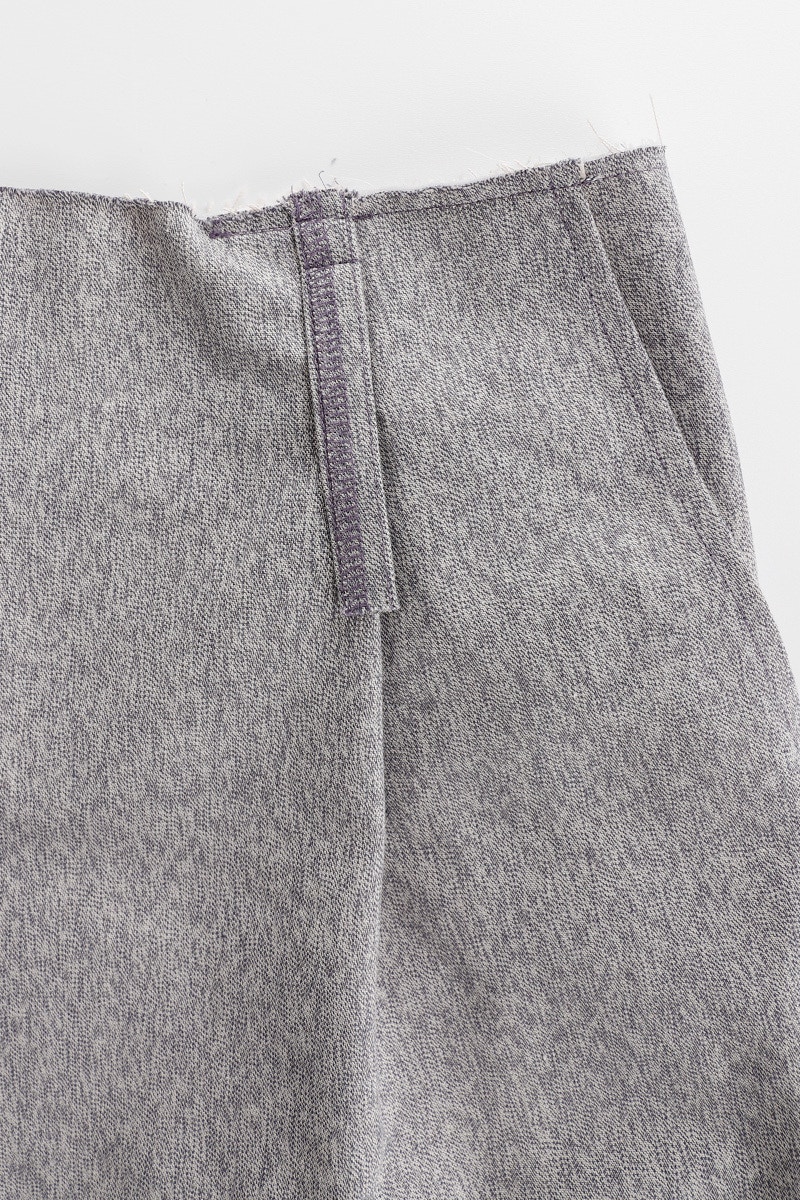
Next, we move on to assembling the waistband and belt loops. It is easiest to work with your pants inside out for the next steps.
Pin your belt loops to the pants as indicated on the pattern. Secure them in place by sewing at the waist and again 2cm from the edge.

Pin your waistband to the pants matching the notches and centre back seams. Sew the waistband to the pants with the right sides together, leaving the facing free. Now, press the seam up, into the waistband.

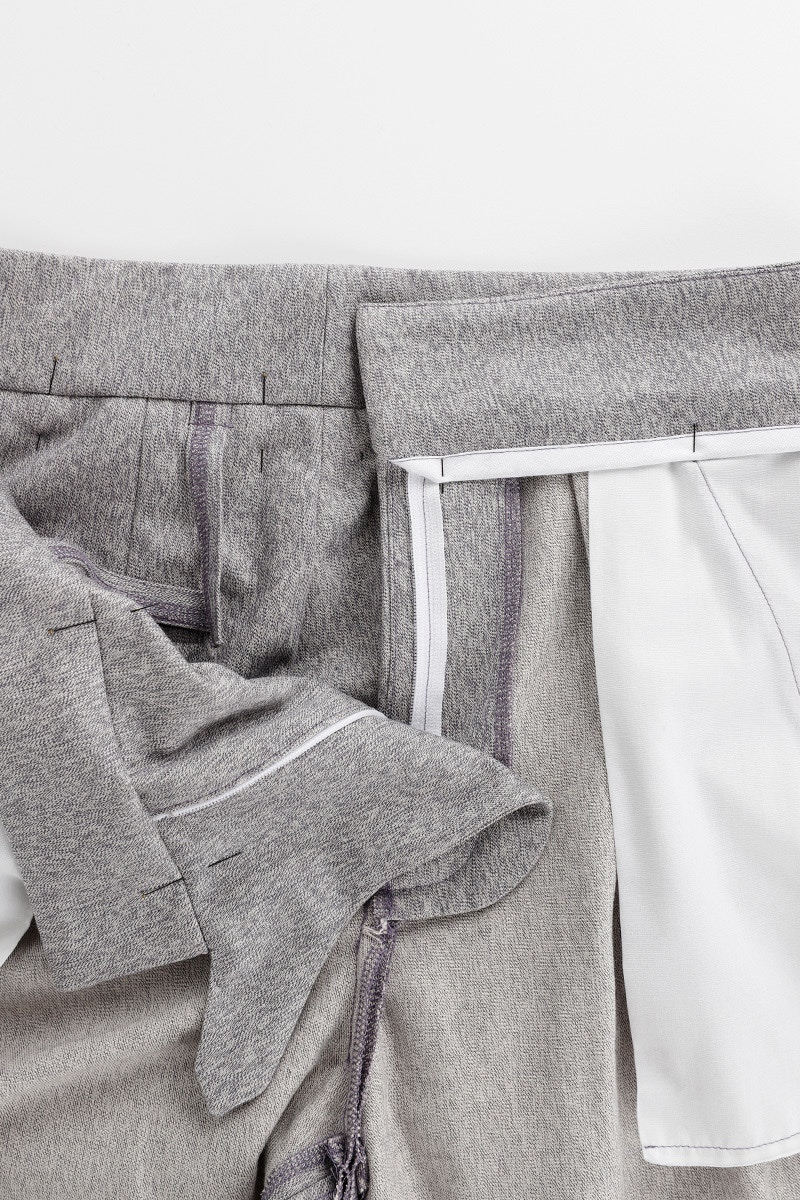
Pin your waistband facing to the waistband to enclose the waist seam. Match up the centre back seam and make sure everything is flat. Folding the bias binding on the seam allowance of the waistband facing back at each end will ensure a tidy finish.
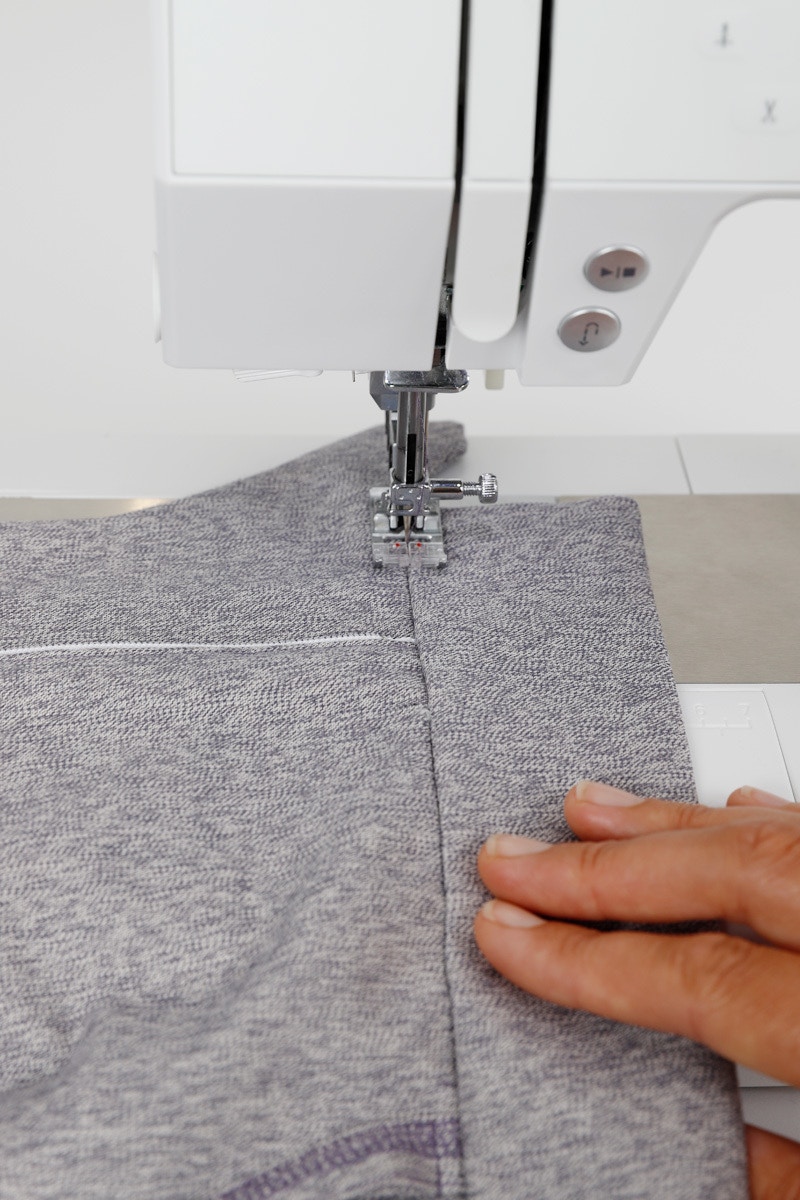
Now, starting at the fly guard, stitch in the ditch to sew the waistband closed, finishing at the fly facing. Make sure you catch the waistband facing on the underside as you sew, and that the belt loops out of the way!
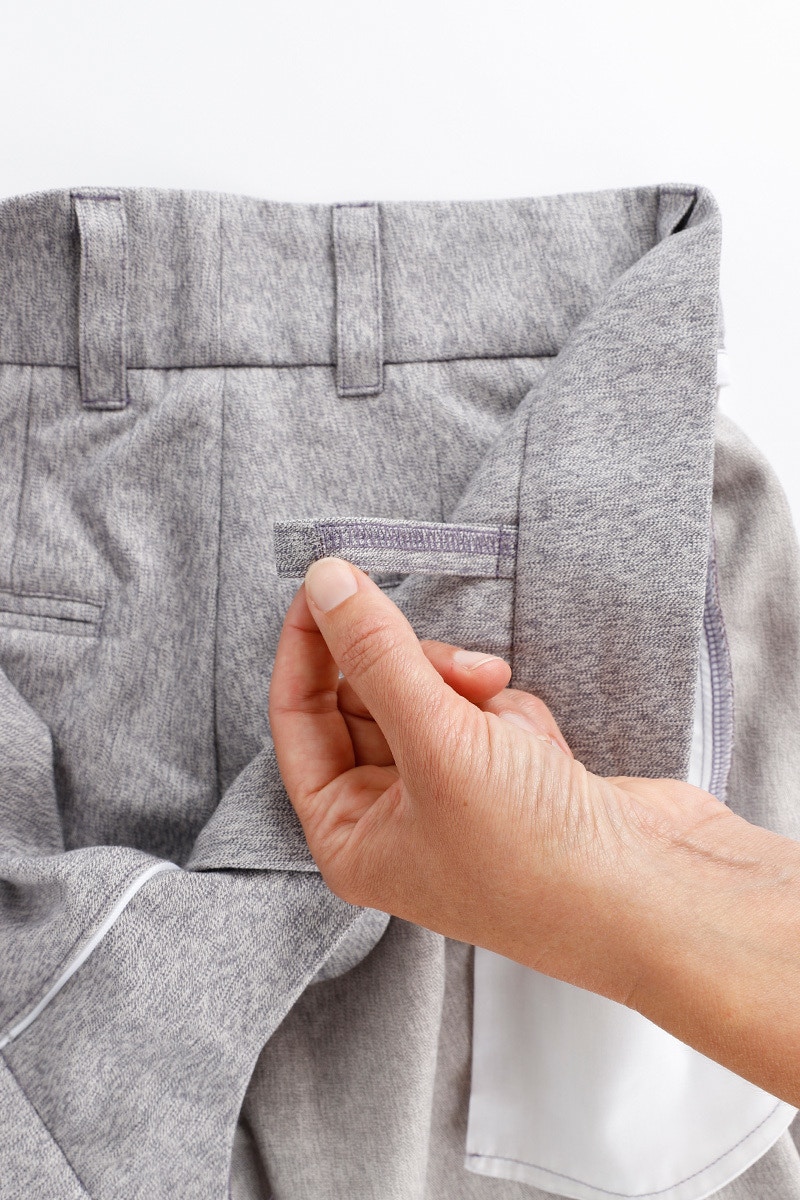
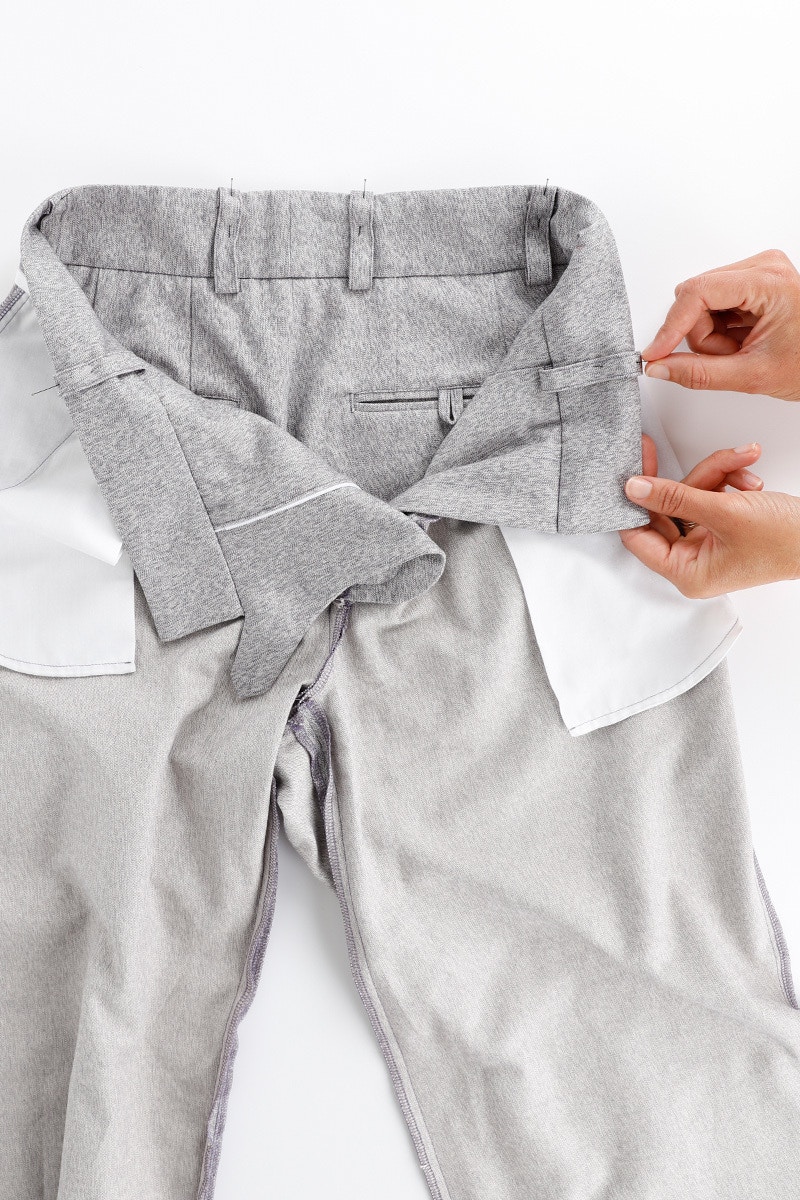
To finish the belt loops, fold the free end of each belt loop under 1cm and pin it in place so the folded edge is aligned with the top of the waistband. Secure the belt loops in place with a row of stitching, back tacking at the beginning and end. You can also bar-tack your belt loops to secure them if your machine has the capability.

Flatten the belt loops and secure the bottom edge with stitching in the same way as the top.
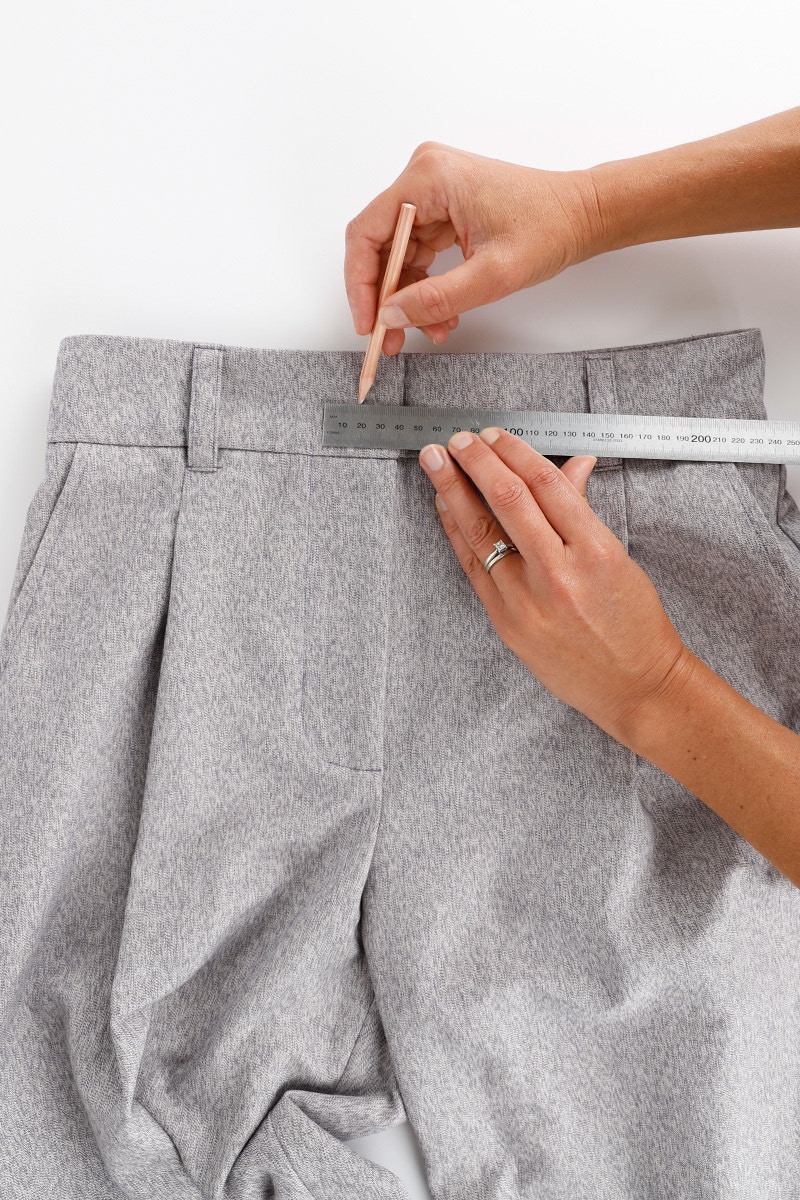
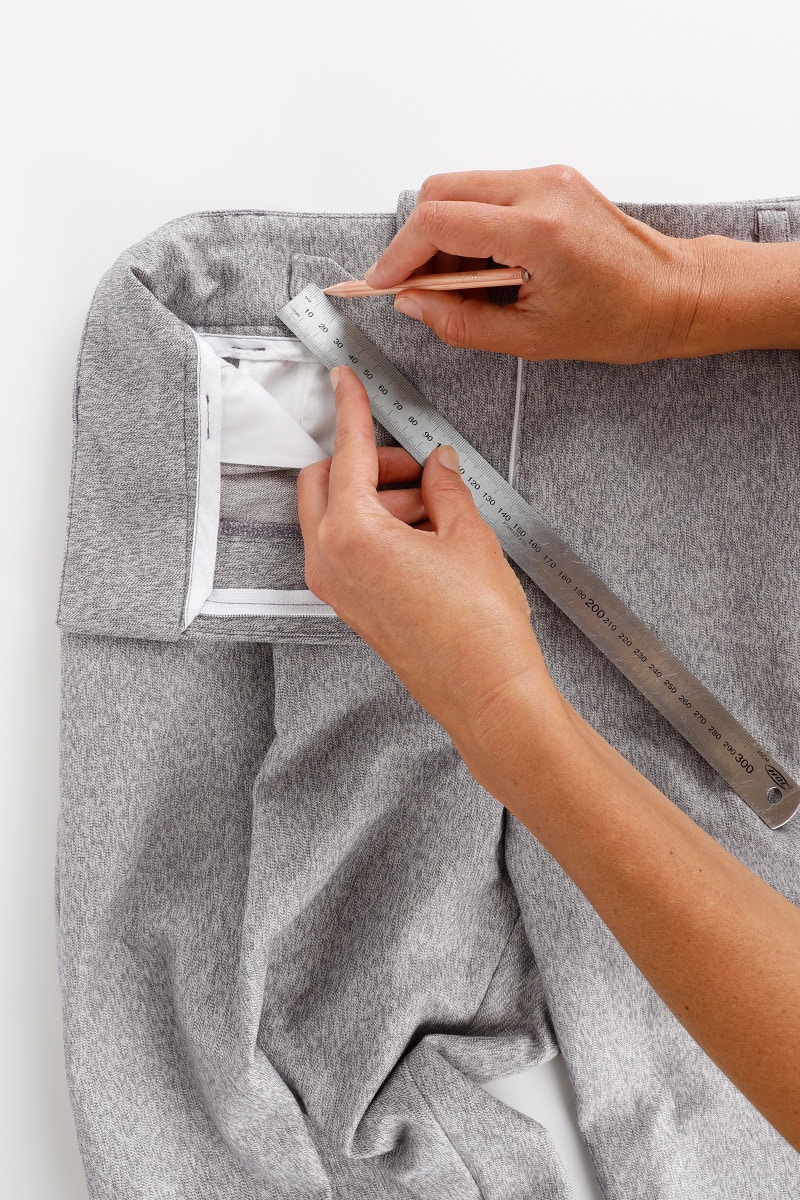
If you haven't done so already, now is the time to sew your buttonholes! Mark your buttonholes on the waistband and fly guard extension using the pattern as a guide. If your buttons vary in size to what is recommended you will need to adjust your buttonholes accordingly!
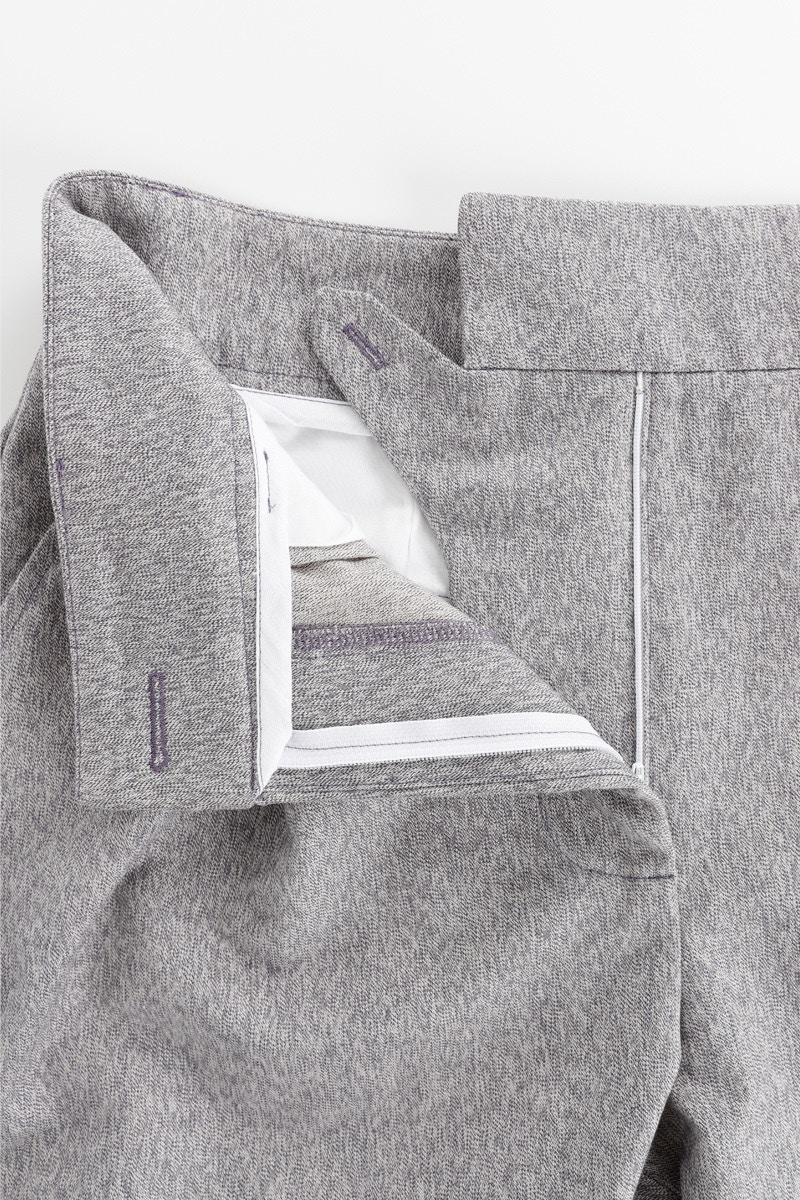
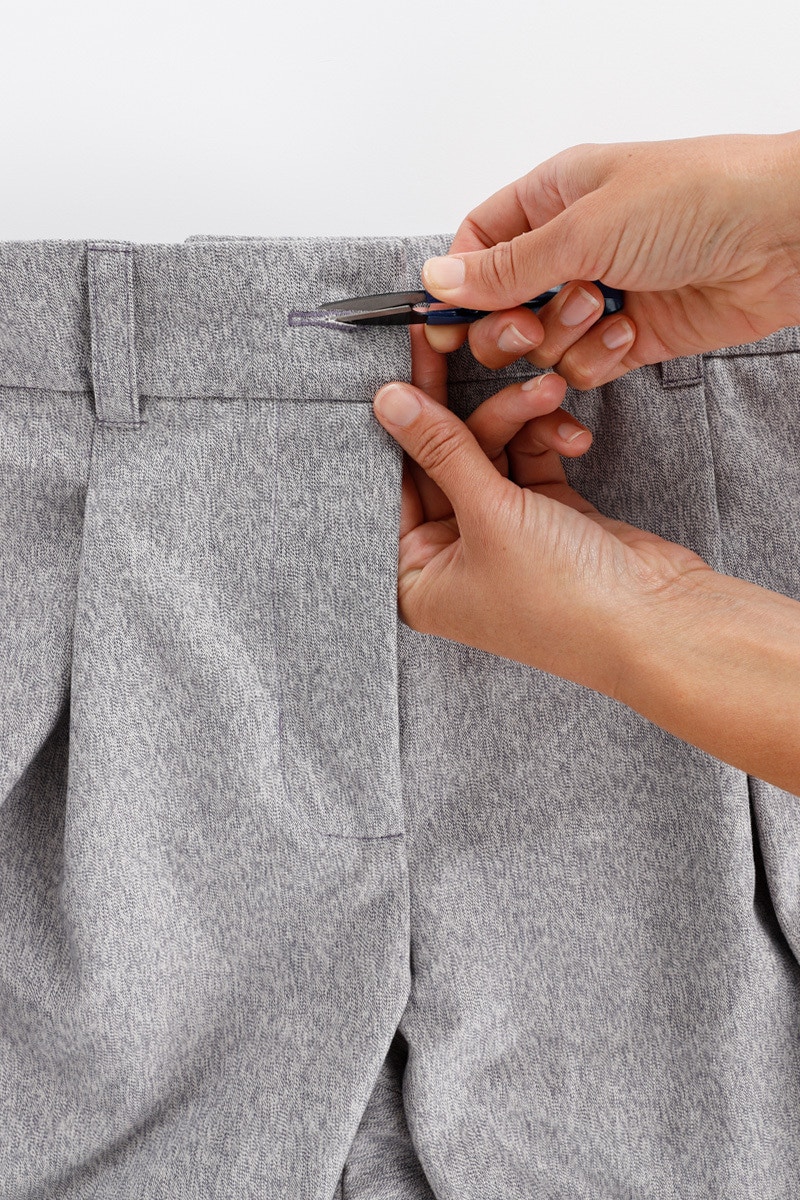
Sew your buttonholes as per your machine's manual and then carefully cut them open.

Next, we move on to the hems. At the bottom of your pants, fold under and press the 1cm seam allowance, then fold up another 4cm for the hem. Edgestitch your hem in place and give it a press. Repeat for the other leg.
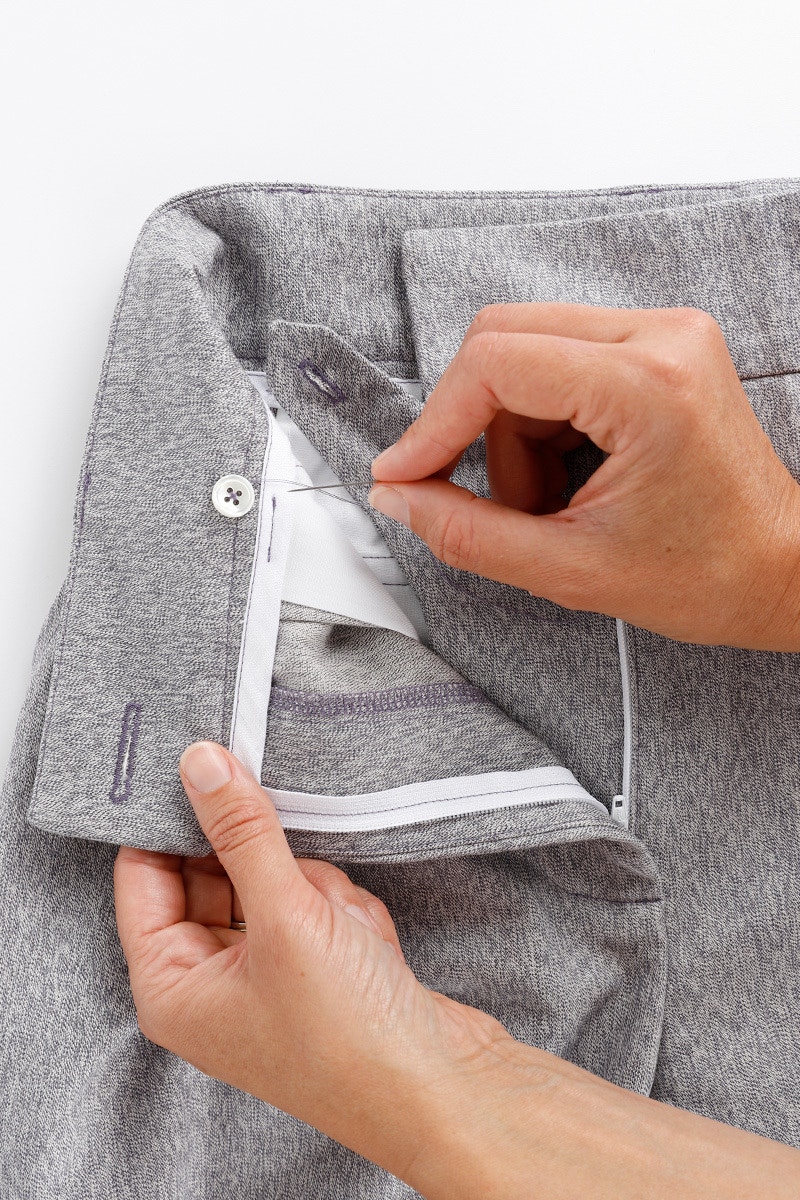
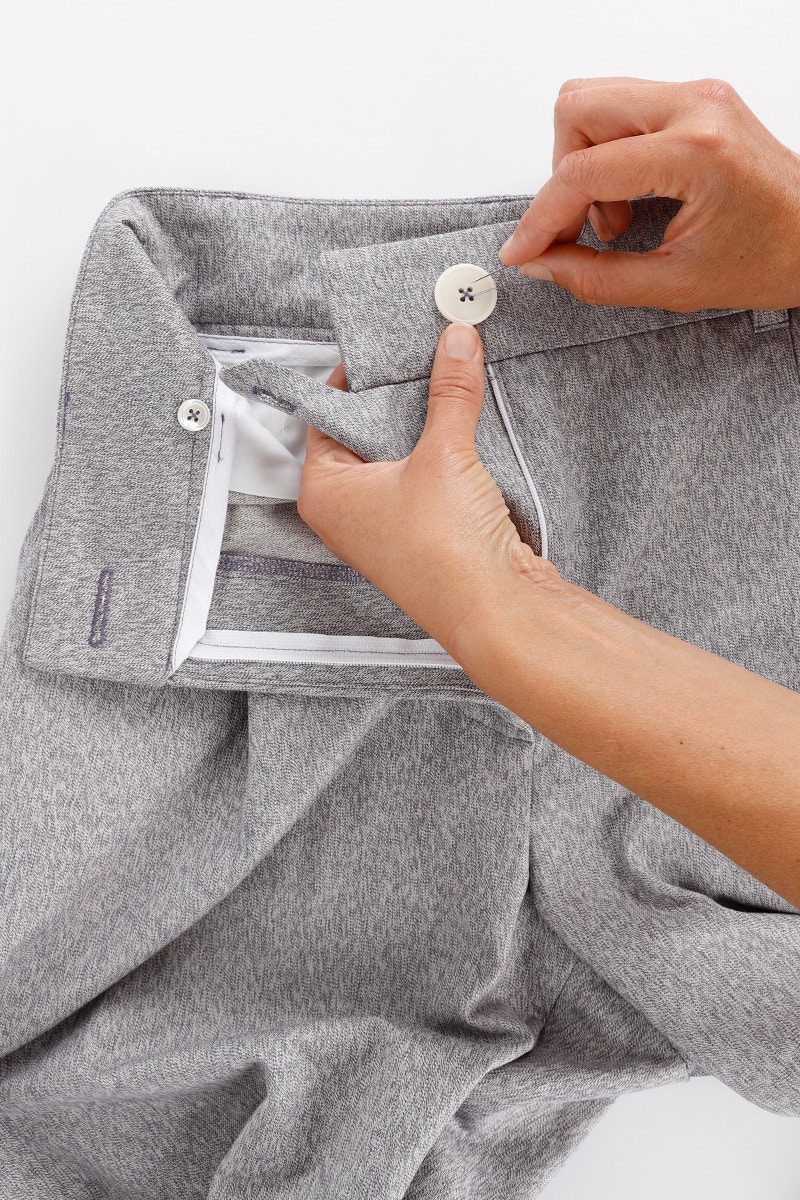
Now for the finishing touches, you are almost there!
Sew your buttons on the waistband, as indicated on the pattern. When sewing on the internal button, take extra care that the stitches do not come through to the right side.
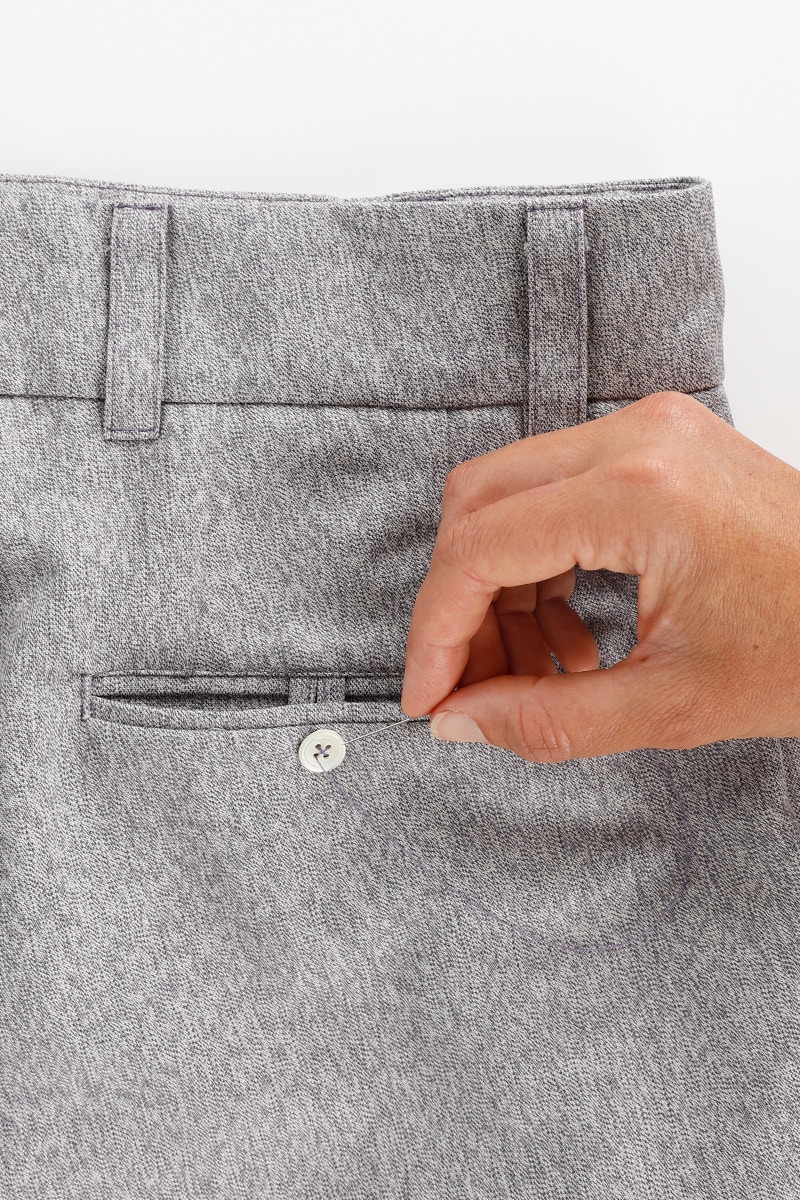
Sew a button on each jet pocket.
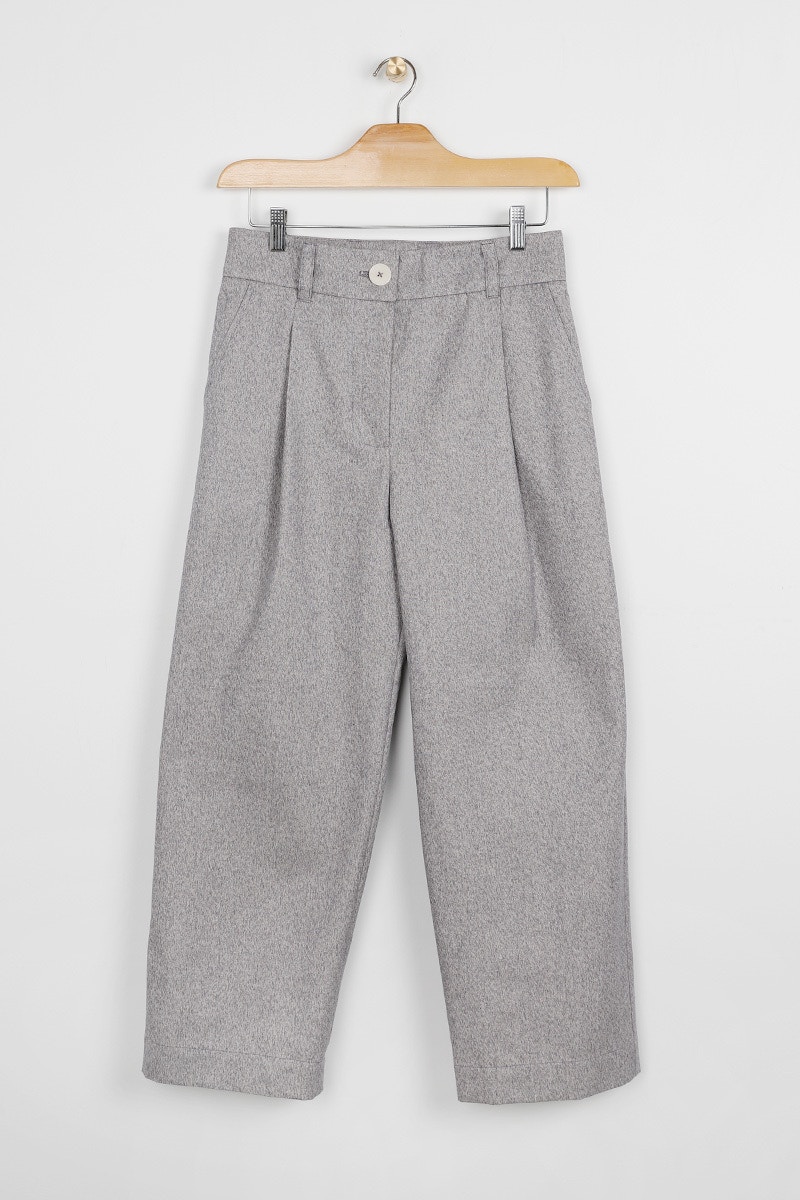
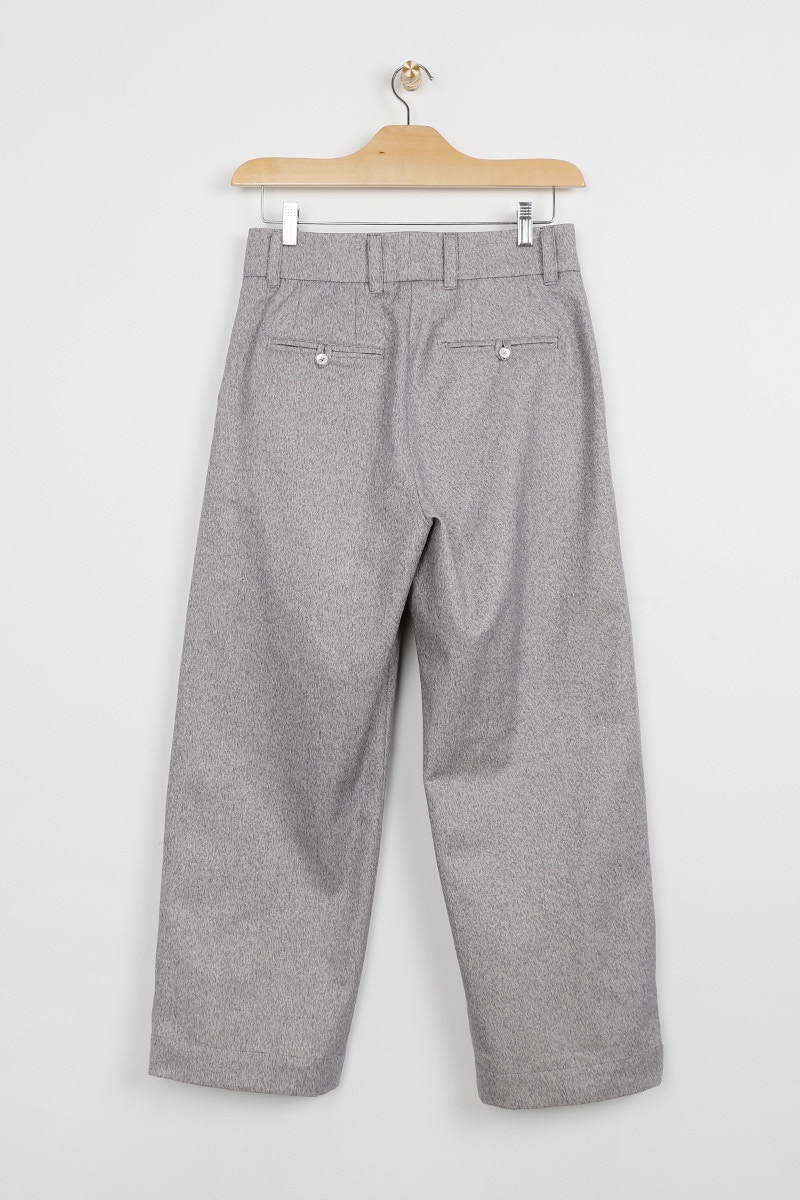
Now, clip your loose threads and give your garment a final press. You are all complete!
Check out the Cass Pant pattern in our Online Store here. Don't forget you can always email us via patterns@thefabricstore.co.nz if you need advice!
Cass makes from our wonderful community are also popping up over on Instagram, follow @makebytfs and use #TFSCassPant so others can check out your creations!


