2 — Sewing the Main Body
21—July 2022
Now we will sew the main body of your Leo Blazer.
We will start our Leo Blazer by sewing the patch pockets.
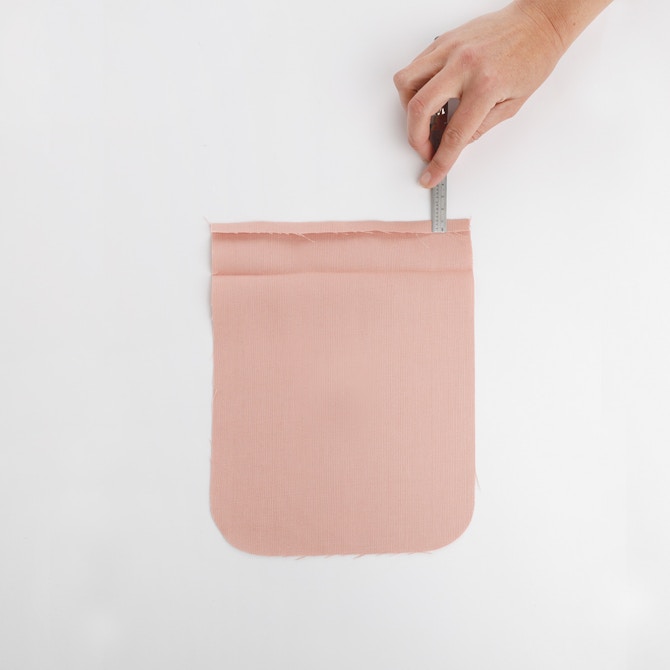
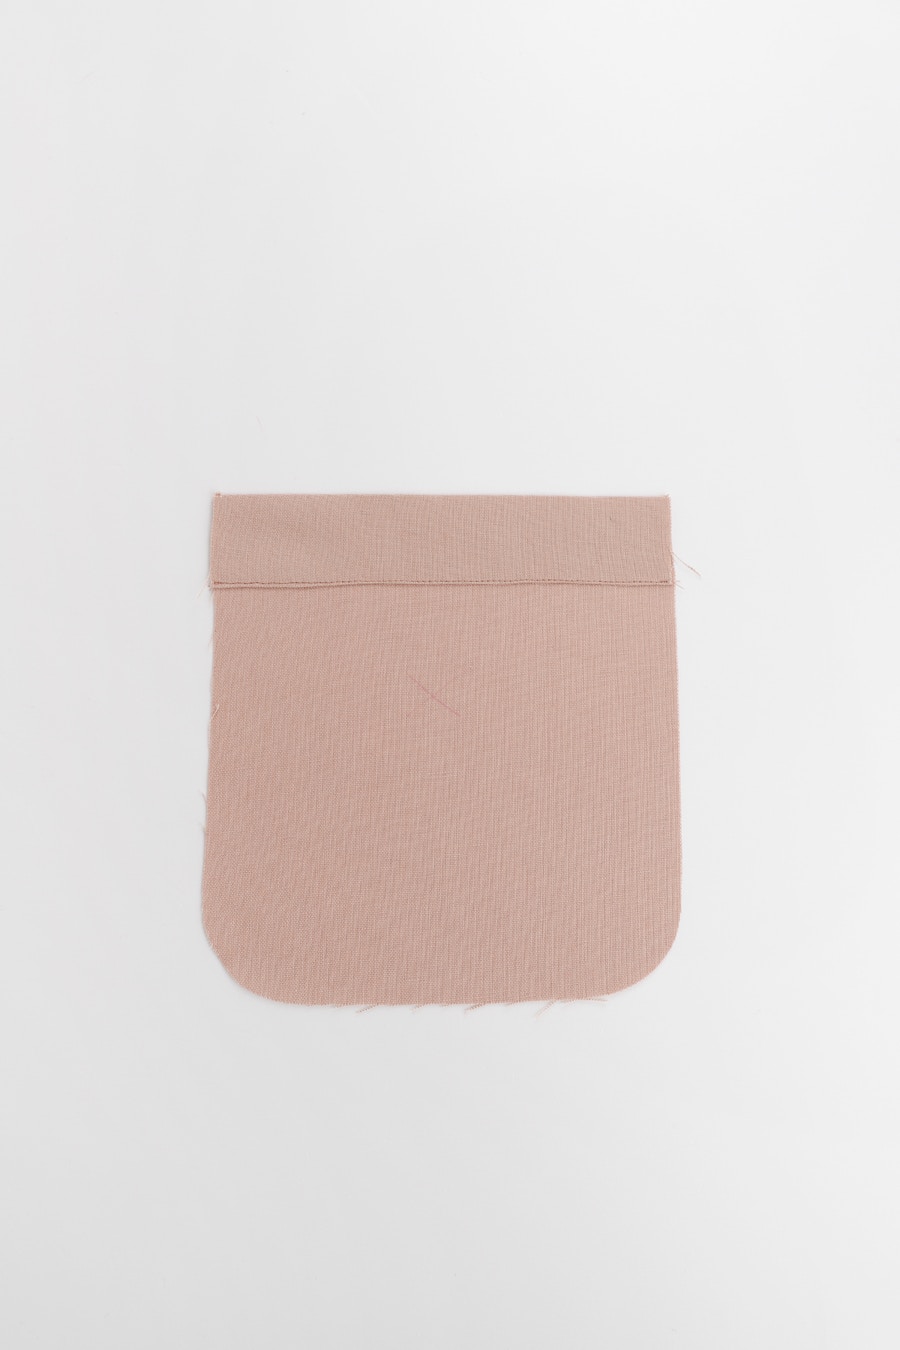
Fold the top of the pocket seam allowance 1cm towards the wrong side, then a further 4cm as indicated by the notches. Edge stitch and then press.
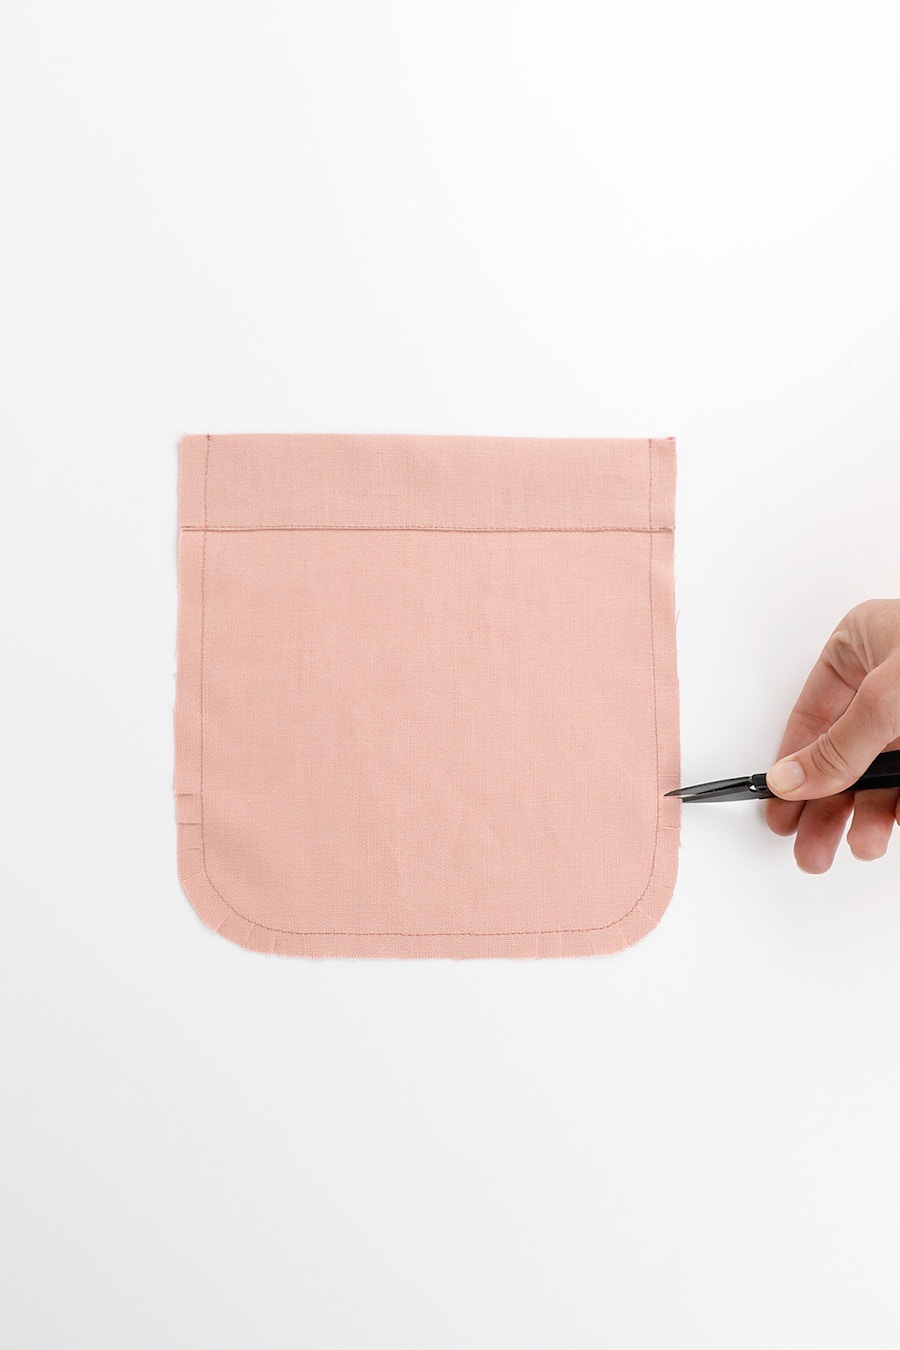
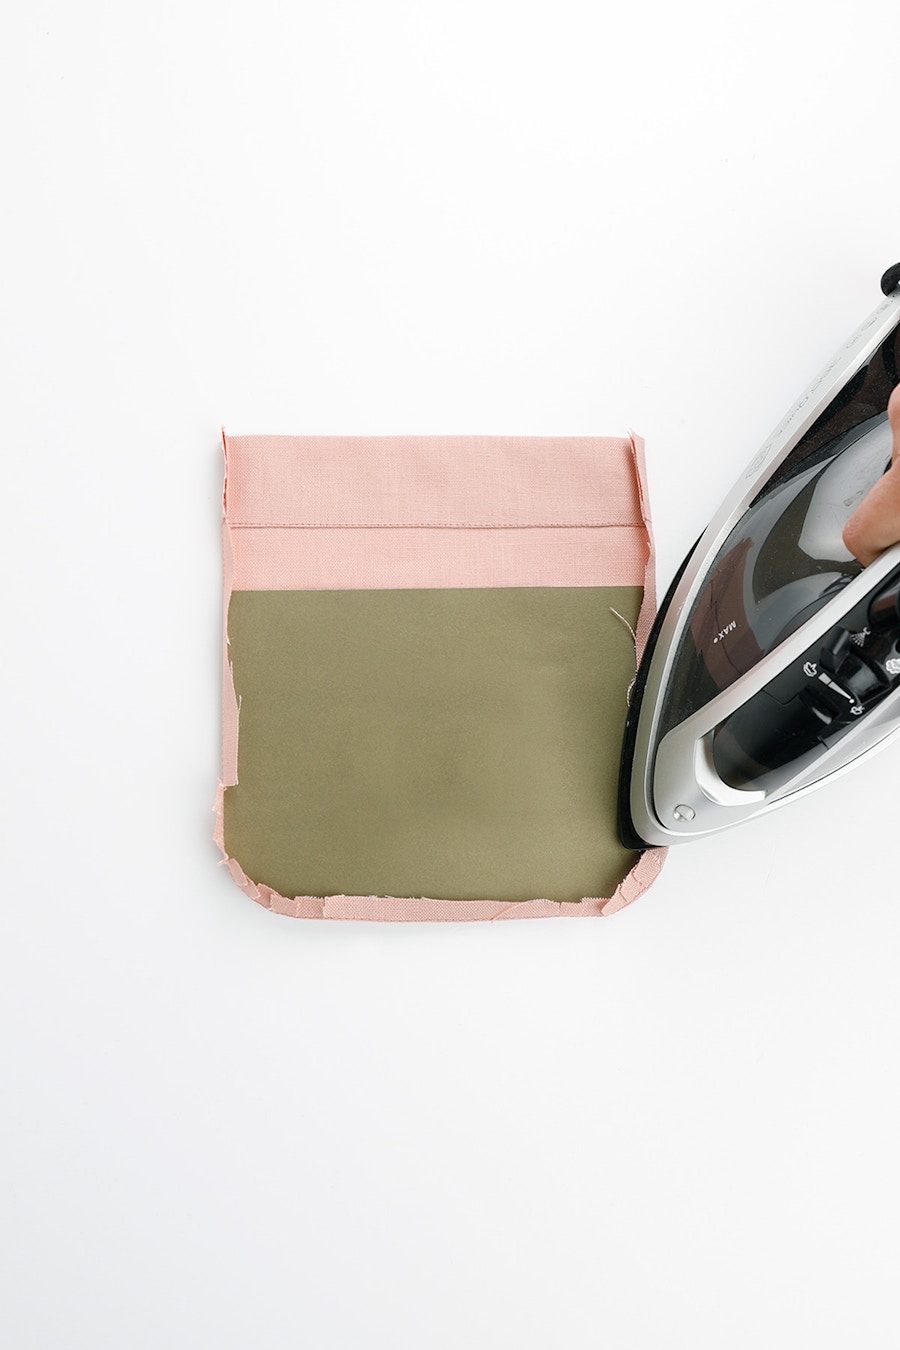
Stitch around the raw edge of the pocket piece at 1 cm. Clip into the seam allowance at the rounded corners. Now, fold back the raw edge 1cm and press using the stitched line to help guide you.
You may want to create a template to help when pressing the rounded bottom edge of the pocket.

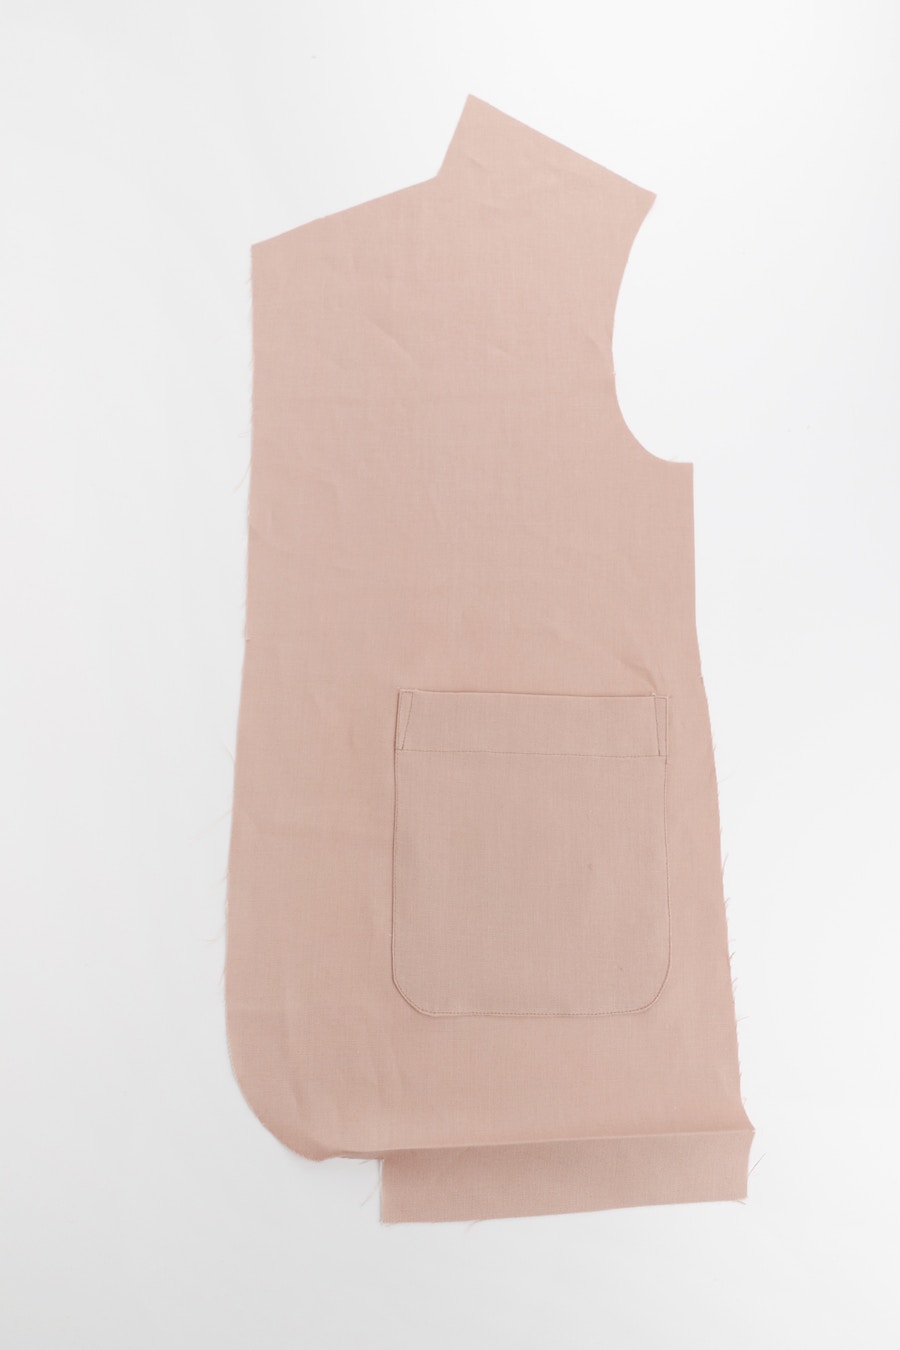
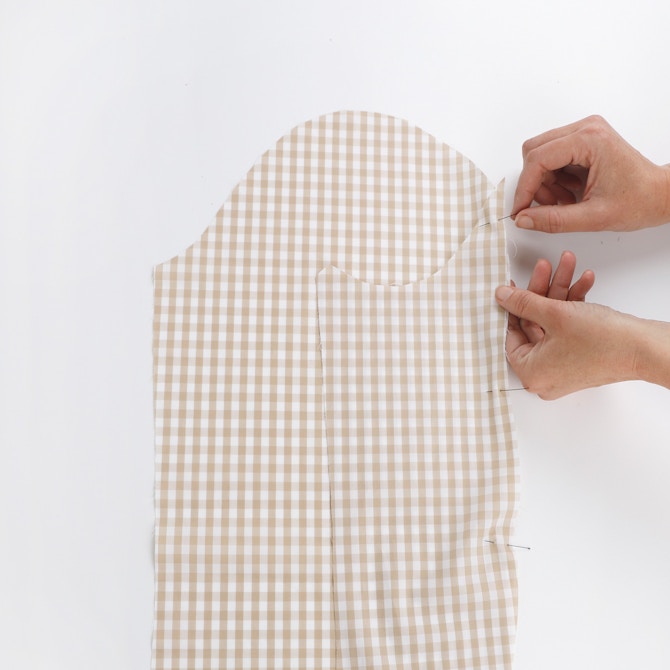
Pin the pocket to the front as indicated by the markings on the pattern with the wrong side of the pocket to the right side of the front.
Edge stitch the pocket into place following the stitching line.
Repeat for the other front pocket.

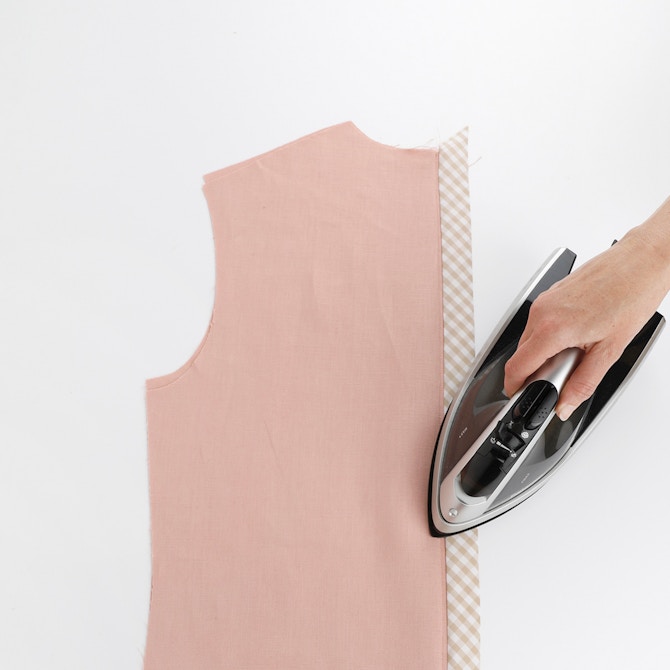
With the right sides together, pin the backs together at the centre back. Sew the seam at 1cm then press the seam open.


Now we will neaten the centre back seam allowance with bias binding. We have cut our own bias binding for this Leo Blazer.
Cut a length of double folded bias binding the length of the seam you are finishing, plus an extra 4-5cm. Place the right side of the bias binding together with the wrong side of the seam allowance, matching the raw edges. Now sew them together at 6mm, finishing at the notch at the hem. This is to reduce bulk when the hem is turned up.
Press the binding out along the
seam you have just sewn.

Fold the free edge of the bias binding so it meets the raw edge of the seam allowance and press. Wrap the bias binding around the raw edge of the seam allowance, making sure the fold is tucked under on the right side. Press and then pin the binding in place.

Wrap the bias binding around the raw edge of the seam allowance, making sure the fold is tucked under on the right side. Press and then pin the binding in place.


With the right sides together, pin the front to the back at the side seams then sew with a 1cm seam. Press the seams open. Neaten the side seam with bias binding, finishing at the notch at the hem, as you did with the centre back.
Repeat for the other side.
Then, with the right sides together, pin the front to the back at the shoulders, then sew each shoulder with a 1cm seam. Press the seams open.
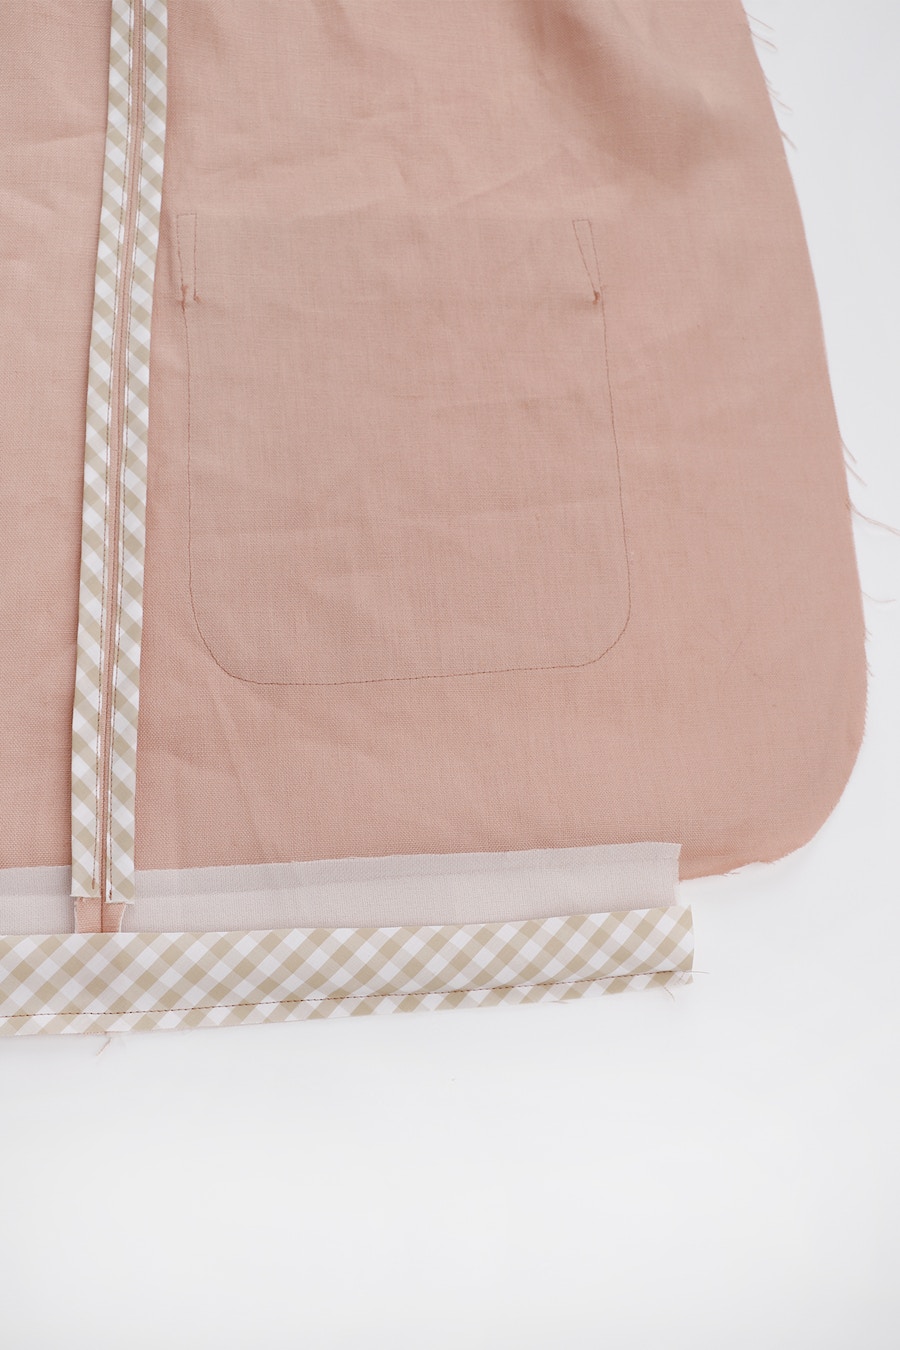
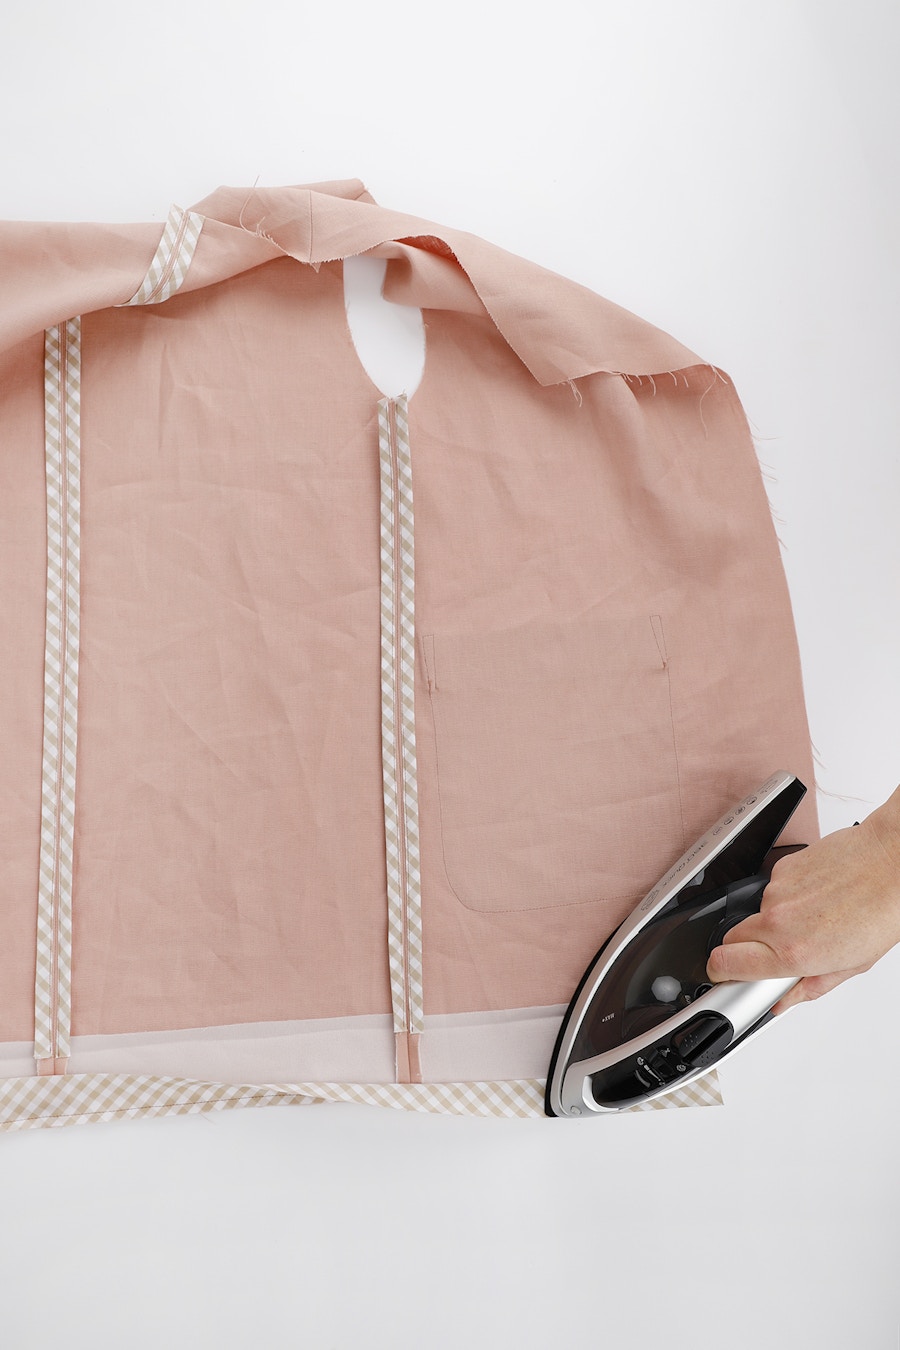
Now, attach bias binding to the hem of the blazer. Place the right side of the binding to the wrong side of the blazer. Pin and then stitch it in place with a 6mm seam. Press the binding down, away from the blazer. Don’t enclose the seam just yet, this will be done later in the construction process when the hem is top stitched in place.
Alternatively, you can leave the hem as is and fold under the seam allowance and top stitch the hem closed when it is time to do the finishing touches.
Now it is time to attach the under collar and the sleeves.
Check out the Leo Blazer pattern in our Online Store here.
Don't forget you can always email us via patterns@thefabricstore.co.nz if you need advice!
May makes from our wonderful community are also popping up over on Instagram, follow @makebytfs and use #TFSLeo so others can check out your creations!