
8 — Sewing the Peplum
18—May 2021
Time to sew the peplum! Follow along here if you are sewing an Ivy Top.
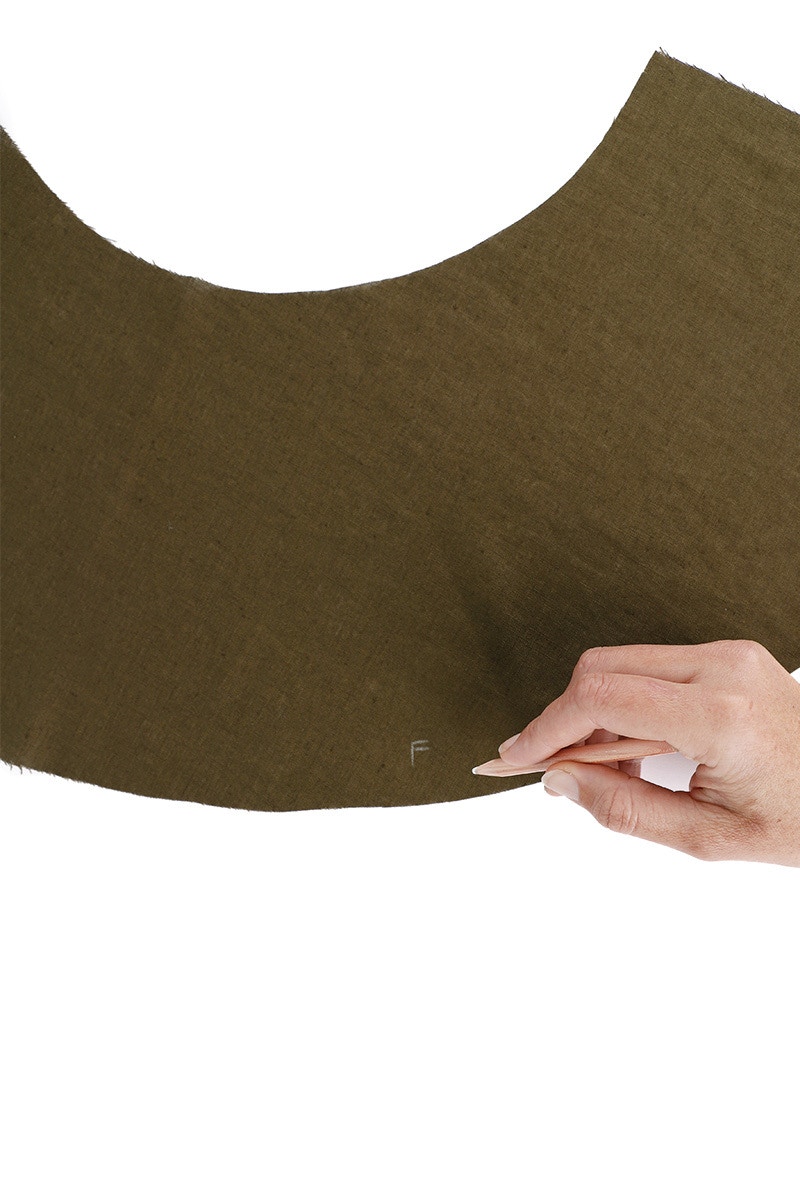

Before sewing your peplum, you may find it helpful to label your peplum facings so you don't get them mixed up with the outer peplum pieces. Do this on the wrong side so it won't be visible when you have finished sewing.
Then, stay stitch the waist edge of each peplum and peplum facing piece separately to prevent them from stretching out.
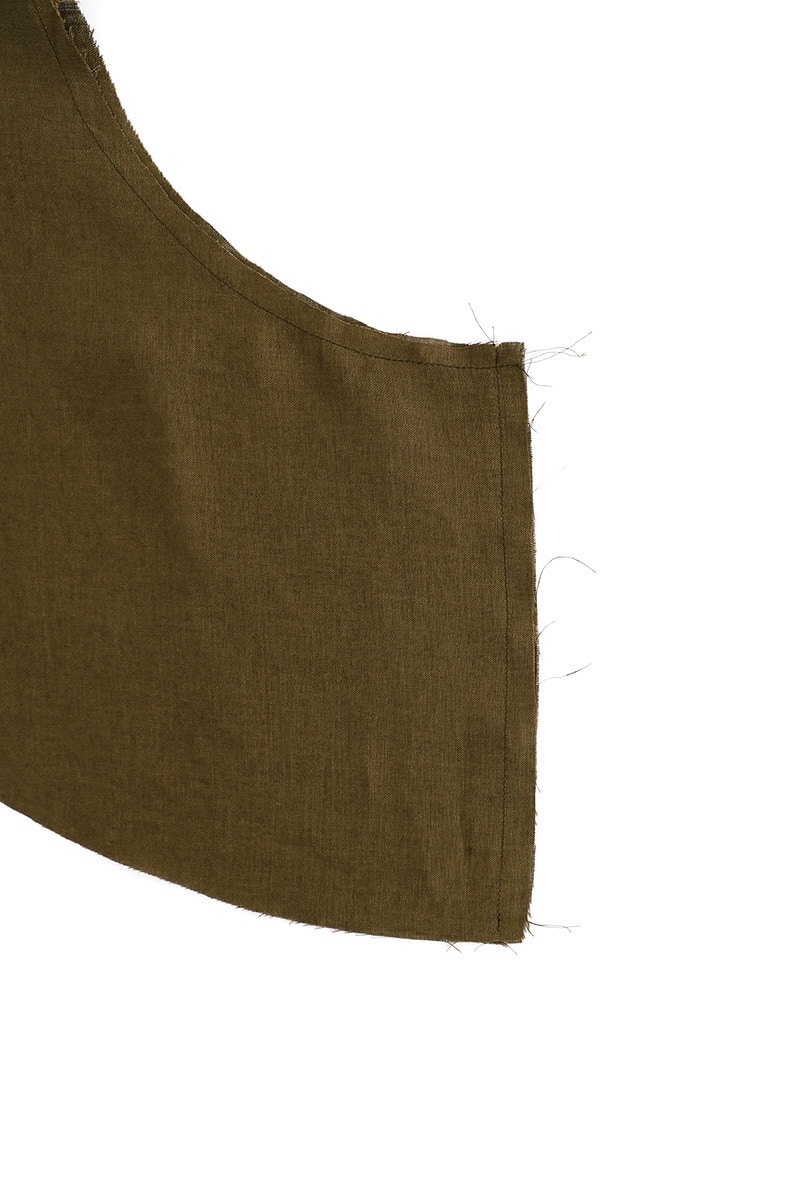
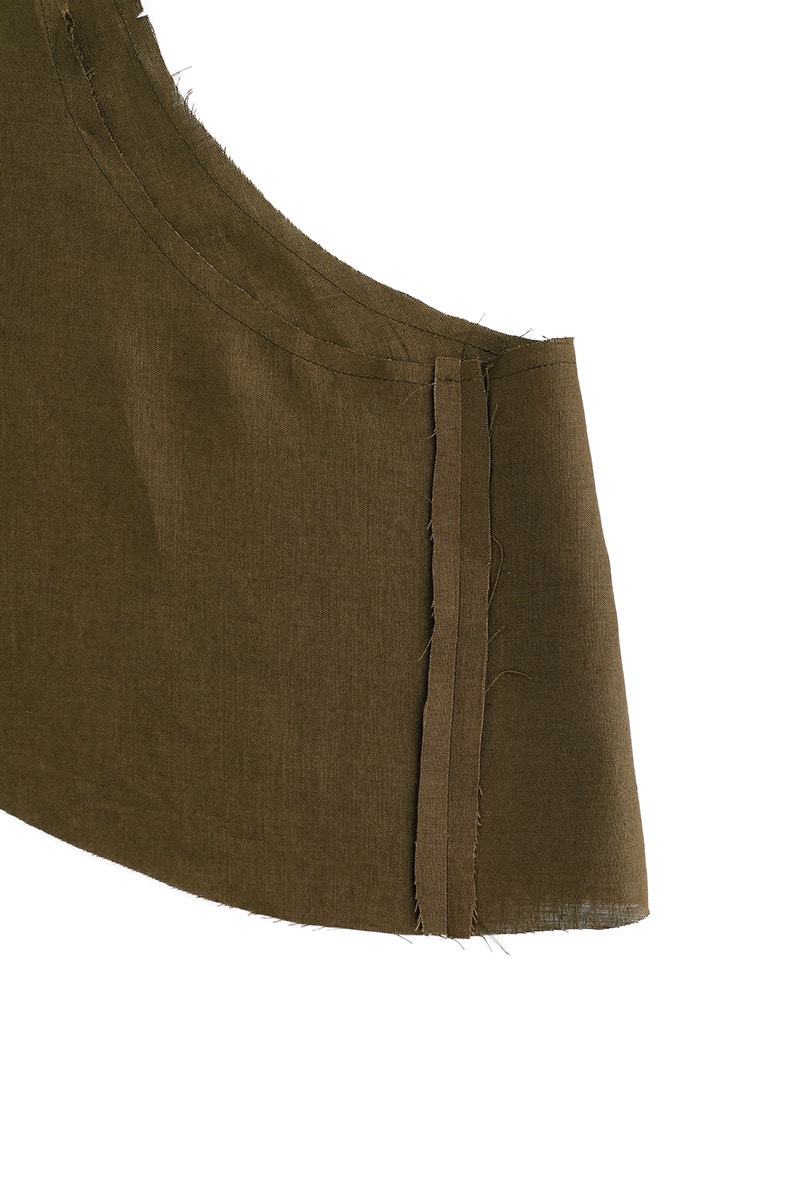
Now, with the right sides together, sew the side seams of the two peplum pieces together. Press the seams open.
Do the same with the peplum facing.

Pin the peplum to the peplum facing at the outer edge, with the right sides together and matching the side seams and notches. Sew the peplum to the peplum facing with a 6mm seam at the outer edge. Go slow when sewing this seam, and take care not to stretch out the hem edge.
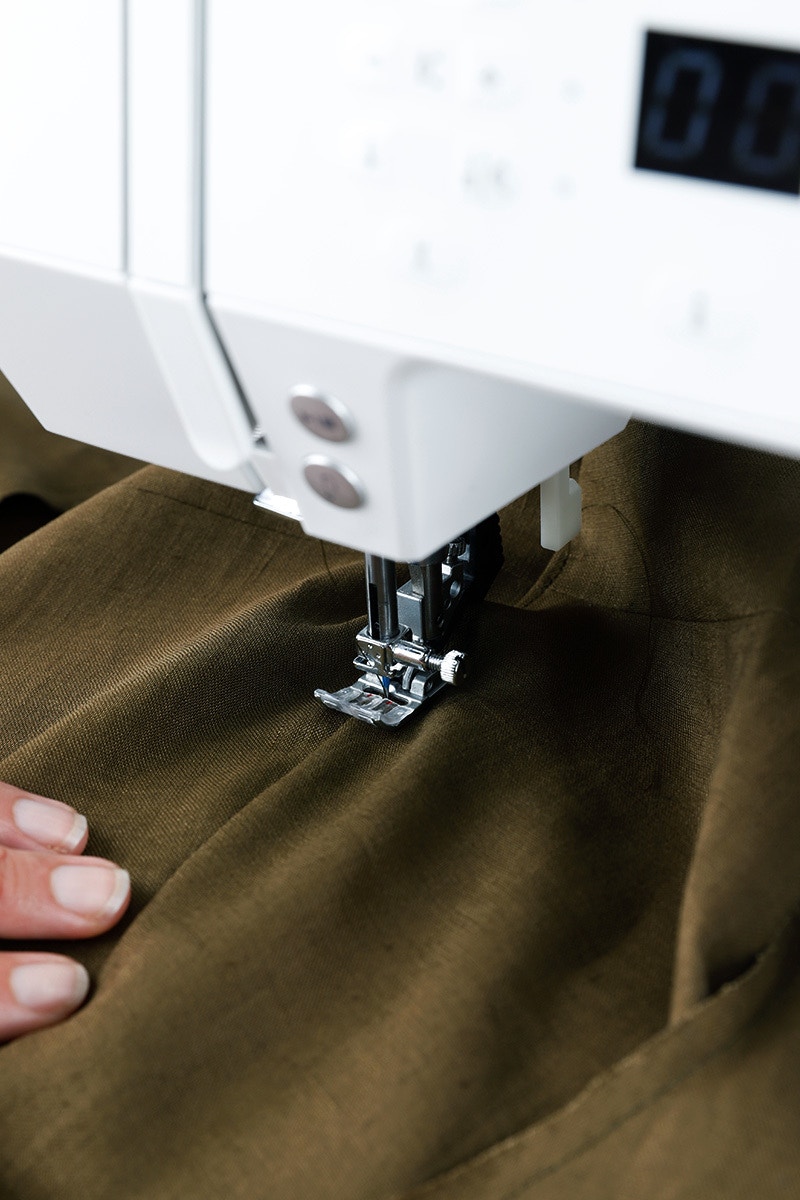
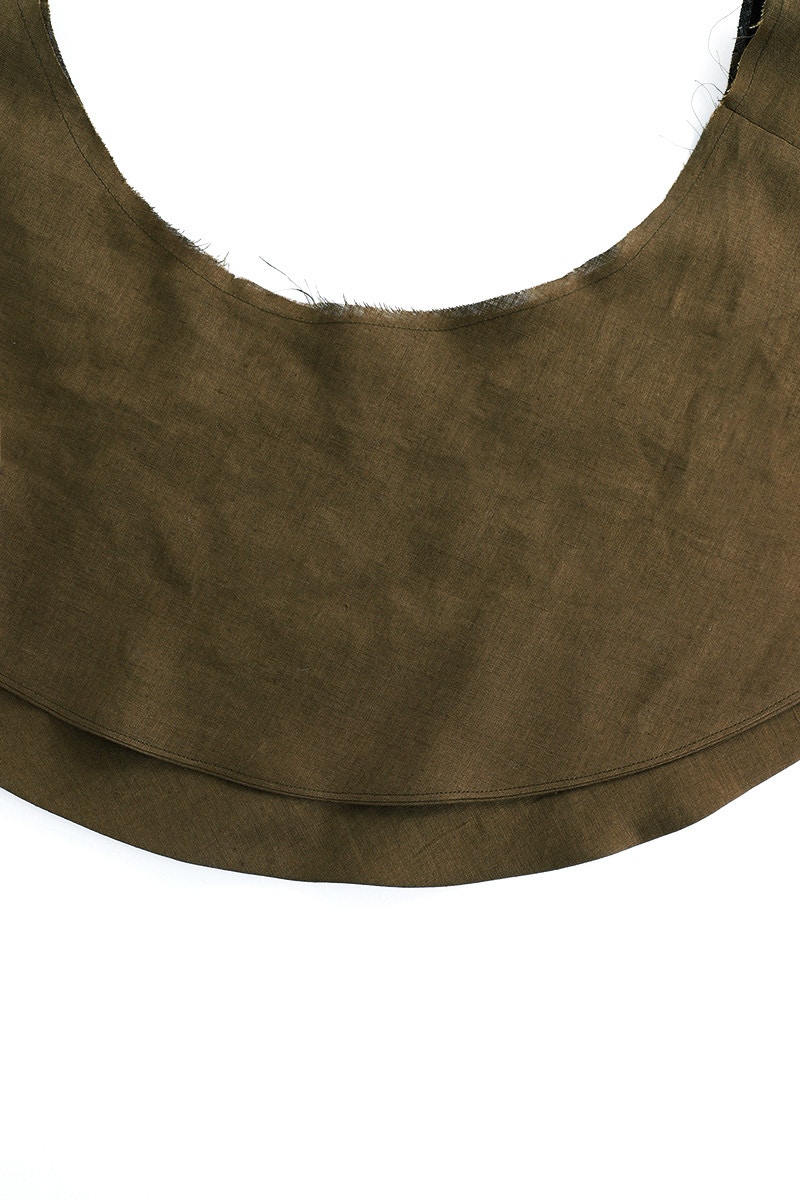
Turn the peplum right sides out and then under stitch on the peplum facing.
Give your peplum a press then baste the peplum to the peplum facing at the waist edge.

Pin the peplum to the bodice at the waist edge, with the right sides together. Sew them together with a 1cm seam and then neaten the raw edge.

Press this seam towards the bodice.
Now it is time for the finishing touches!
Check out the Ivy Dress + Top pattern in our Online Store here. Don't forget you can always email us via patterns@thefabricstore.co.nz if you need advice!
Ivy makes from our wonderful community are also popping up over on Instagram, follow @makebytfs and use #TFSIvyDress or #TFSIvyTop so others can check out your creations!


