Make by TFS

Fog Tank Hack
27—April 2022
Update your wardrobe of #MeMade basics with this easy Make by TFS Fog Tank hack!
Like a tried-and-true tee or denim jeans, classic tank tops have the ability to instantly transcend trends! They’re a trusty wardrobe staple, a comfortable layering tool to combat the cold when worn under knitwear and shirts, or an easy-peasy piece to wear alone during summer. Our Make by TFS Fog Tee pattern provides an ideal base for all manner of top hacks, including the simple tank! Read on for a beginner-friendly guide to hacking this popular pattern, kindly modelled by Charlee.
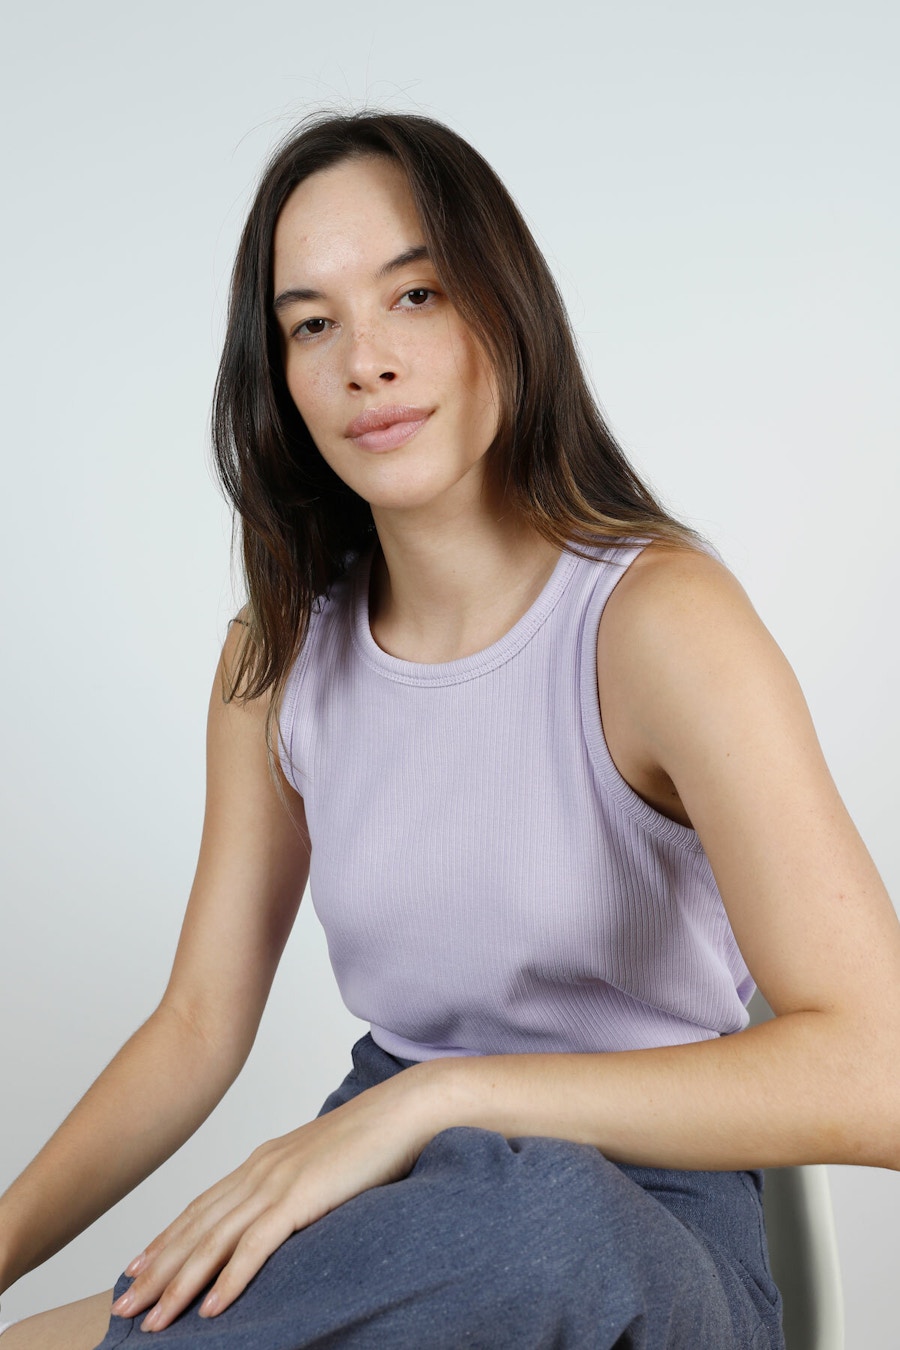
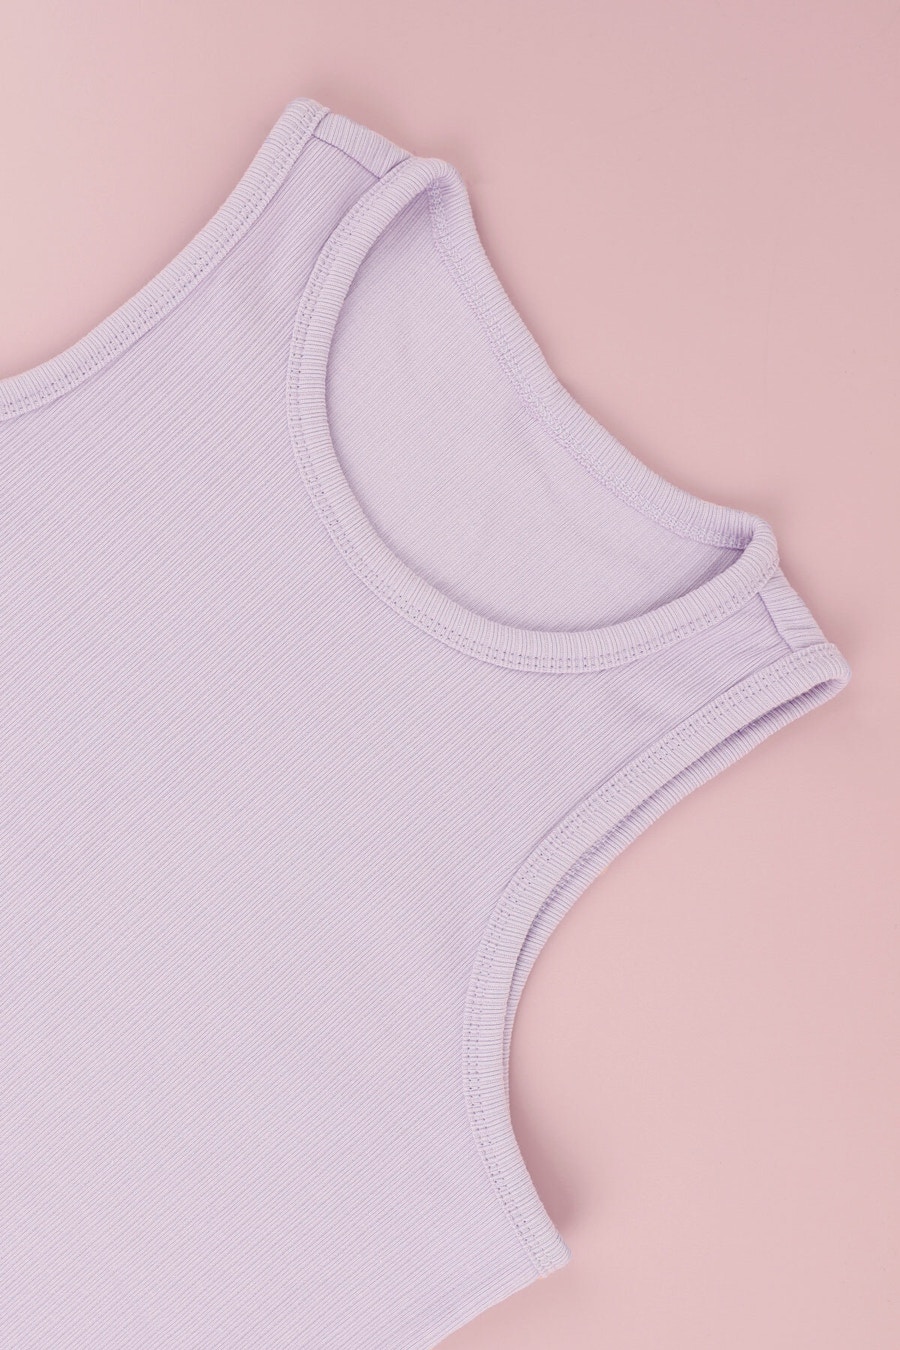
The Fog Tee is a simple every-day knit top pattern, designed to compliment your existing wardrobe and easy to pair with our Make by TFS skirt and pant patterns. Fog is one of our original patterns, featuring a casual straight fit through the body and slim sleeves, with two neckline views (plus free turtleneck extension here!). The Fog tee was designed for light to medium weight knit fabrics, such as merino jersey, cotton knits, rib knits, bamboo knits or stretch mesh fabrics. Take care to ensure your fabric is not too thick, as the seams around the shoulder and neckline can become too chunky.
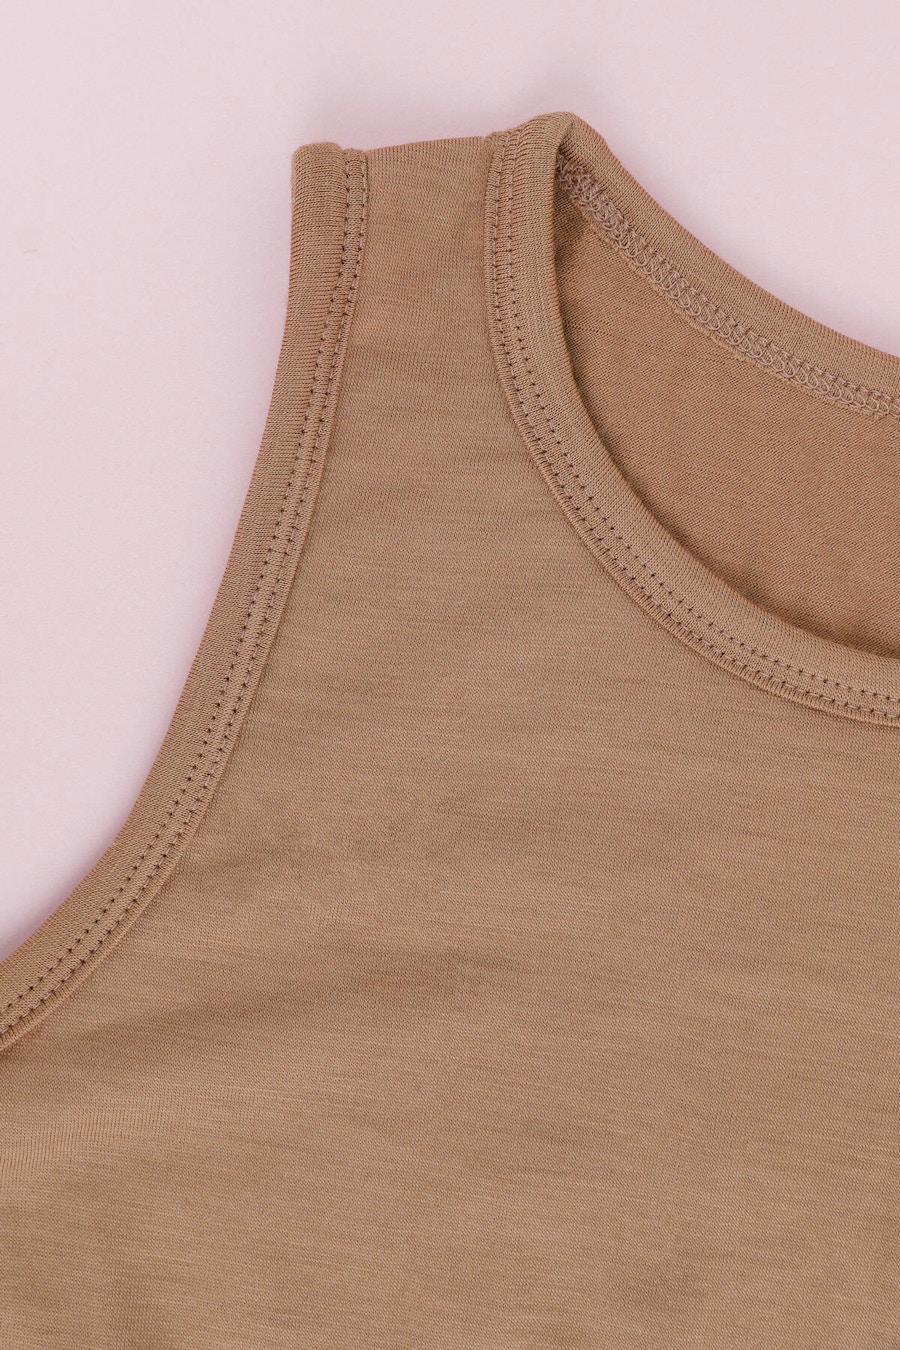
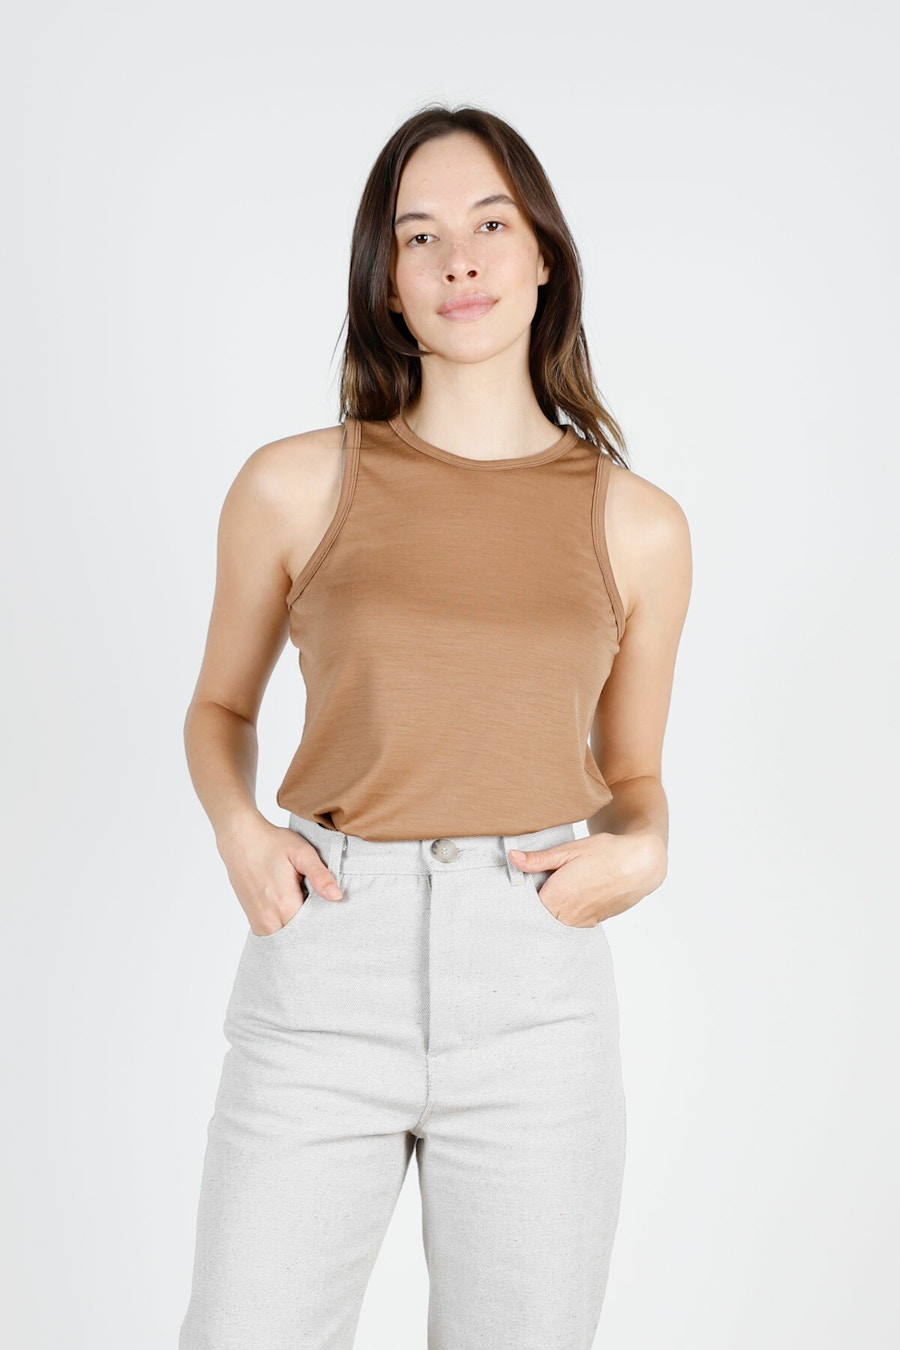
This tank hack couldn't be simpler, and is an easy one to customise depending on the fit you prefer!
To begin, download the Fog Tee pattern from our Online Store, and select the size you'd like to make. The Fog Tee pattern is a casual fit, and we sized down to a 6 for Charlee, as we were keen to try a closer, form-fitting tank. We think the best thing to do first, as with most #MeMade garments, is to sew up a basic toile. A toile is a sample garment that is usually made up in a cheaper fabric, allowing you to test and perfect the fit of your garment before you cut into your final fabric. For the Fog tank hack, this will simply mean sewing together the front and back body pieces in the size you've chosen. Make sure to choose a toile fabric that is similar in weight and stretch to the final fabric you'd like to sew with.
Once you've sewn them up, try the toile on, and have a look in a mirror. You'll see that the shoulders are fairly broad and the armhole is quite high, but don't panic! It's now time to reshape and refine this area, and there are a few ways to do this. One way to create a custom tank shape is to take a sewers pencil or pen and whilst you have the toile on, draw a curved 'tank' line starting about 4-6cm in towards your neck from the outer edge of your shoulder, all the way down to the side seam under your arm. Doing this helps you visually see where the ball of your shoulder sits in relation to the curve, and allows you to play around with where you'd like your tank to cut away. Once you're happy with where the line is sitting, you'll need to transfer it back onto to your paper pattern.
Another way to create a custom tank shape is to take a ready-made favourite tank that you love the shoulder shaping of, and use this to trace a curved tank line directly onto your paper pattern. We opted for the on-body shaping, and made two toiles to get the right fit!
In the picture below, you can see the Fog Tee front and back pattern pieces side by side. The grey traced lines show the original shape of the pattern and the lilac ribbing pieces laid over show our reshaped tank pattern. For this shape, we ended up taking off 6cm from the outer shoulder to narrow the tank strap, and then dropped the side armhole seam by 1cm. We then carefully drew in a smooth armhole curve on the front and back pattern pieces. Voila!
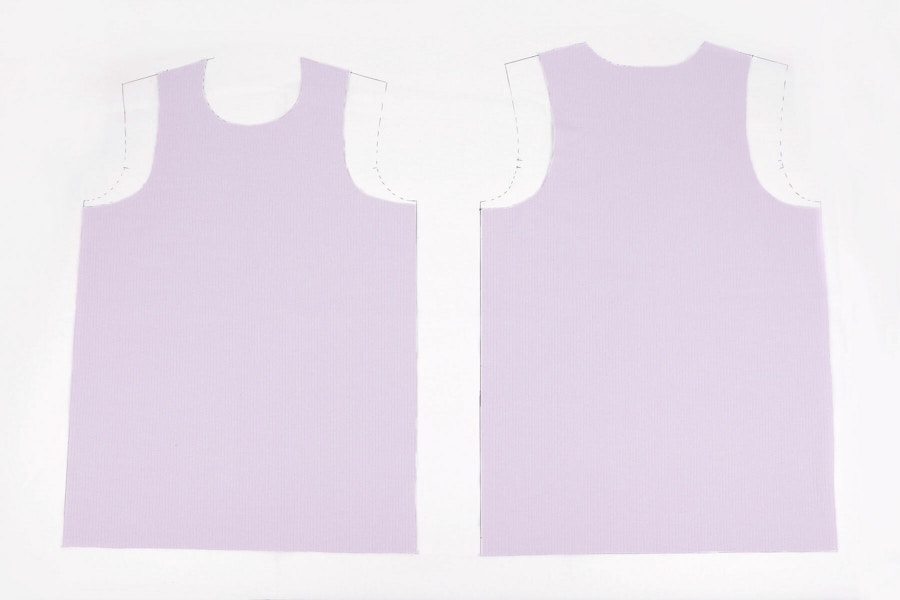
This tank couldn't be easier to sew! Simply place the front and backs right sides together, overlock them closed at the shoulder seams and then overlock the side seams together. Then turn the hem under by 2.5cm and finishing with a cover seam or twin needle.
To finish our neckline, we used the same binding method and pattern piece that the Fog Tee pattern uses (so you can follow the instruction booklet there!). We then finished the armhole with a 1.2cm wide wrap binding and a cover seam top stitch. As is often the case with sewing in general, there are a few different ways to binding a neckline! We love this wrap binding tutorial from Megan Nielsen here, and a bunch of other methods from Seamwork here.
To work out the length of the binding for the armhole, we measured the armhole circumference and then multiplied armhole measurement by 0.85 to come up with the binding length and then finally added 1cm seam allowance length. Note that the binding needs to be approx. 85% smaller in length than the armhole circumference, to allow the binding to stretch and the armhole edges to sit flat. This does also depends on how stretchy your fabric is too, and for a firmer knit fabric with less stretch, this measurement can be calculated at 90% smaller. Sewing with Sarah has a helpful tutorial for sewing bindings, lots of tips! Check it out here.
For reference, our final binding armhole pattern piece measuring 46cm x 6cm wide, just slightly longer than the neck binding which measured 43cm x 6cm.
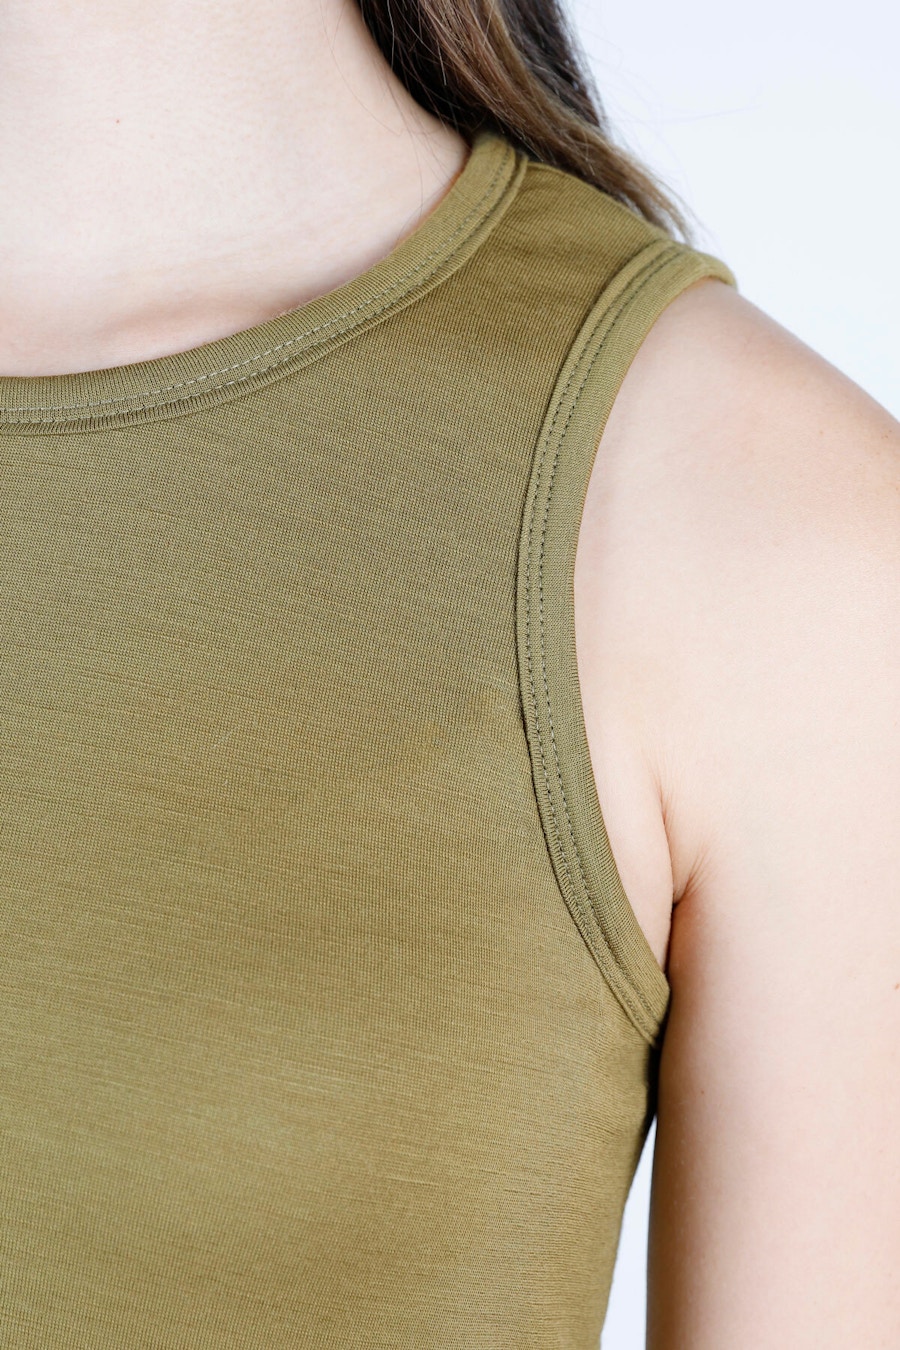
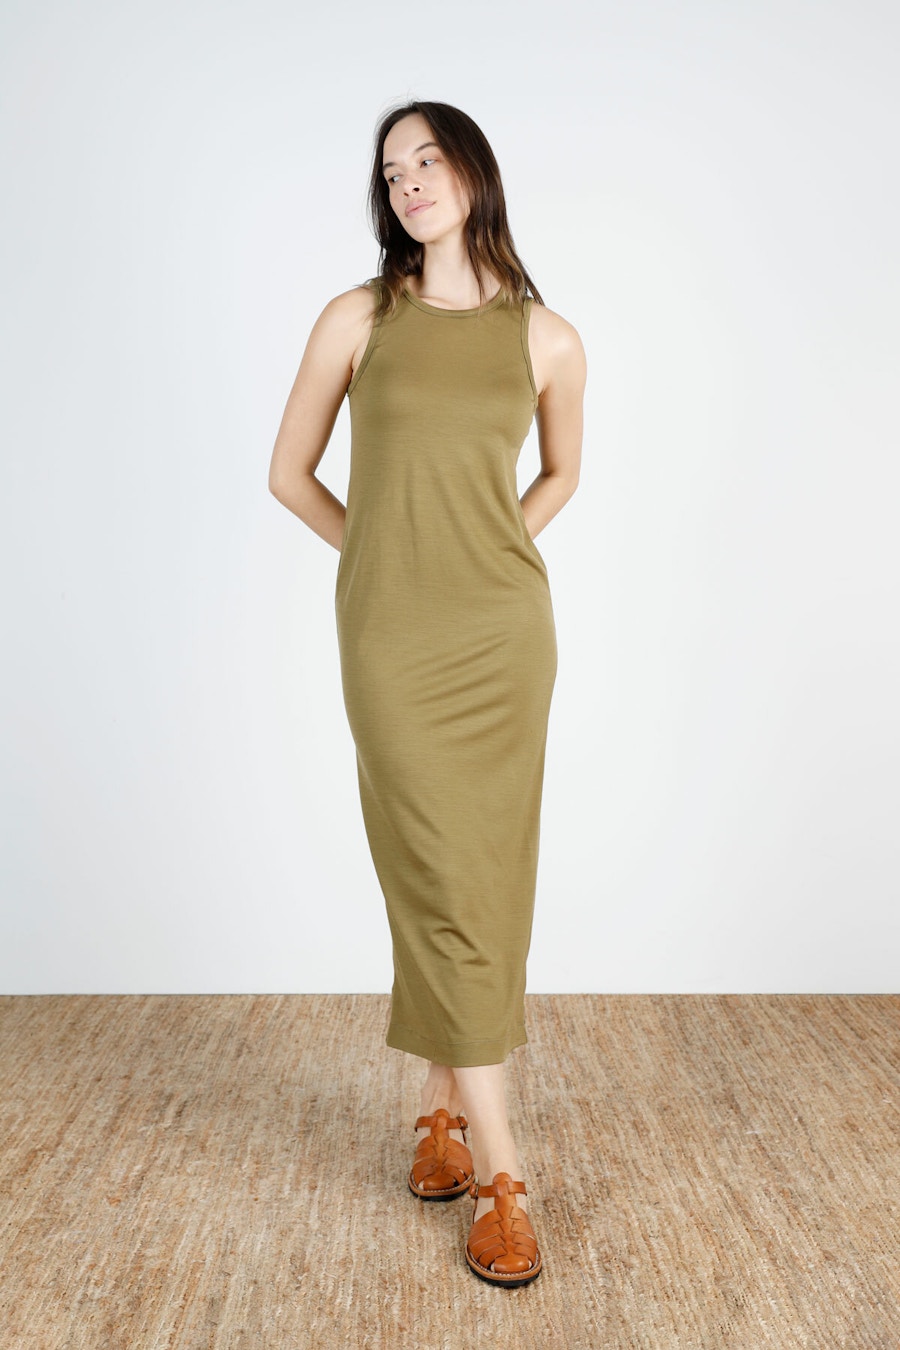
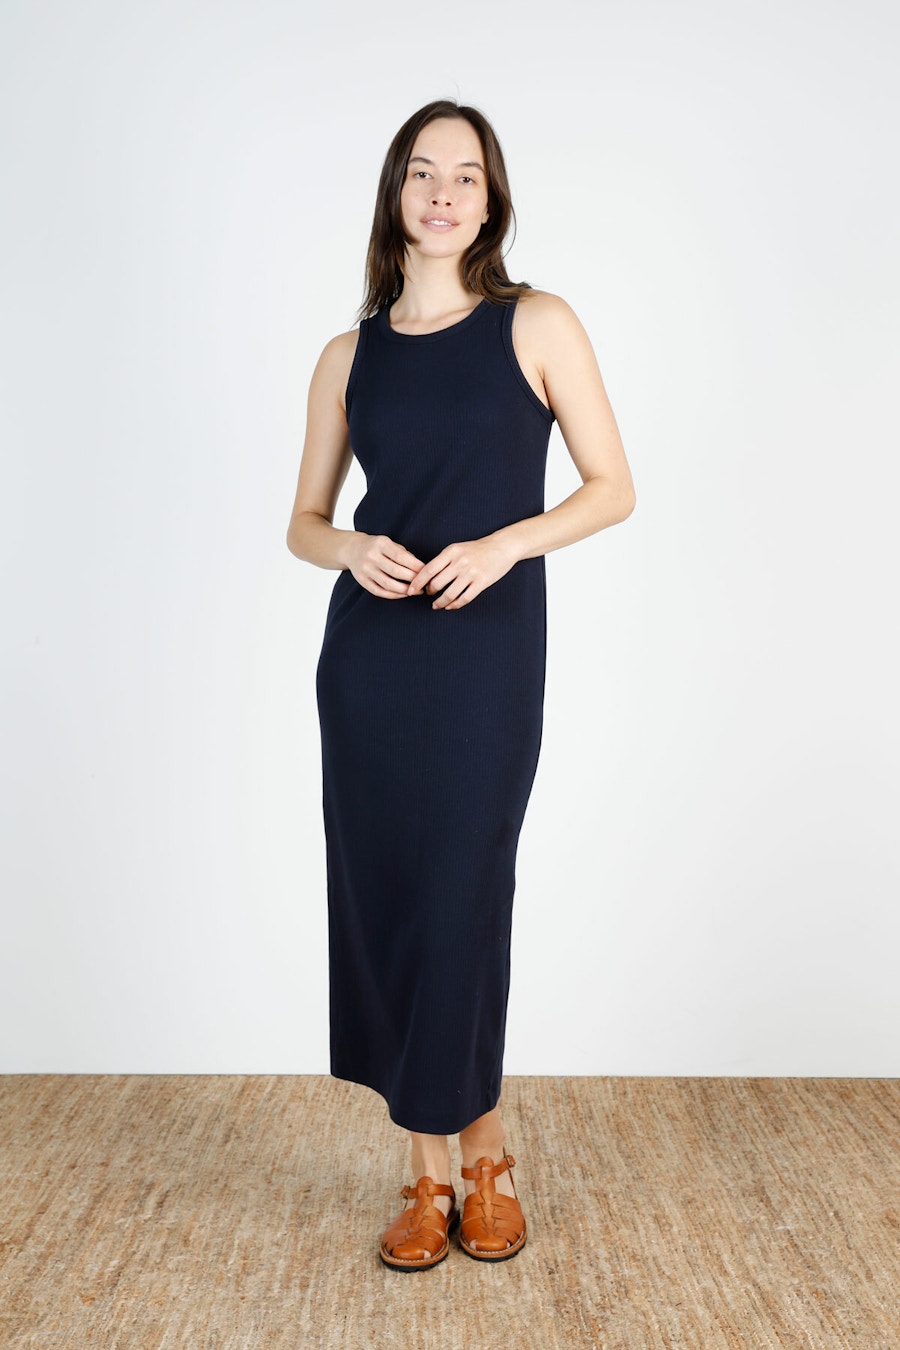
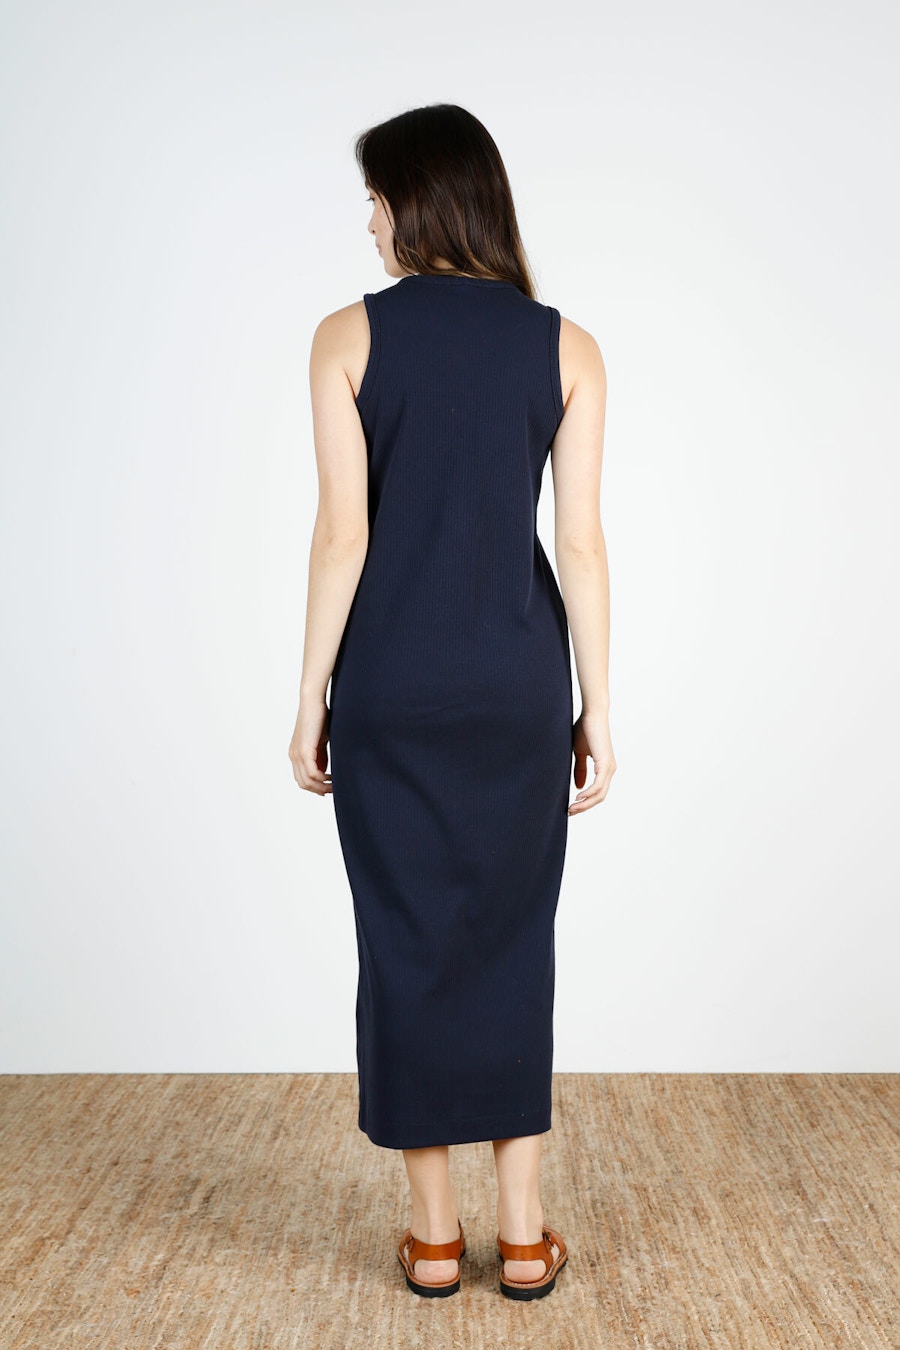
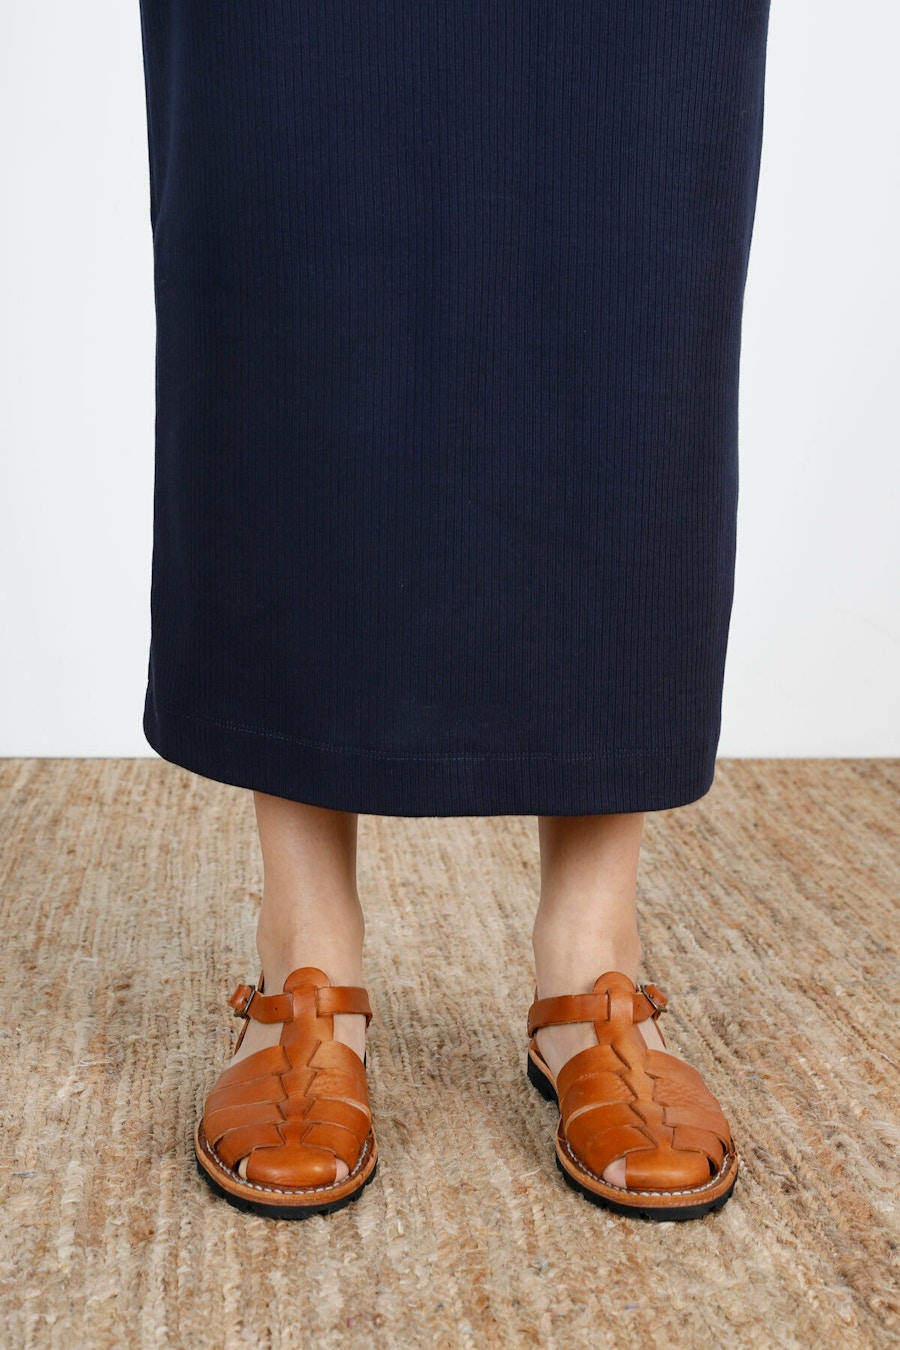
Once you've perfected your Fog Tank, further customisations are easy-peasy! We made up a dress version by simply extending the length of the hem (ours was by approximately 62cm), and adding a little shaping to the torso area. Shaping is of course an optional step, but makes the tank dress less boxy and more form-fitting.
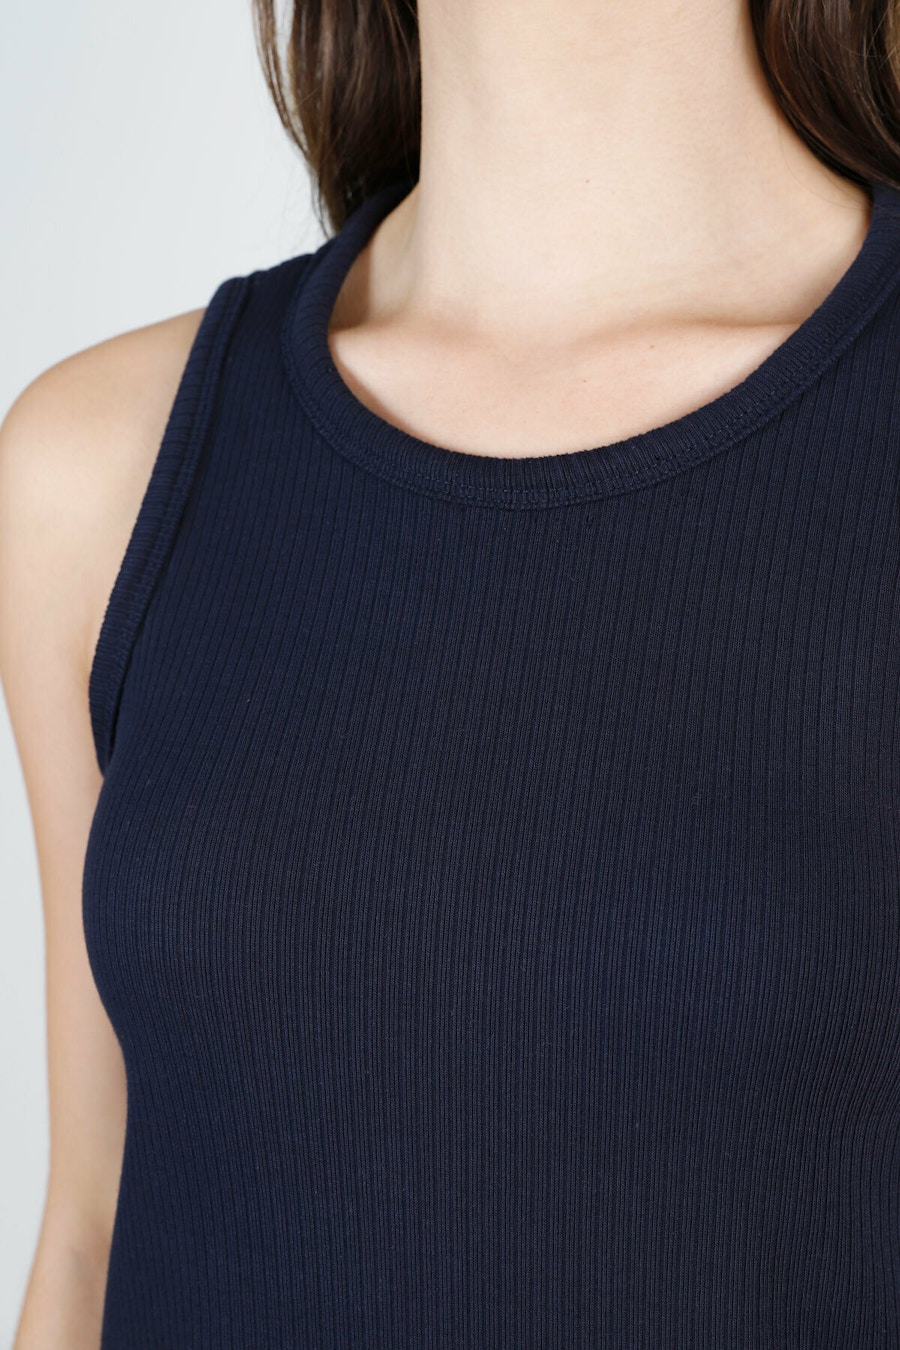
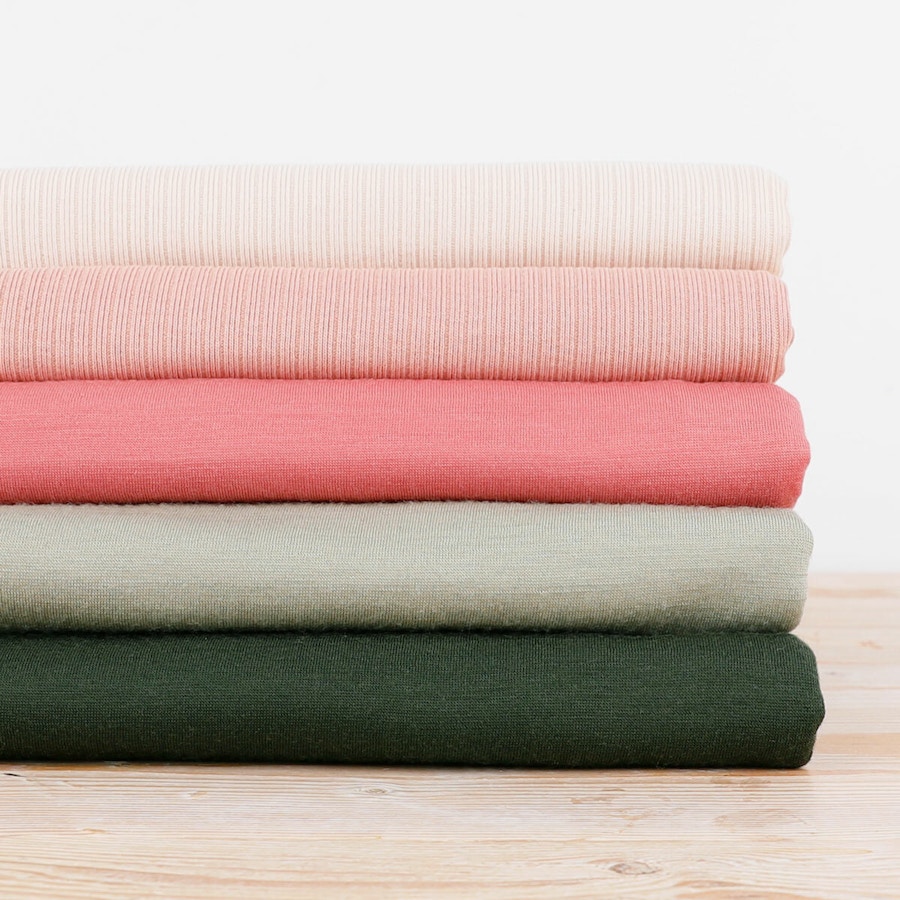
The Fog Tee pattern (and your fab tank hack) is perfect for merino single jersey fabrics, like our ZQ Premium Merino range. With so many colours available in stores and online, there's something to suit every palette and season! We also recently received a range of beautiful GOTS Organic Cotton Rib fabrics, which are a dream for tank-lovers!
Below fabric suggestions include from top to bottom, GOTS Organic Cotton Rib - Vanilla, GOTS Organic Cotton Rib - Vintage Blush, ZQ Premium Merino - Guava, ZQ Premium Merino - Moss, and ZQ Premium Merino - Forest
We hope you love this simple hack as much as we do! Share your Make by TFS projects with us over on Instagram and TikTok using #MakebyTFS


