DIY Projects
Beeswax Food Wraps
04—July 2022
A set of Beeswax Wraps make a super fun DIY project and a sustainable alternative to single-use plastic wrap for food storage!
Plastic Free July is the perfect time to kick start (or renew) those DIY projects for reducing plastics around the home! Plastic Free July is a global movement that helps millions of people be part of the solution to plastic pollution, learn more about it here and check out prompts for plastic free choices across the month of July here. If you've mastered the 'big 4' swaps already (plastic bags, drink bottles, coffee cups and straws), try your hand at a set of beeswax wraps! This is a simple do-it-yourself project and loads of fun for the whole family to try out at home. Read on for fabric recommendations, supplies and tools, and the DIY process!

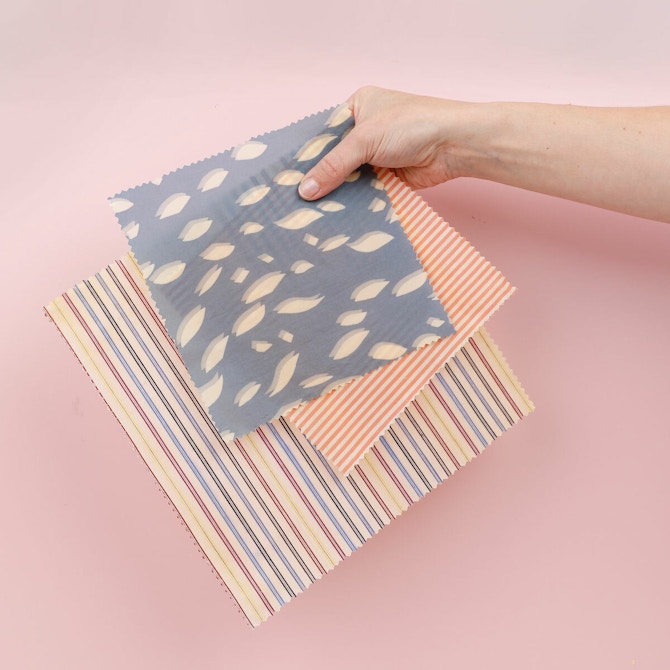
This DIY is a great way to use up some of your fabric scraps or remnants! Any natural fibre with a tight weave would be great for this project. We selected a few larger sized remnants from our stash, all lightweight 100% cottons - Retro Mini Block Cotton Voile - Sunshine, Dobby Check Cotton Shirting - Sherbet, Plaid Cotton Shirting - Primary, Multicolour Stripe Cotton Shirting - Yellow Mix, Music Stripe Cotton Shirting - Bubblegum and Schoal Cotton Shirting - Cornflower.
If you'd prefer to select a coordinated bunch, or are after specific colours, all of our stores stock a huge range of Liberty Tana Lawns & assorted deadstock cottons that would splendidly for this project.

For this project, you will need pinking shears, fabric remnants, natural beeswax, baking paper (we used unbleached and chloride free brown baking paper), an iron and an ironing board. We purchased an inexpensive block of natural beeswax from our local bulk food store; many grocers and organic food stores stock have it available. Beeswax is often solidified into a few different forms; pellets are ideal for this project, but grating a block with a cheese grater works just as well! We used about half a cup of solid beeswax for our nine different sized wraps.

First, think about the different applications you will want to use the wraps for and the sizes that will require. We made three square sizes, a smaller 18cm x 18cm square, a medium 24cm x 24cm square and a larger 30cm x 30cm square. Once you've decided, cut out the squares you would like to use with your pinking shears. Pinking shears will help to stop the edges from fraying.
Grate wax and set aside (you can grate right onto fabric as you go, but we found it less messy to pre-grate a small bowl of wax first). It's also a good idea to prepare your ironing board with a towel or scrap fabric to protect in case any wax melts through to your ironing board.

On the ironing board, lay down a large piece of baking paper. On top of that lay out your first square and then sprinkle your beeswax shavings or beads over the fabric evenly. A bit like making a pizza!

Cover with another large piece of baking paper. With the steam setting turned off, gently iron this to melt and spread the wax evenly into the fabric. The wax should melt and turn a little translucent. If you find you have missed any spots just sprinkle some more wax over that spot and repeat this step. You can use the iron to push the melted wax across the fabric evenly. Use the tip and weight of the iron to smooth out any excess wax.

When you are happy with the wax coverage, hang or lay your wraps out to dry and cool. Voila! Mould with heat from your hands to shape and fold these around sandwiches, blocks of cheese, fruits and veggies, and use to top off jars. To clean your wraps simply hand wash in cool soapy water and hang up to dry. Don’t throw these in the dishwasher, as it will melt the wax right off!


We love DIY projects like these wraps; they're such a simple way to reduce plastic use in the kitchen and a fun opportunity to introduce colours and prints into your everyday routine! Share your plastic free DIY projects with us over on Instagram and TikTok using #thefabricstore