DIY Projects

Beret Scrap Bust
12—April 2022
We make a delightful DIY Beret this week on the blog, the perfect project for using up any woollen offcuts!
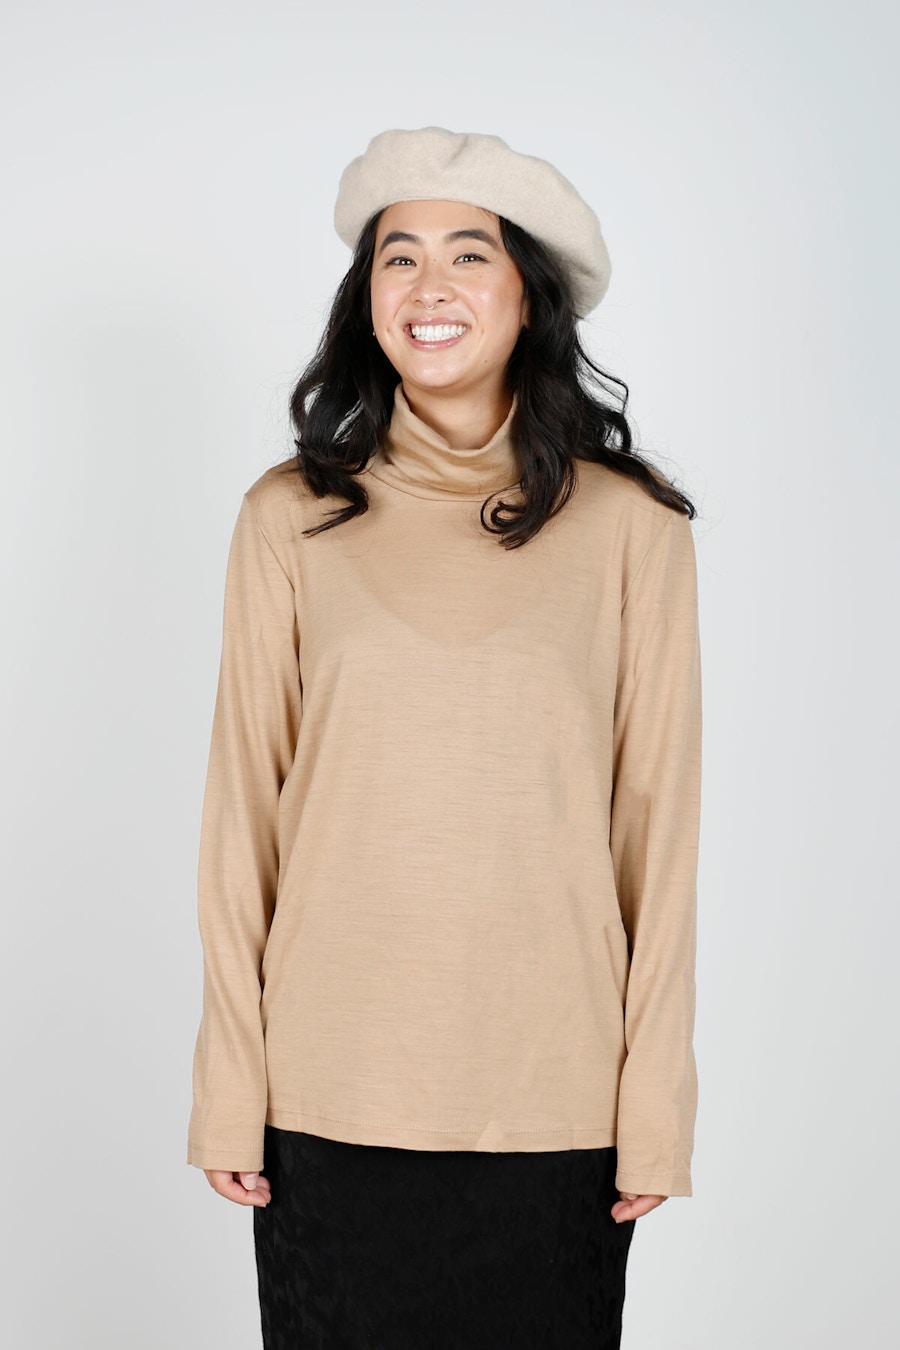
As we transition into cooler weather here in the Southern Hemisphere we're gleefully welcoming back layered looks, from merino garments to vests, coats and all manner of cosy accessories. We jumped at the chance to DIY this year’s winter accessory of choice, the beret! Whether you've been enjoying the updated resurgence of the beret seen in plaids, colourful hues and leather, or you're a fan of the French vintage-esque felted style, follow our DIY blog post as we make this oh-sew-cute accessory and useful #ScrapBusting project. Kindly modelled by Annelise from our Online Team.

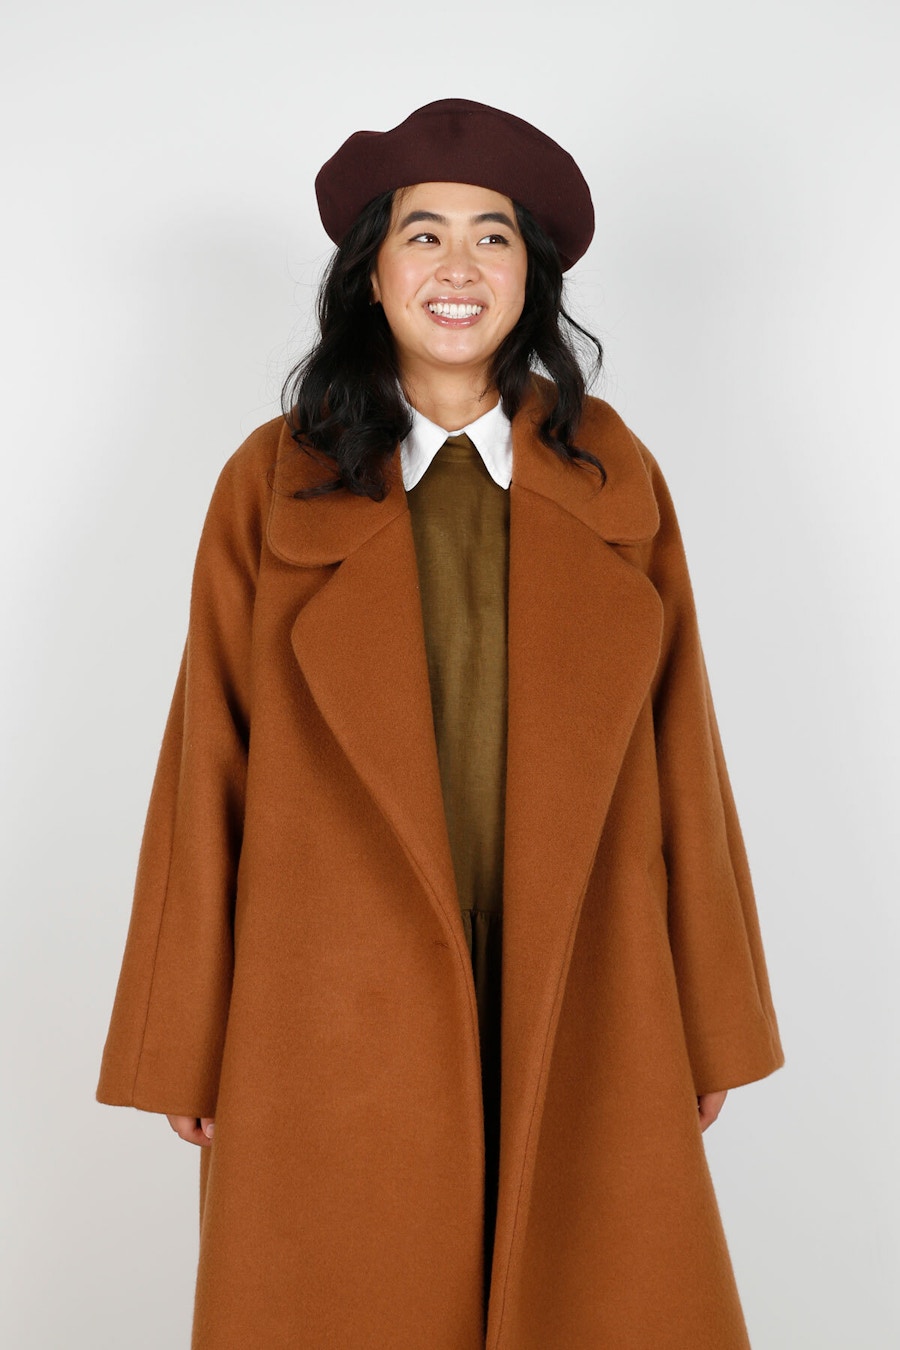
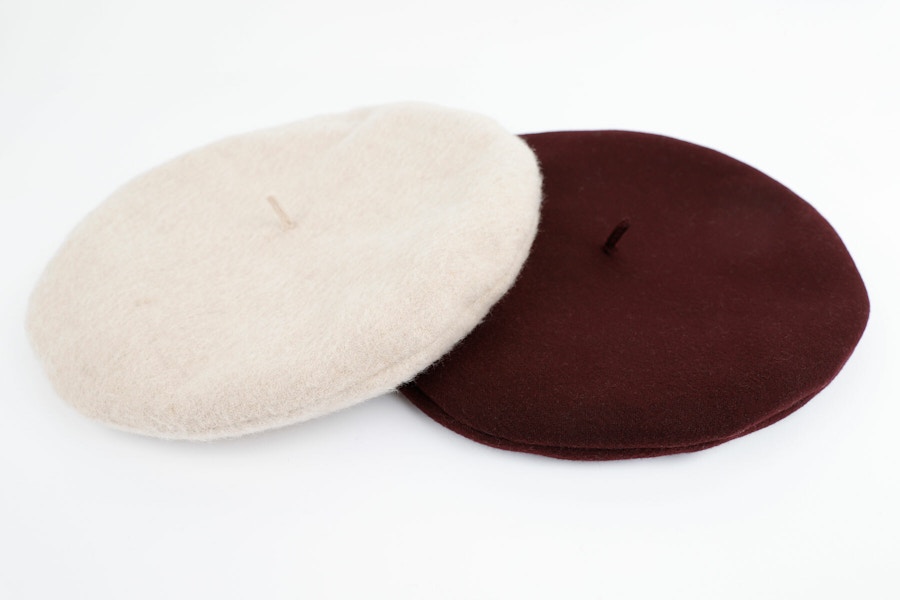
Inspired by our new shipment of luxurious woollens and this cute blog post by Now that's Peachy, we decided a DIY beret would be a super fun way to show off some of our delicious new fabrics! We chose our lush Cashew - Brushed Wool Blend Coating and Port - Herringbone Twill Wool Coating to make two beret hats with slightly different construction methods for Annelise (an avid beret wearer!).
For this project you'll need:
— A sewing machine
— Sewing thread to match your fabric
— A measuring tape
— Scissors for paper and fabric shears
— Pins
We made two versions of this DIY Beret hat, a softer version with self-lining and a firmer version with no lining. Lining gives the hat a lot more structure, especially if you use a heavy fabric, so we had to play around with variations to see what worked the best for our fabric scraps. A lighter drapey wool will make a softer beret, and a thicker coating will give a much more structured look.
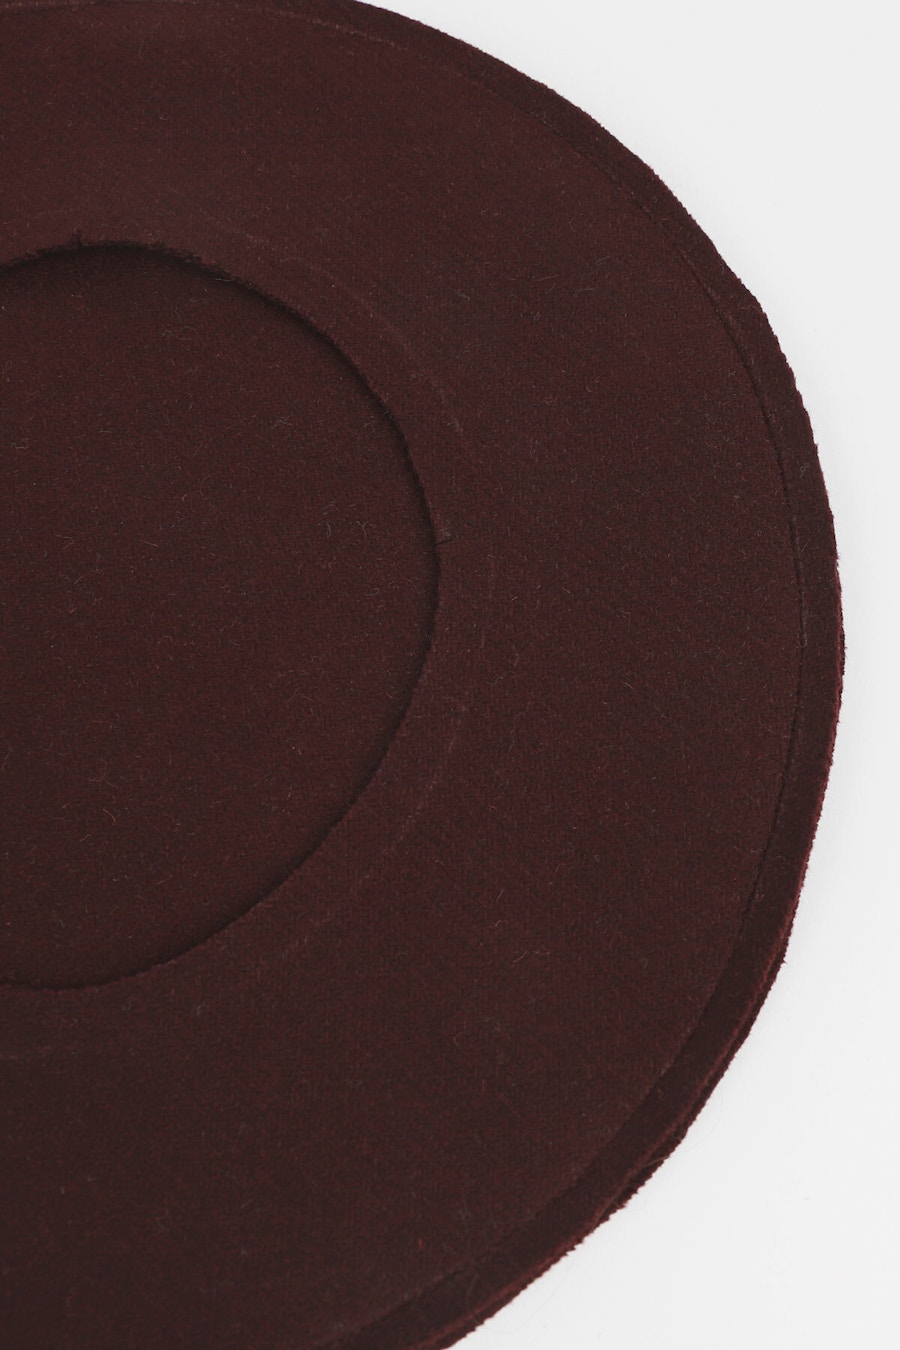
For our unlined version we used a 35cm x 60cm piece of Port - Herringbone Twill Wool Coating (147cm wide) and 60cm of our Mulberry - Vintage Finish Linen Bias Binding. For our self-lined beret we used a 35cm x 120cm piece of Cashew - Brushed Wool Blend Coating (145cm wide).

We'd recommend you check out some reference photos of these steps, check out this blog post by Now that's Peachy before you get started! Note that our beret measurements differ from those given in this blog post, as they turned out a little small.
We started by measuring the circumference of Annelise's head which came to 56cm. We then made two pattern pieces up, one for the beret outer and one for the brim.
Our beret outer pattern piece was a simple circle with a 30cm diameter, plus a 1cm seam allowance added all the way around the outer edge.
The pattern piece for the brim needs to look like a donut! Our brim pattern piece measured 30cm in diameter, plus a 1cm seam allowance, with an inner circle drawn measuring the circumference of Annelise’s head measurement (56cm + seam allowance) and the centre cut out to make a doughnut-looking shape.
For our unlined version, we cut x1 beret outer and x1 beret brim, joining these pieces with the right sides together using a 1cm seam allowance around the outer edges. We then used bias binding around the inner circle opening and neatened the raw edges inside with a narrow overlock after clipping them - this is just for finishing the edges, and you could skip this part if you don't have an overlocker or you could try a zig-zag stitch if your sewing machine has the zig-zag setting.
To make our self-lined version, we cut x2 beret outer and x2 beret brim pieces and repeated the construction above of sewing two pairs of the beret outer and brim pieces right sides together at 1cm at the outer edges. This then gives you two beret shells, which you then need to bag out. To do this, place one inside of the other with right sides facing and attach these together by sewing the inner circle using a 1cm seam allowance, leaving a small gap about 5cm wide, to turn the beret out the right way. Hand stitch the gap closed once you have turned your beret through. We also hand-stitched on a small 'sprout' to the top of our beret, using a simple rolled and topstitched line of fabric. You could even add a DIY pom-pom if you wish!


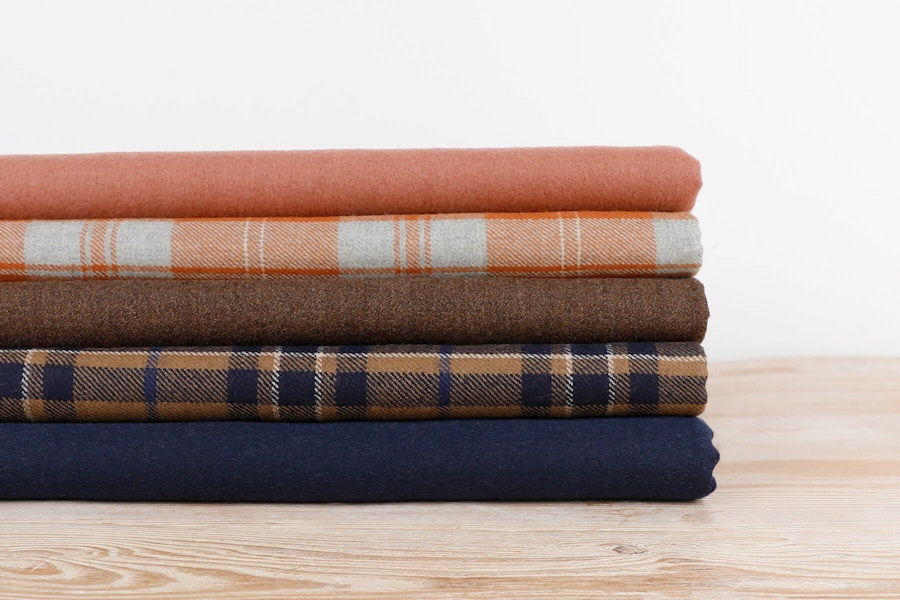
Hmm, which fabric to choose?! We'd highly recommend having a go at repurposing any scraps you have at home already or pick up a length of beret-worthy fabric from your nearest store for a new addition to your #MeMade accessory collection.
Say hello to some of our dreamy woollens below that would be suitable for this project: Terracotta - Boiled Wool / Nylon, Pumpkin / Ash - Pure Wool Twill Plaid, Bark - Pure Wool Suiting, Malt / Navy - Pure Wool Twill Plaid and Marine / Chalk - Italian Reversible Wool / Silk Coating

This DIY sewing project is oh-sew-fun, and the finished result will add a touch of whimsical elegance to any outfit! We'd love to see how your DIY Beret turns out, share it with us on Instagram and TikTok using #TheFabricStore
