August Skirt Sew Along

2 — Constructing the Backs
26—January 2021
It's time to start sewing! In this step we sew the back pleats and insert the zip.
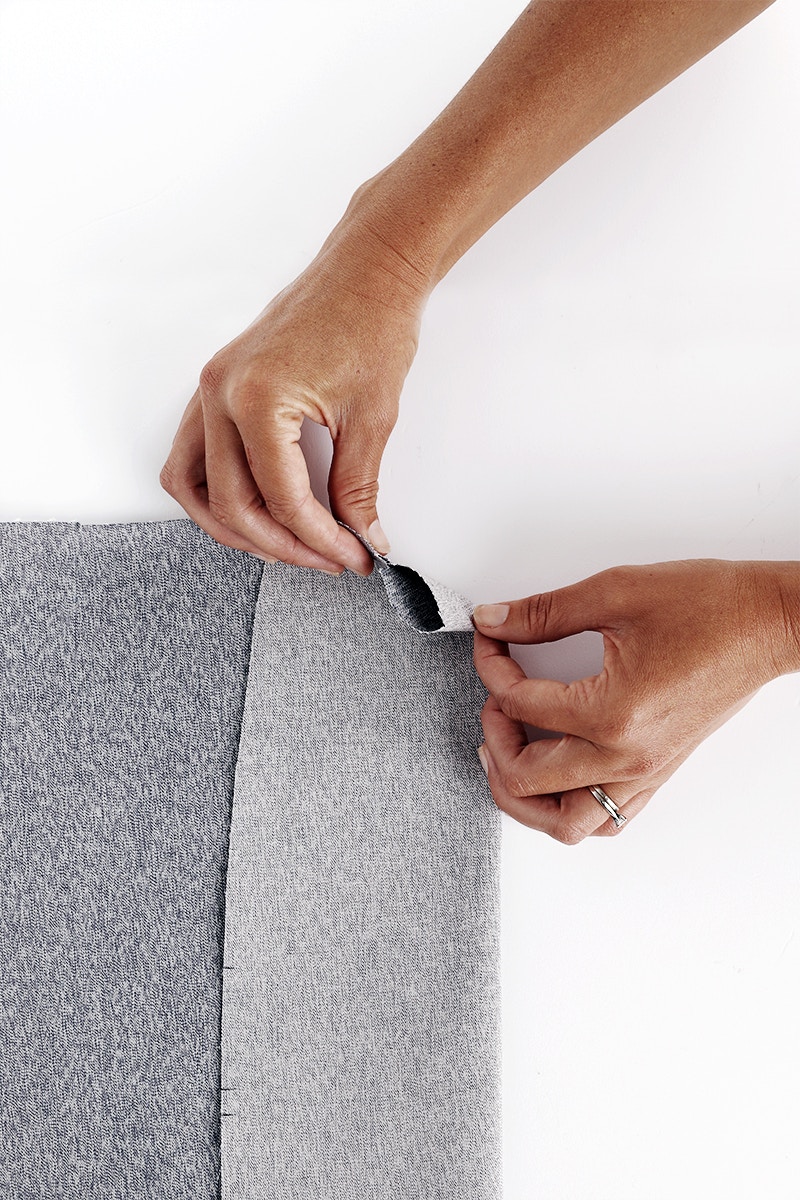
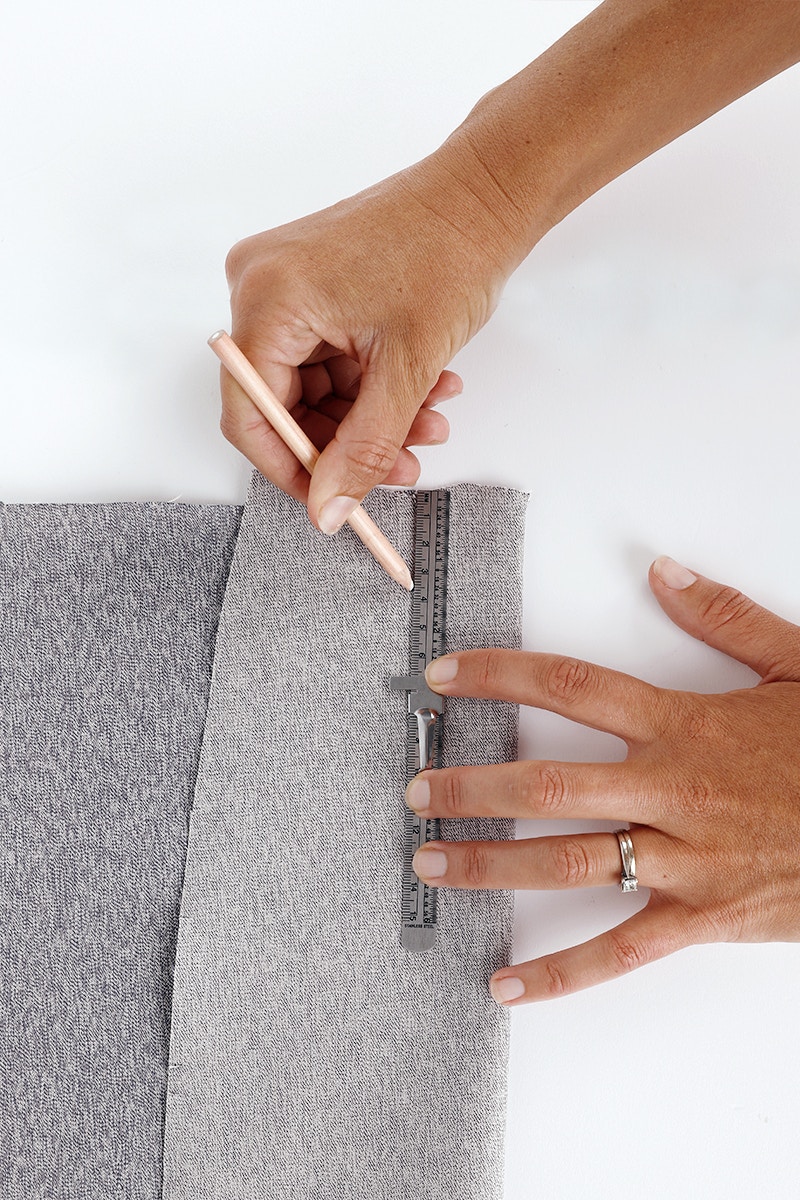
It’s easiest to create your pleats by working from the centre back, out to the side seam. Take a back piece and have it right side up in front of you. Working with the 3 notches closest to centre back, match the two outer notches with the right sides together. Next you will sew the pleat down 3.5cm from the waist edge. You may find it helpful to mark your stitching line on with tailor's chalk or fabric pen before you sew.
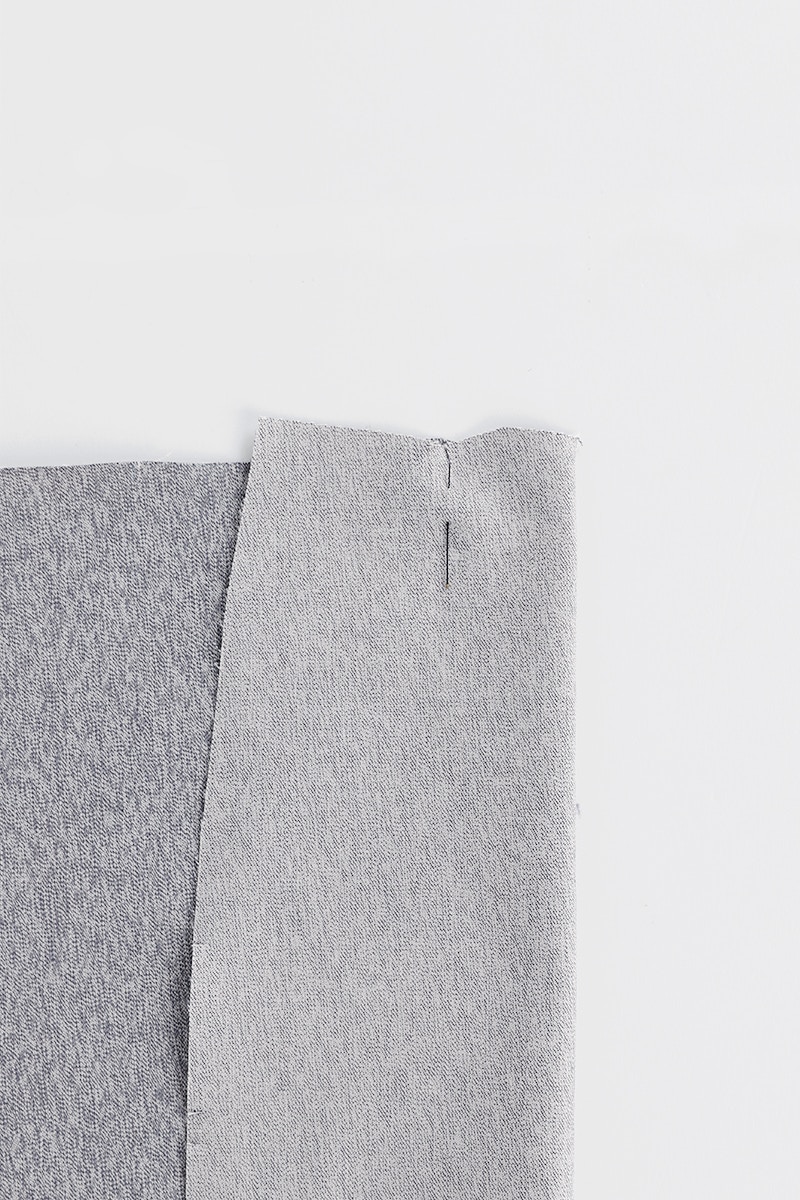
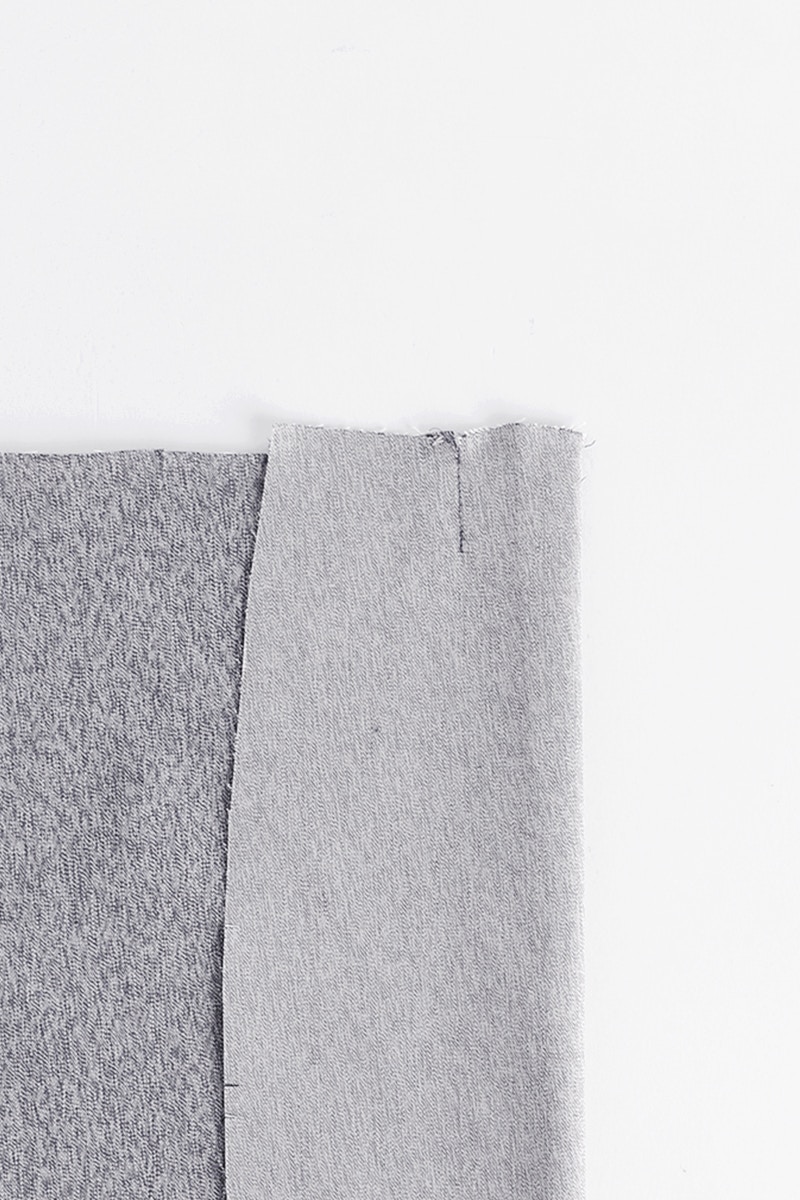
Now pin in your pleat in place, then sew from the notch down 3.5cm on the wrong side.
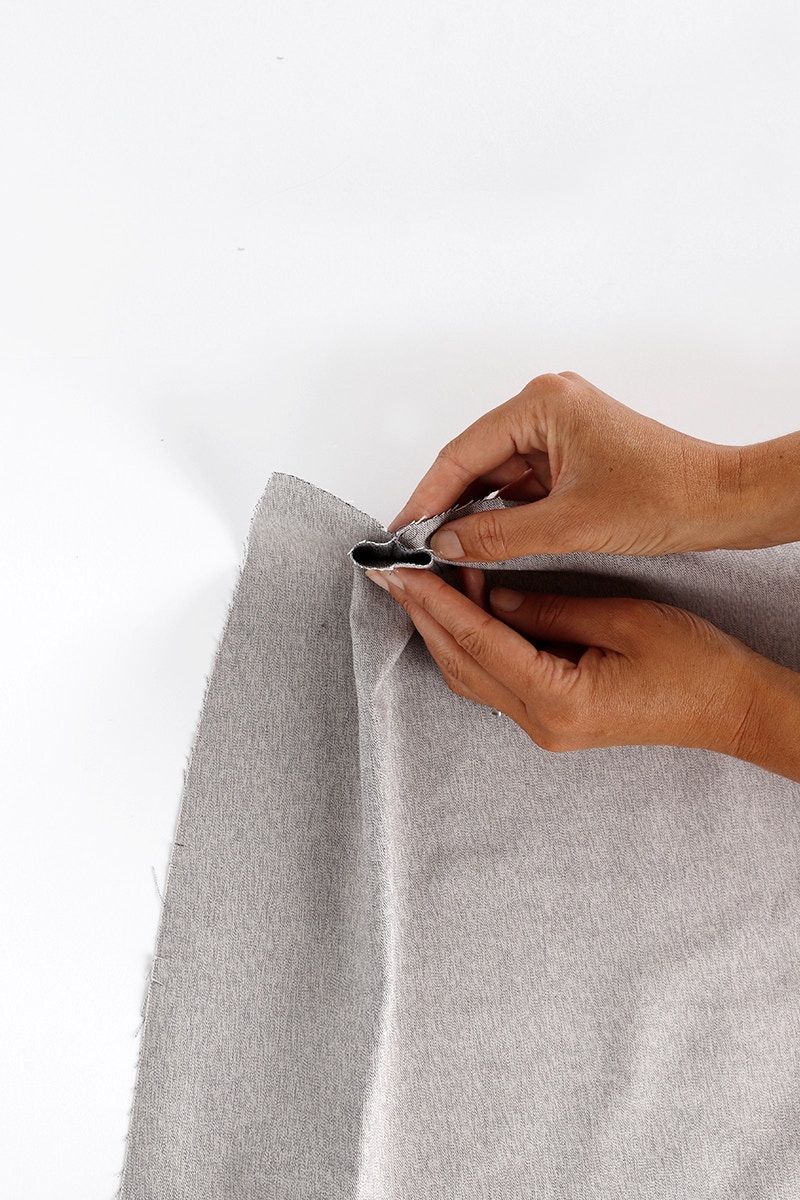

Bring the centre notch and pleat seam together then press flat to create an inverted pleat. Baste your pleat in place at the waist edge.


Now, working towards the side seam, bring the next two notches together. Mark on your stitching line, running 3.5cm from the waist seam.

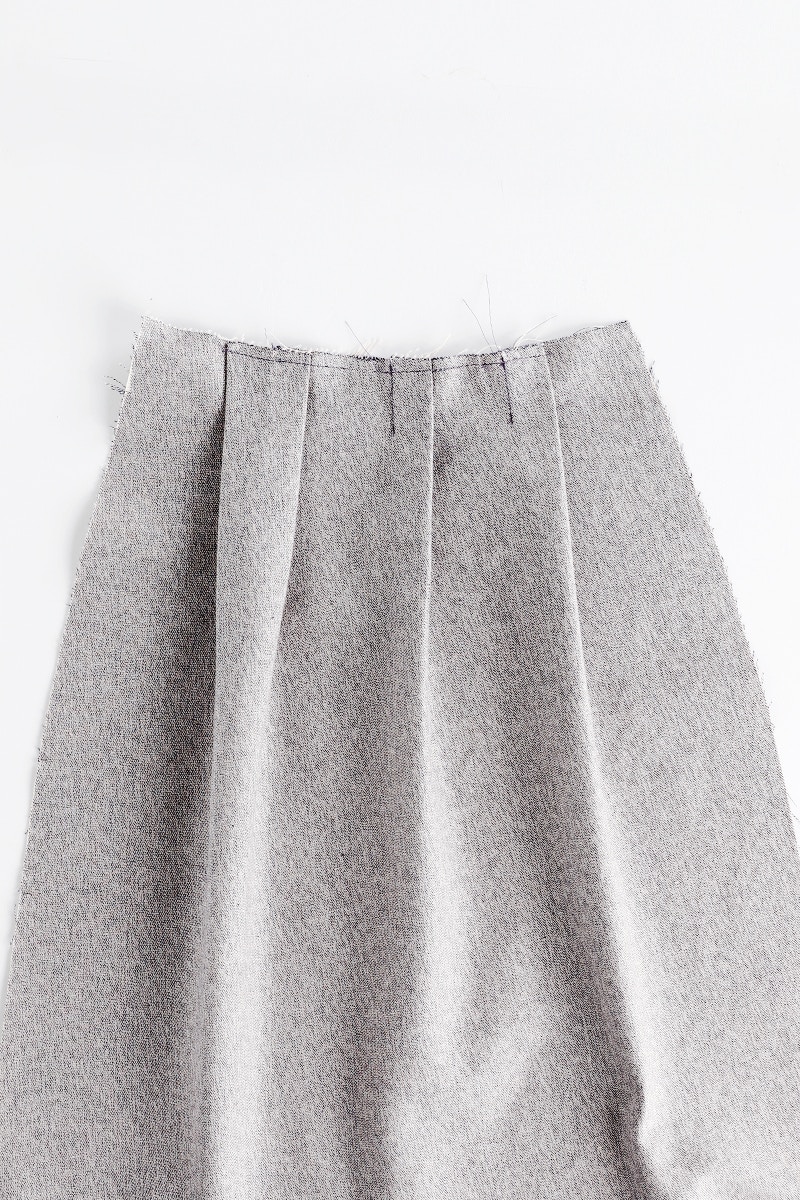
Pin and then sew your pleat 3.5cm down from the notch. Create a total of 2 pleats in this way. Baste these pleats in place at the waist edge so they open towards the centre back and the pleat excess is towards the side seam.
Give your pleats a gentle press and repeat for the other side.

It is now time to insert the zip.
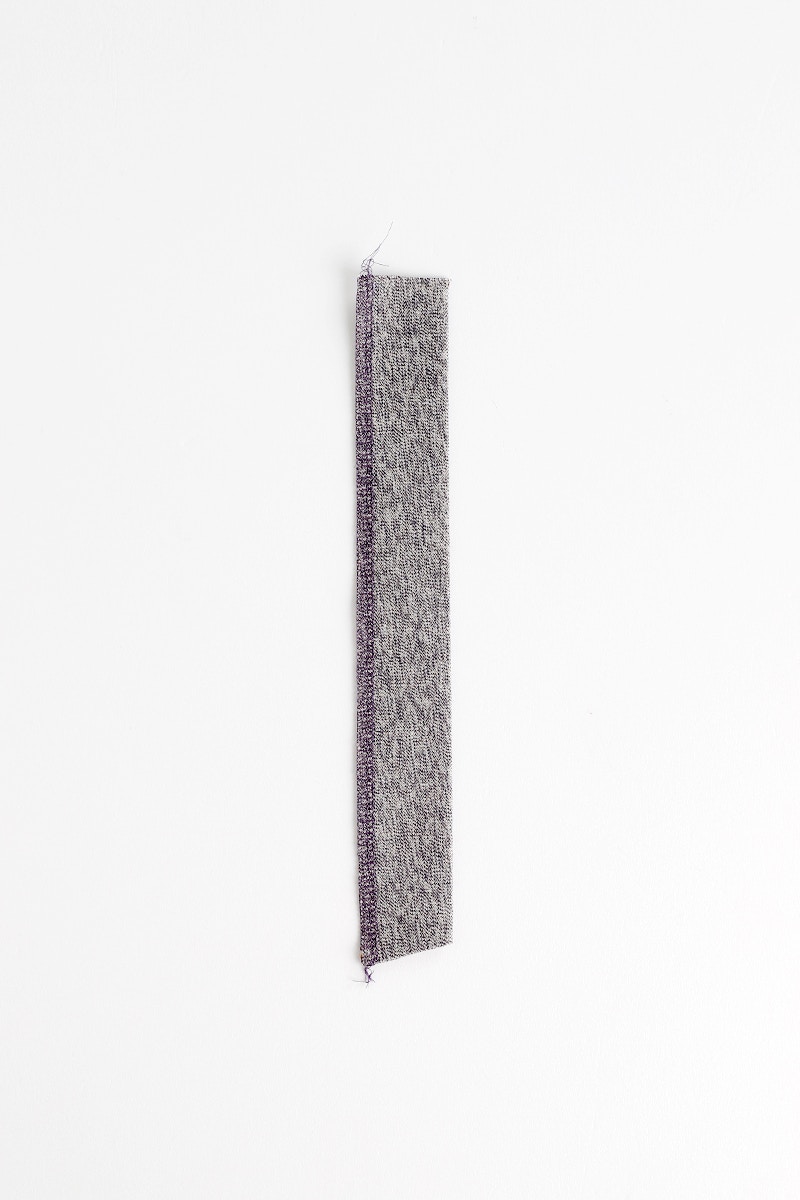
Start by sewing the zip guard. Fold it in half lengthwise with the right sides together, then sew the lower, angled edge with a 6mm seam. Turn it out with the help of a point turner and give it a press. Neaten the the long, raw edges of the zip guard together.
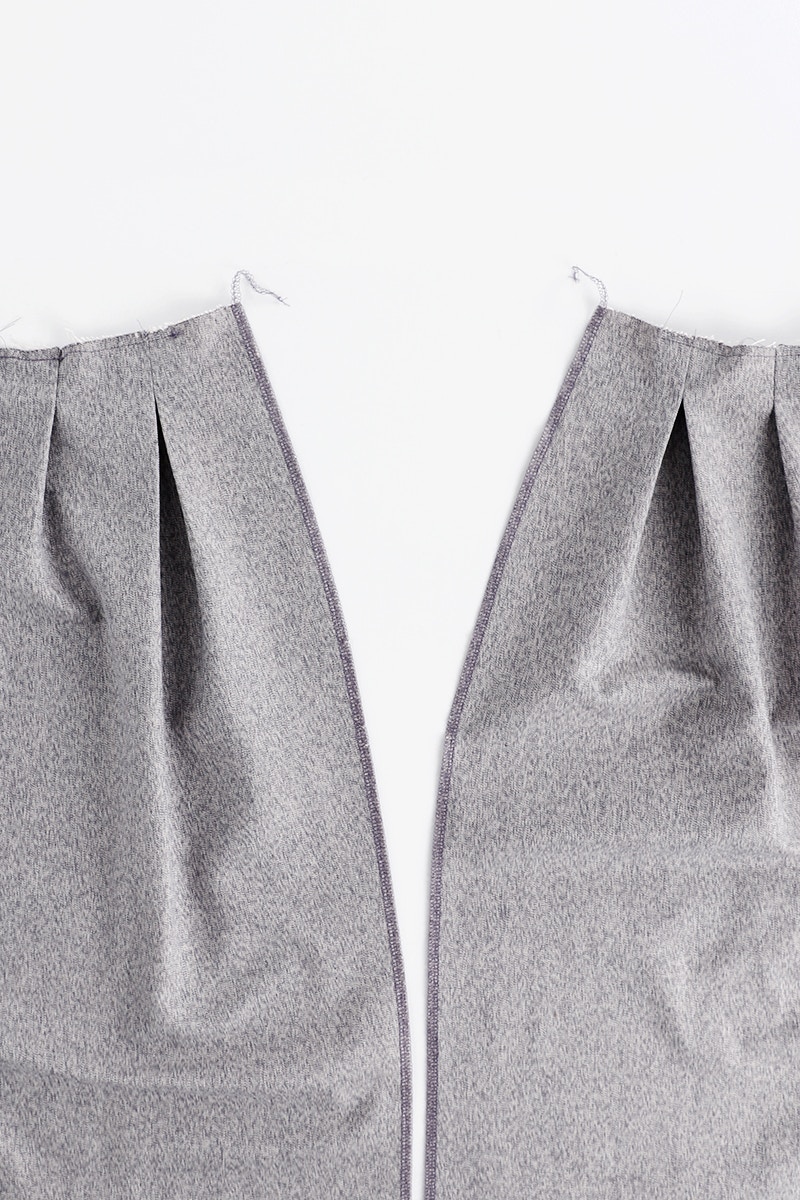
Next, neaten the centre back edges of your back skirt pieces separately.
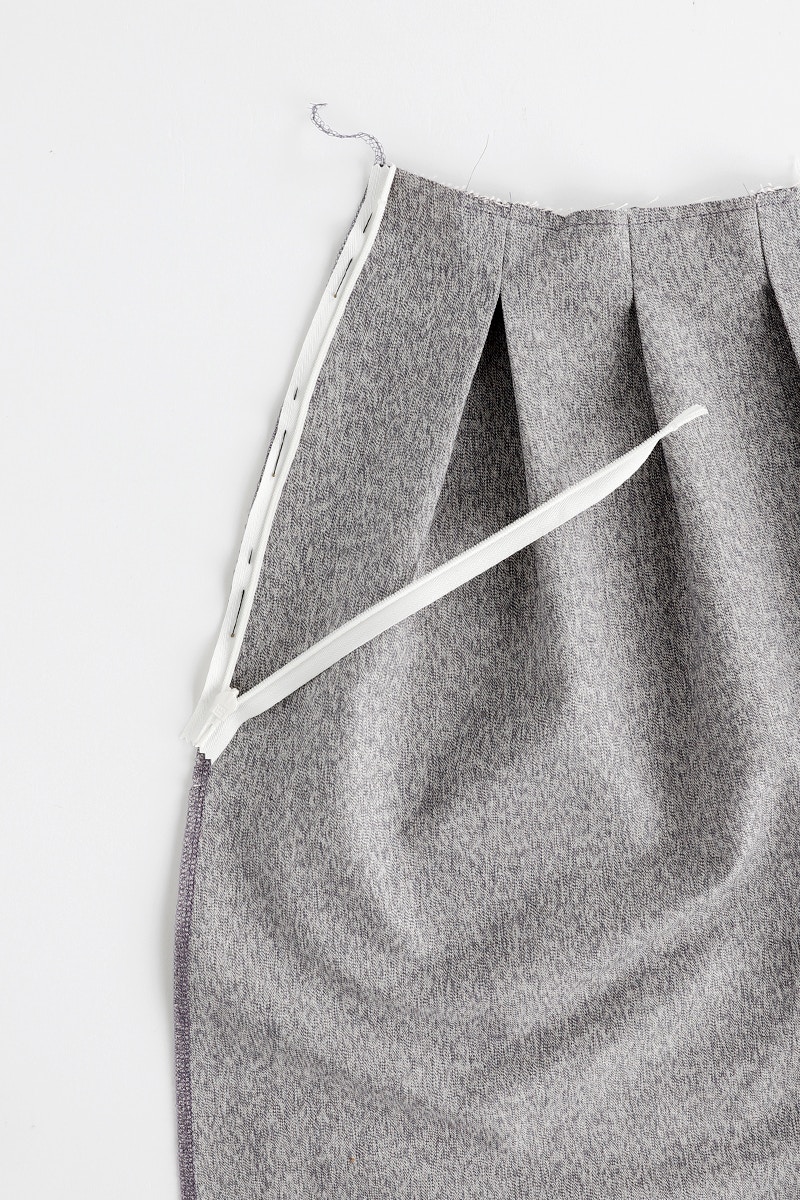
Now lay a back piece in front of you, right side up. Then pin in place the open zip, face down, aligning the edge of the zip tape with the centre back edge of the skirt.
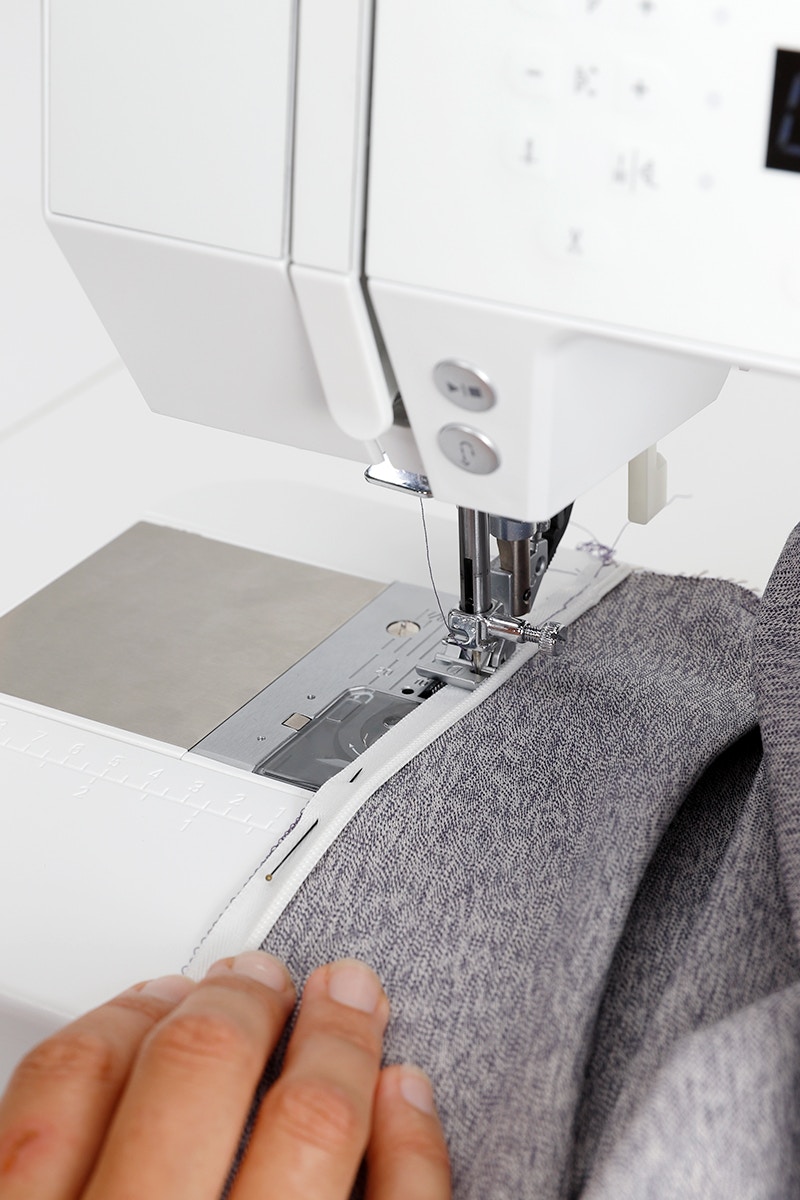
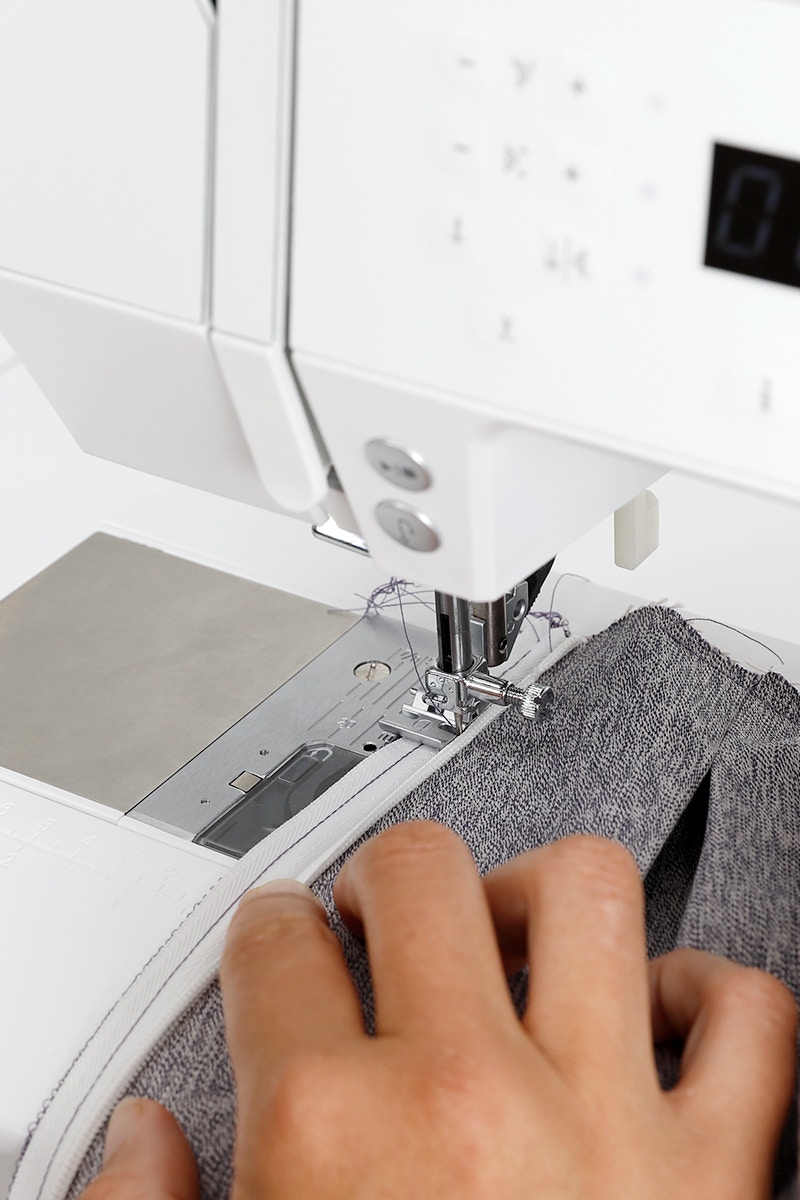
If you have an invisible zip foot you can use it now to sew the first side of your zip.
If you don't have have an invisible foot, don't worry! You can use a regular zip foot to insert your invisible zip as we have done. First, sew a line of basting stitches down the centre of the zip tape. Then using your fingers, roll out the zip teeth and place your needle close to the teeth. Depending on your machine this might be done by moving the needle to it's furthest position, or else physically moving your skirt so the needle sits close to the teeth. Sew a second line of stitching as close to the teeth as you can get without sewing on them! Take it slowly, rolling the zip teeth out as you sew.
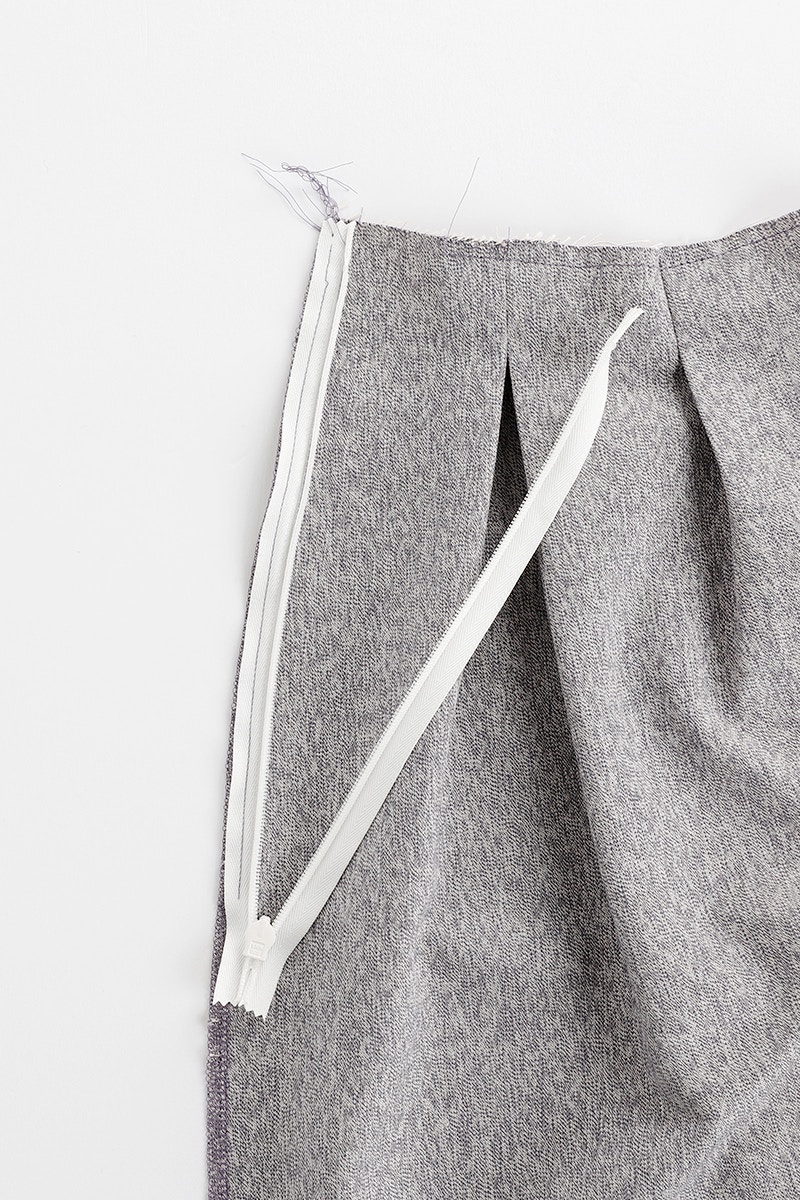
You now have one side of your zip sewn.
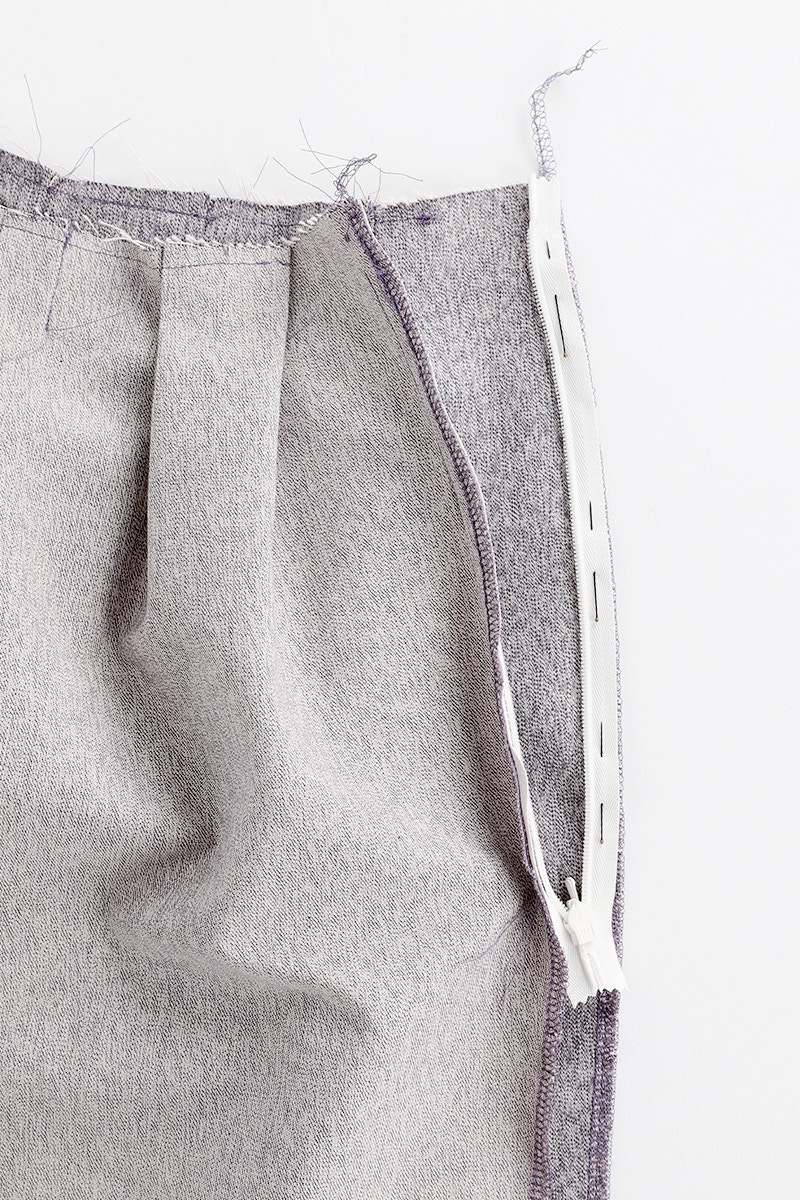

Now, pin the zip tape to the other centre back. Take your time to make sure your zip isn’t twisted. Sew the second side of your zip as you did with the first.
Don't forget to move your needle back to the centre position before continuing on!
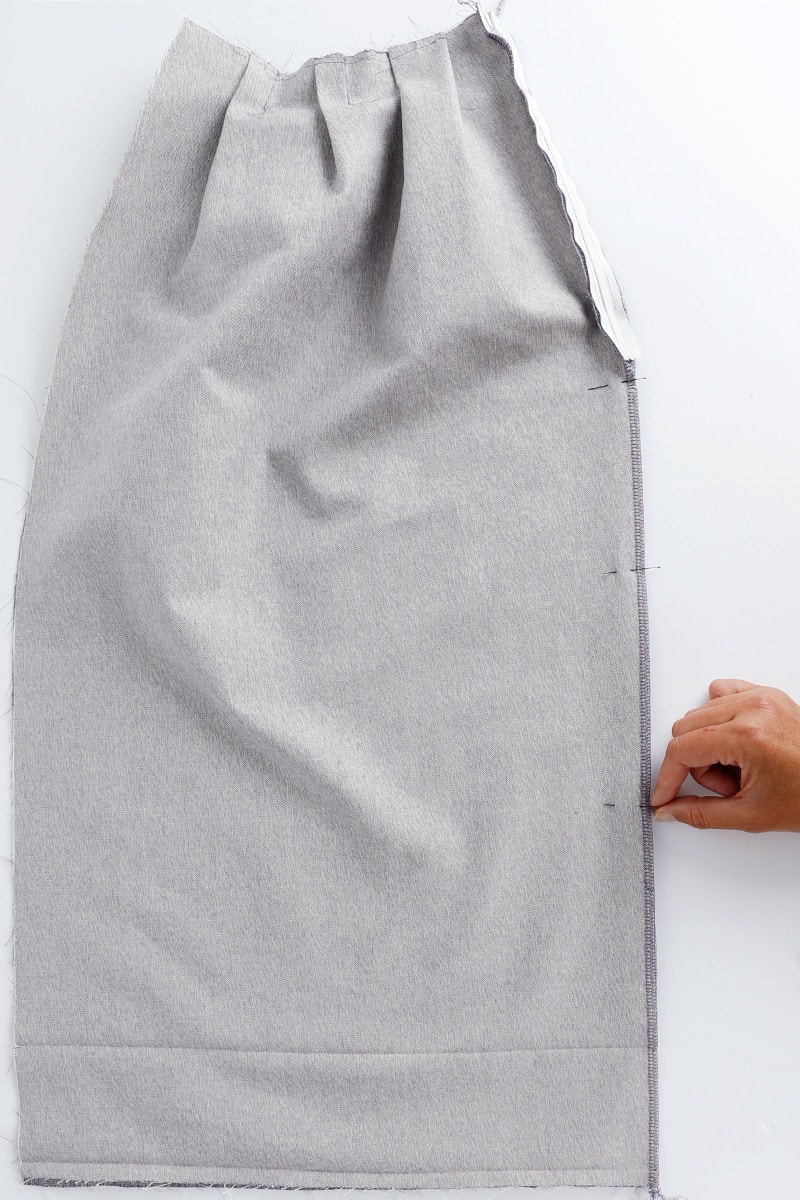
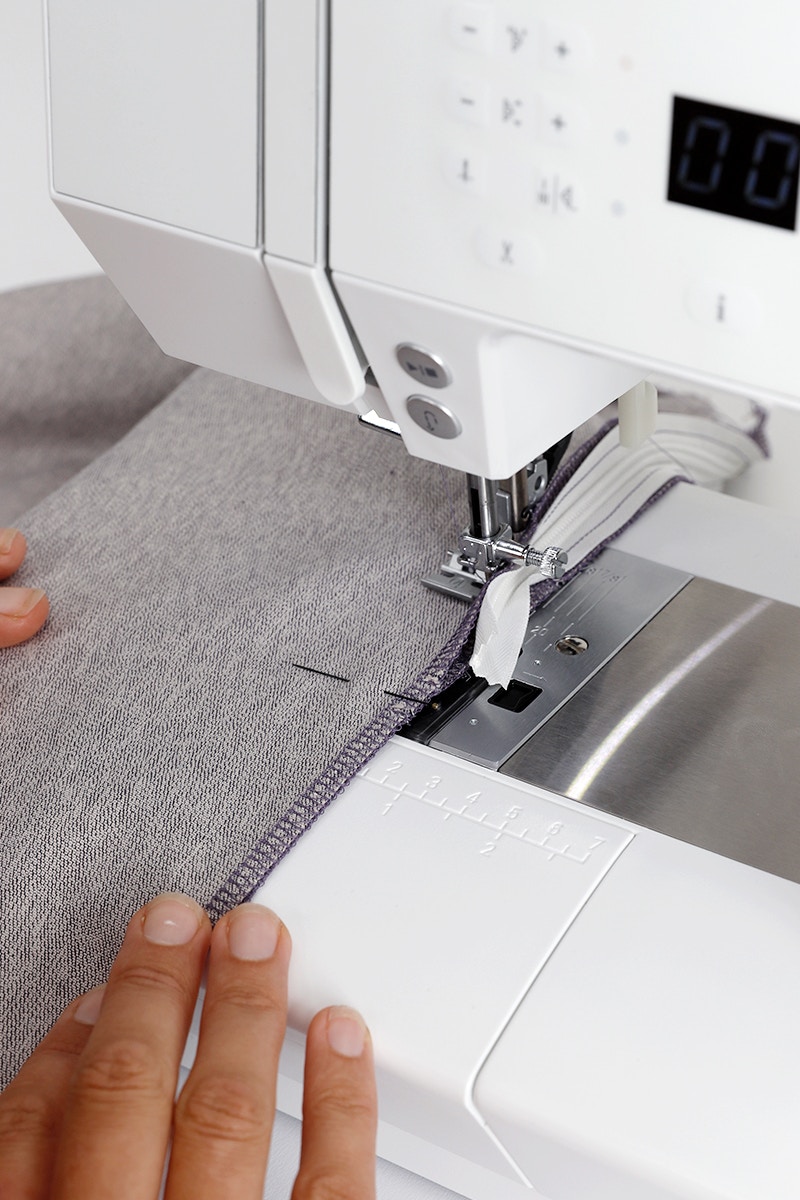
Now it is time to close up your centre back seam. Close your zip and pin the remainder of the centre back together. Starting at the base of zip, sew the centre back closed with a 1cm seam. Use a zip foot to get as close as you can to the bottom of the zip when you are sewing this seam. Once you have sewn about 5cm, you may want to switch back to a regular presser foot to sew the remainder of the seam as it will give you more even pressure on the fabric, and therefore easier to get a tidier result.
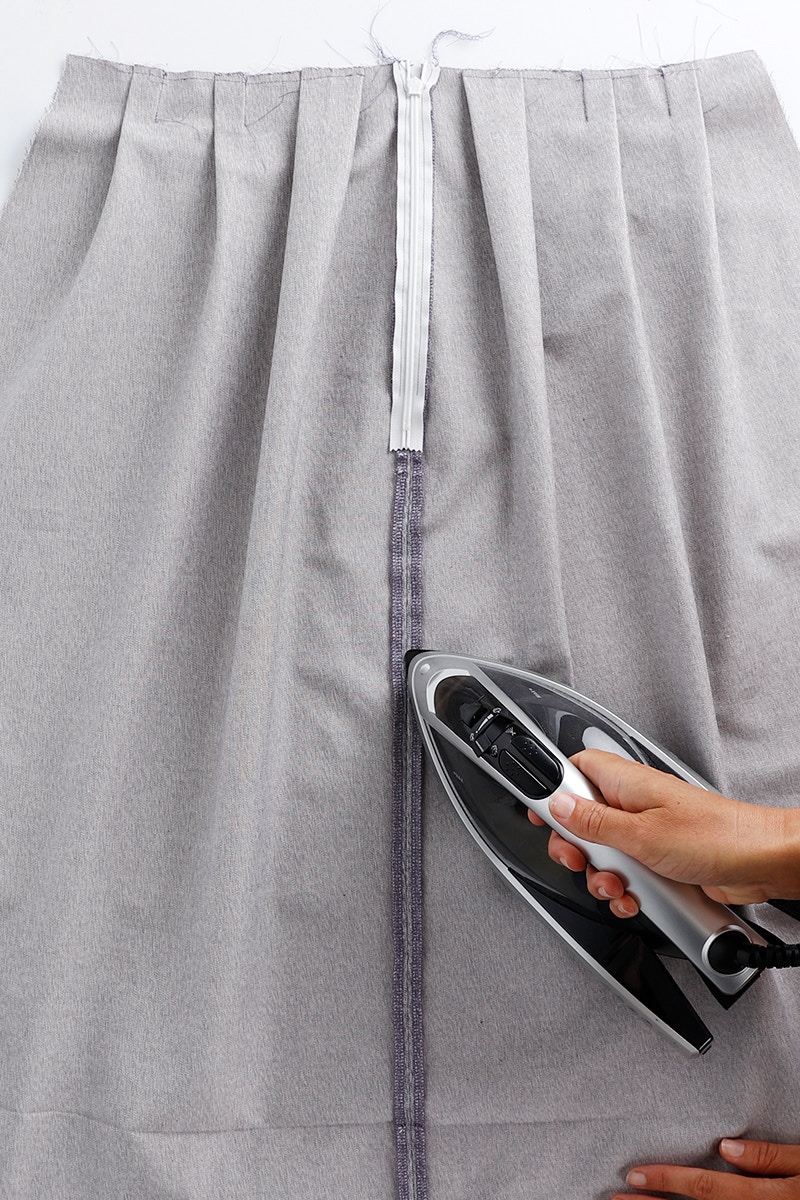
Give your zip and centre back a press, pressing the seam open.
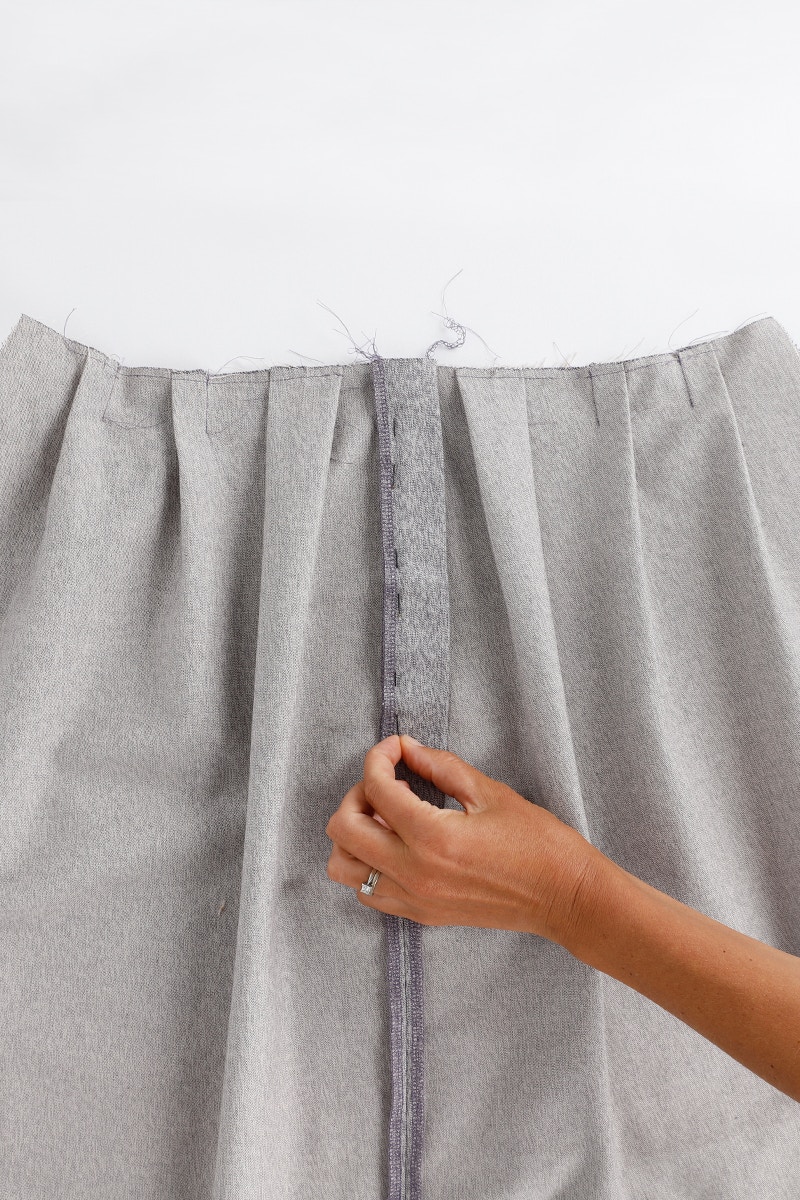
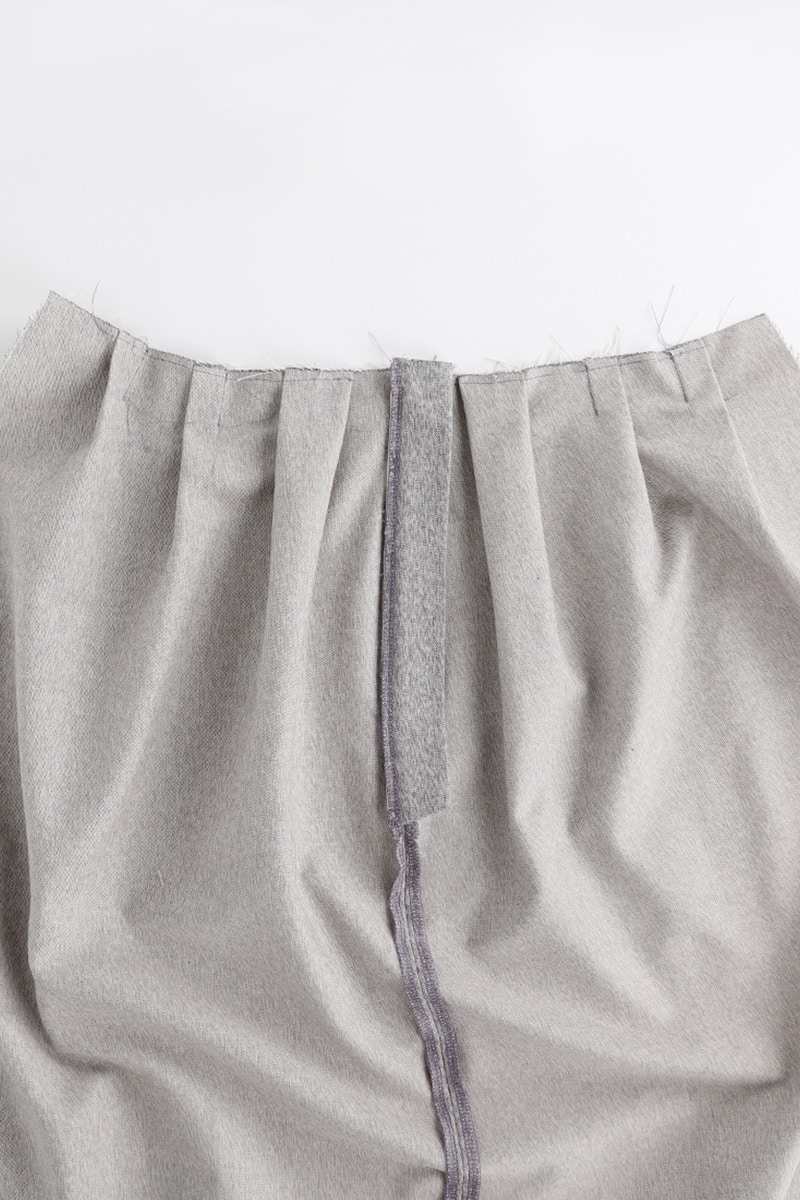
The last step in this post is to attach to zip guard. Align the raw edge of the zip guard to the waist, and the neatened edges at centre back on the right hand side of the skirt (as worn). Sew the fly guard to the seam allowance only at centre back. You may find it helpful to use a zip foot, or to move your needle to one side when attaching your fly guard.
Your back is complete, move on to sewing the front!
Check out the August Skirt pattern in our Online Store here. Don't forget you can always email us via patterns@thefabricstore.co.nz if you need advice!
August makes from our wonderful community are also popping up over on Instagram, follow @makebytfs and use #TFSAugustSkirt so others can check out your creations!


