August Skirt Sew Along

4 — Waistband and Belt Loops


The first step in constructing the waistband is to finish the bottom edge of the waistband facing with bias binding. Unfold your bias binding and pin the right side of the bias tape to the wrong side of the waistband, aligning the edges. Start at the notch on the left side to the end of the facing on the right side, as worn. Sew the bias binding to the waistband facing by stitching in the crease line closest to the raw edges.


Now press the bias binding away from the facing, then refold and pin it so the raw edge is enclosed. Then, working from the right side, edge stitch the bias binding closed.
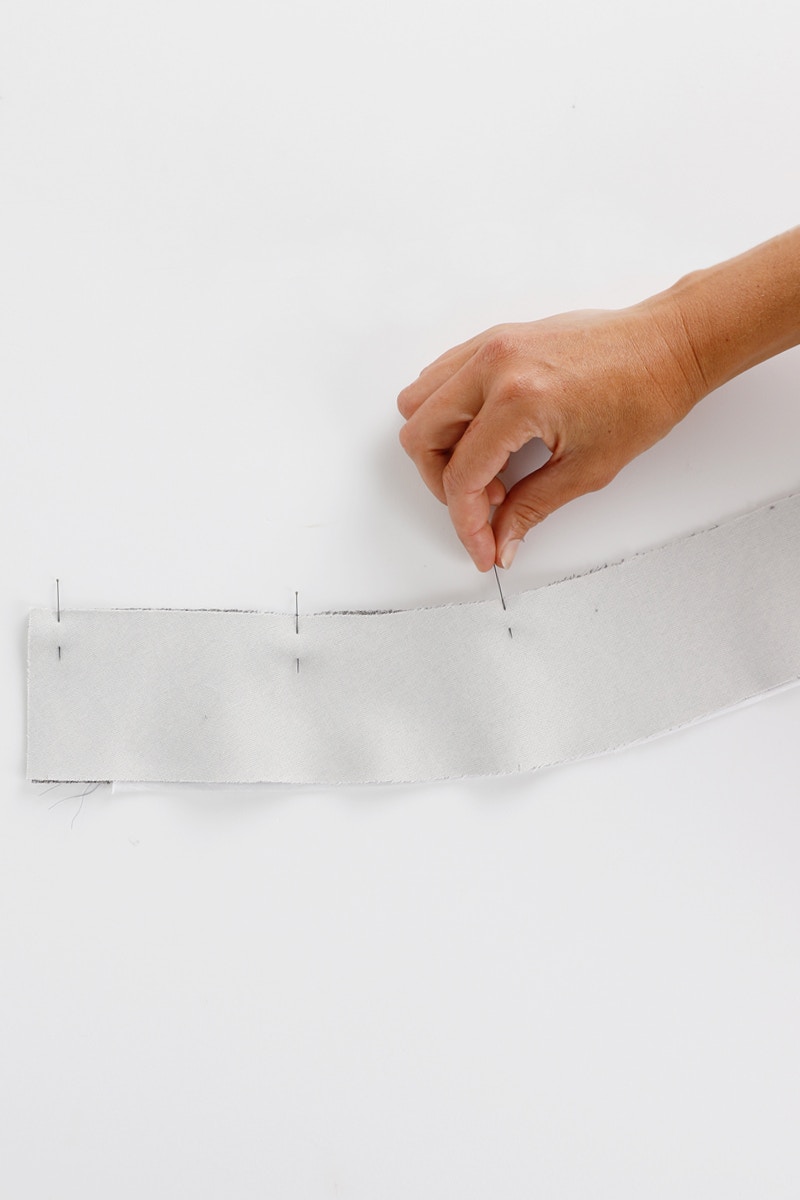

With your right sides together, pin the waistband outer to the waistband facing along the top edge. Then sew them together with a 1cm seam.

Press the seam towards the facing and then under stitch on the waistband facing.
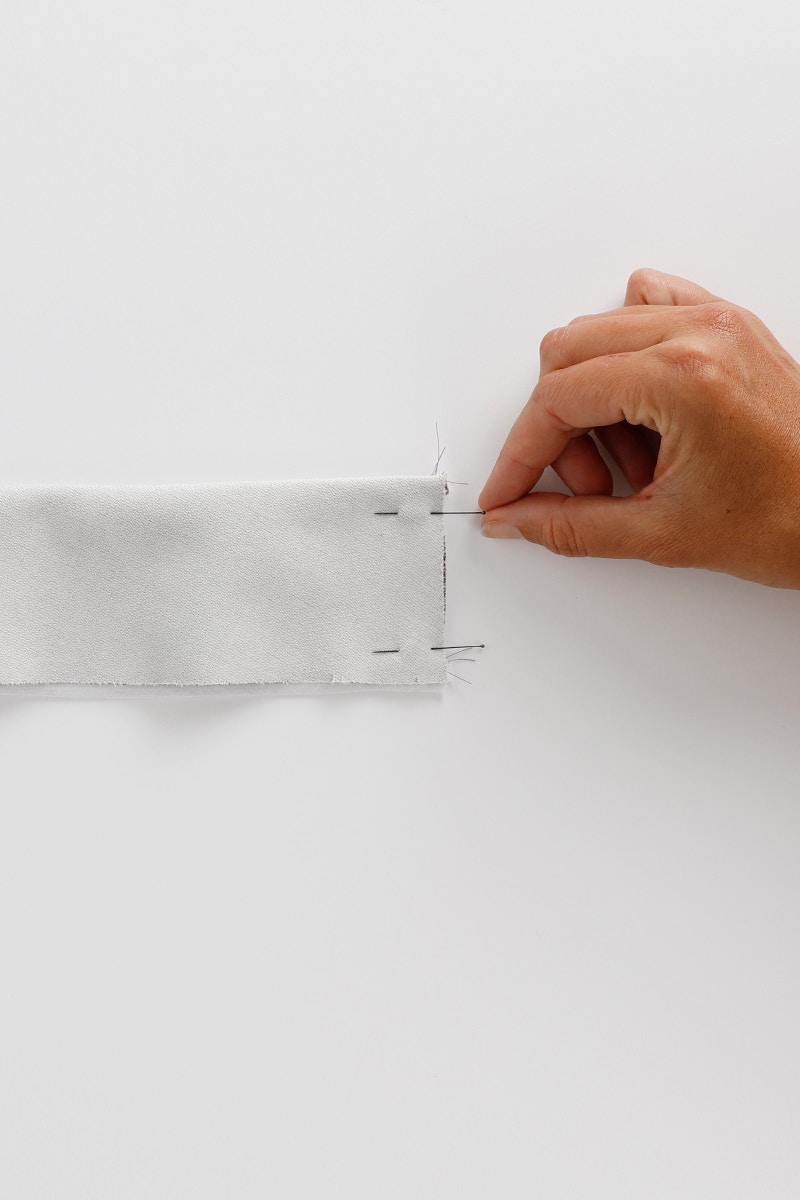
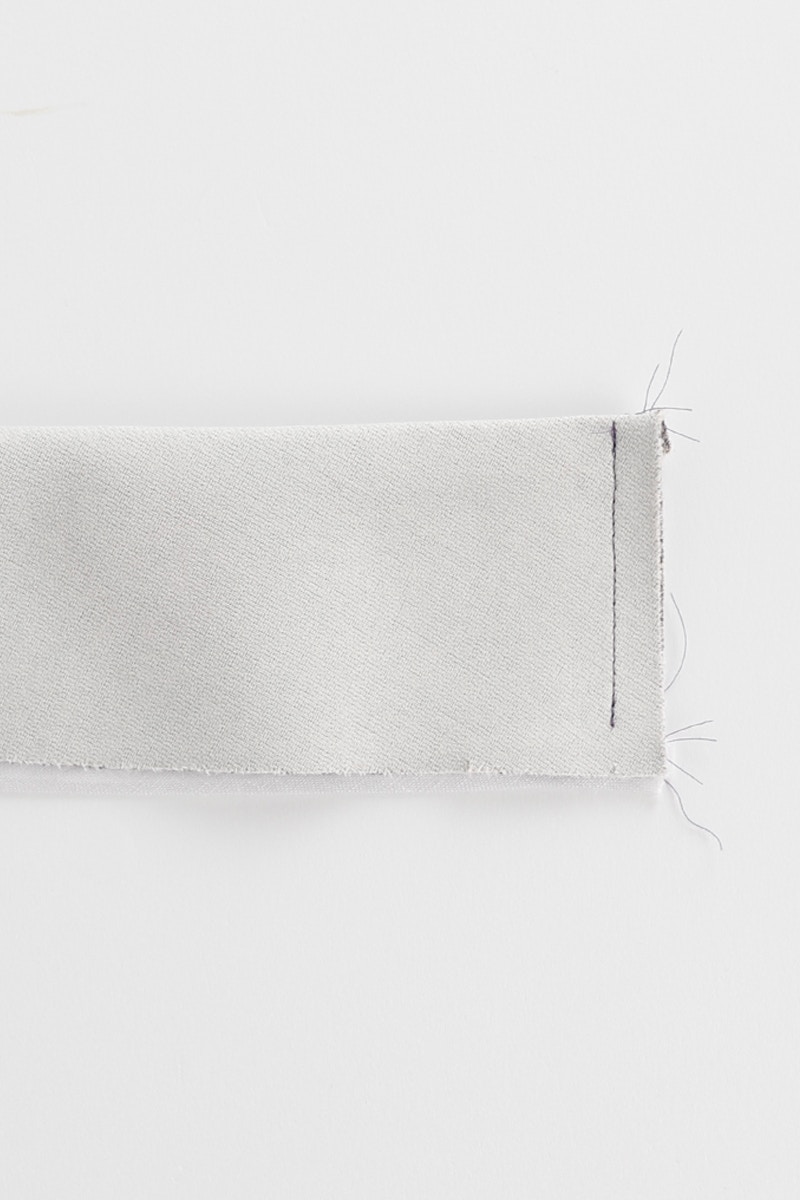
Fold the waistband in half lengthwise with right sides together. Pin, and then sew the right side end (as worn) closed with a 1cm seam, stopping 1cm before the raw edge.
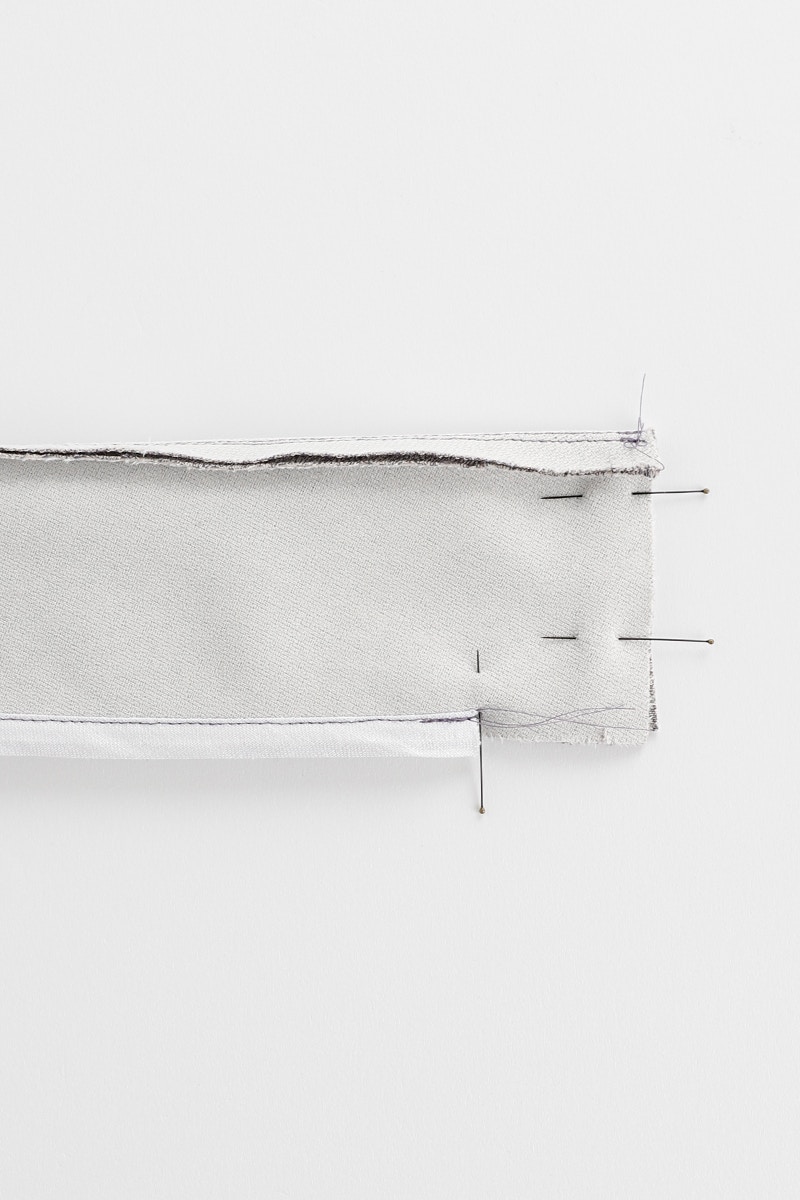

At the left side end (as worn), bag out the waistband tab by pinning and then stitching down the short end. Finish 1cm before the edge, pivot 90 degrees and then sew along the long edge to the notch where the bias binding starts.
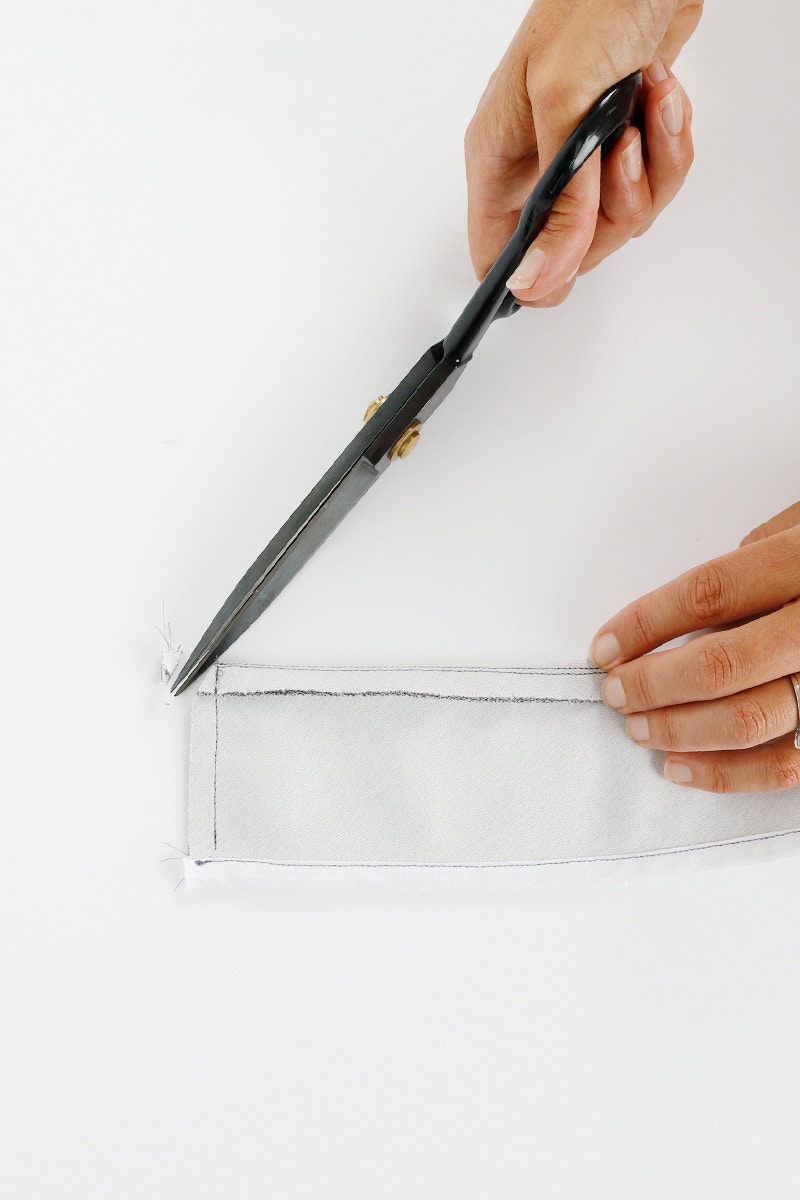
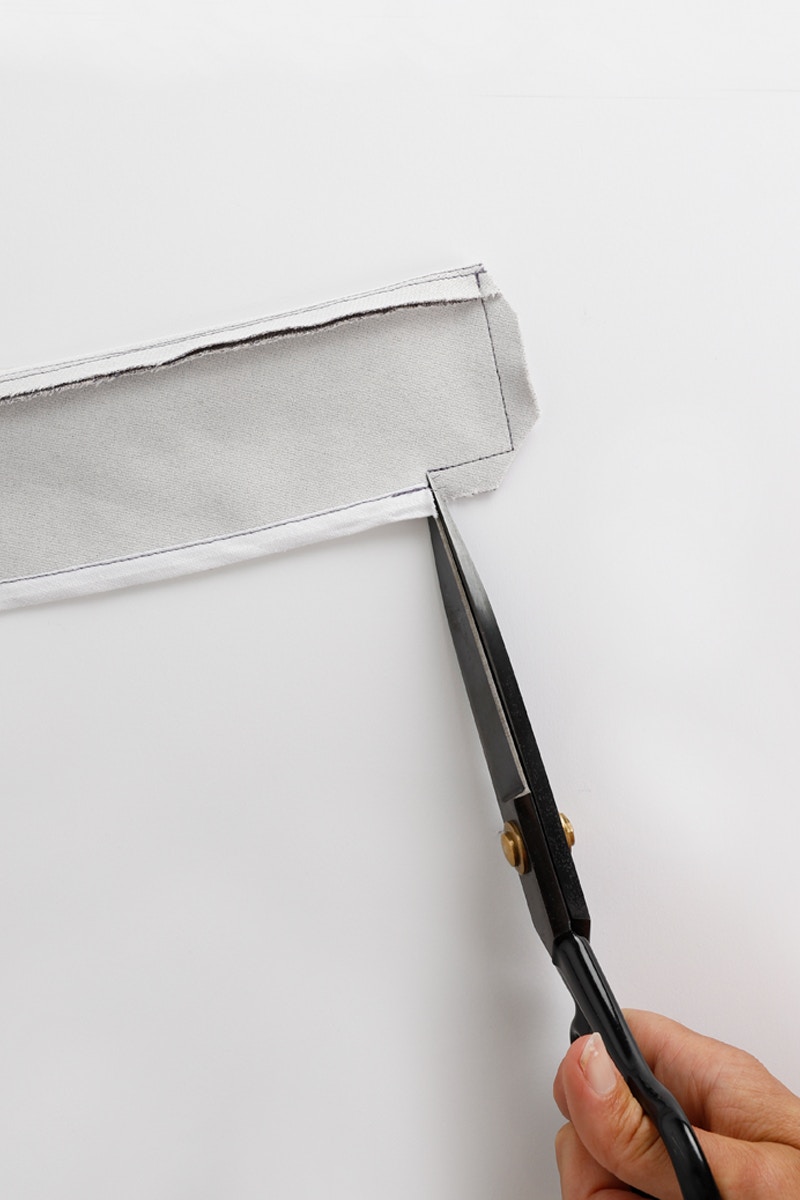
Trim your corners and clip into the seam allowance 1cm where the bias binding finishes.

Now turn your waistband right sides out with the help of a point turner and give it a press.

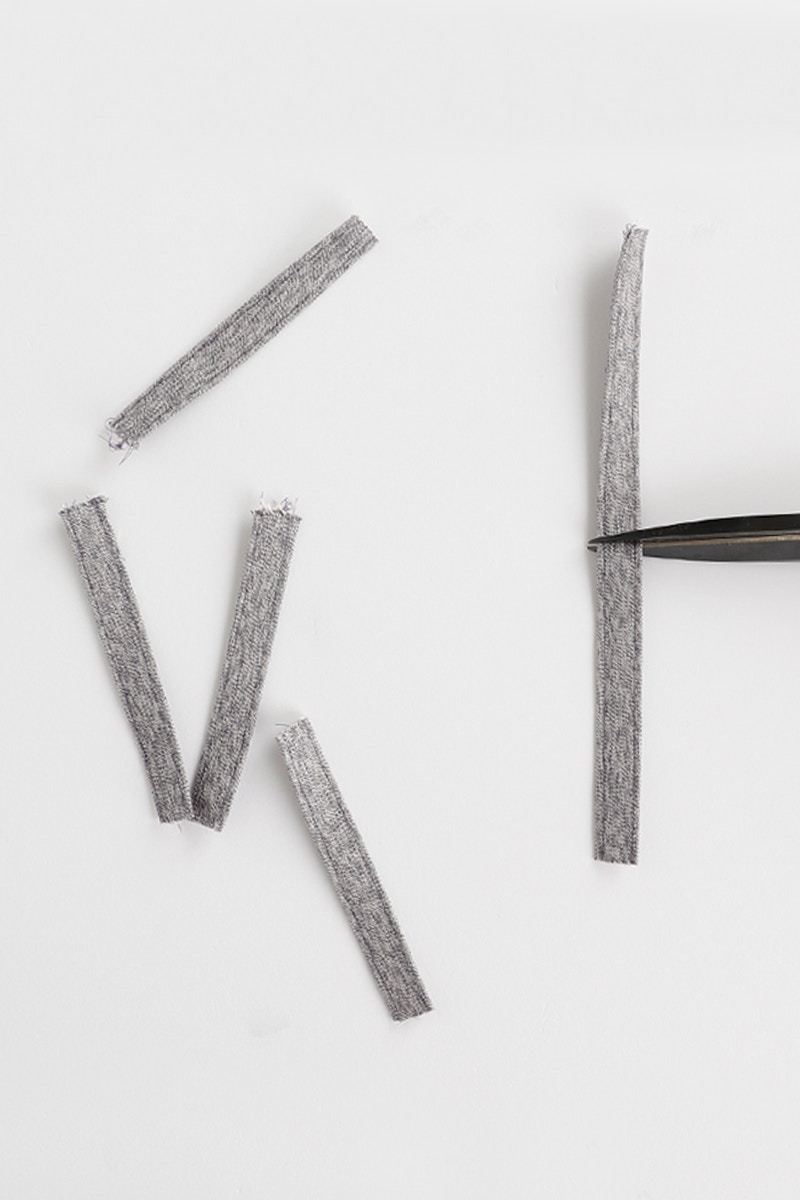
To sew the belt loops, neaten one long edge on each belt loop piece. Fold the belt loop pieces into threes, lengthwise with neatened edge on top. Edge stitch each long edge to hold it in place then cut each piece in to thirds. You will have six pieces in total.
Now we are ready to assemble our skirt!
Check out the August Skirt pattern in our Online Store here. Don't forget you can always email us via patterns@thefabricstore.co.nz if you need advice!
August makes from our wonderful community are also popping up over on Instagram, follow @makebytfs and use #TFSAugustSkirt so others can check out your creations!


