Paint Dress + Top Sew Along
5 — Finish the Sleeves
01—November 2022
Step 5 in our Paint pattern sew along is finishing the sleeves!
In this post, we cover finishing both the long and short sleeve options. Scroll down to the section that applies to you.
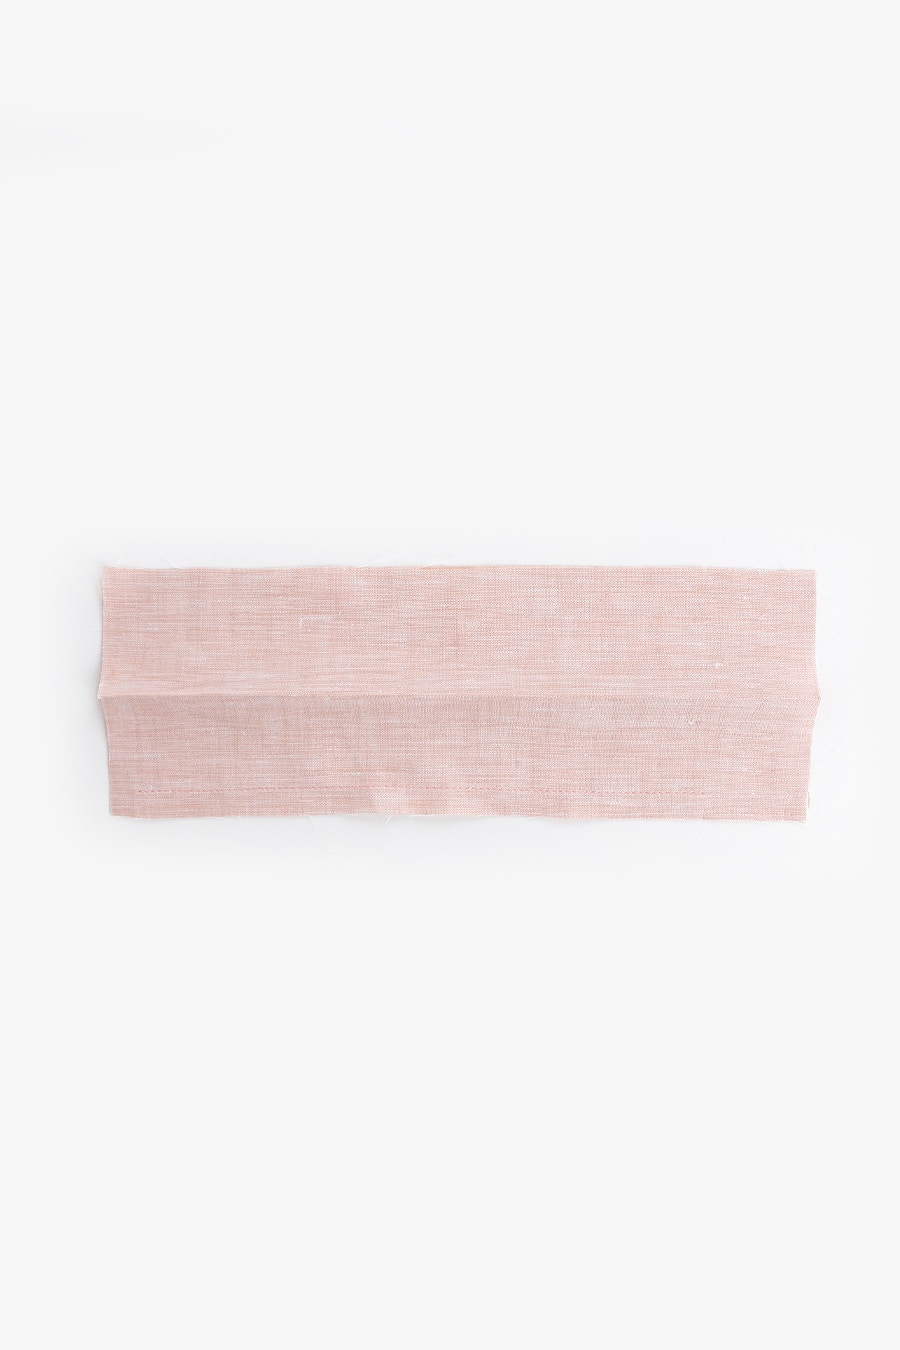
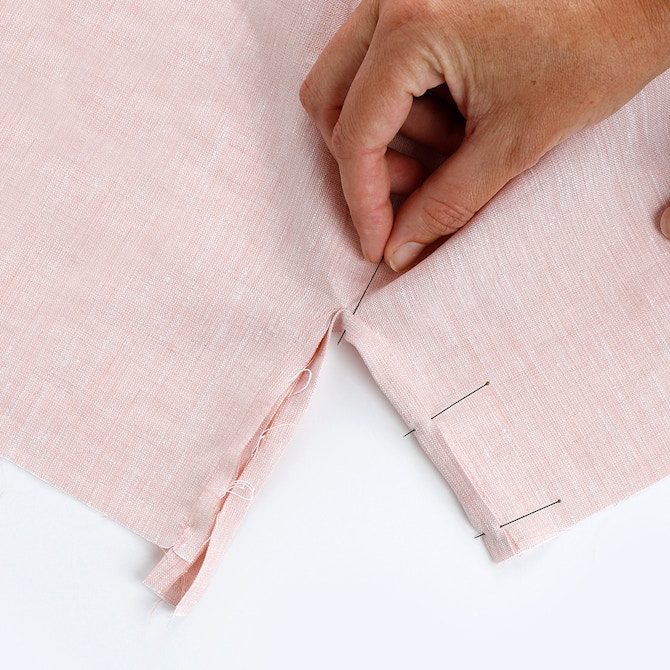
Sew a line of stitching at 1cm between the notches as shown below. The side with the stitched line will be the outer cuff, and the side without stitching will be the inner cuff. The stitching is a guide for folding under the seam allowance to help ensure a tidy finish when you close up the cuff.
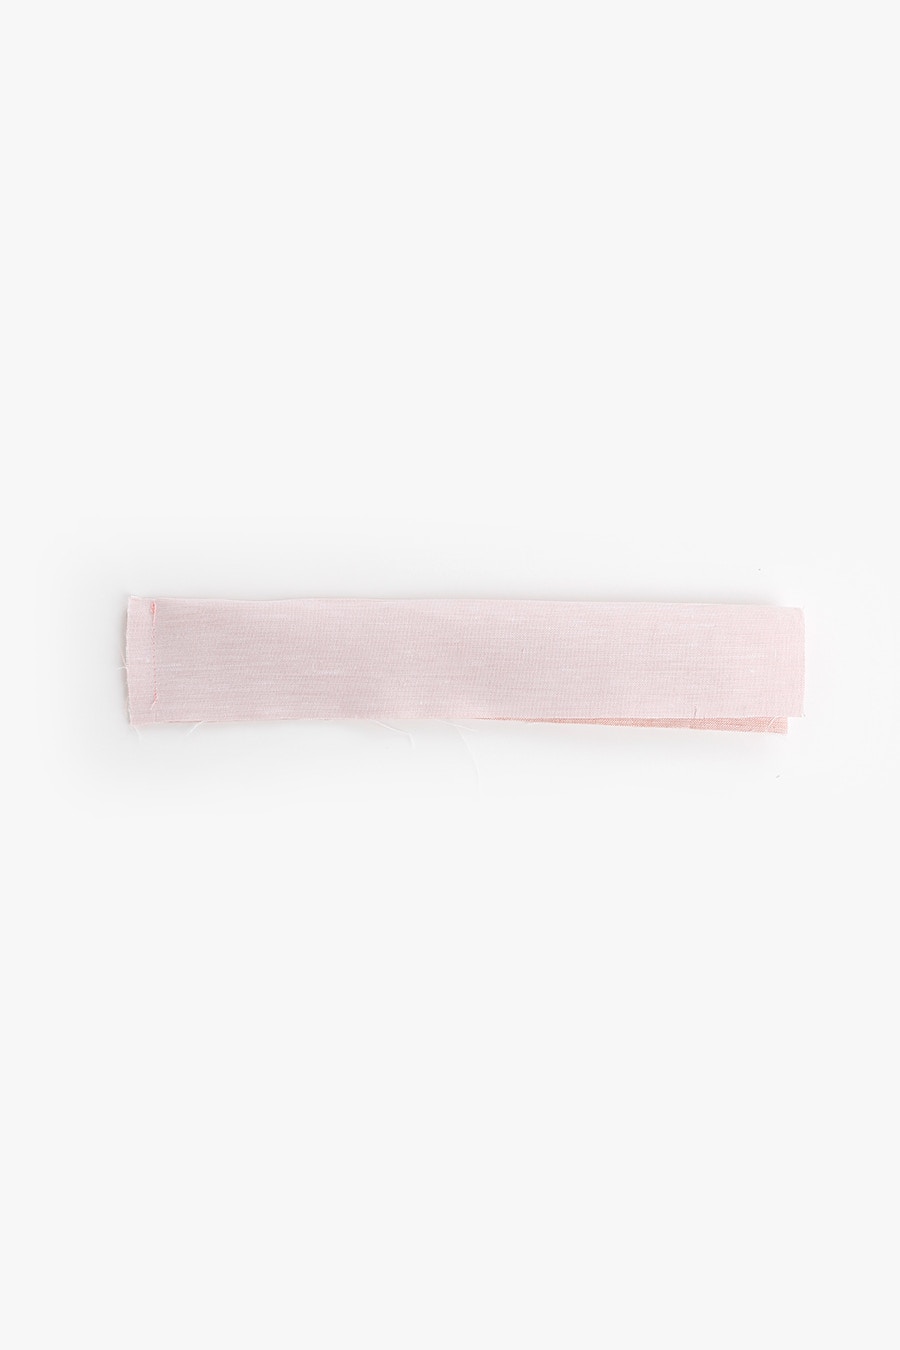
Fold the cuff in half, lengthways with the right sides together.
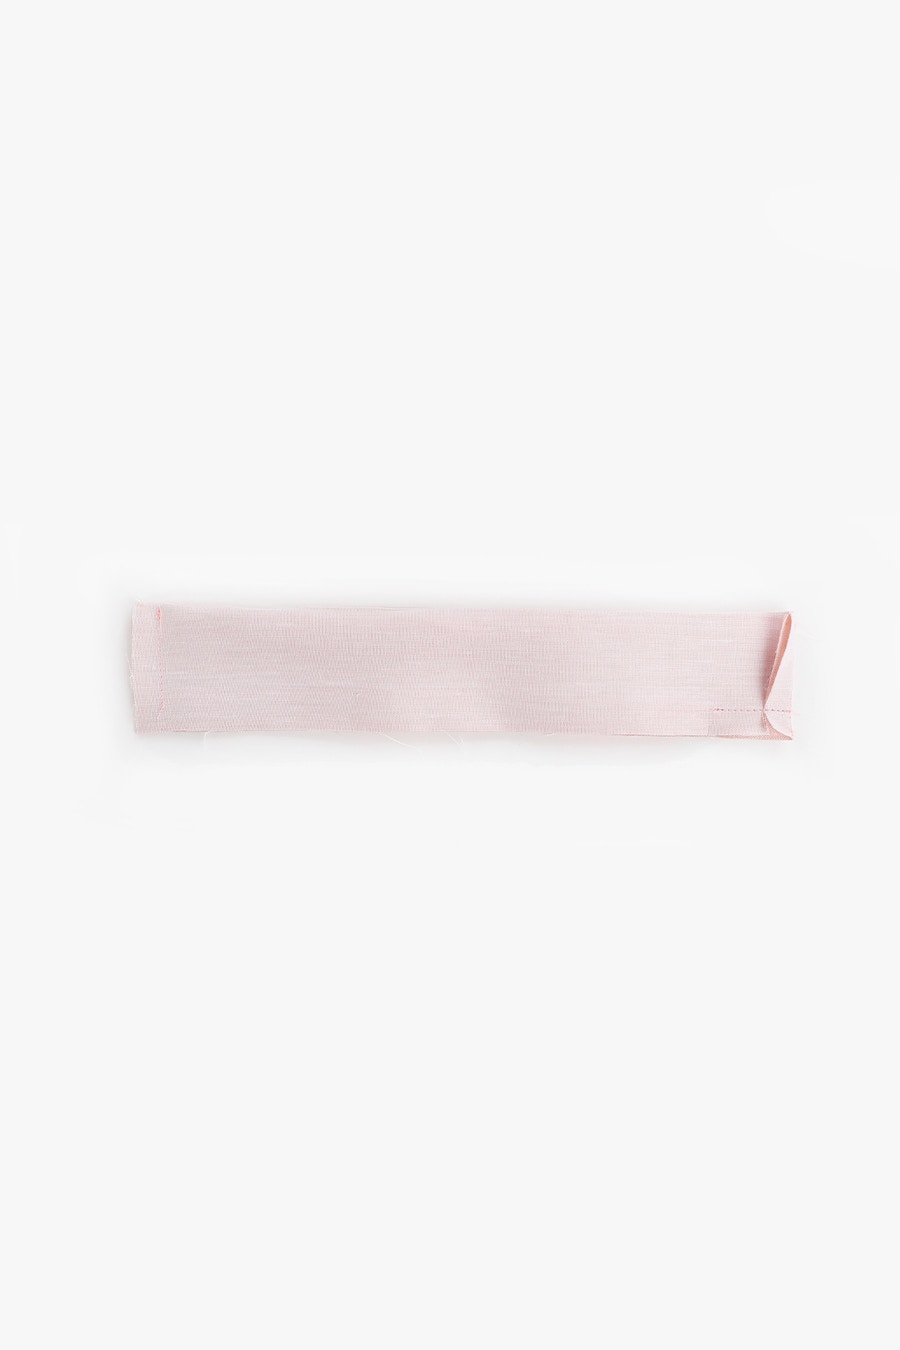
Sew the buttonhole end of the cuff closed, finishing 1cm before the cuff edge.
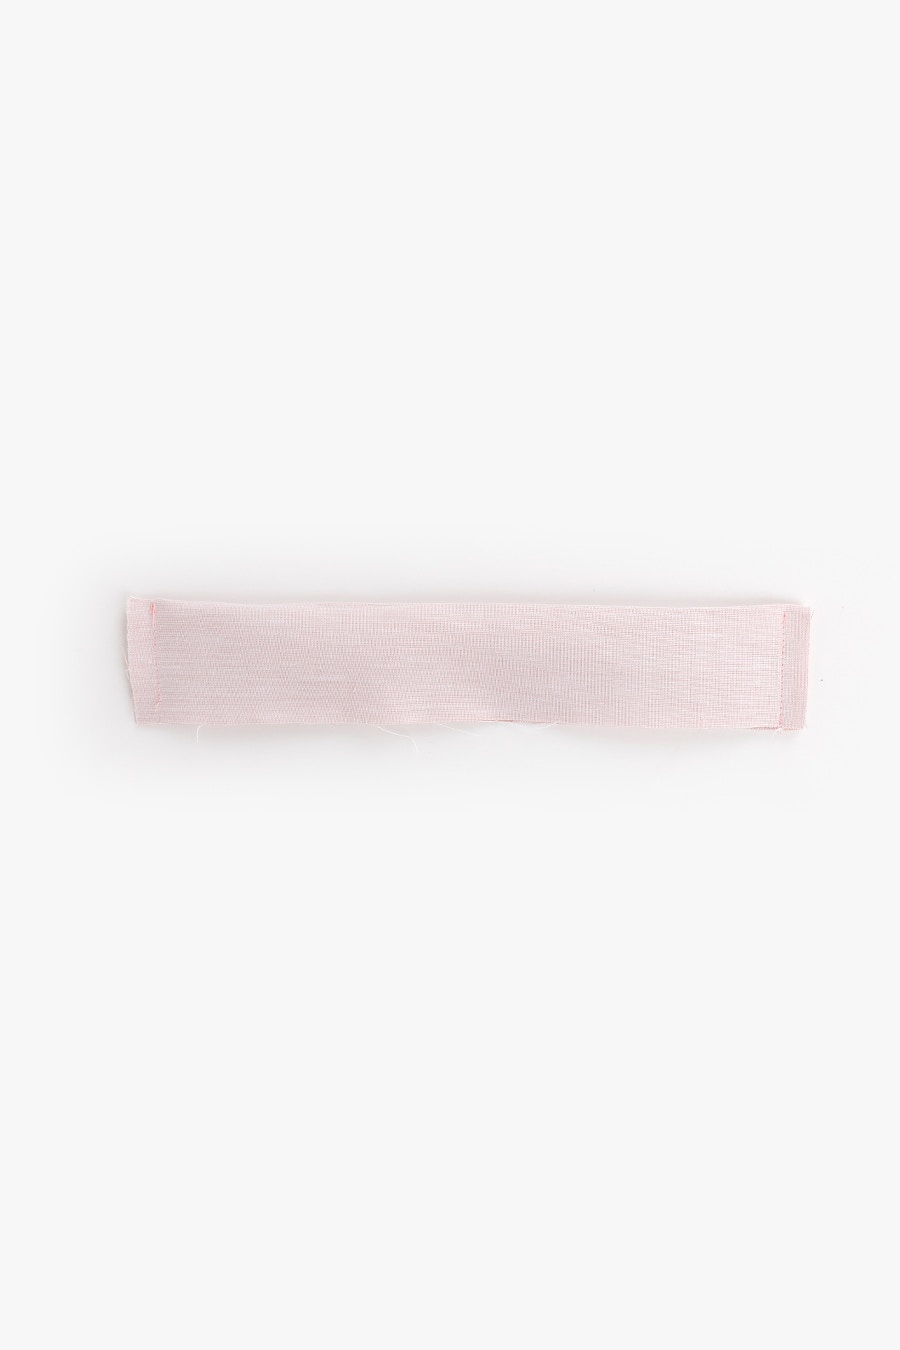
At the button tab end of the cuff, sew the end closed at 1cm, this time finishing at the cuff edge.
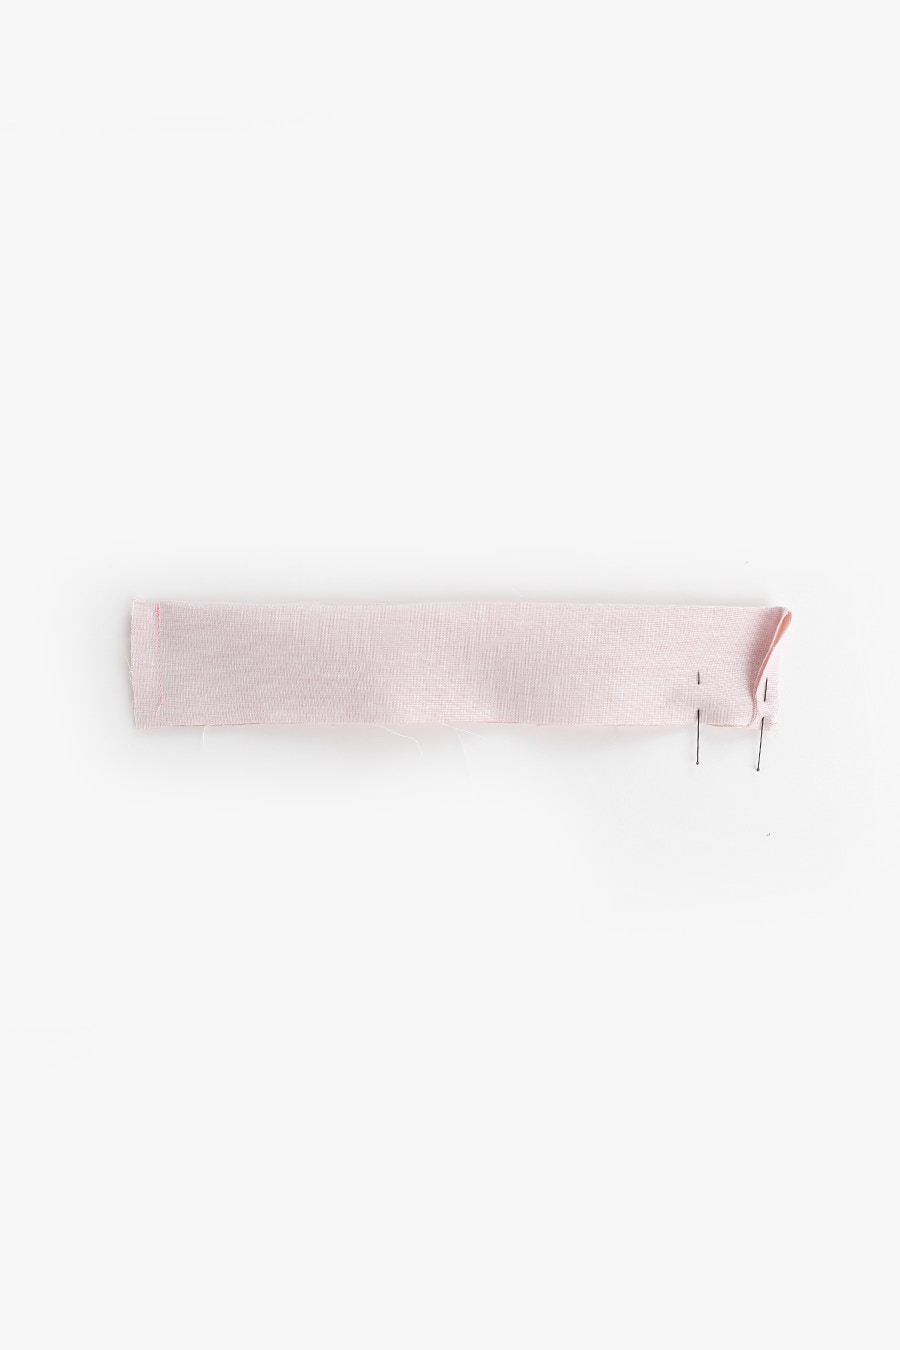
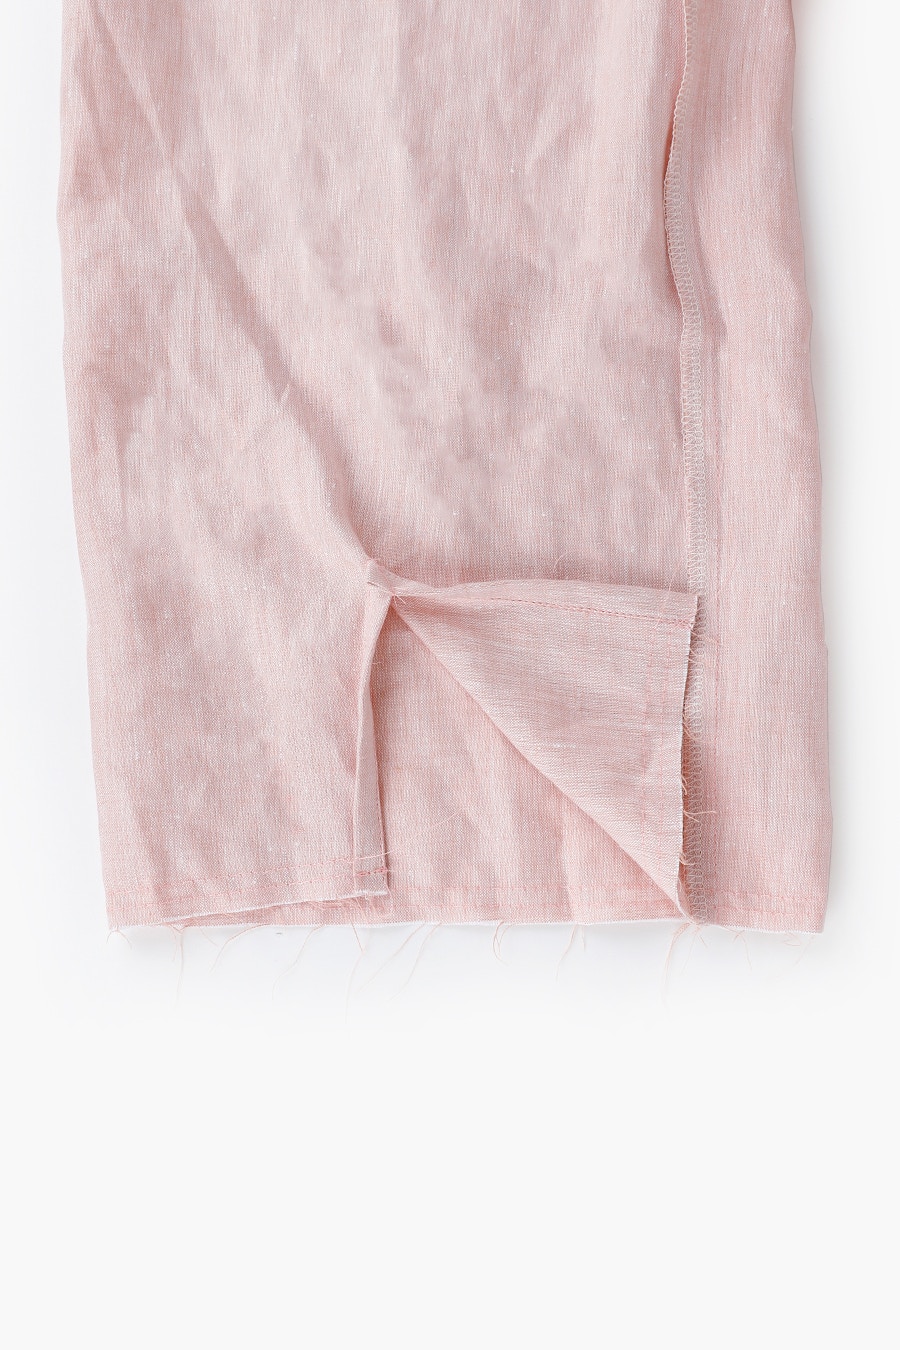
Fold the seam towards the inner cuff (unstitched side) and stitch from the edge to the notch, catching the seam allowance as you sew.
Clip into the end of this seam 1cm.
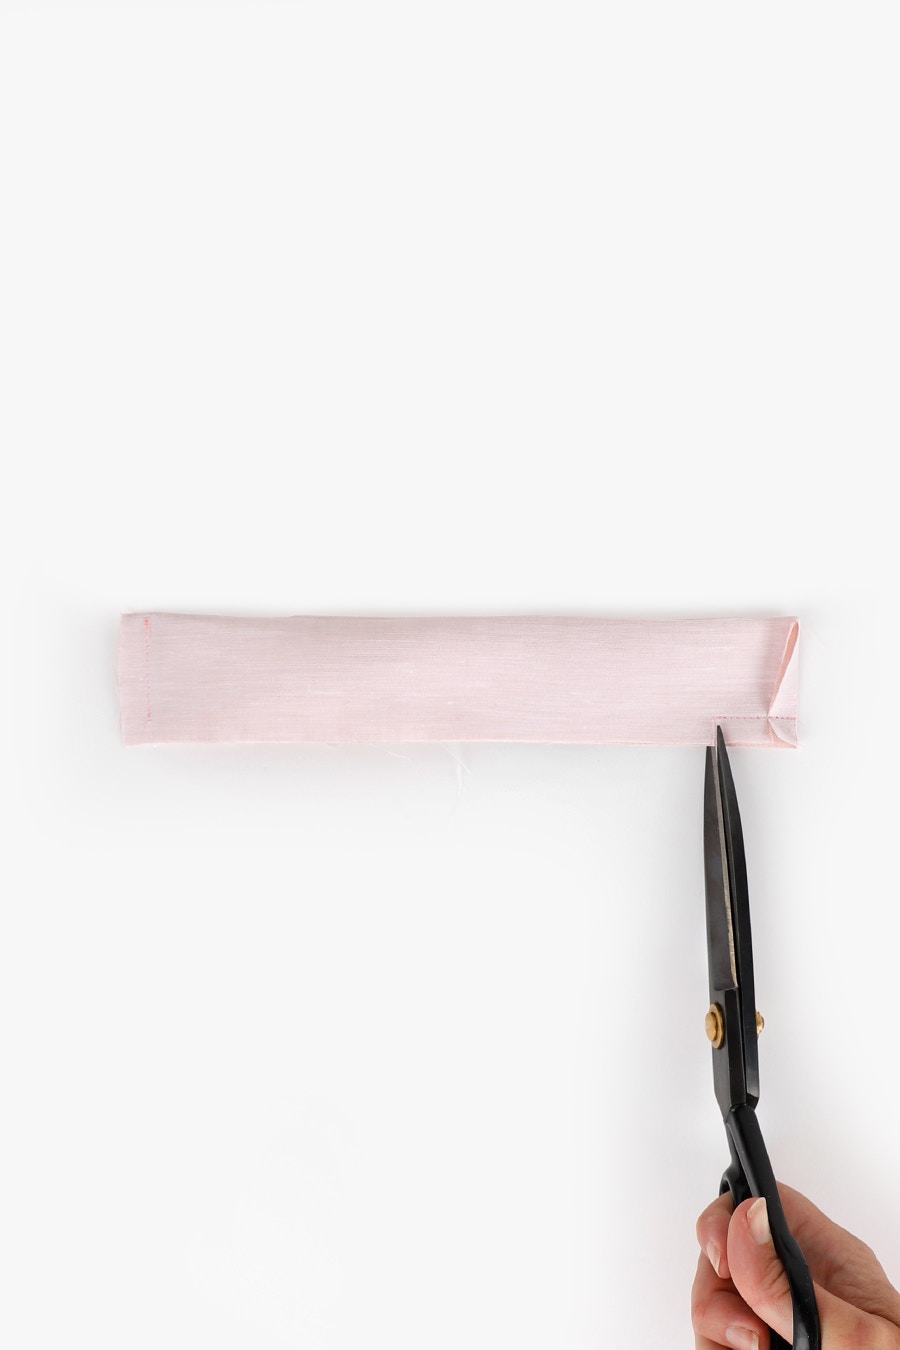
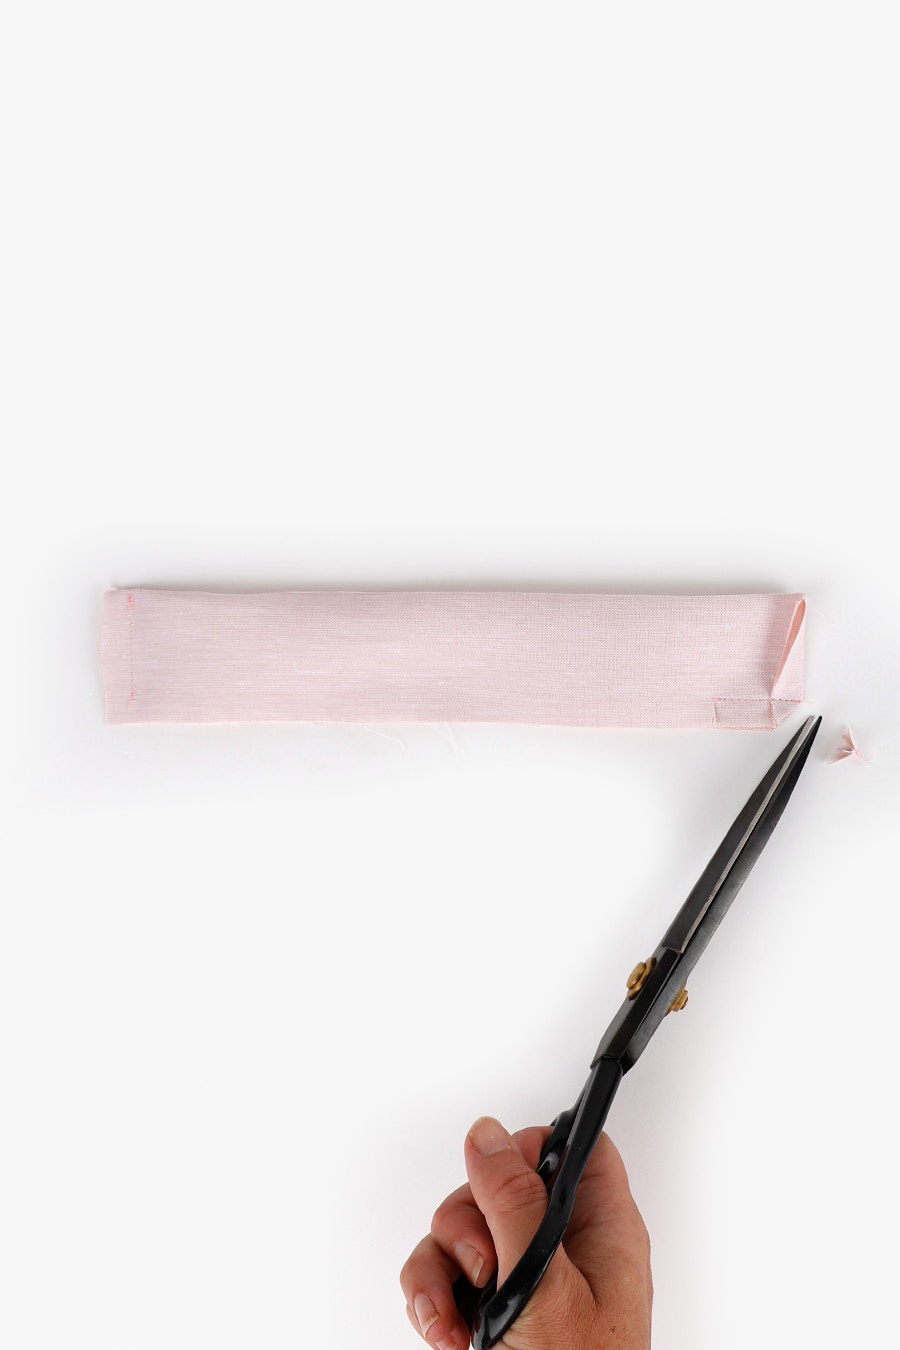
Trim the lower corner on the tab/button end of the cuff.
Take care not to cut through your stitching.
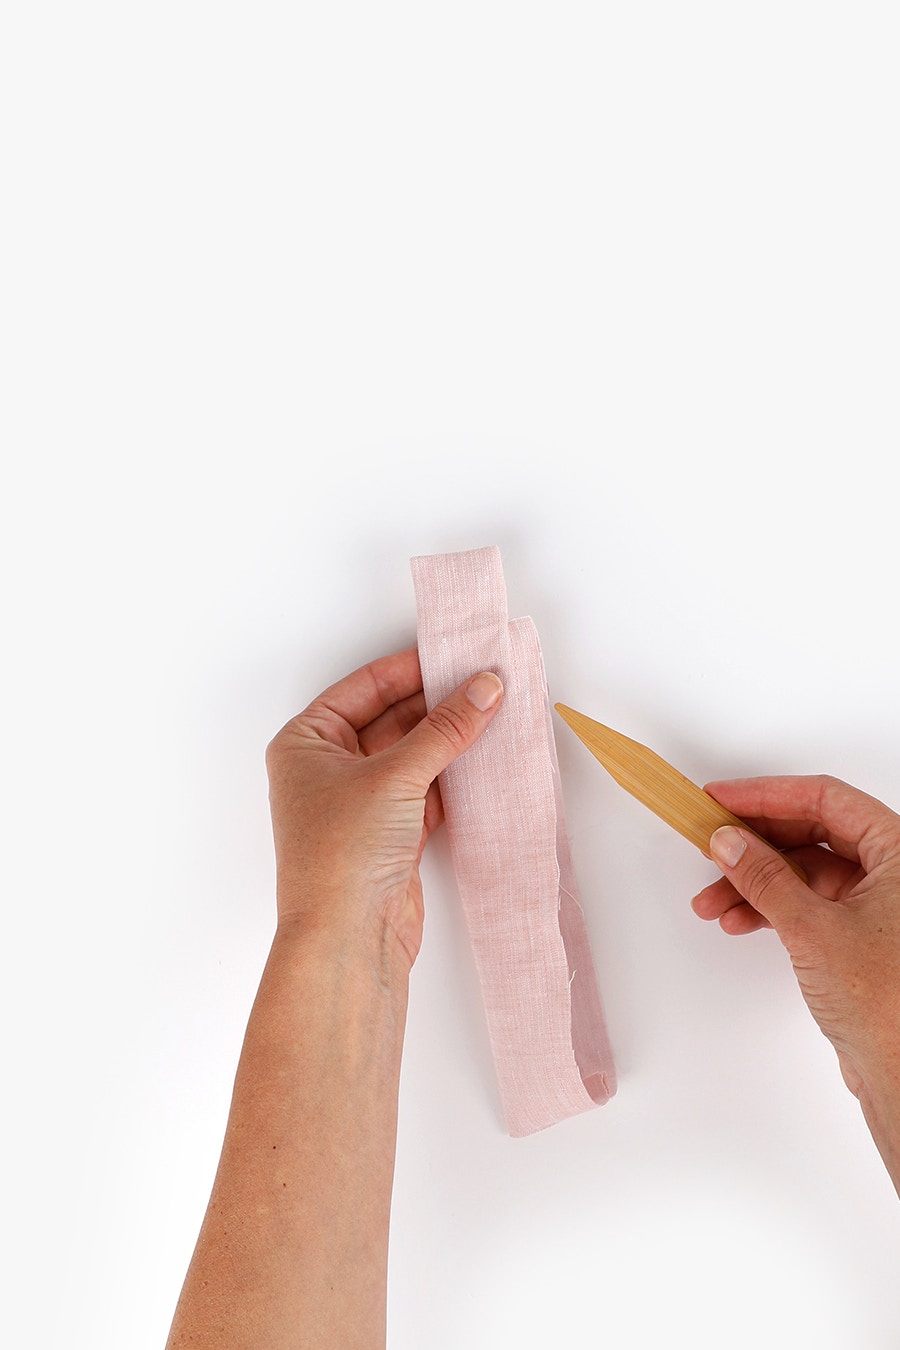
Now turn your cuff right side out. You might find it helpful to use a point turner or similar when doing this!
Give your cuff a press.
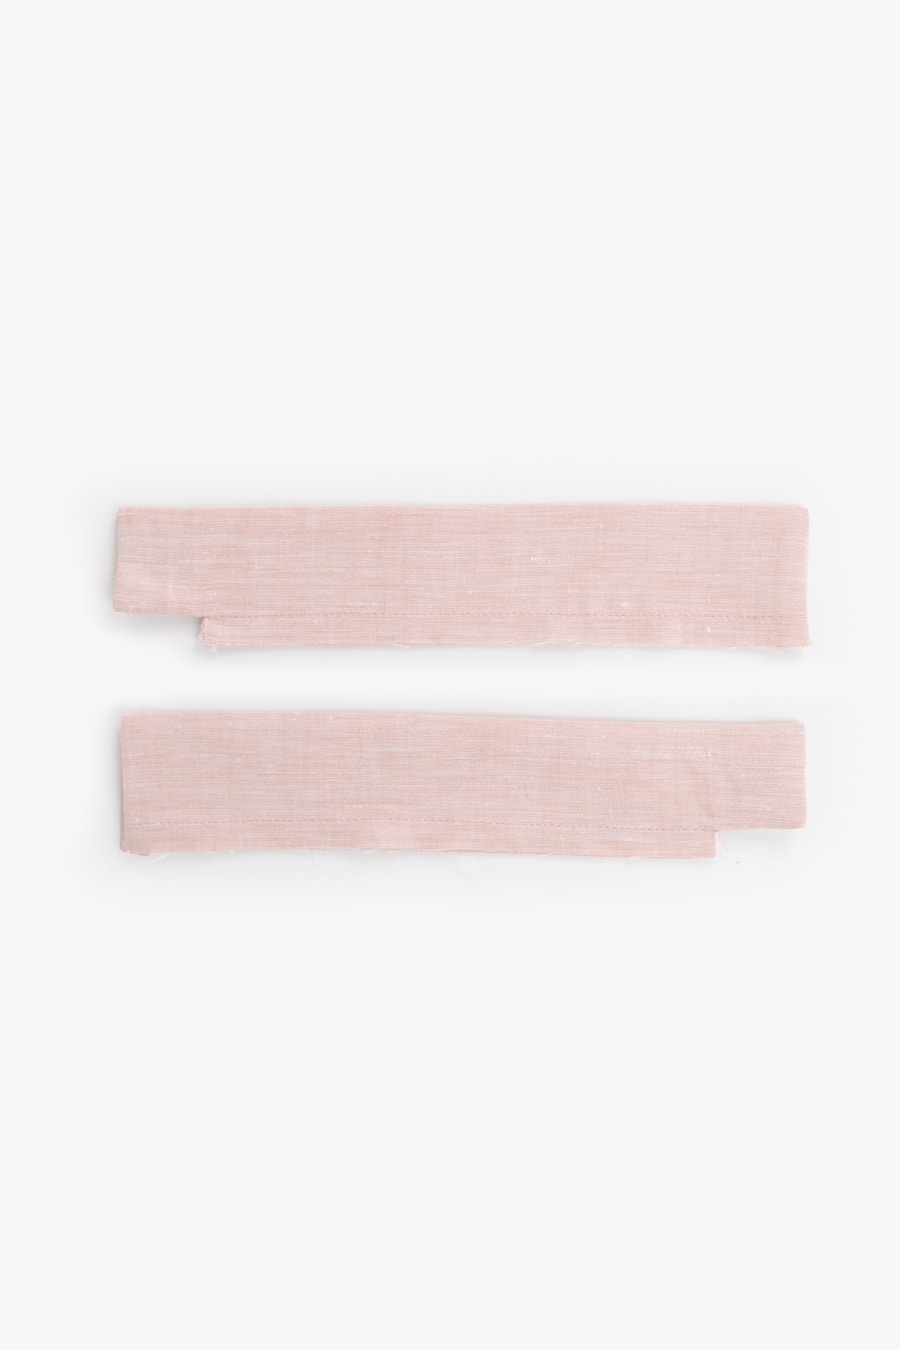
Sew a second cuff as a mirror image of the first cuff so you create a pair of cuffs.
Now that the cuffs have been sewn, we will attach them to the sleeves.
Using the longest stitch on your sewing machine, run two parallel lines of stitching 6mm apart, at the cuff edge.

Gather the stitching until it is the same width as the cuff opening.
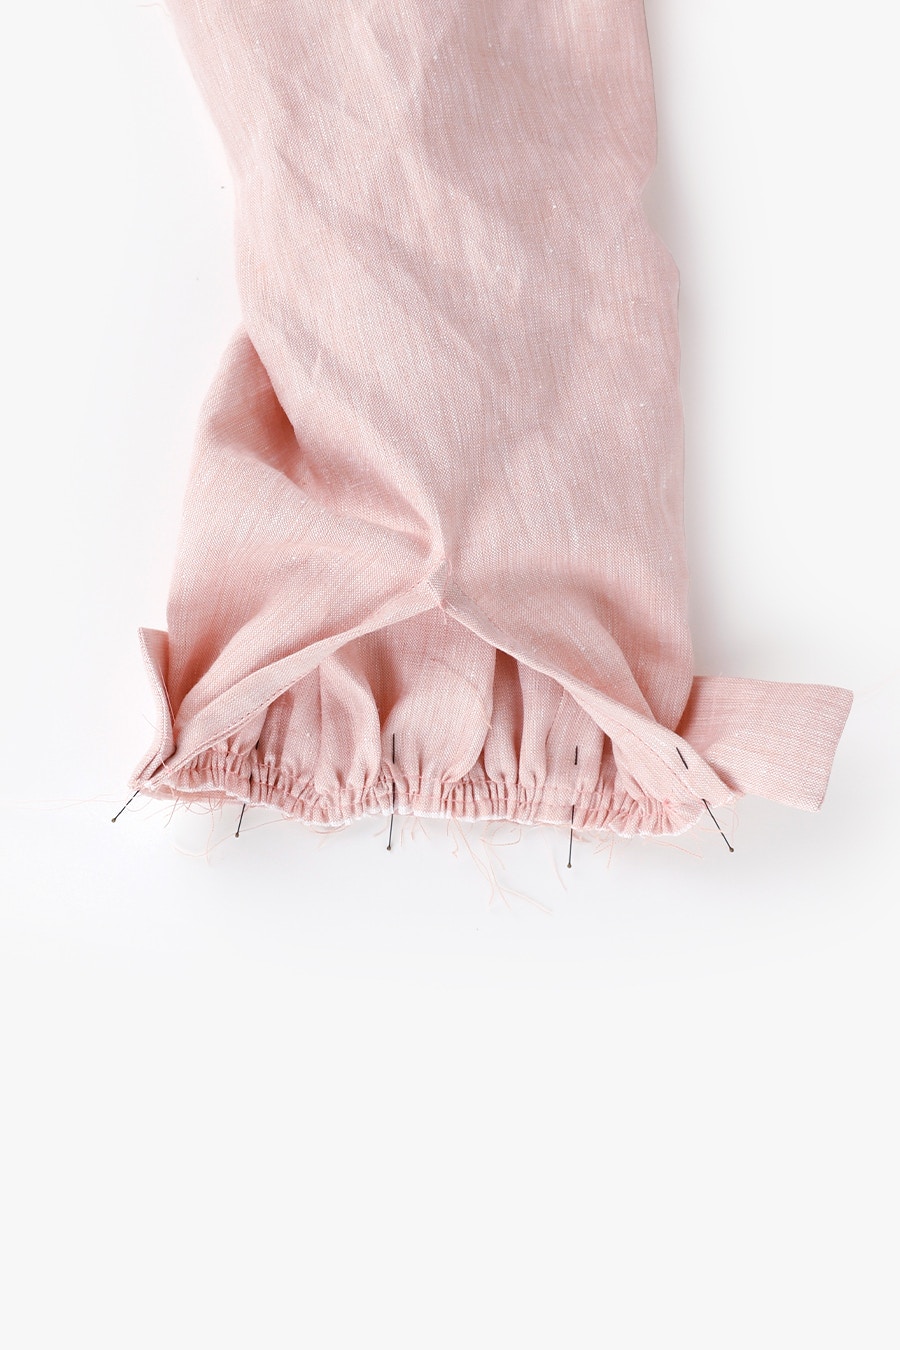
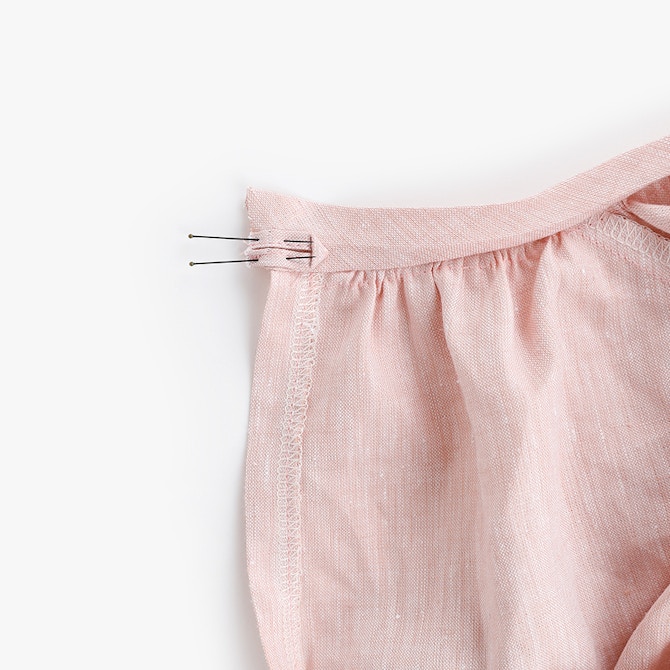
Pin the sleeve to the cuff between the notches, wrong side of the sleeve to the right side of the inner cuff. This is the unstitched edge of the cuff. The button tab end will go at the back of the sleeve, and the buttonhole end will be at the front. Now stitch the sleeve and cuff together.
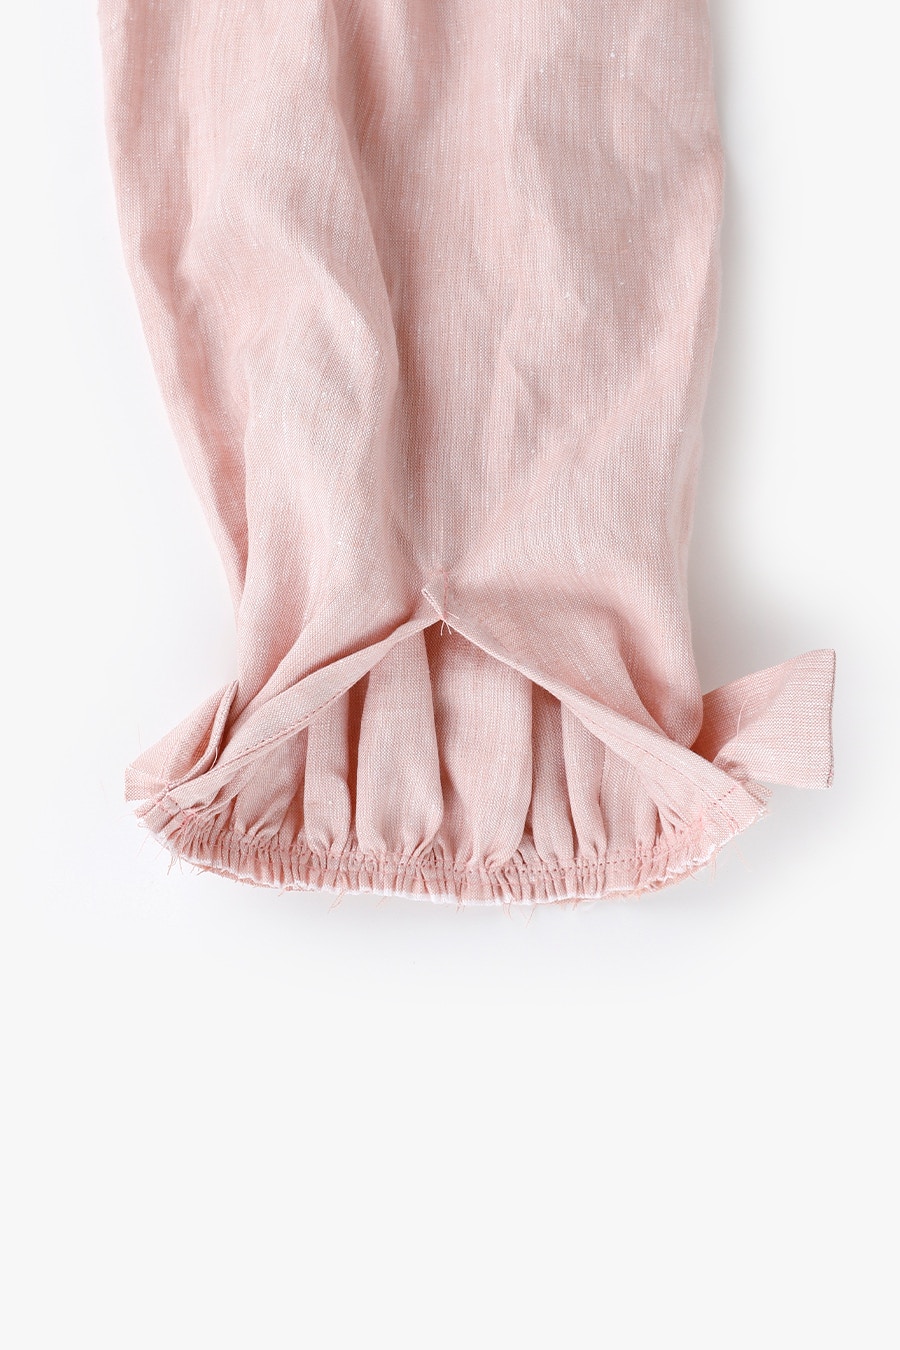
Press the seam into the cuff.
Fold the 1cm seam allowance under, using the line of stitching you sewed to guide you, and pin.

Edge stitch the cuff closed from the right side.
Remove any visible gathering stitches and repeat for your other cuff.
Your long sleeves are complete! Now, move on to the next blog post to sew them hem and do the finishing touches.
If you are sewing the short sleeve option, follow along from here!
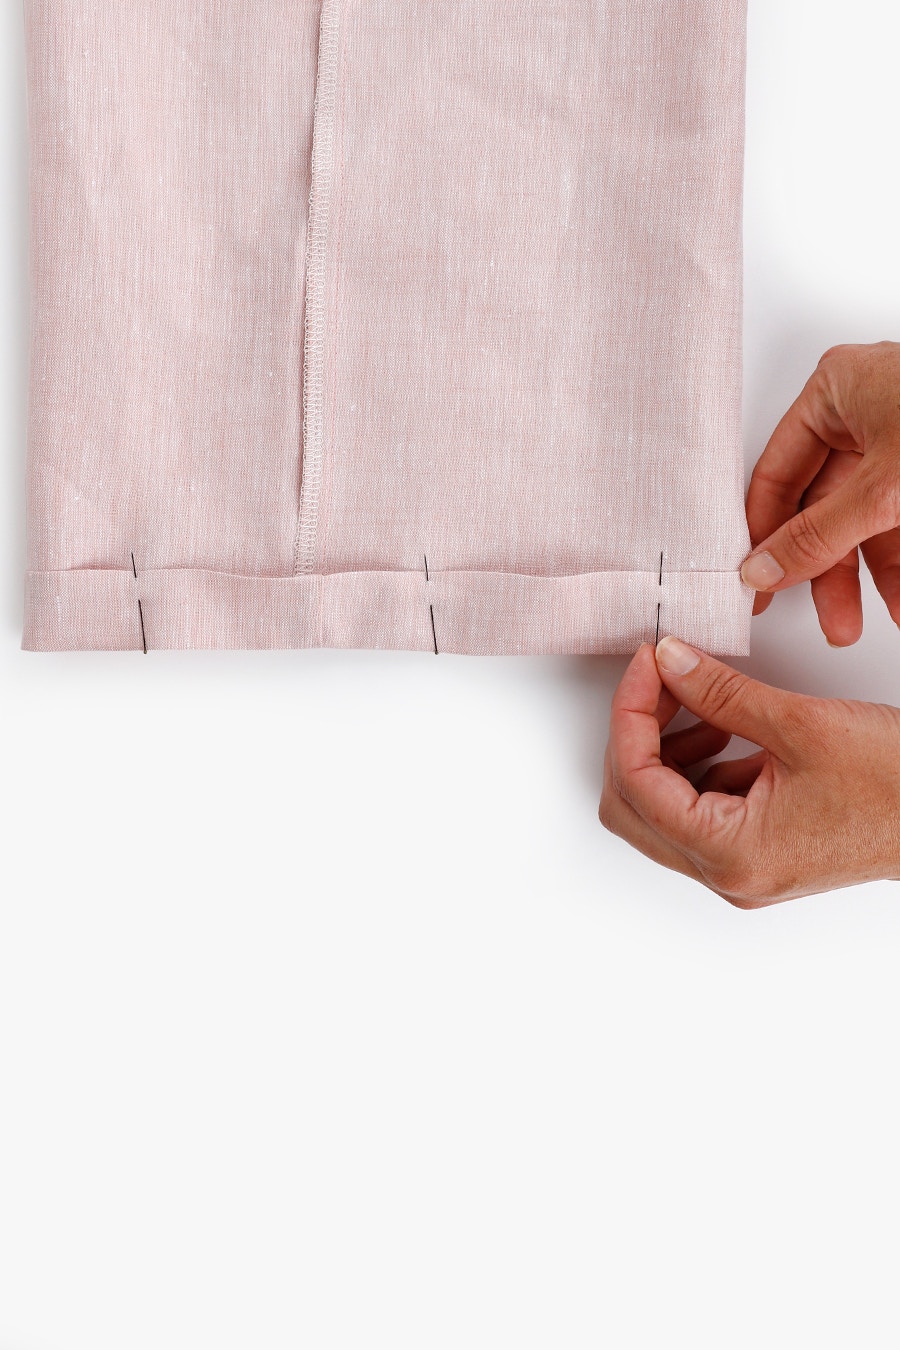
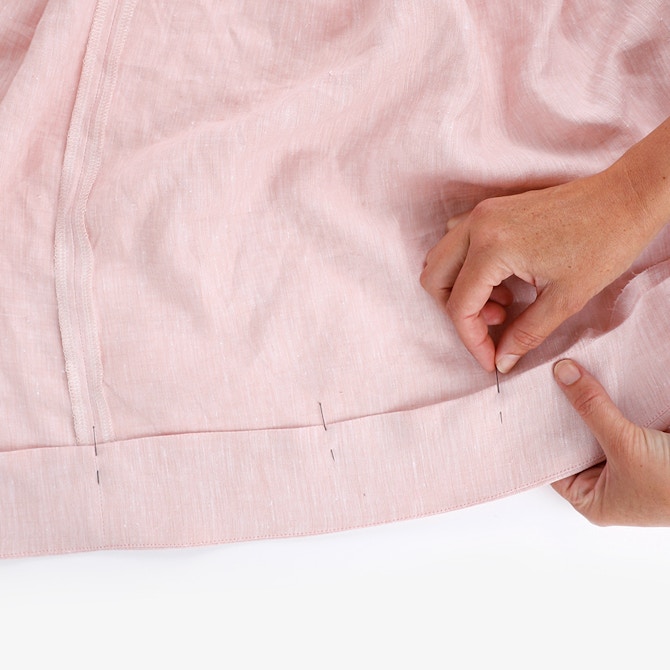
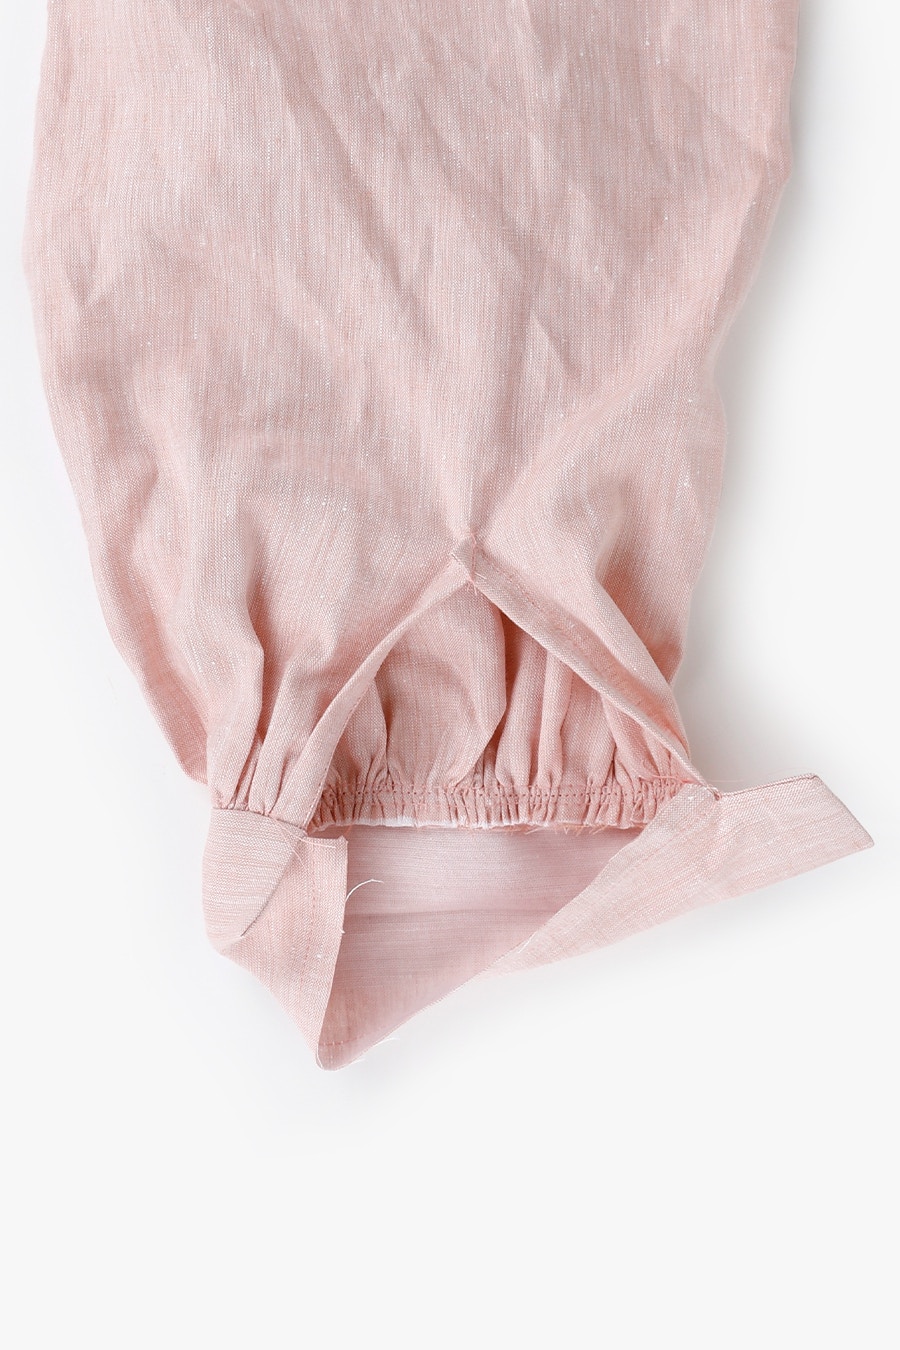
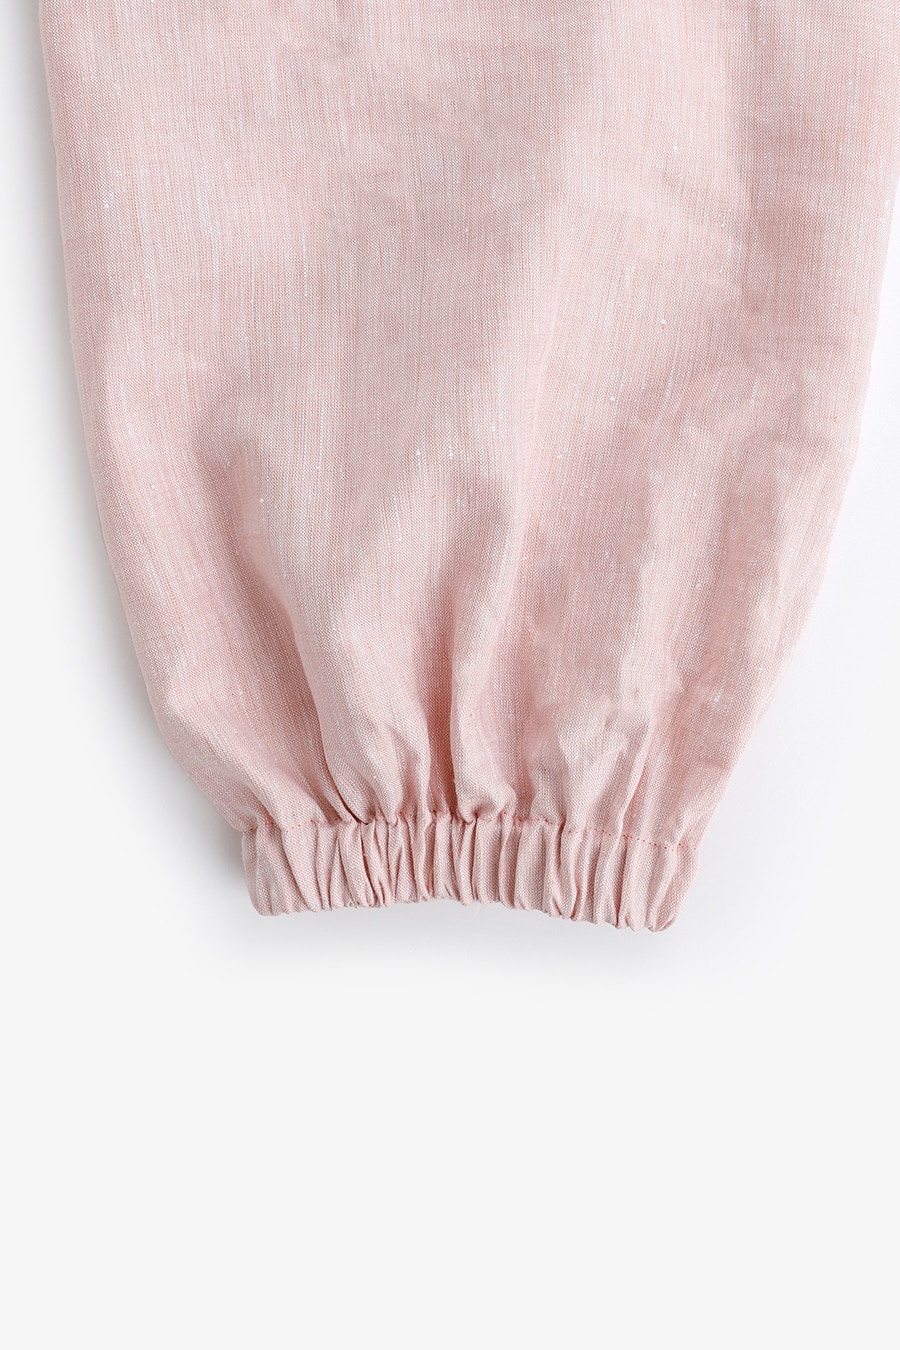
Fold the seam allowance under 1cm, then fold up the hem again at the notches, as per your pre-pressing at the beginning.
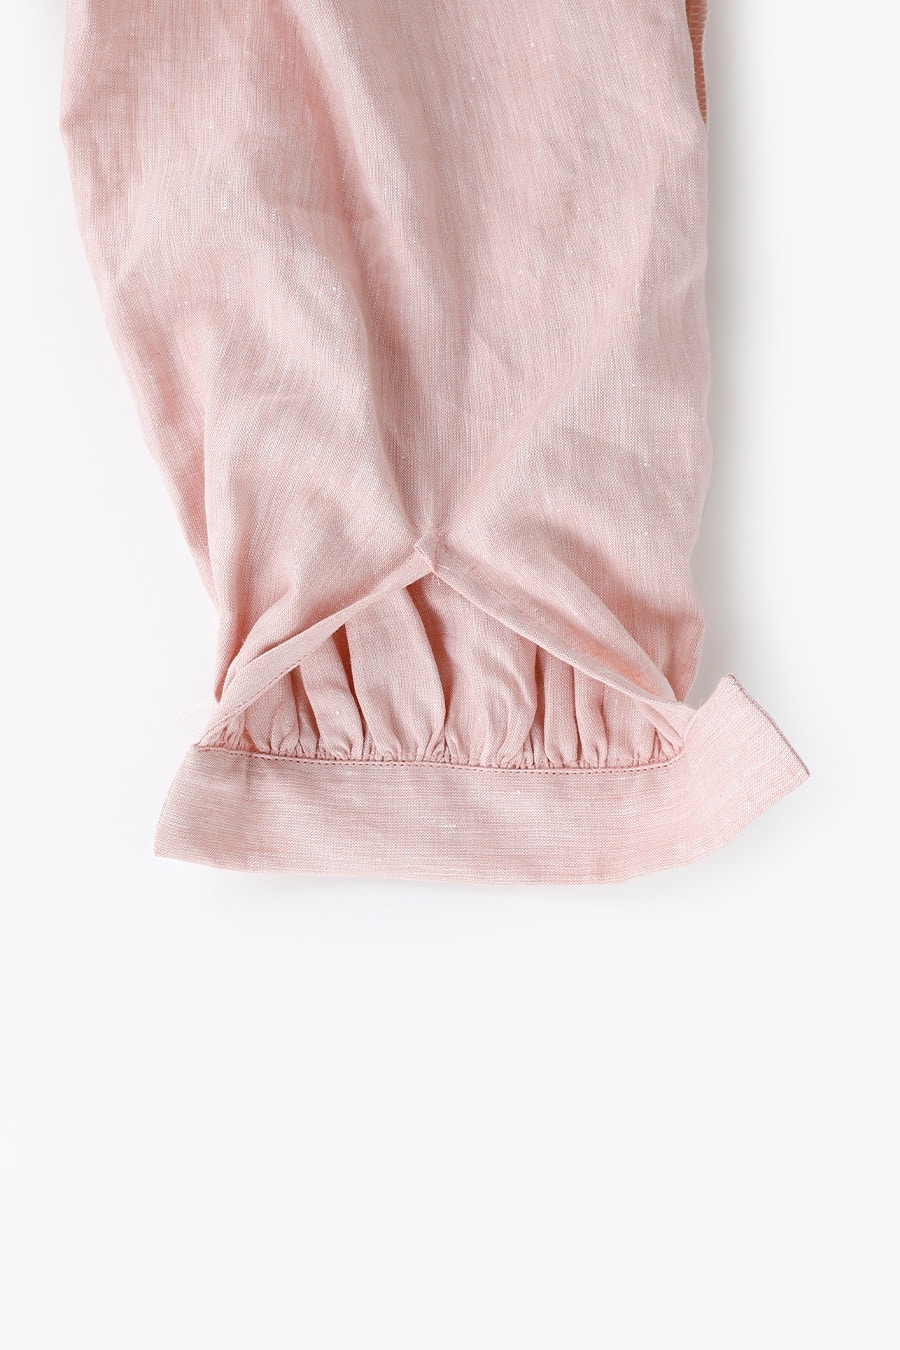
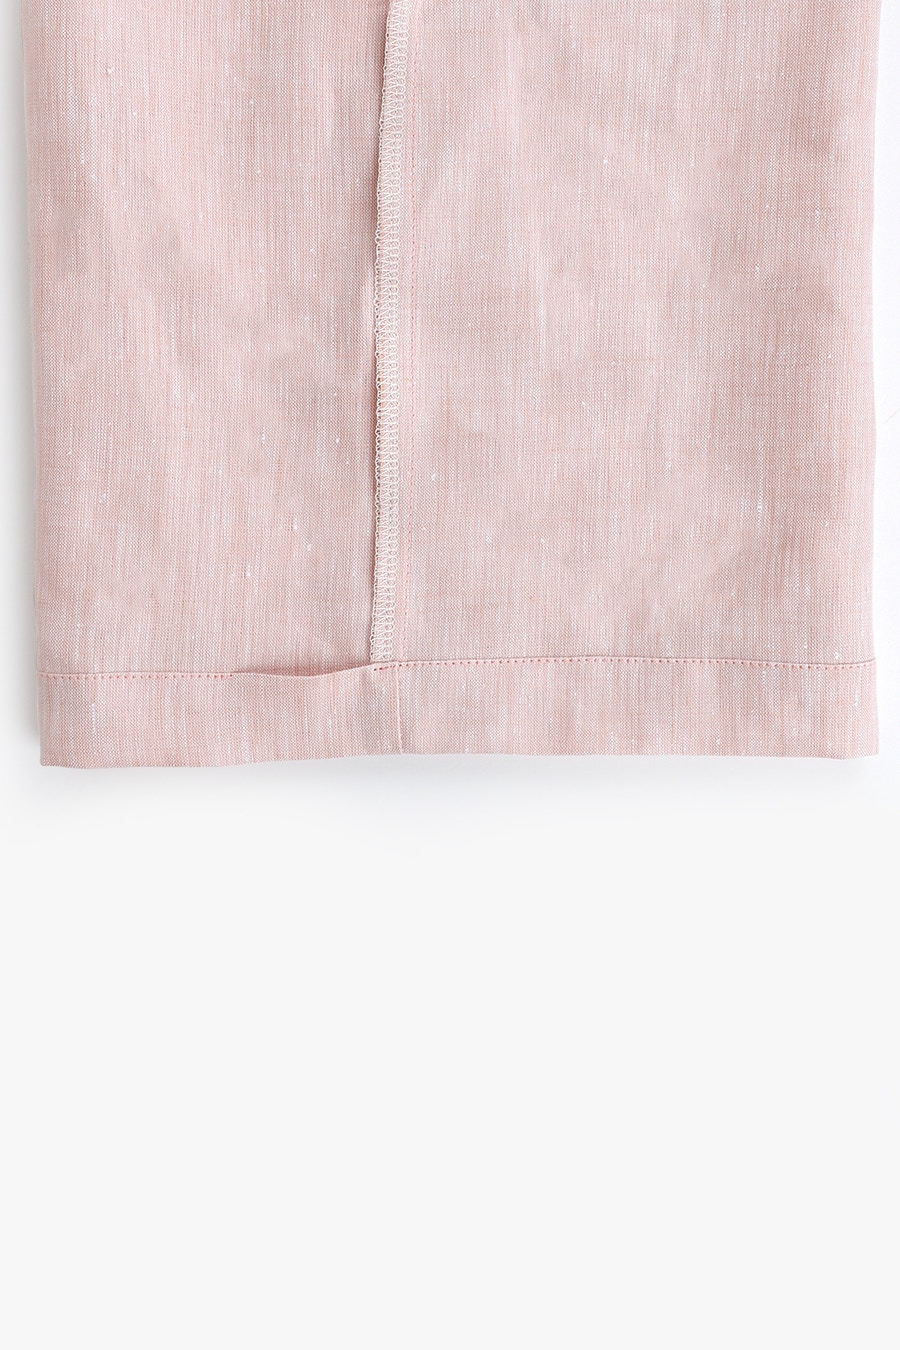
Edge stitch the hem in place, to form a casing for the elastic. Leave a gap at the sleeve seam about 4cm wide to thread the elastic through.
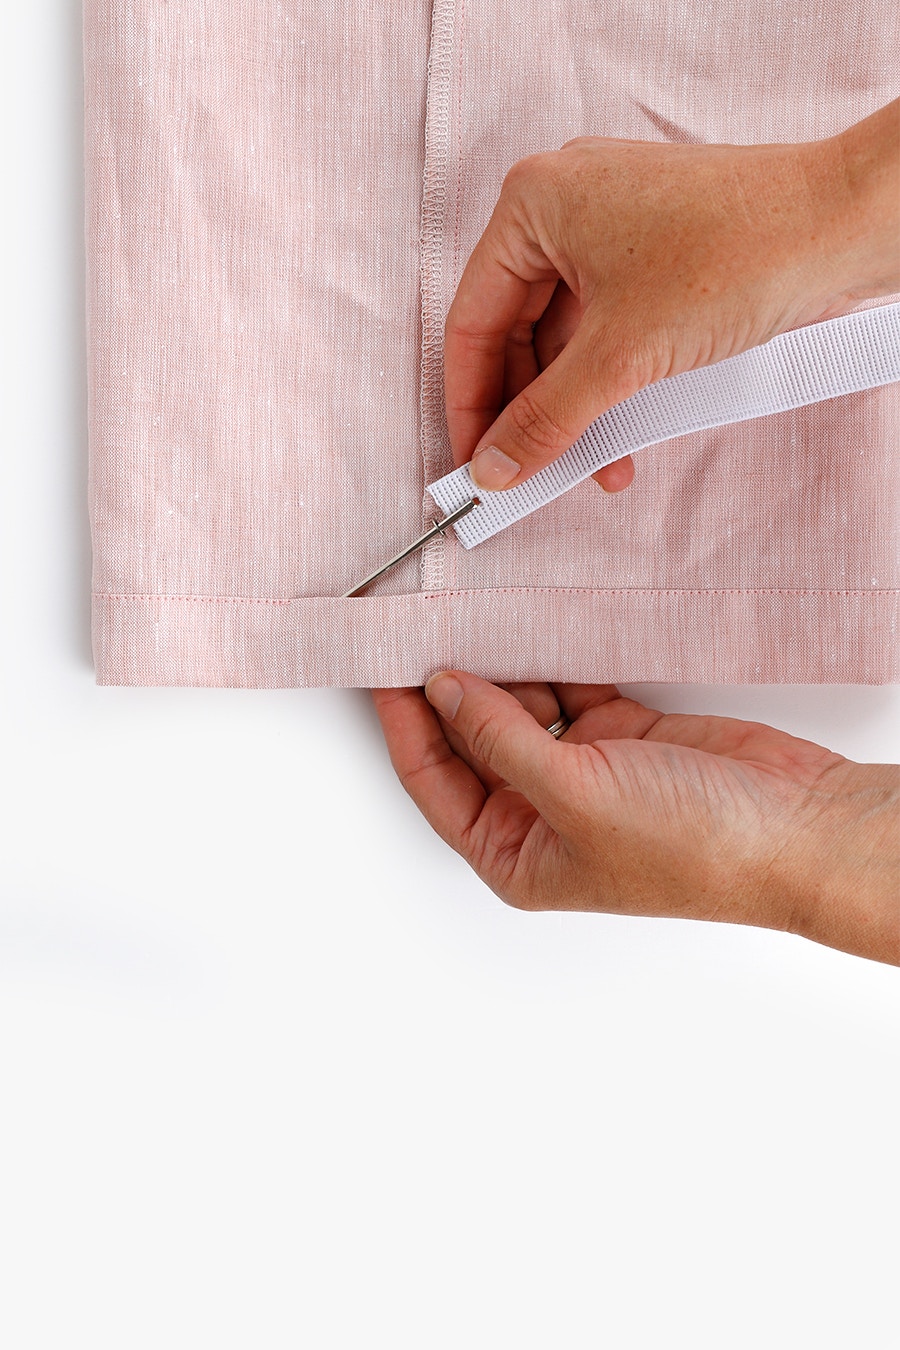
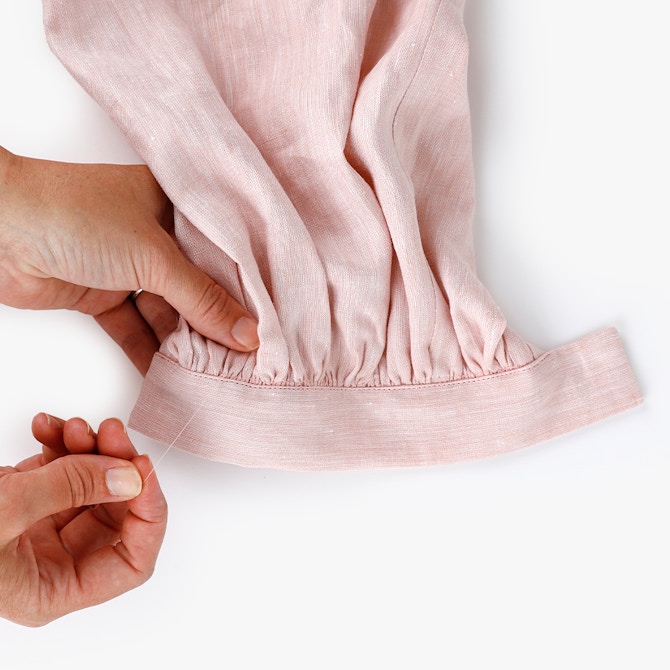
To determine the approximate length of your elastic, take your bicep measurement and subtract 2cm. The final measurement may vary depending on the stretchiness of your elastic, and how firmly you would like your cuff to fit.
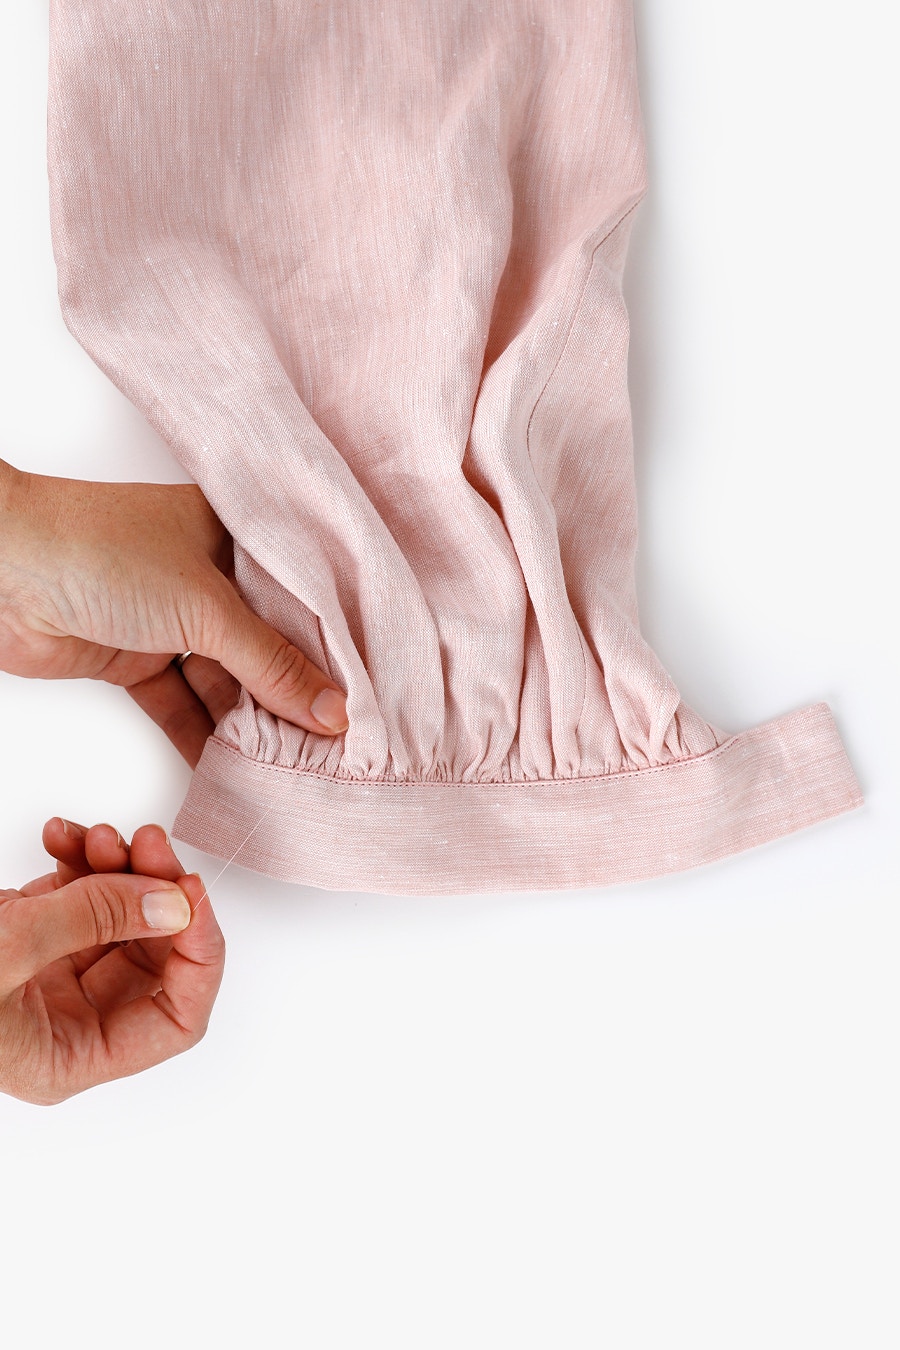
Using a bodkin or safety pin, thread the elastic through the casing. Pin the ends together with a 2cm overlap. Try your dress or top on to check the fit of the elastic and adjust if necessary.
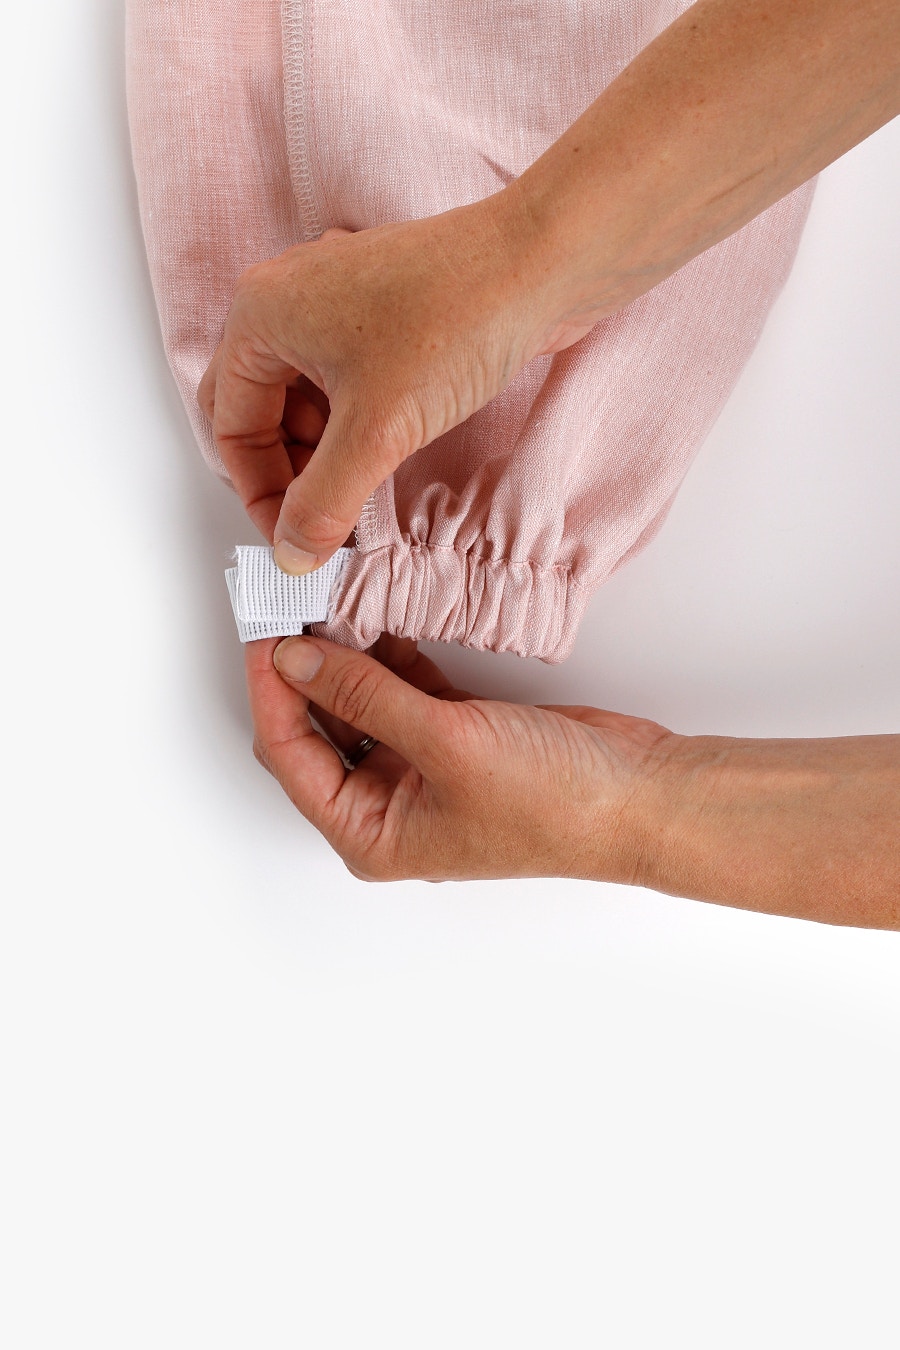
Overlap the ends by 2cm and secure them together with two rows of stitching.
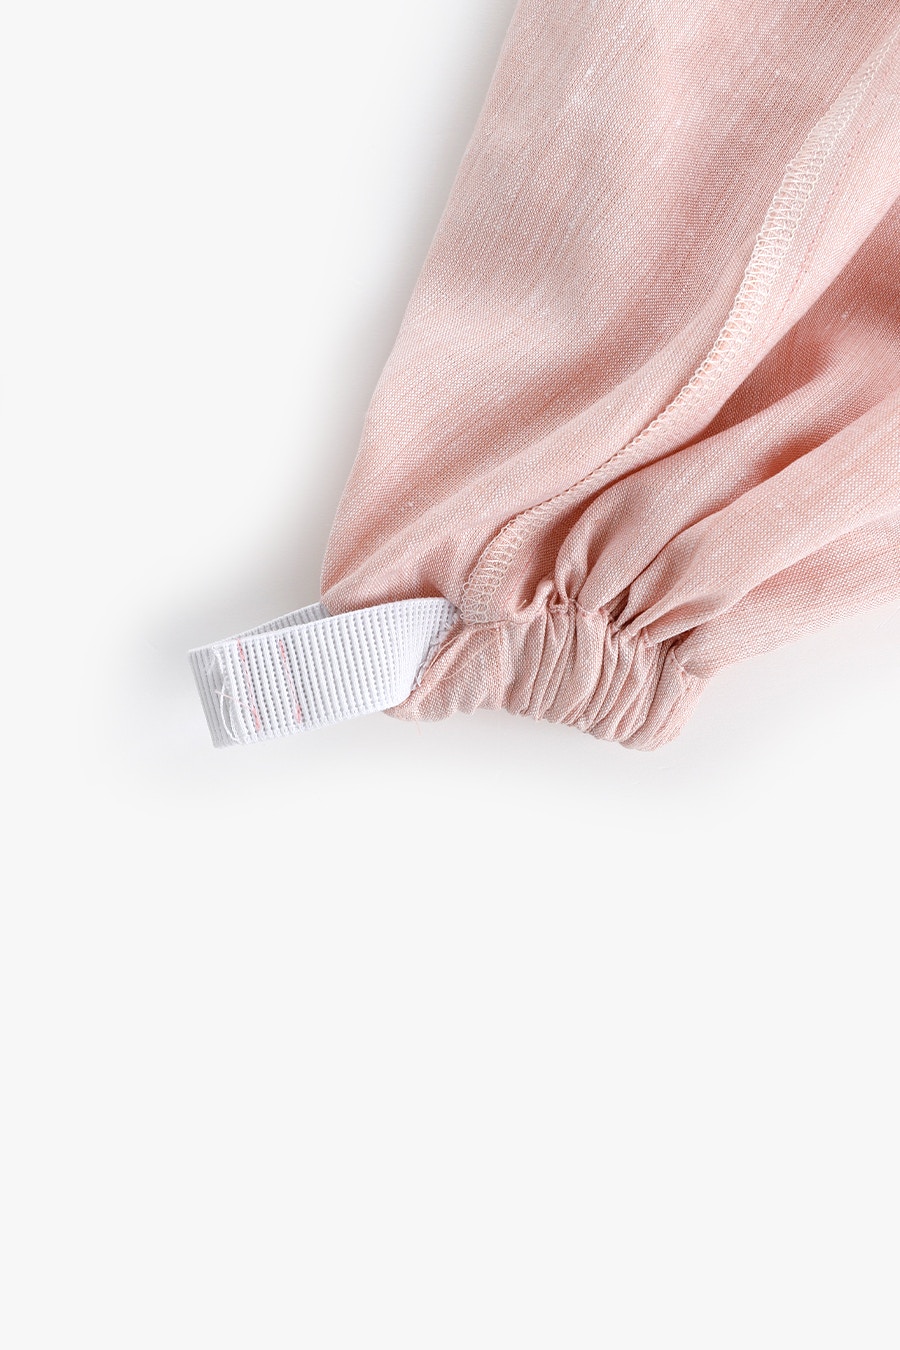
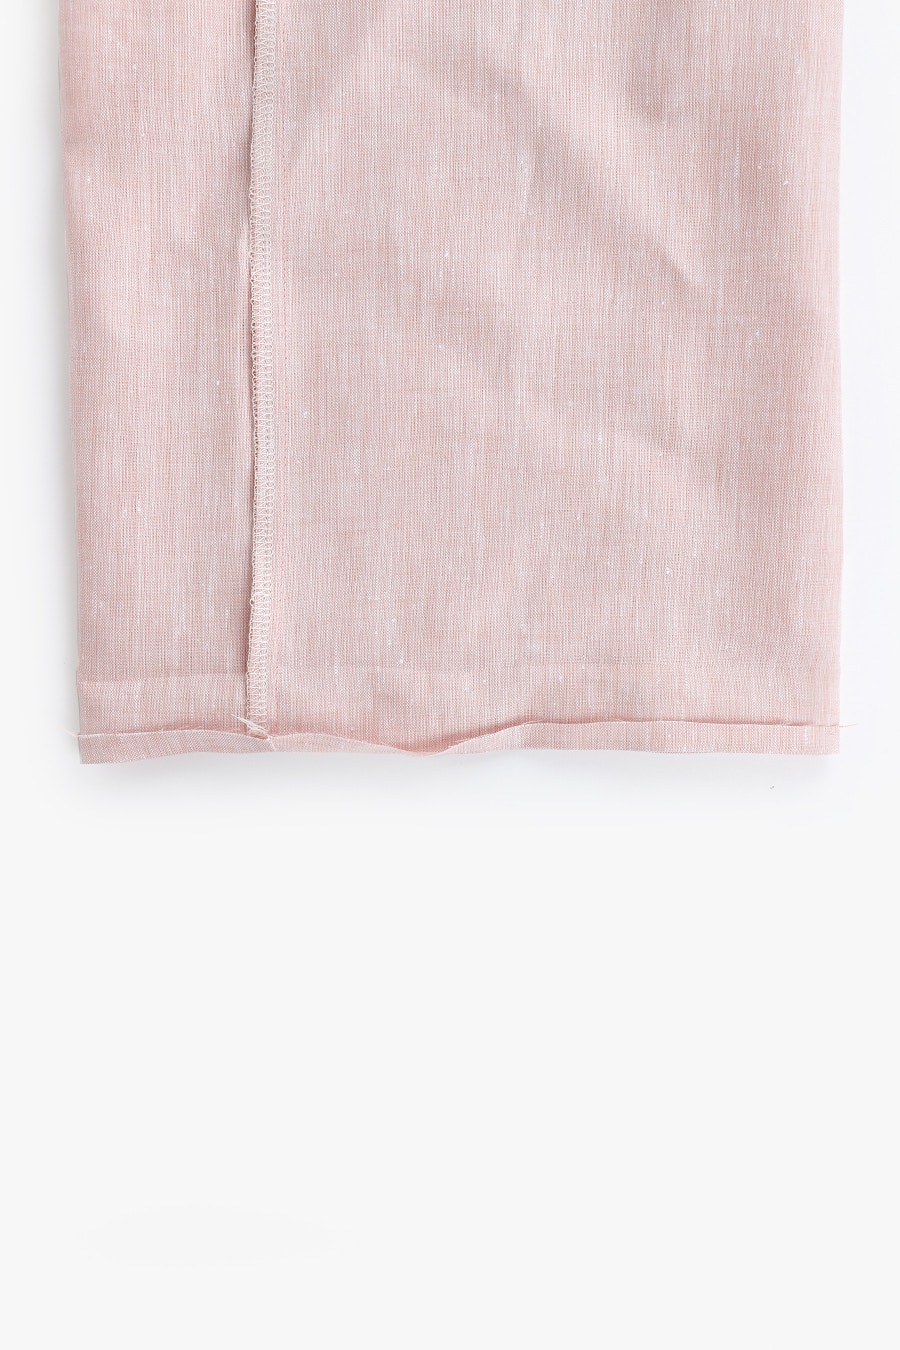
Edge stitch the opening in the cuff closed. You may find it helpful to use a zip foot here.
Repeat for the other sleeve.
You are now ready to sew the hem and do the finishing touches!
Check out the Paint Dress + Top pattern in our Online Store here.
Don't forget you can always email us via patterns@thefabricstore.co.nz if you need advice!
Paint makes from our wonderful community are also popping up over on Instagram, follow @makebytfs and use #TFSPaint so others can check out your creations!