Paint Dress + Top Sew Along
6 — Sew Hem and Finishing Touches
01—November 2022
Sew the hem and add the final finishing touches to the Paint pattern - the final steps in our sew along!
First in this post we will prepare the hem facing. It may be helpful before you begin sewing to label these facing pieces on the back with tailor’s chalk or a removable pen.
With right sides together pin the left side front facing to the front facing matching the notches on the shorter ends. Sew together, then press the seam open. Repeat for the other side.

Take the back facing pieces and with right sides together pin the centre back seam. Sew and then press the seam open.
You will now have two curved facing pieces, one for the front hem and one for the back. Pin these together matching the side seam notches and sew. Press the seams open.
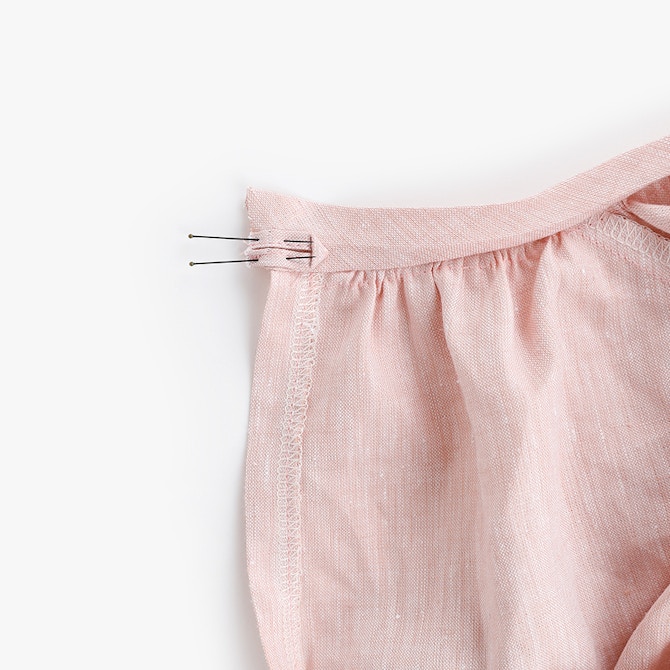
Sew a row of basting stitches 1cm from the top edge (the edge without the notches) of the hem facing.
Press the top edge of the facing under along this basting line at 1cm, with wrong sides together.

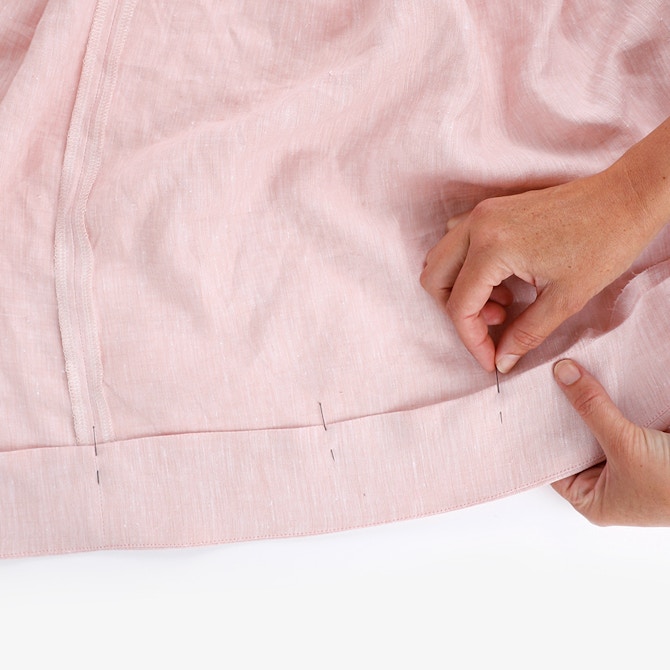
Pin the hem facing to the hem of your dress or top, right sides together. Start at centre back and work around to the front, and back again, matching the notches and the seams of your dress or top and the facing. Sew in place at 1cm.

Press the seam towards the facing then understitch on the facing. This will help the facing sit flat and keep it from being visible from the right side.
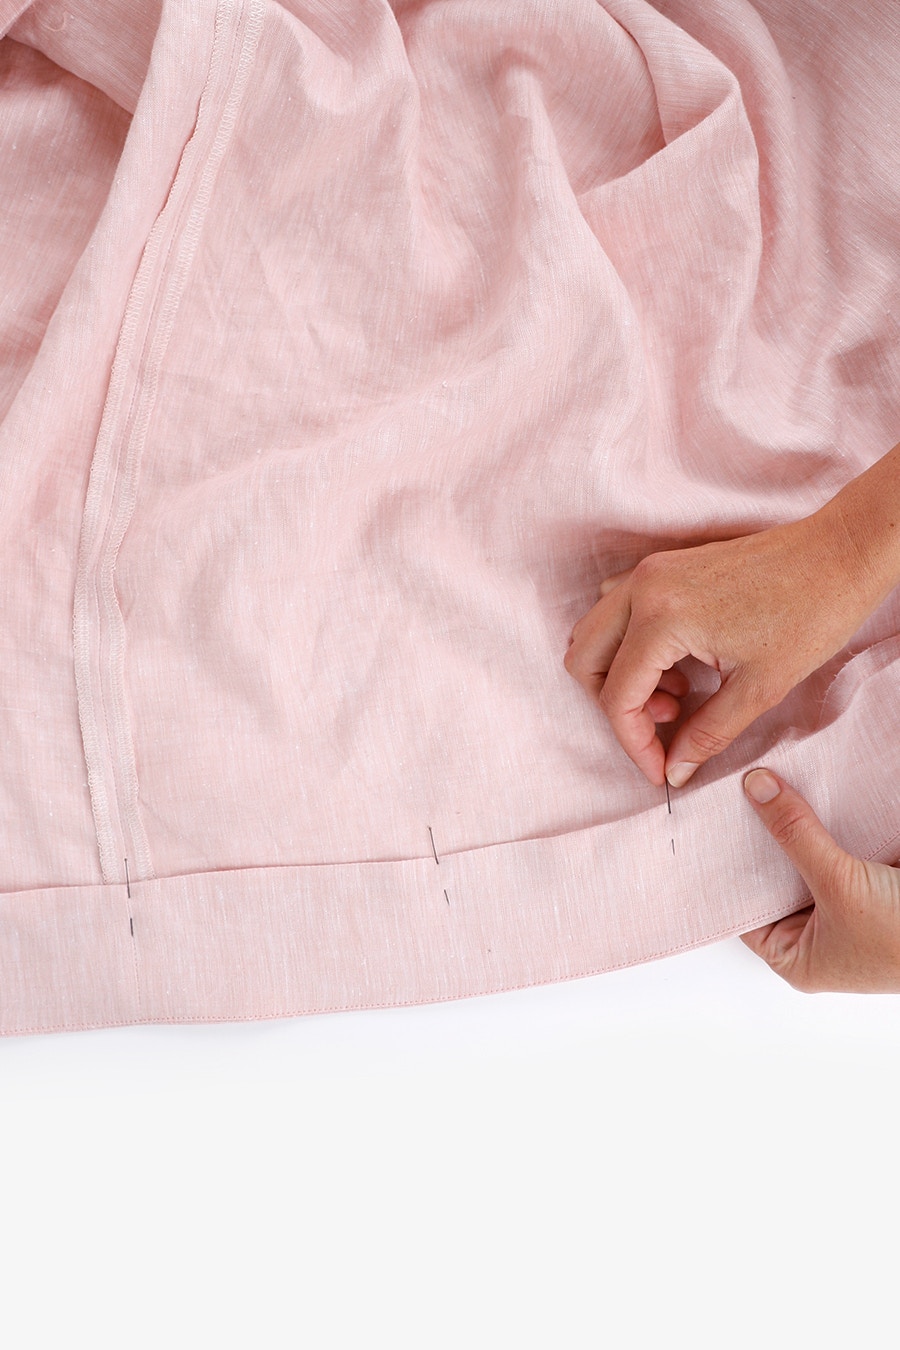
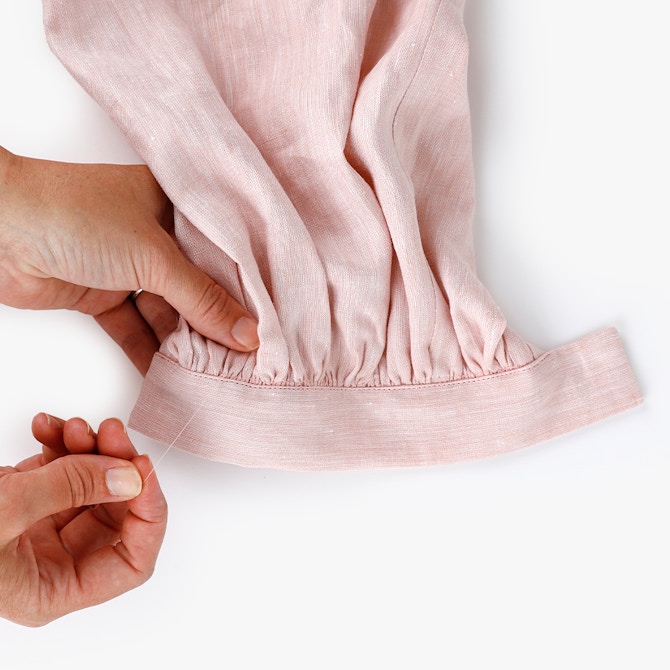
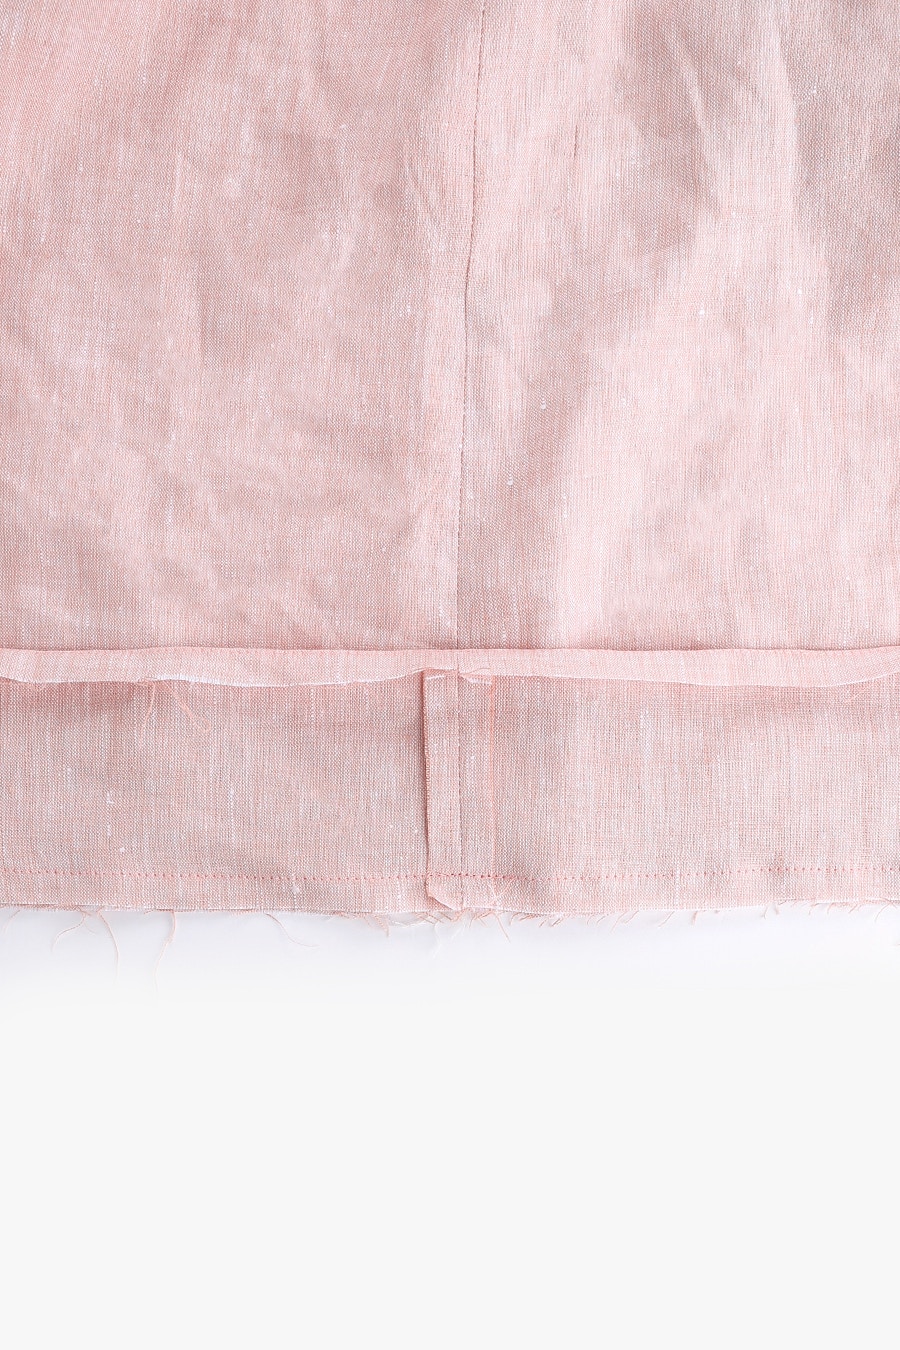
Press the facing to the inside of the dress, wrong sides together, along the seam you have just sewn. Making sure the top edge is folded under 1cm, pin the hem in place matching the seams.
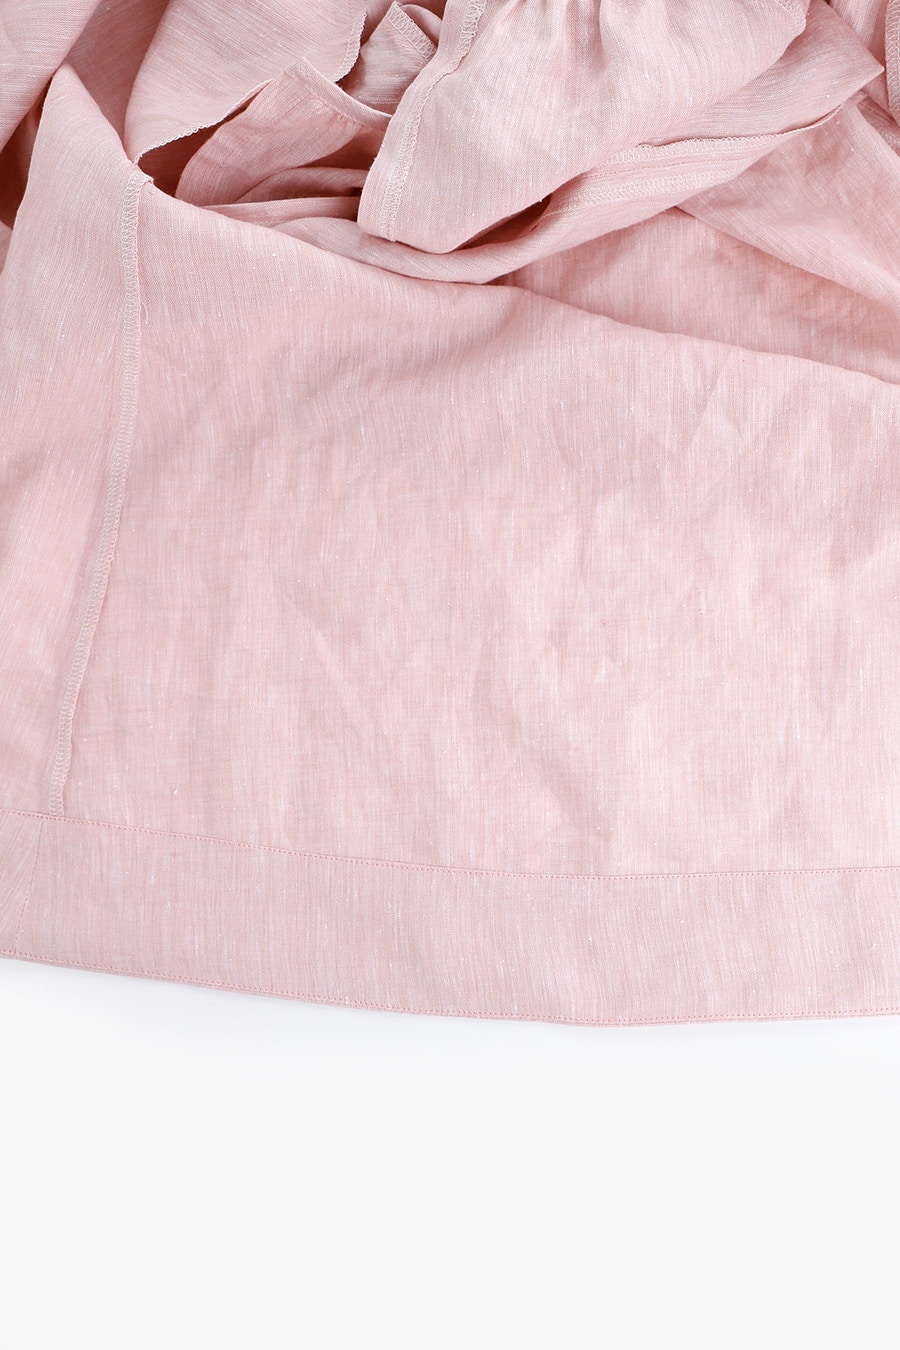
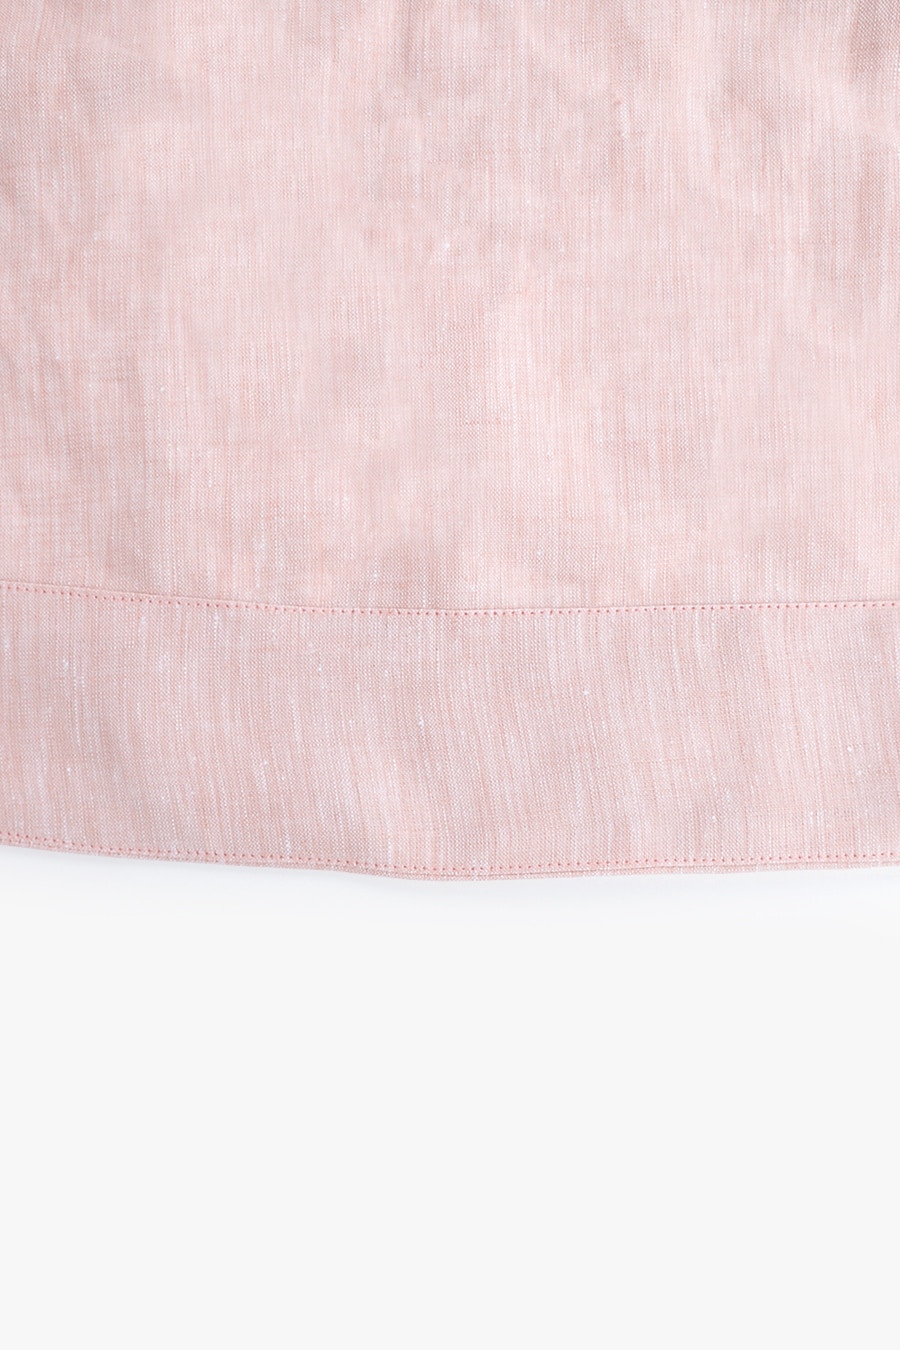
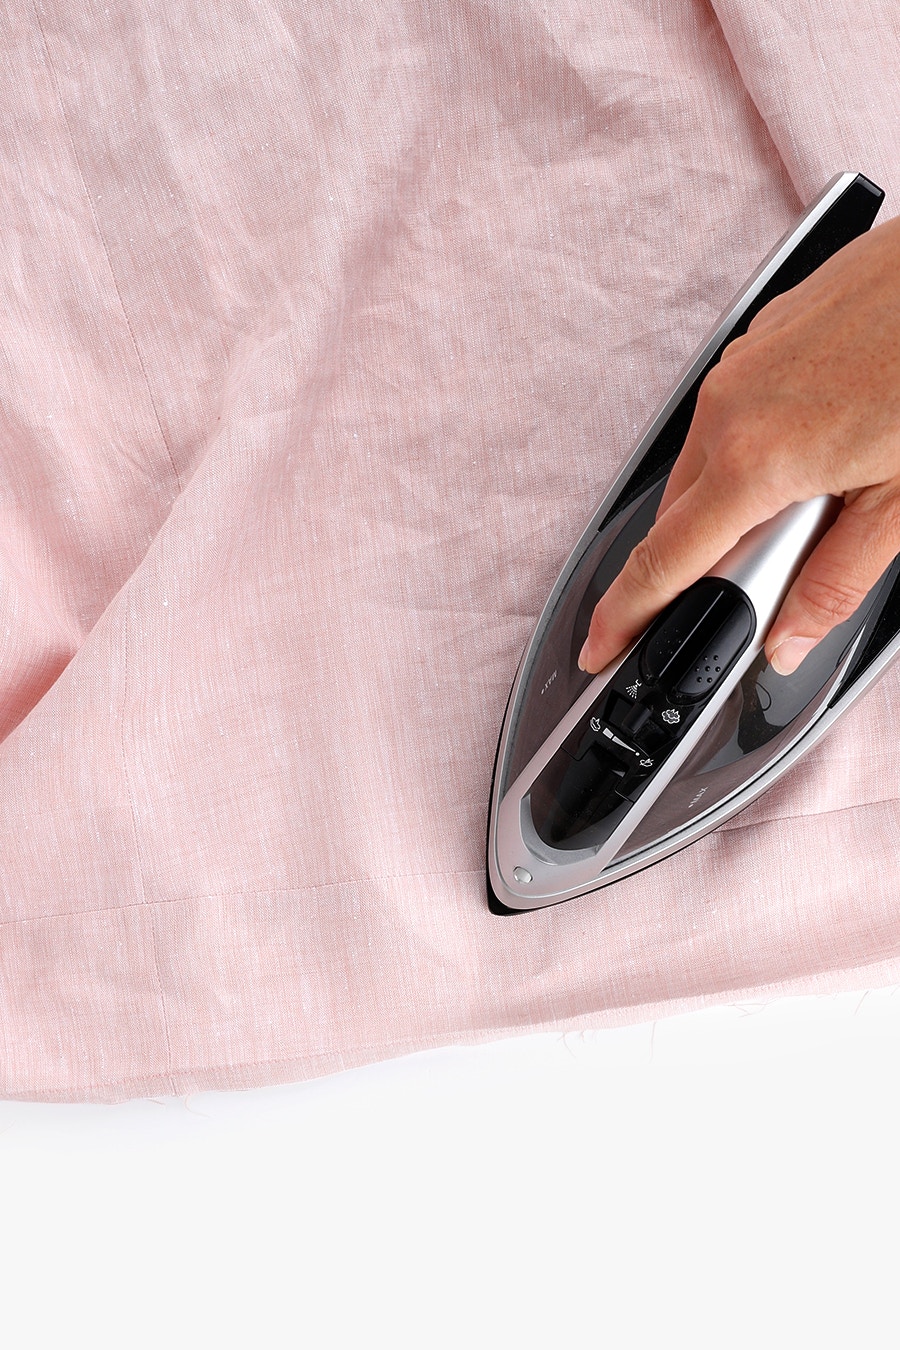
Starting at the centre back edge stitch the facing to the dress then give your hem a press.
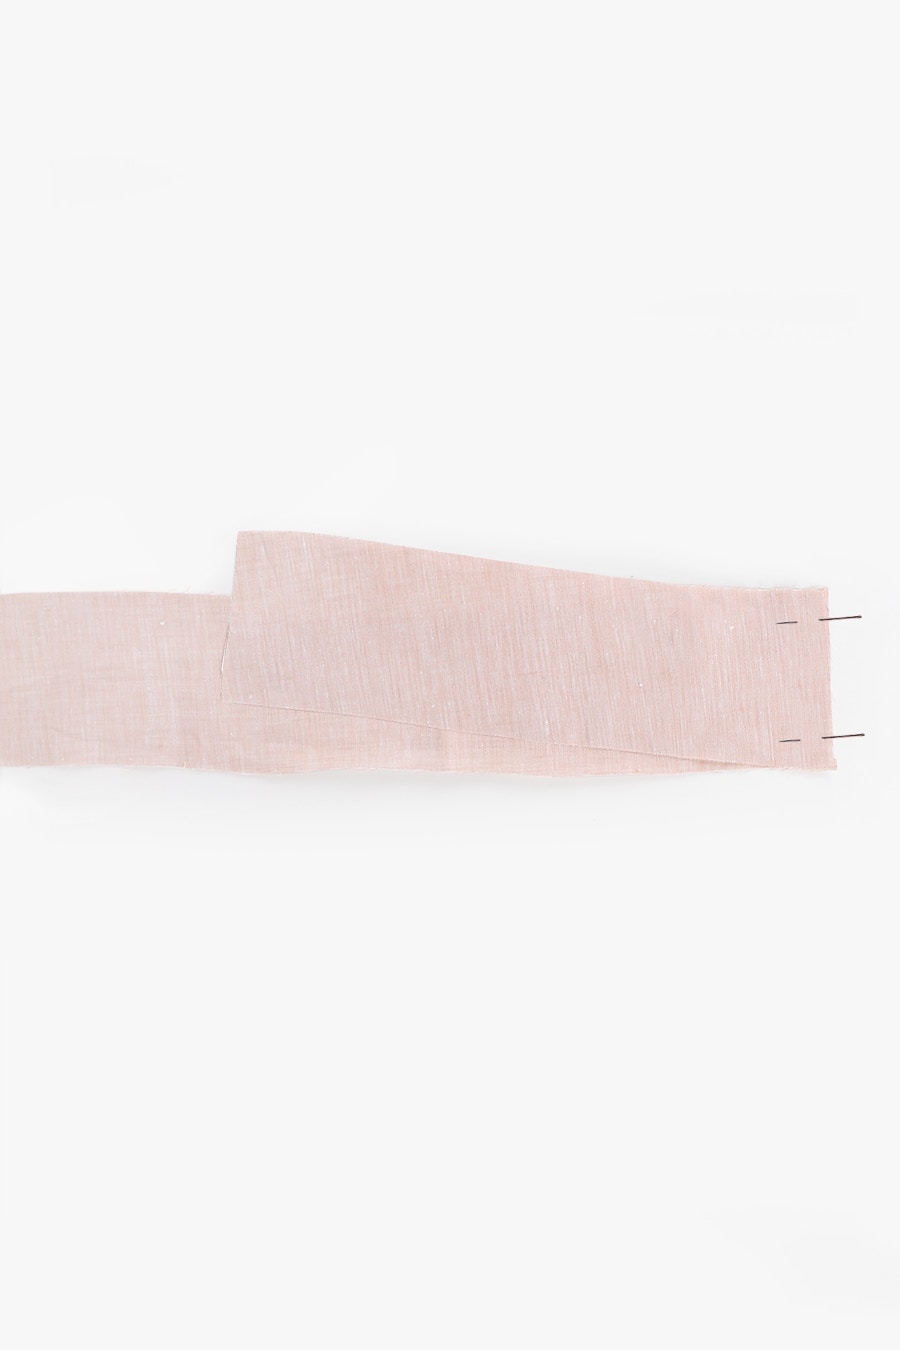
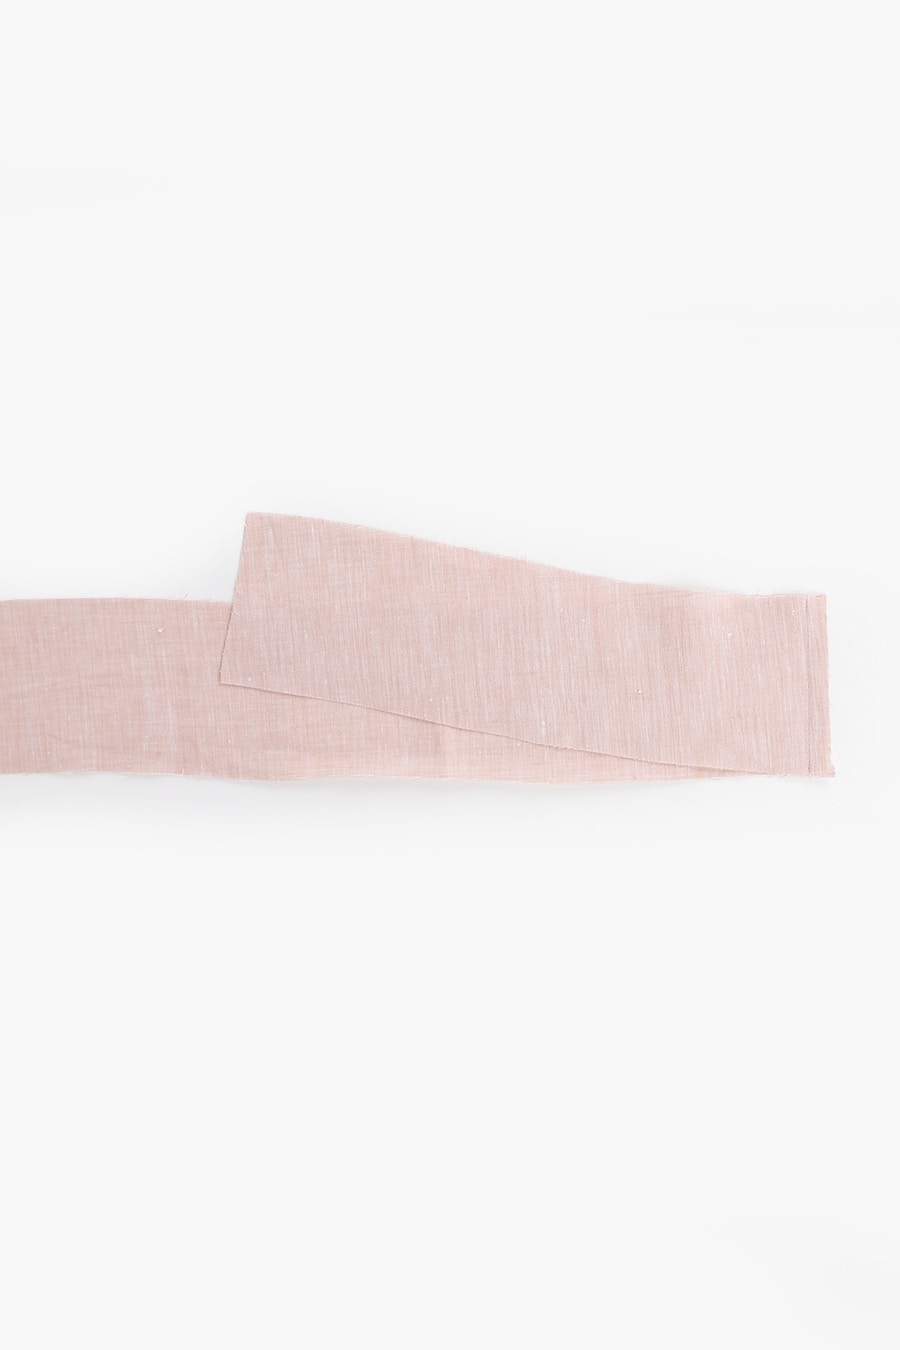
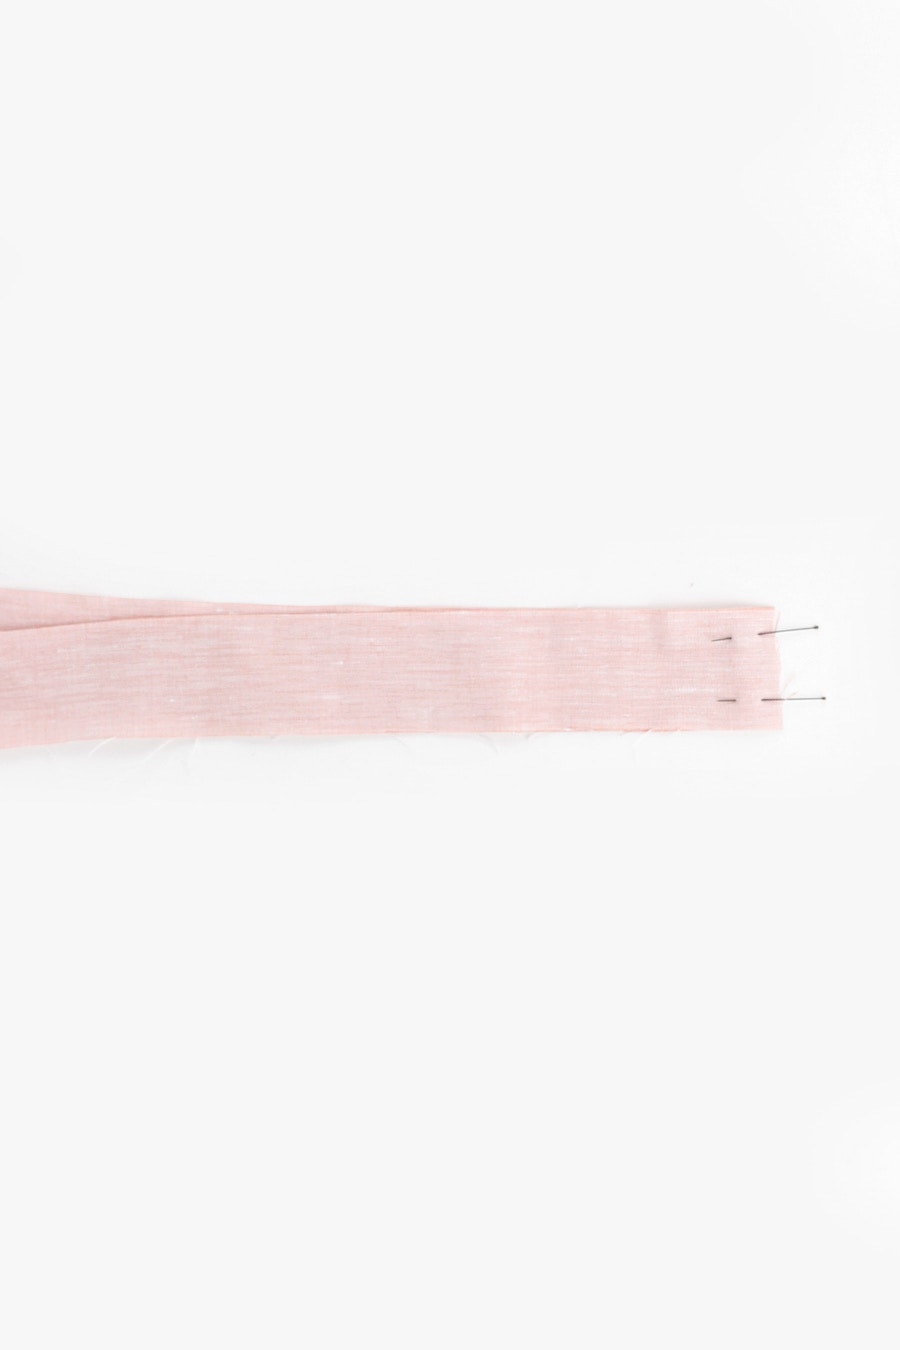
If you have cut your waist tie in more than one piece pin the pieces together at the short end, with the right sides together. Sew with a 1cm seam and press open.
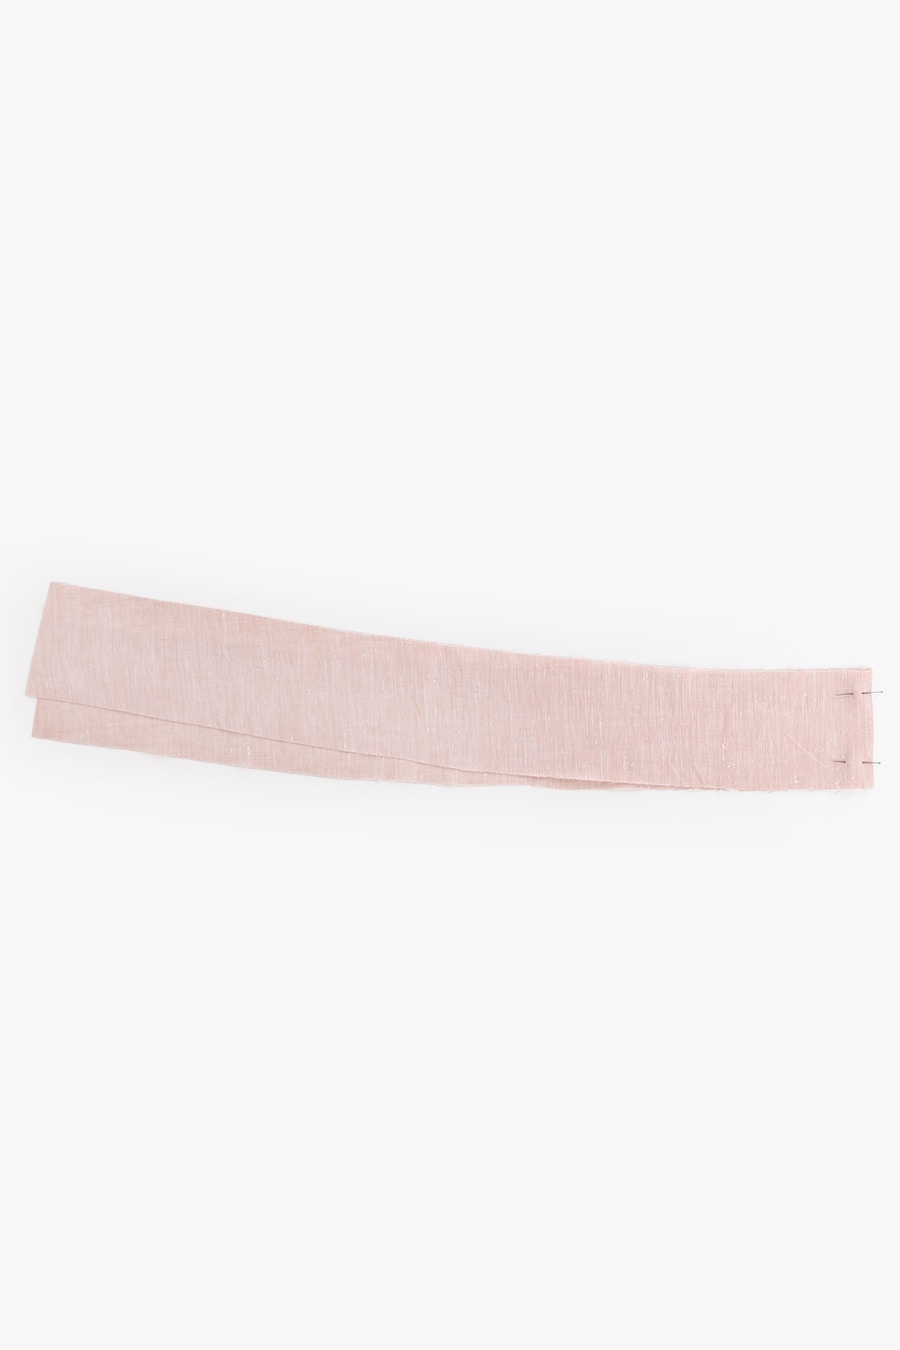
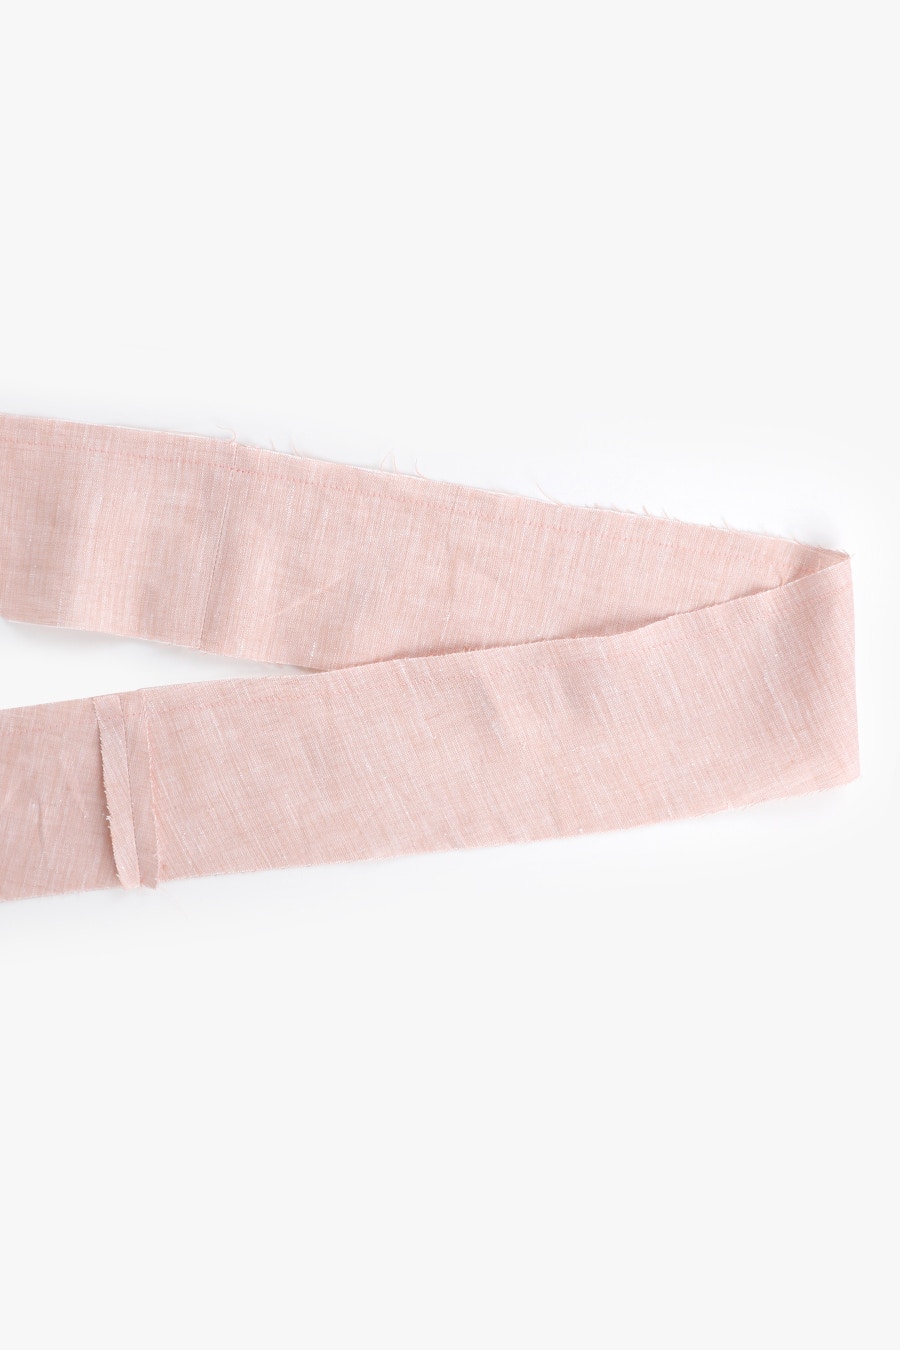
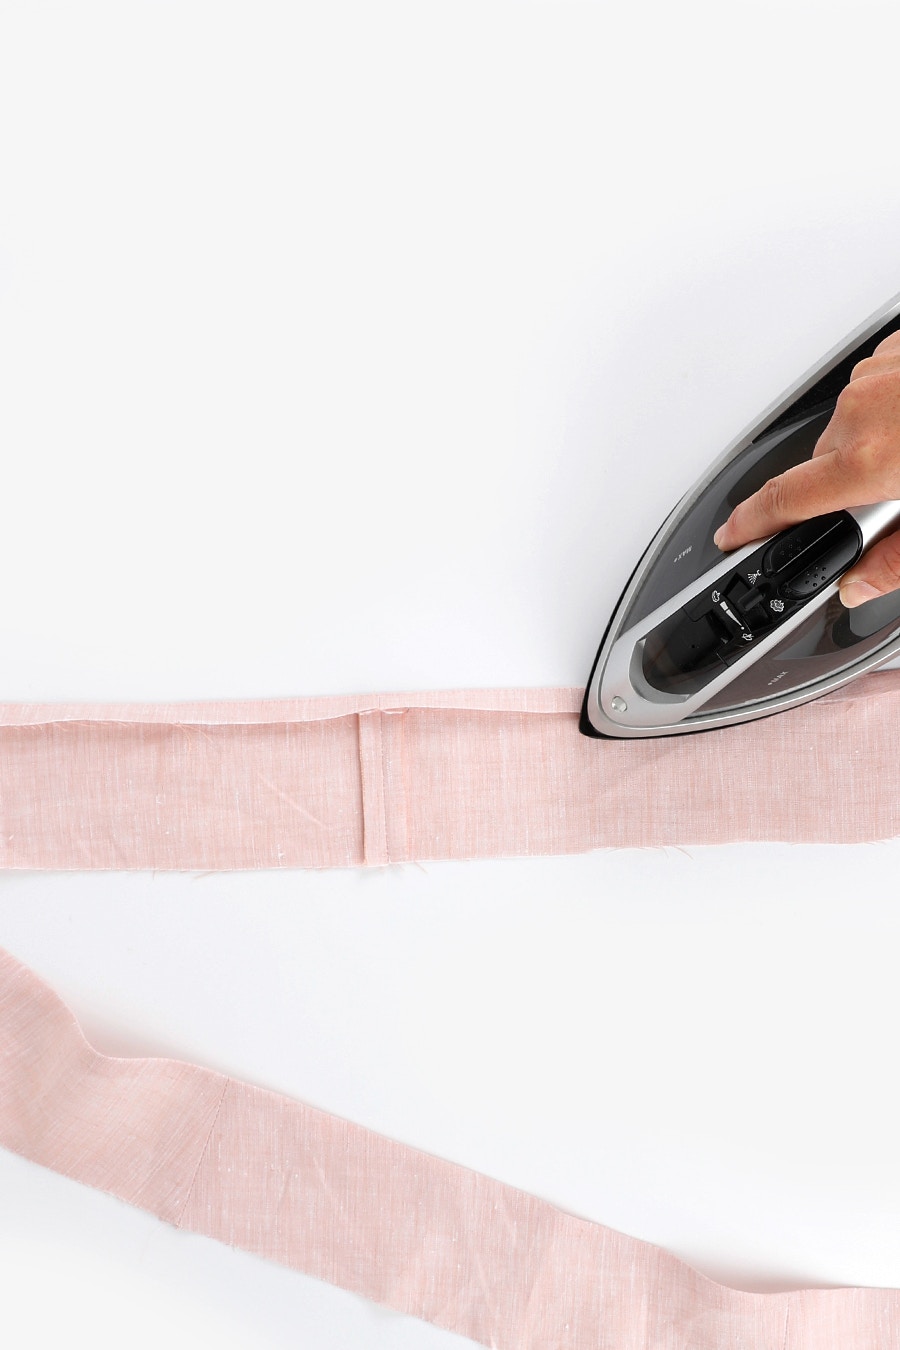
Fold the long outer edges of the waist tie in 1cm to meet in the centre.
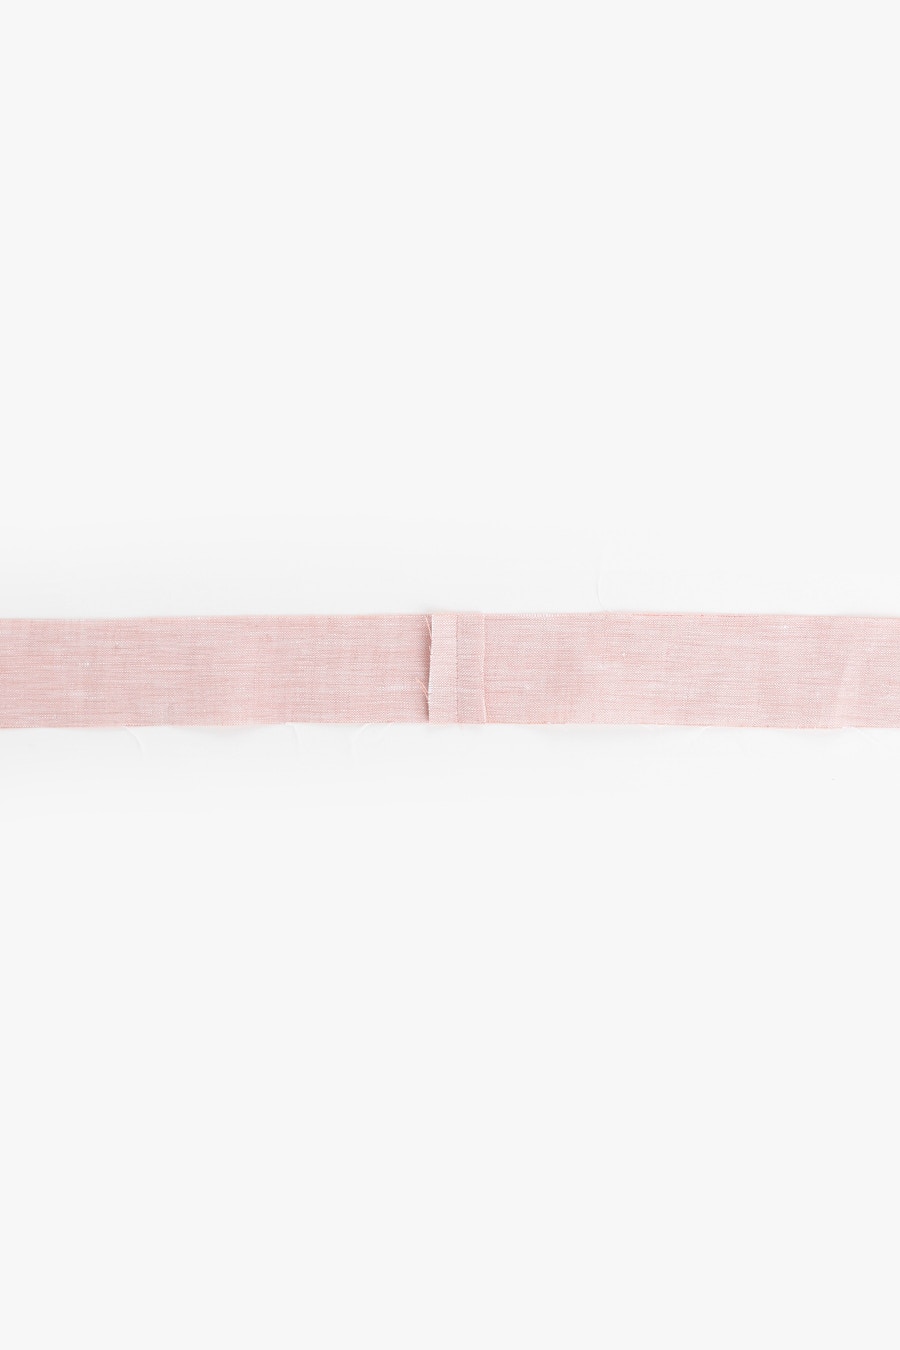
Fold the waist tie in half with the right sides together. This is the opposite to your pre-pressing at the beginning, and the raw edges will be visible. Stitch each end closed at 1cm.
Trim the seam to 5mm.
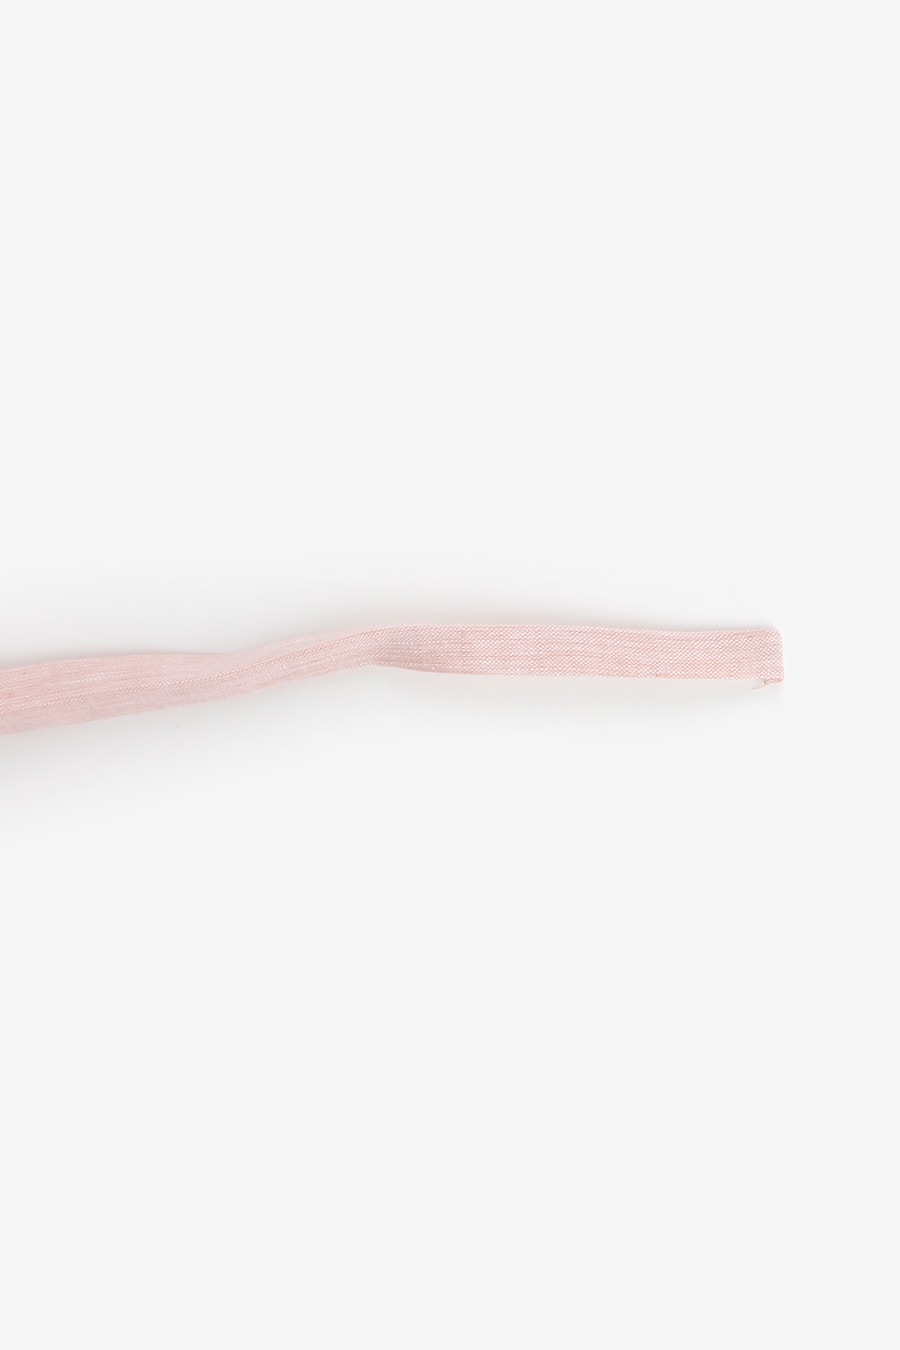
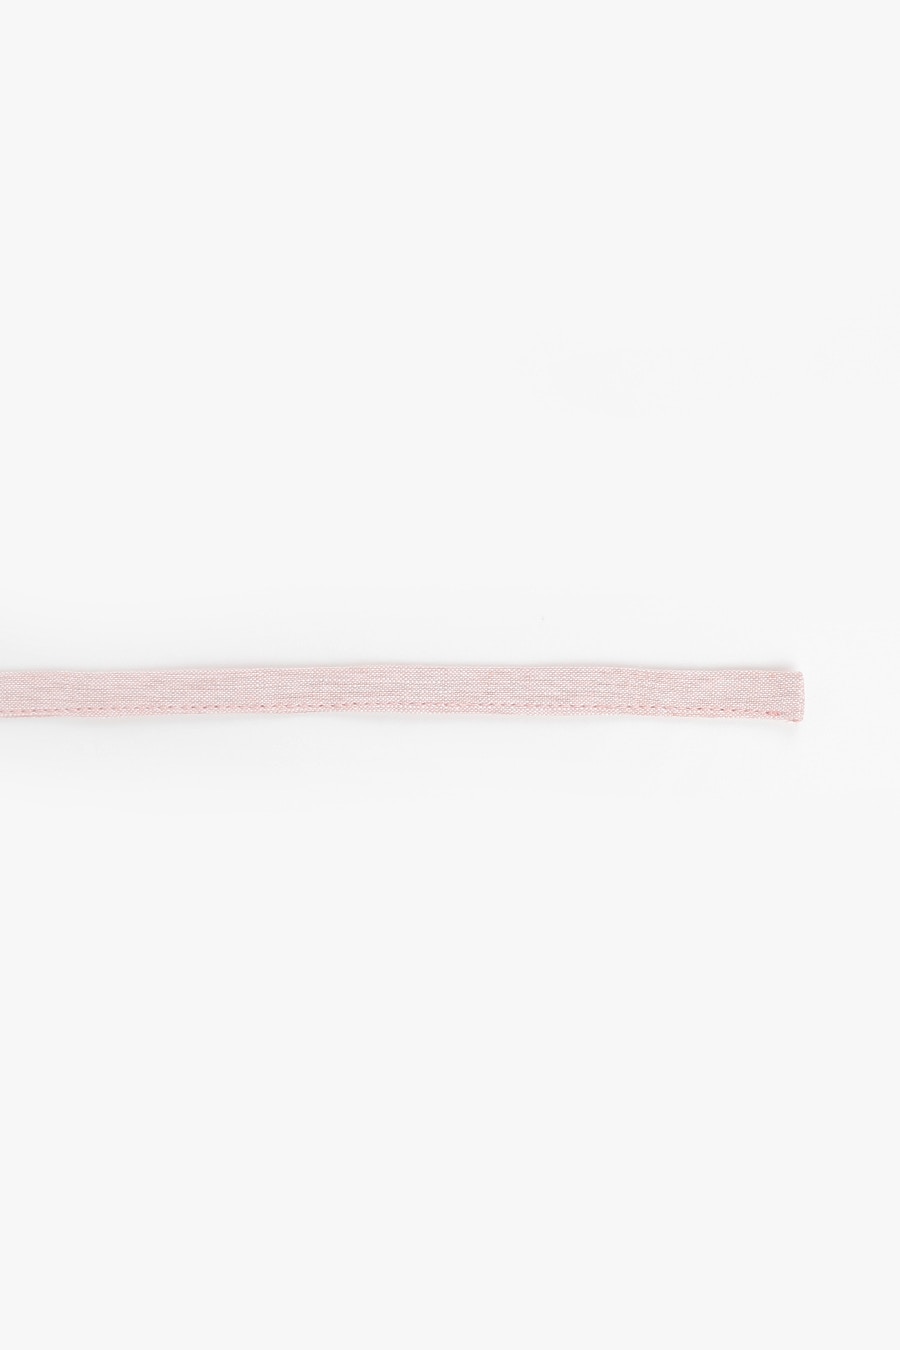
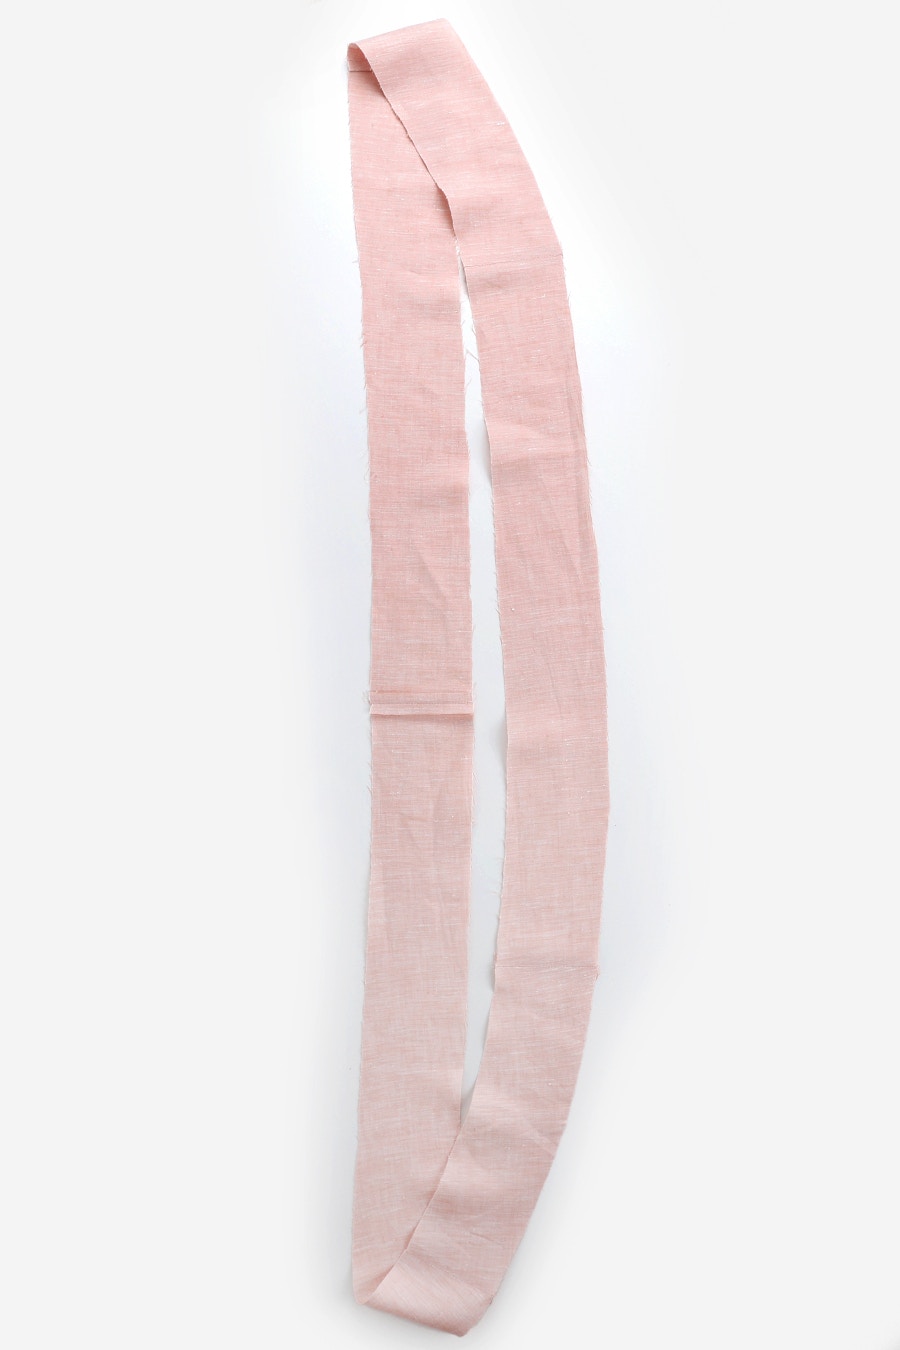
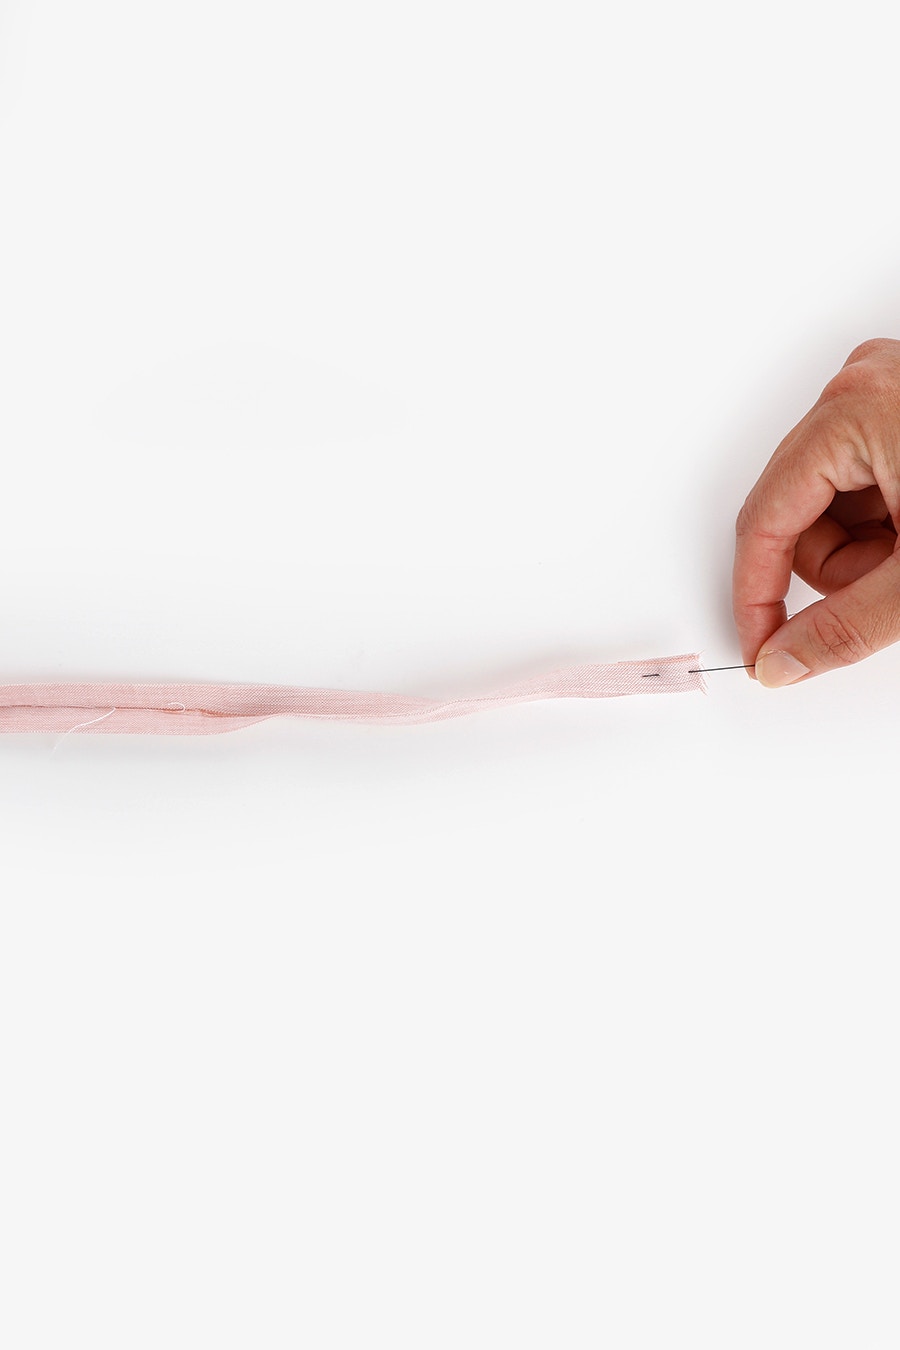
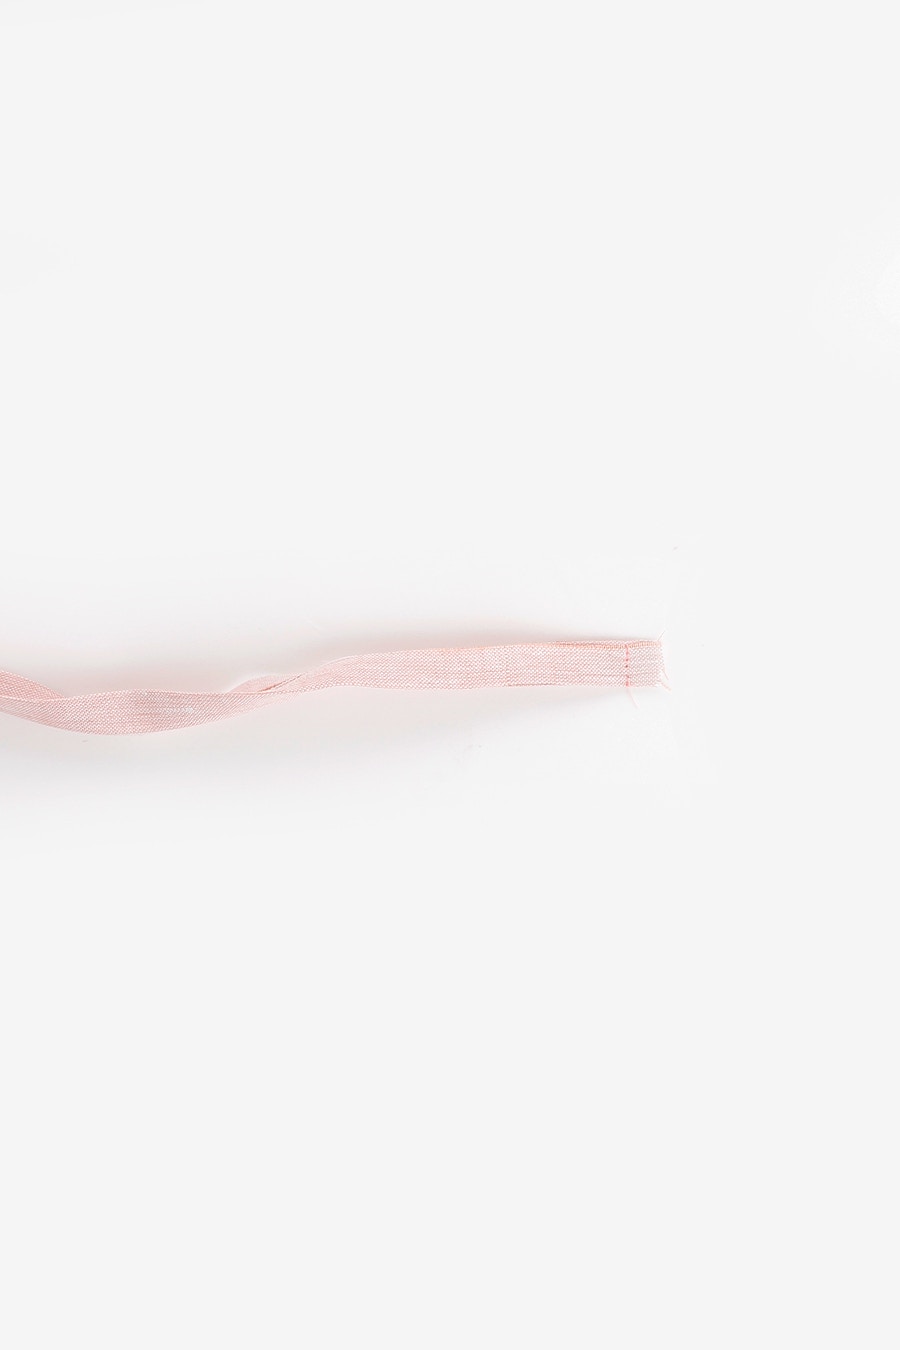
Turn the drawstring right side out so the raw edges are enclosed.
Edge stitch the waist tie closed along the entire length.
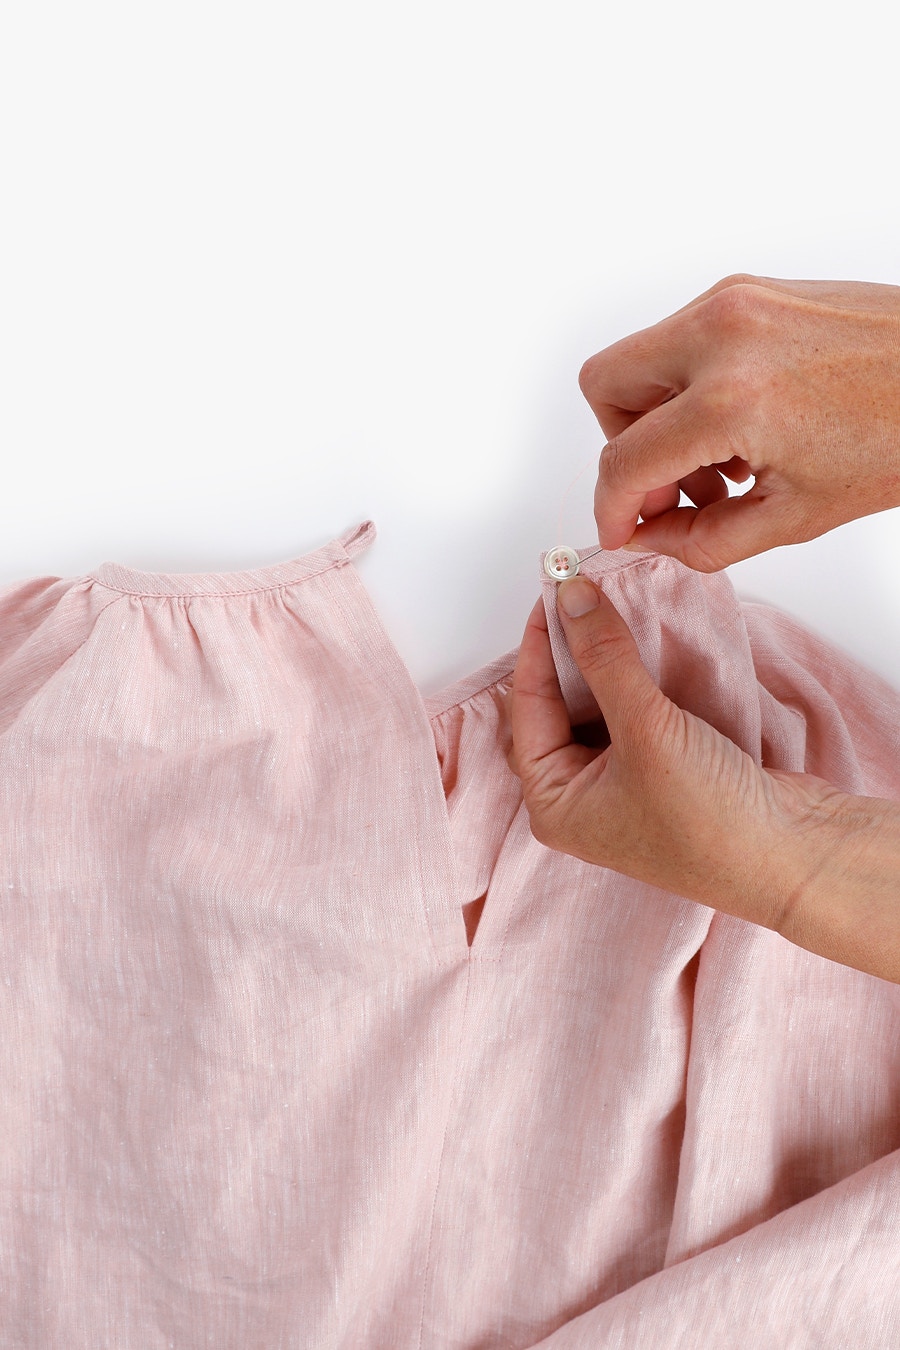
Sew a button at the centre back neck, opposite your button loop.
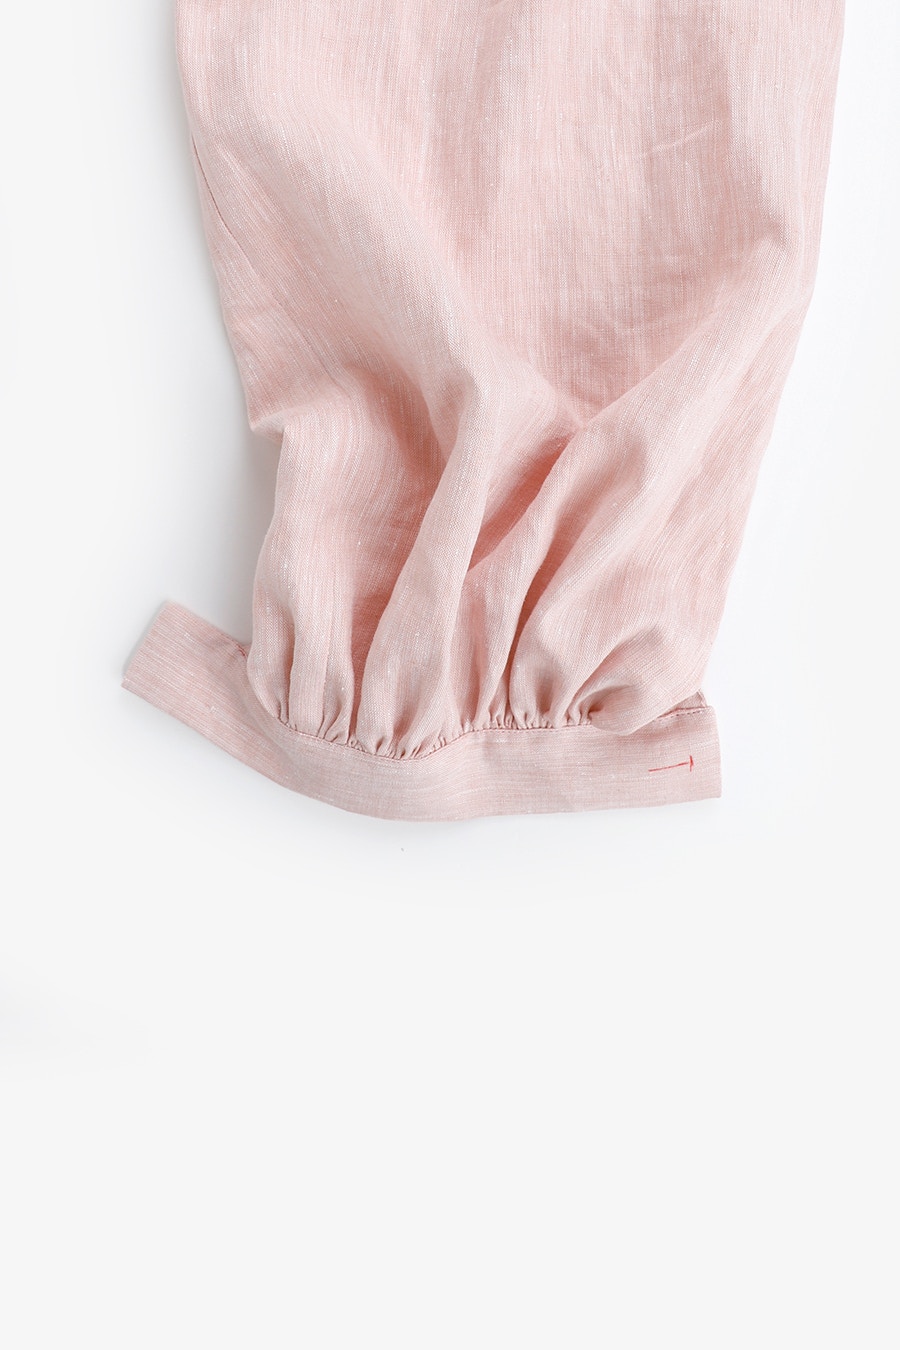
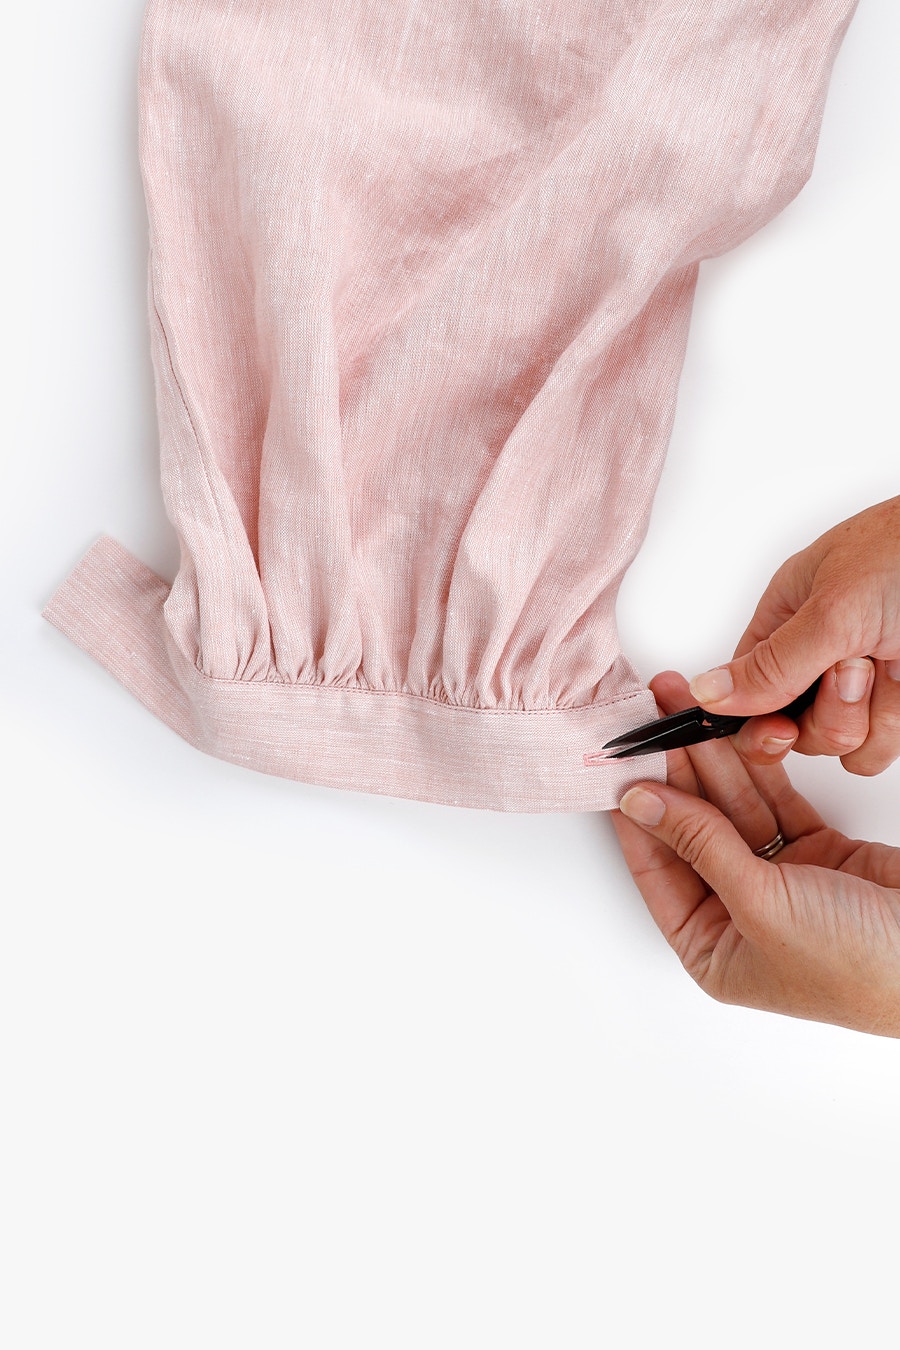
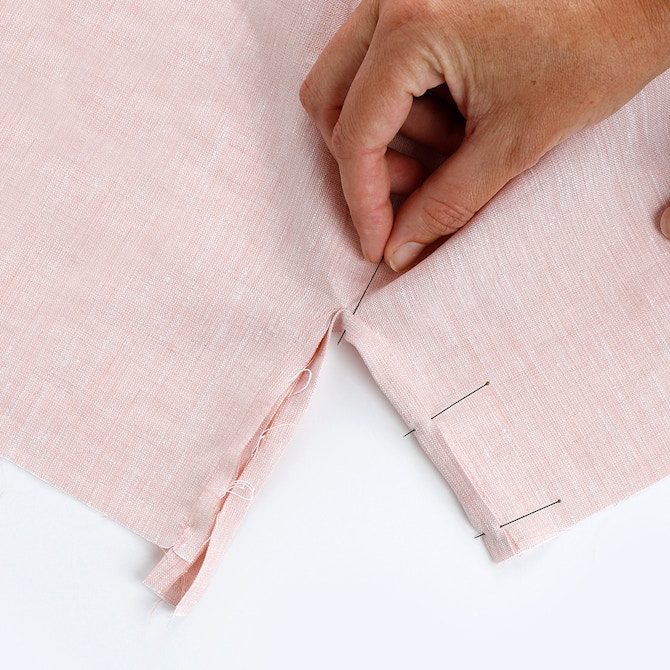
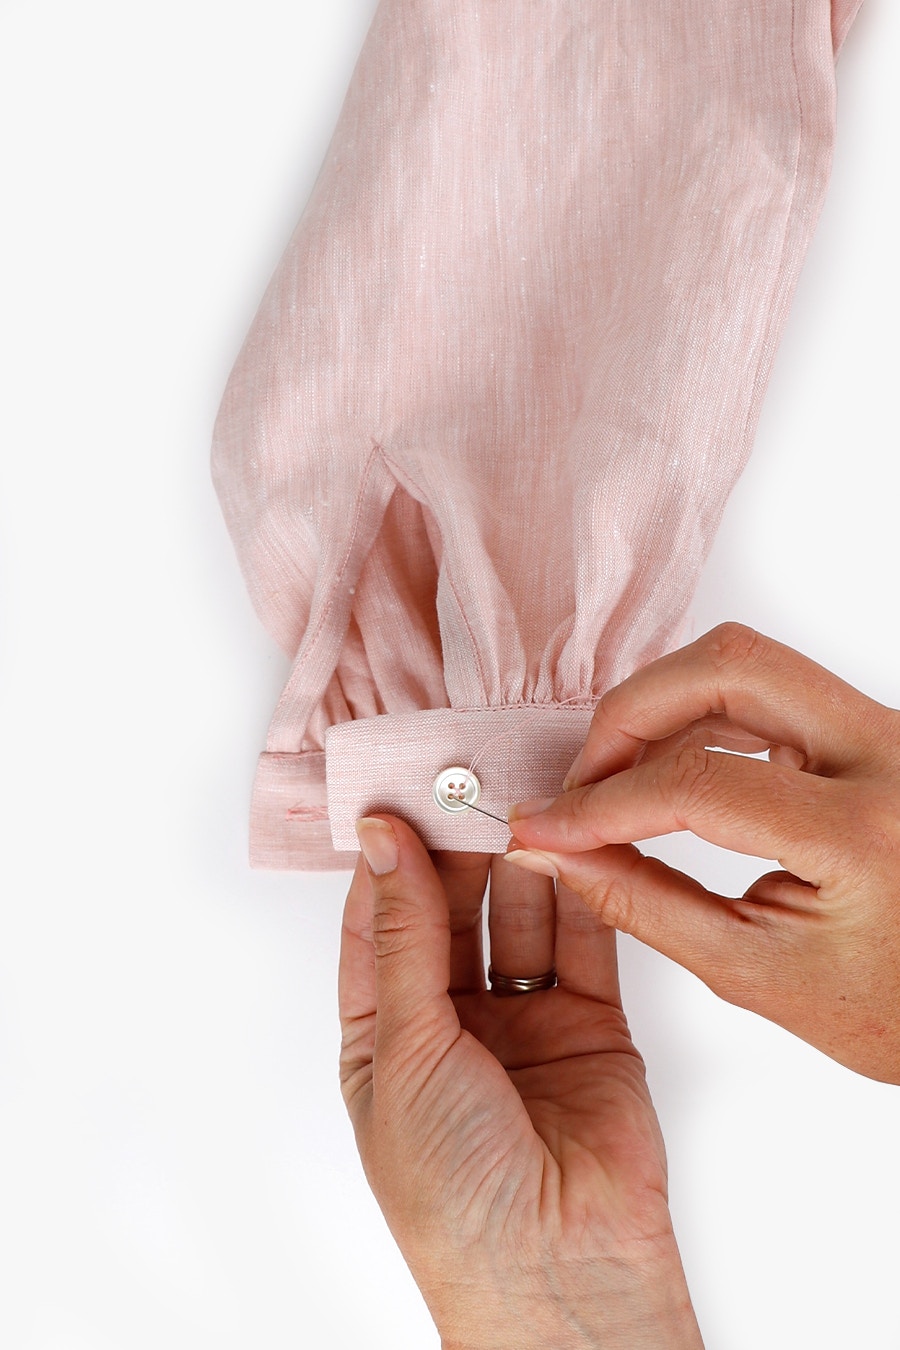
If you are sewing the long sleeve option, sew a buttonhole on each cuff as indicated in the pattern, following your machine’s settings. Sew a button on the cuff tab, opposite the buttonhole, as indicated by the pattern.
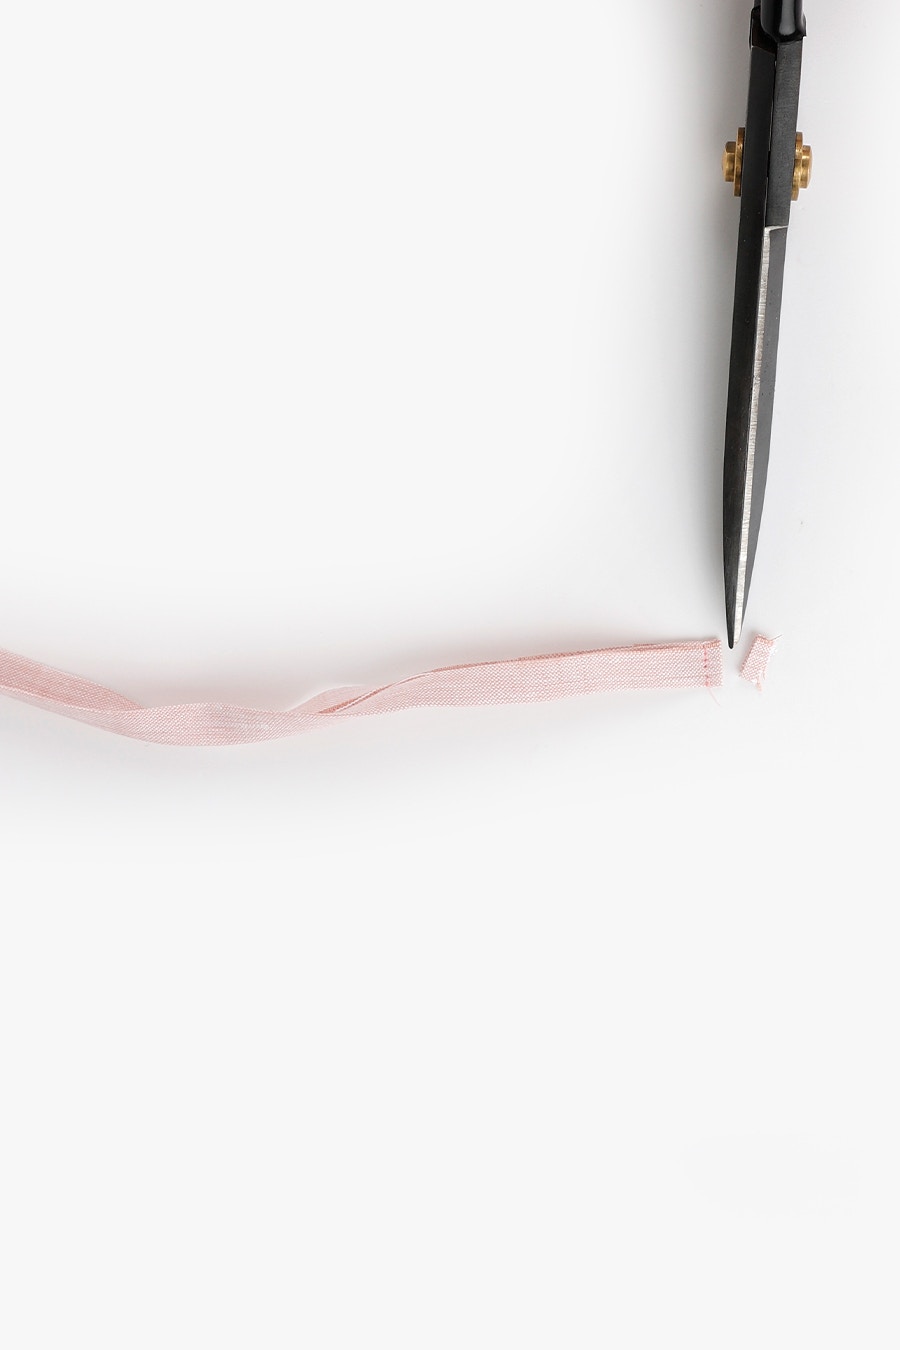
Clip any loose threads, remove any visible basting stitches, then give your Paint Dress or Top a final press.
You’re all done!
Check out the Paint Dress + Top pattern in our Online Store here.
Don't forget you can always email us via patterns@thefabricstore.co.nz if you need advice!
Paint makes from our wonderful community are also popping up over on Instagram, follow @makebytfs and use #TFSPaint so others can check out your creations!