7 — Attach Sleeves and Side Seams
23—December 2020
In this post we will attach the sleeves and sew the side seams.
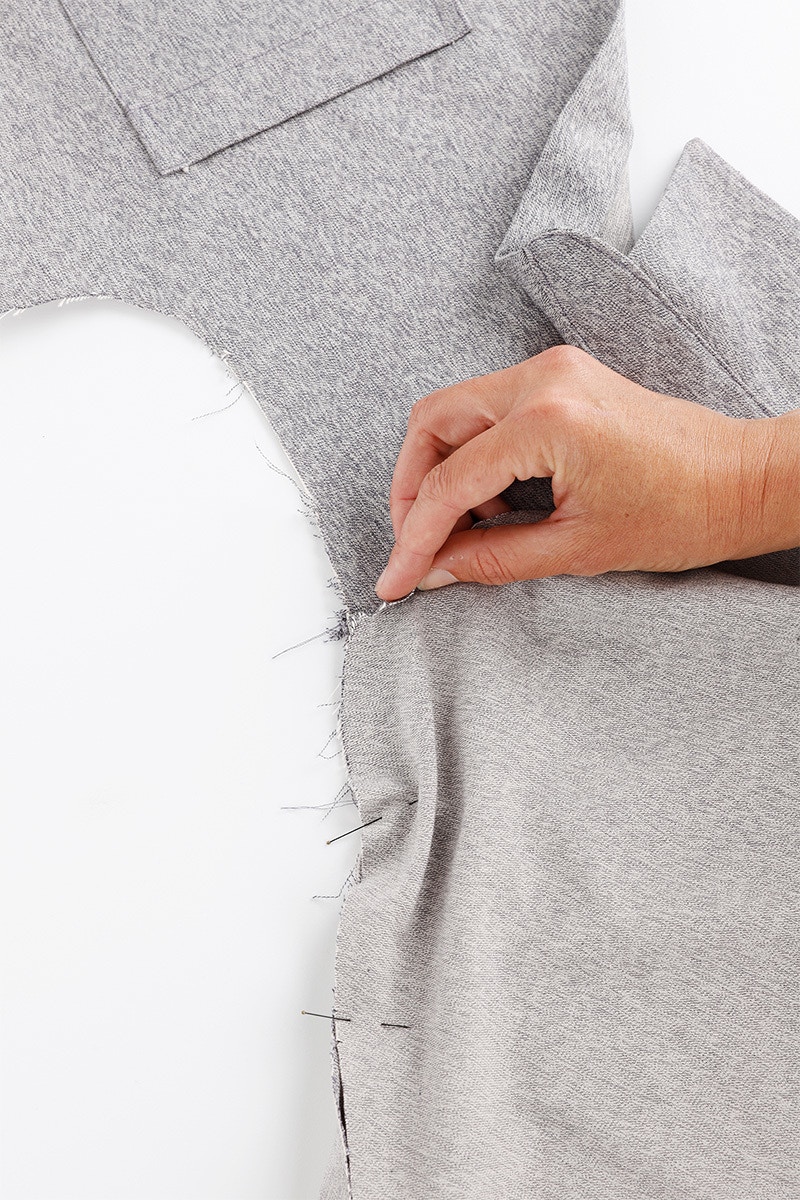
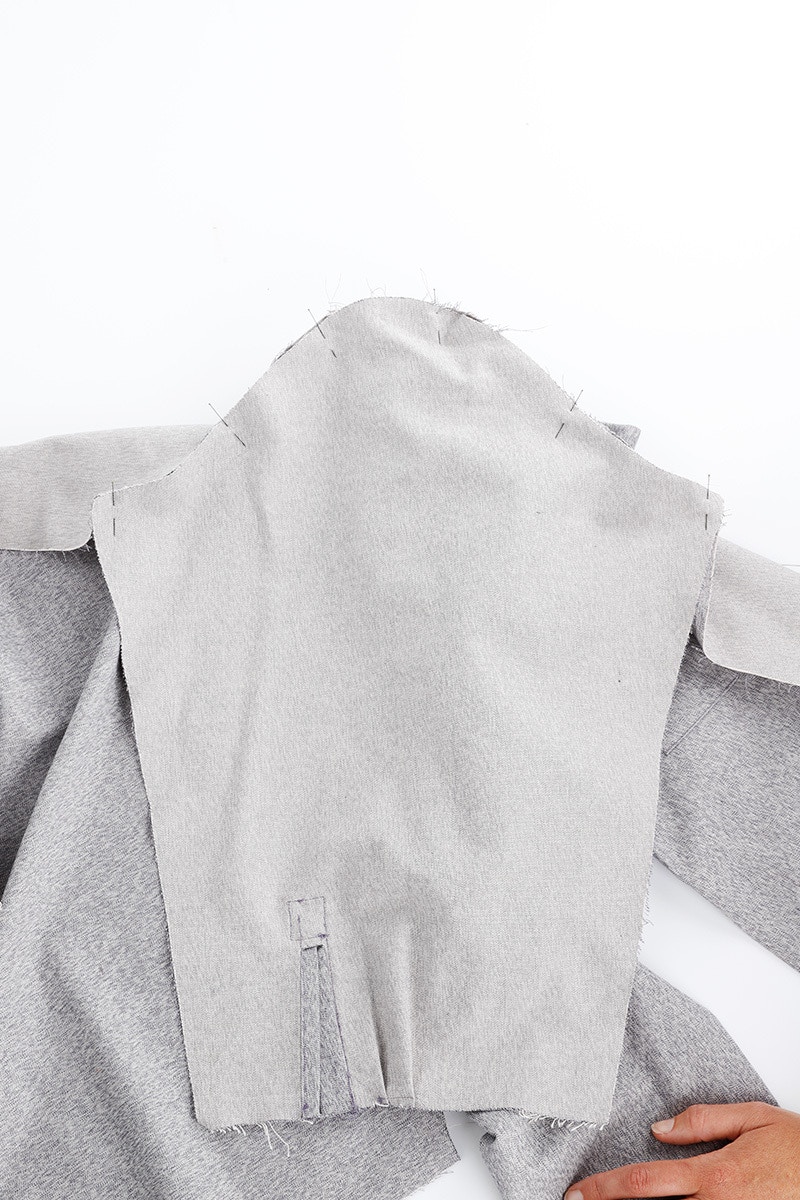
Now we will attach the sleeves. The process is the same whether you are sewing long or short sleeves. With the right sides together, match the back, shoulder and front notches and pin in place.
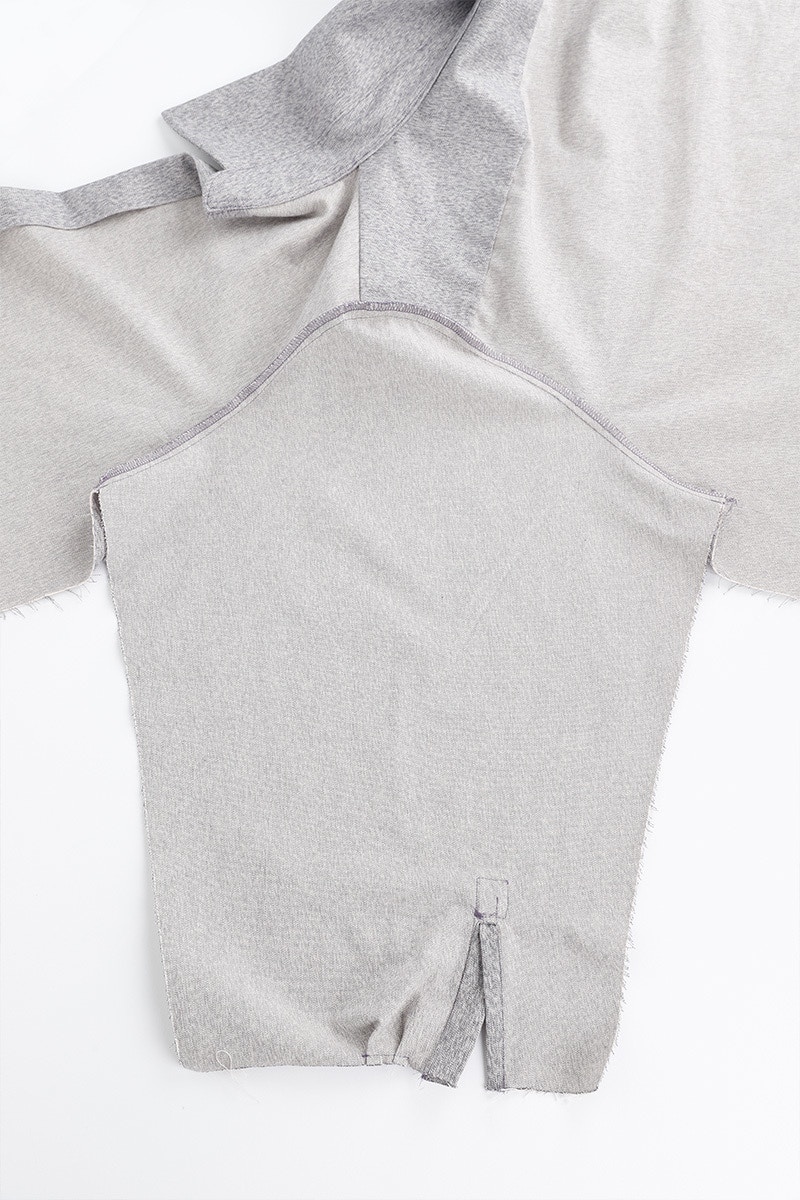
Sew the sleeve to the body with a 1cm seam, then neaten the seam with your overlocker or serger.
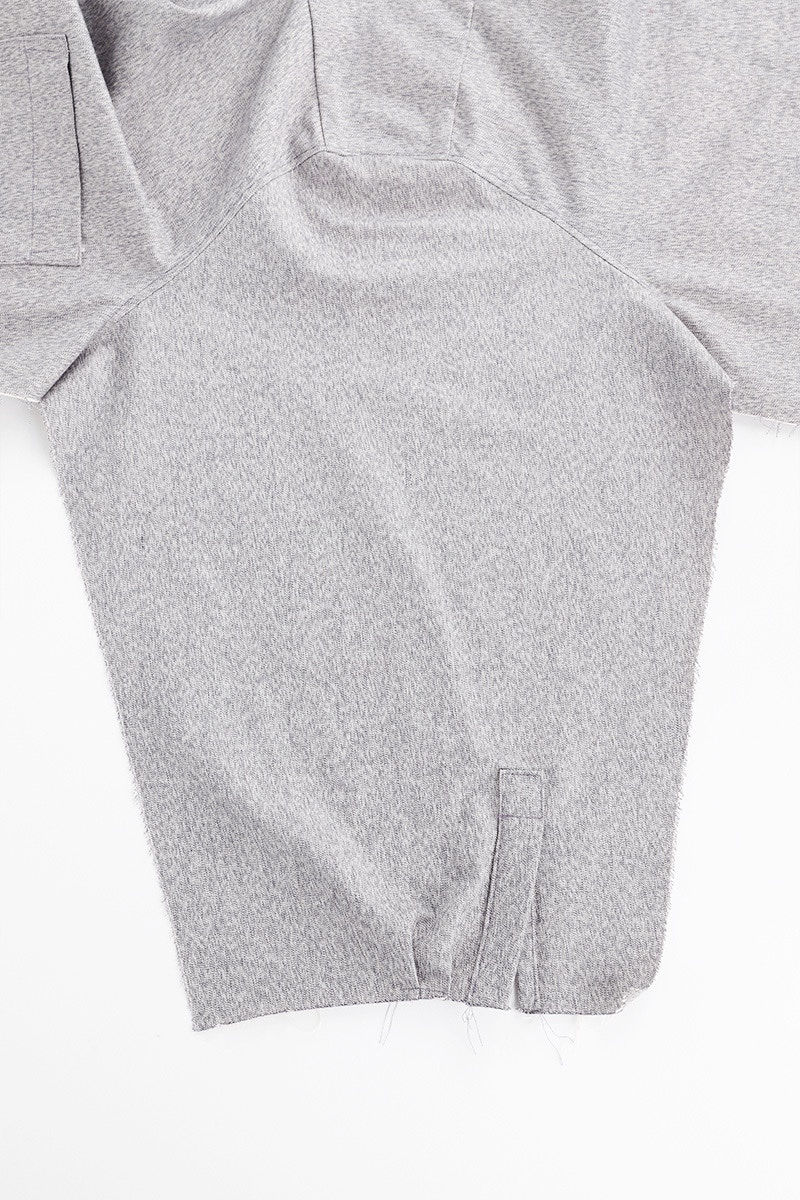

Now, press this seam towards the body of the garment and top stitch the seam allowance to the body of your shirt or dress. Do the same for the other sleeve.
Next we will sew the side seams. The process is a little different depending on whether you are sewing the shirt or the dress.
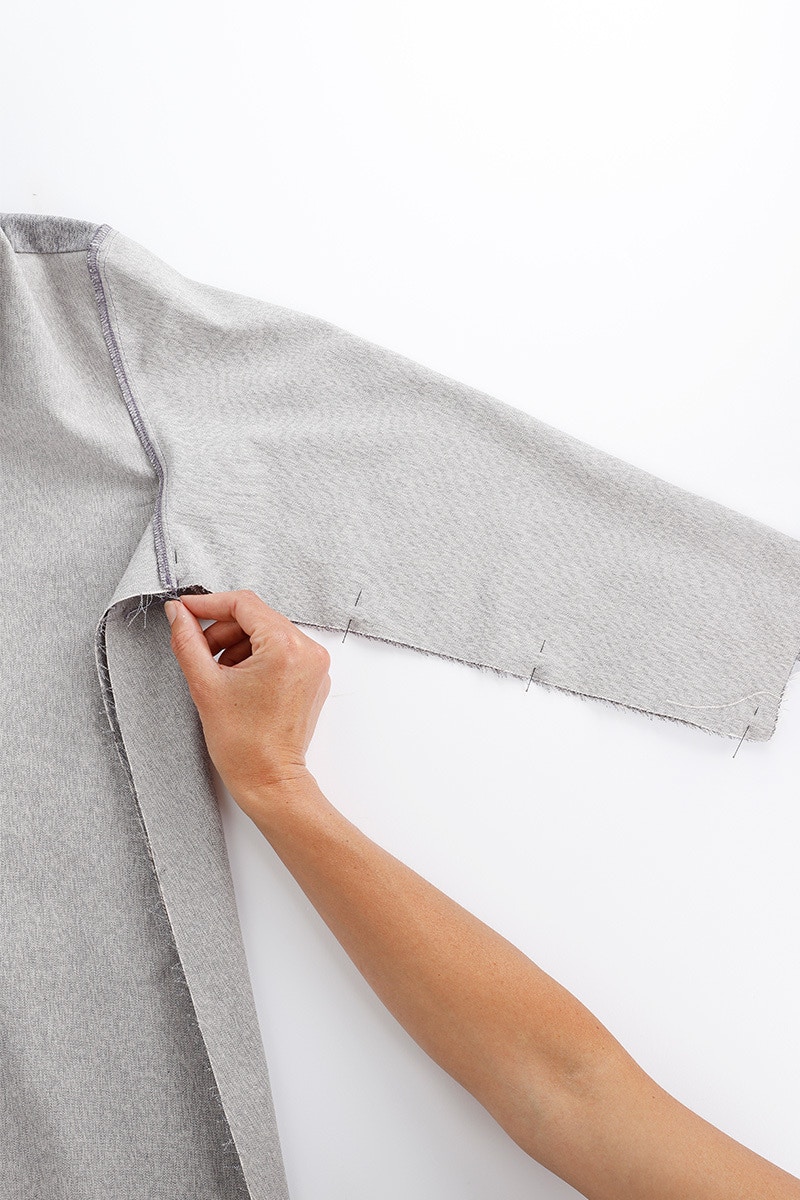

To sew the shirt side seam, pin the side seams together, matching the sleeve seam. Sew them together with a 1cm seam then neaten with your overlocker or serger. Now press this seam to the back and repeat for the other side. Now you are ready for to attach your cuffs in the next step.
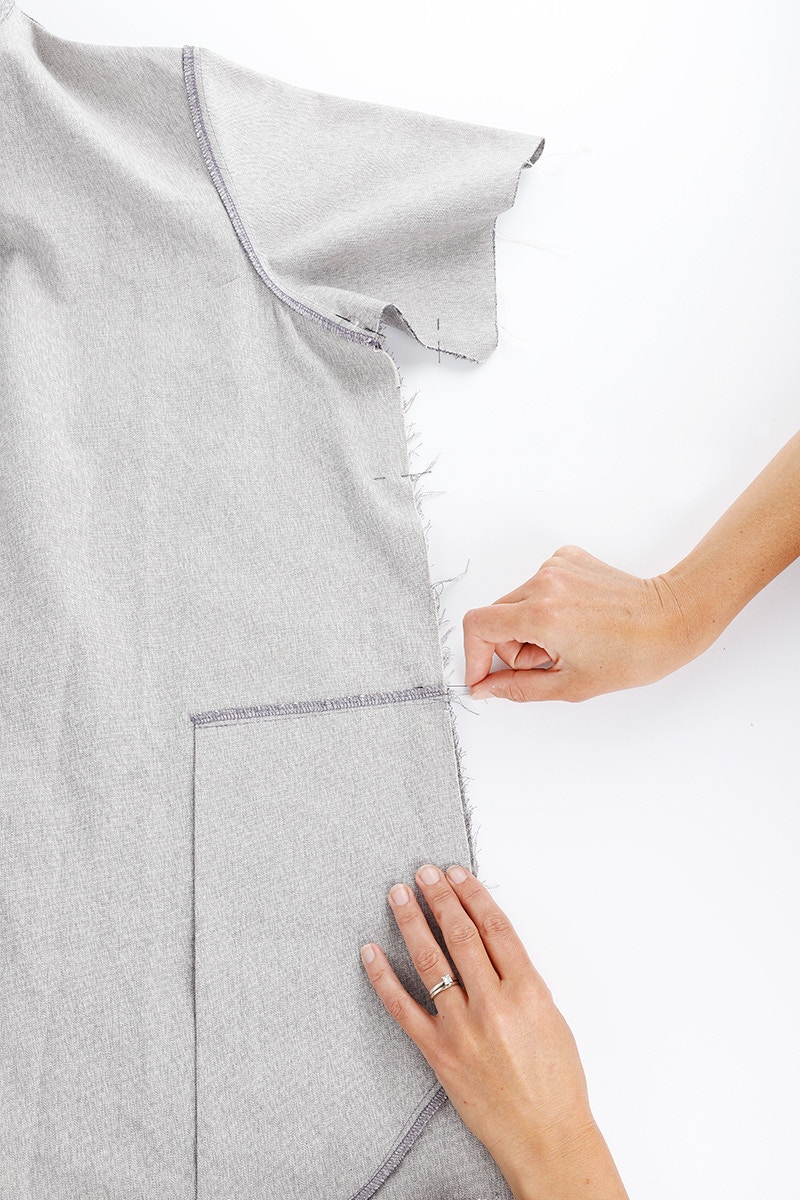

If you are sewing the dress, pin the side seams together, matching the sleeve seam, notches and + at the hem. It may help to mark the stitching line from where the vent extension starts to the +. The stitching line at this here is 2cm from the side edge on the front piece, and 1cm from the side edge on the back.

Sew the side seams together, starting at the cuff and finishing at the + where the vent opens near the dress hem. Take care that the side pocket doesn’t get caught in the seam as you sew. Now neaten the raw edge with your overlocker or serger, finishing at the top of the vent extension. Press this seam to the back and repeat for the other side.
Next, move on to attaching your cuffs!
Don't forget you can always email us via patterns@thefabricstore.co.nz if you need advice!
Bloom makes from our wonderful community are also popping up over on Instagram, follow @makebytfs and use #TFSBloomShirt and #TFSBloomDress so others can check out your creations!


