DIY Projects
Fabric Stencil Printing
01—December 2023
This week on the blog we try our hand at some festive DIY stencil fabric printing!
Fabric stencil printing is a fun way to customise both already made clothing as well as fabrics for new sewing projects. By stencil printing your own fabric, you get to choose a print that is uniquely your own, in whatever colour/s you prefer. This simple DIY technique can be applied to everything from hats, tees and dresses to table linens, bedding and accessories.
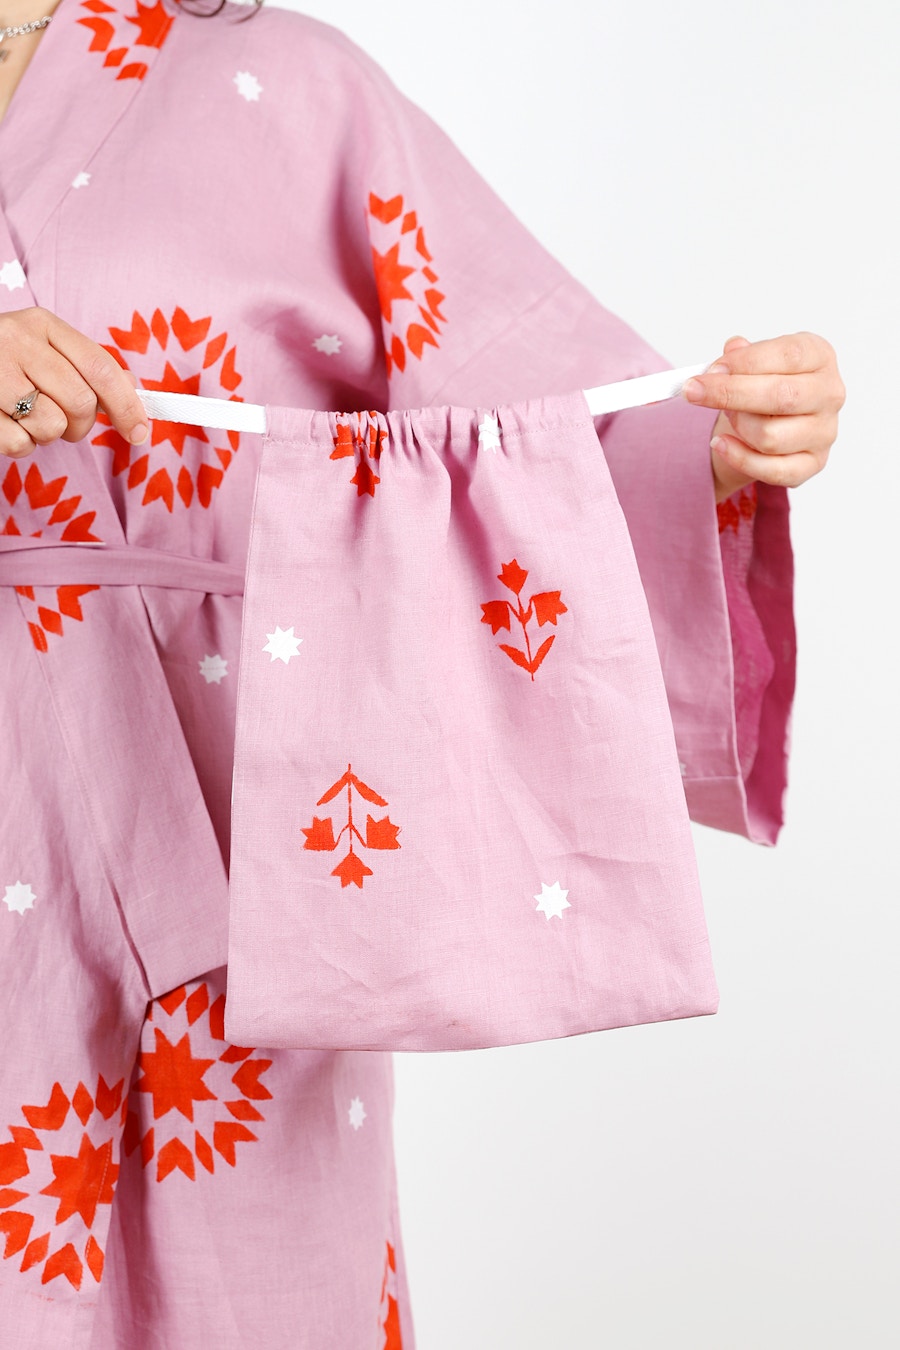
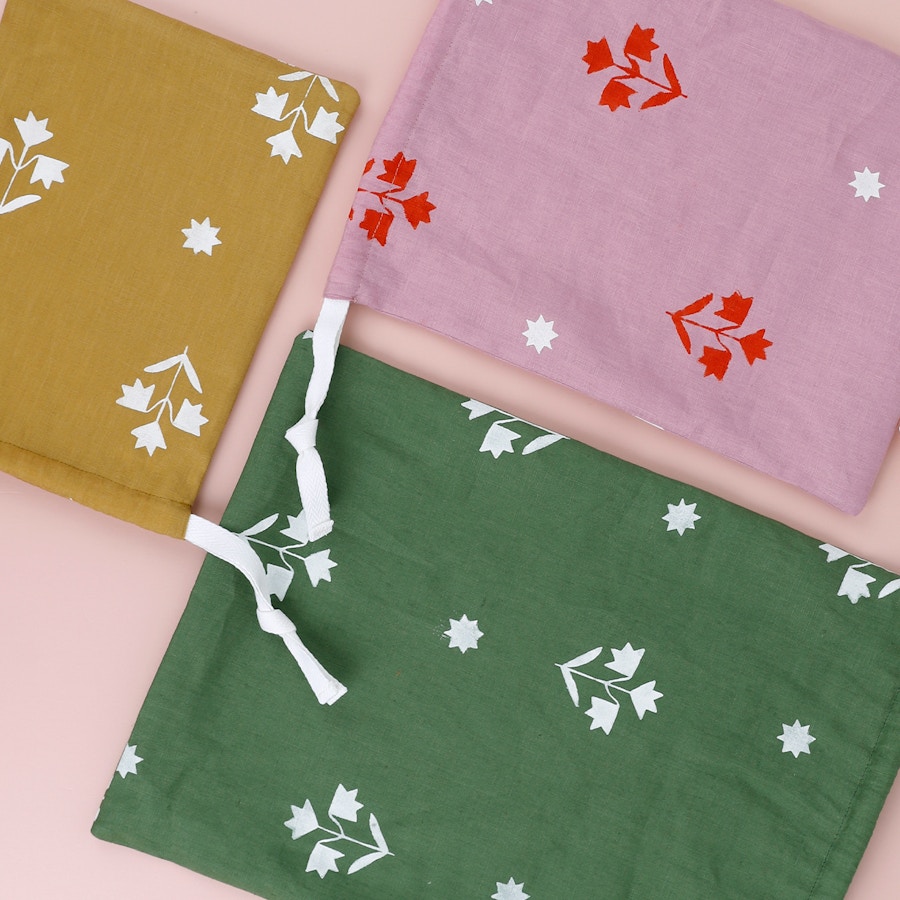
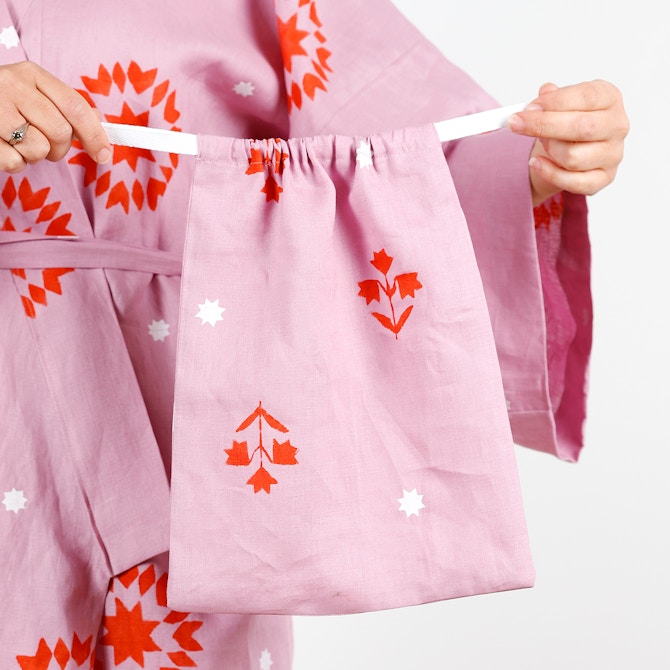
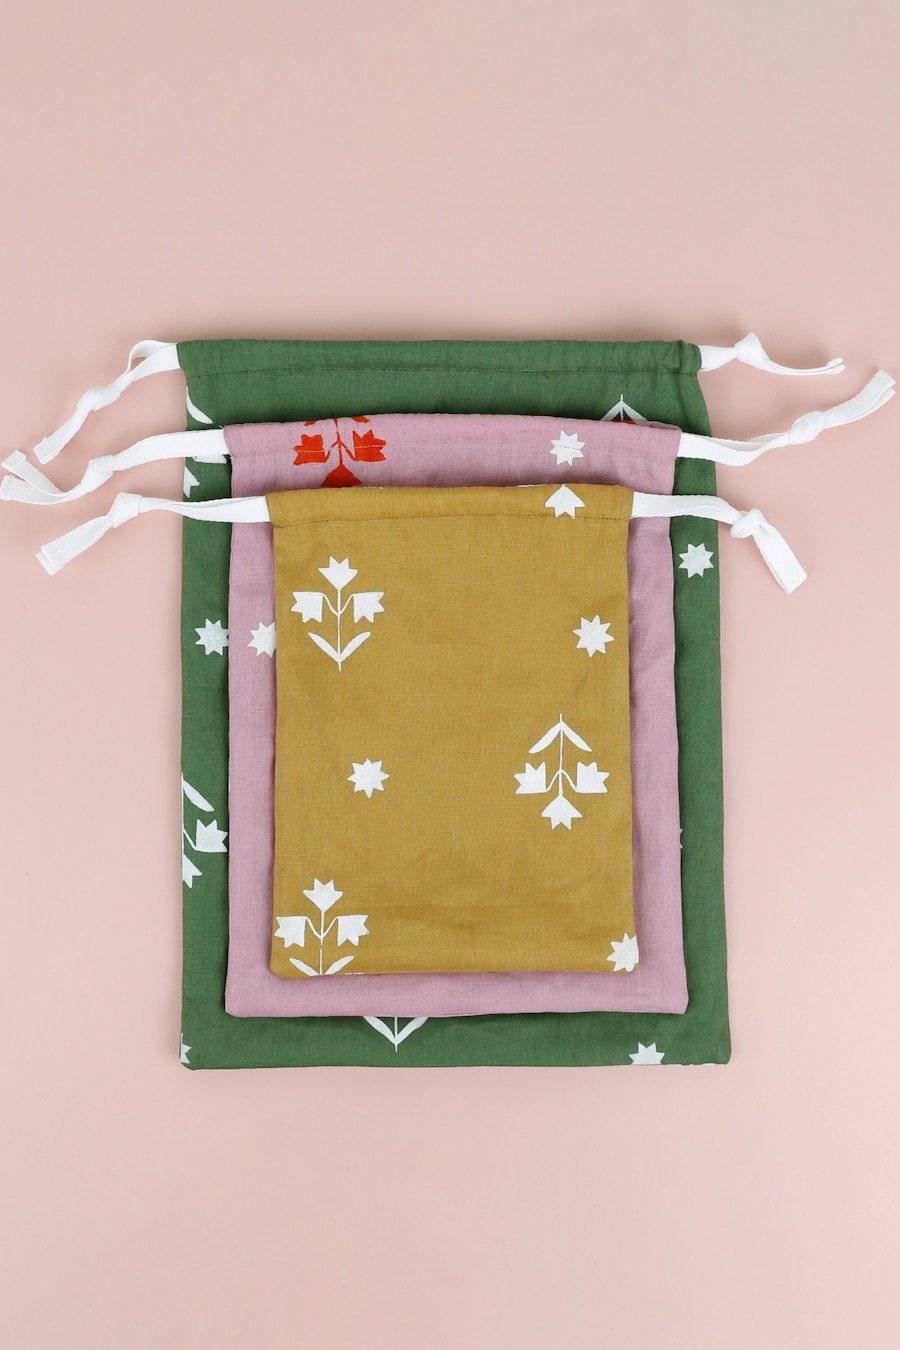
We've gone with a festive feel for our stencils, using Organic Linens in Lichen and Foxglove, for a trio of holiday gift bags and a beautiful new Make by TFS Lucie Robe. Read on for details and photos, and start dreaming up your favourite print ideas!

We tried out a few different stencil options such as linocut and cardboard, before settling on repurposed covers of an old plastic clearfile. This provided a thin semi-flexible plastic material, and we used double-sided tape connecting two layers of the plastic for maximum stability. This kind of material requires a sturdy craft knife for cutting out the pattern, as well as a steady hand! The repurposed plastic meant that our stencils were cleanable, so could be used over and over with different paint colours. If you don't have a clearfile, you can use any thin plastic lid from your recycling stash, think ice cream and takeout containers.
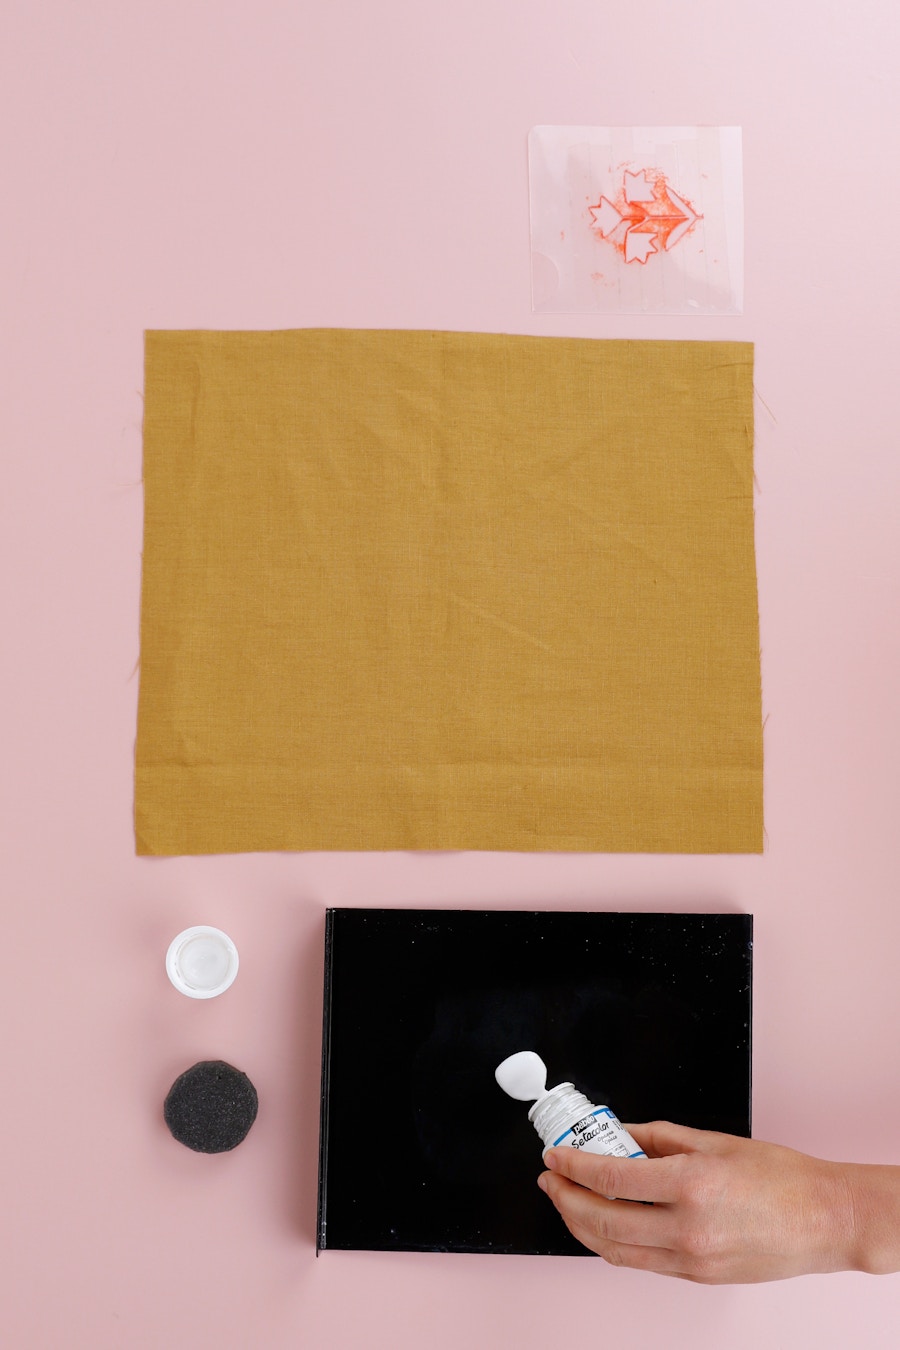
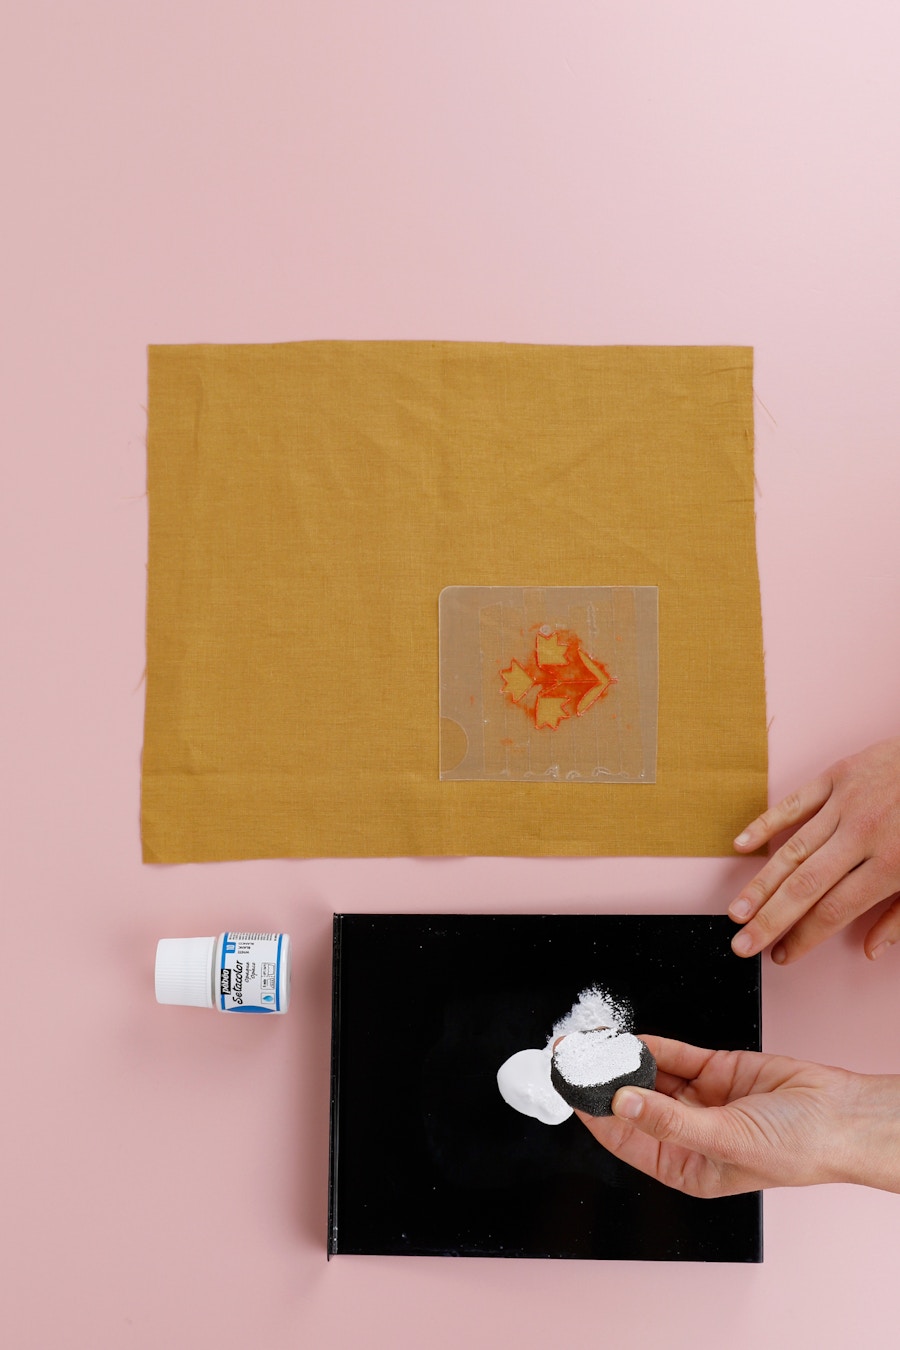
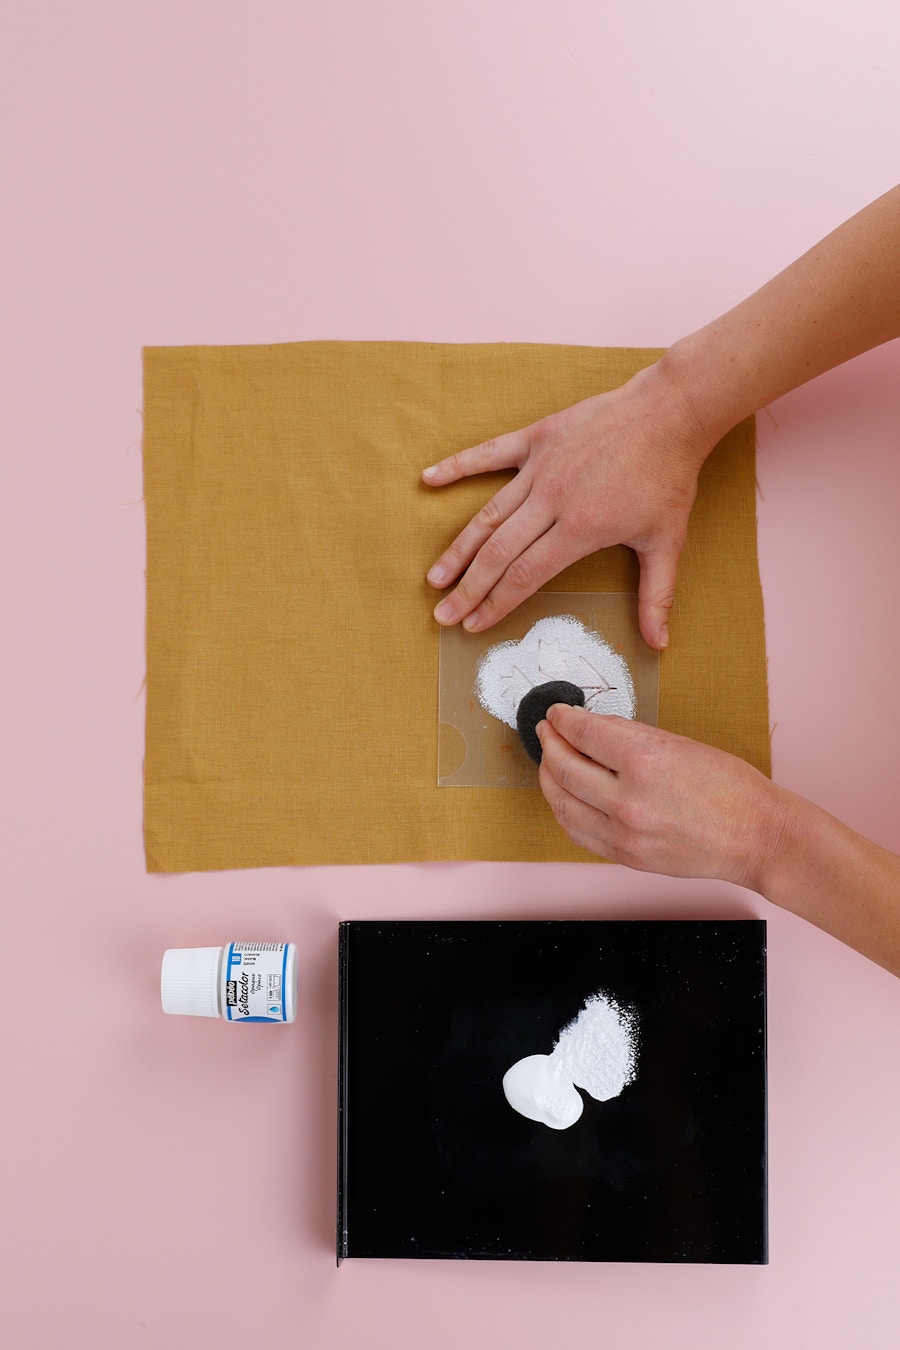
We used this fabric paint, which comes in loads of fun colours, as well as a small sponge applicator. It helps to also do your printing on a flat clean surface! To make our stencils we taped our hand-drawn designs onto the clearfile and cut with a craft knife, then removed the paper. To print onto your chosen fabric, lay your fabric out flat, apply an even layer of paint on the sponge, firmly hold the stencil in the desired place on your fabric and then dab over it until you are happy with the coverage. Carefully remove the stencil, wipe or rinse it, and then repeat the process in whatever pattern you'd like until your fabric is fully printed. We'd recommend laying your fabric over some newspaper while you print, because it's likely to bleed through. It's also a good idea to do some test prints on scrap fabrics before you begin!
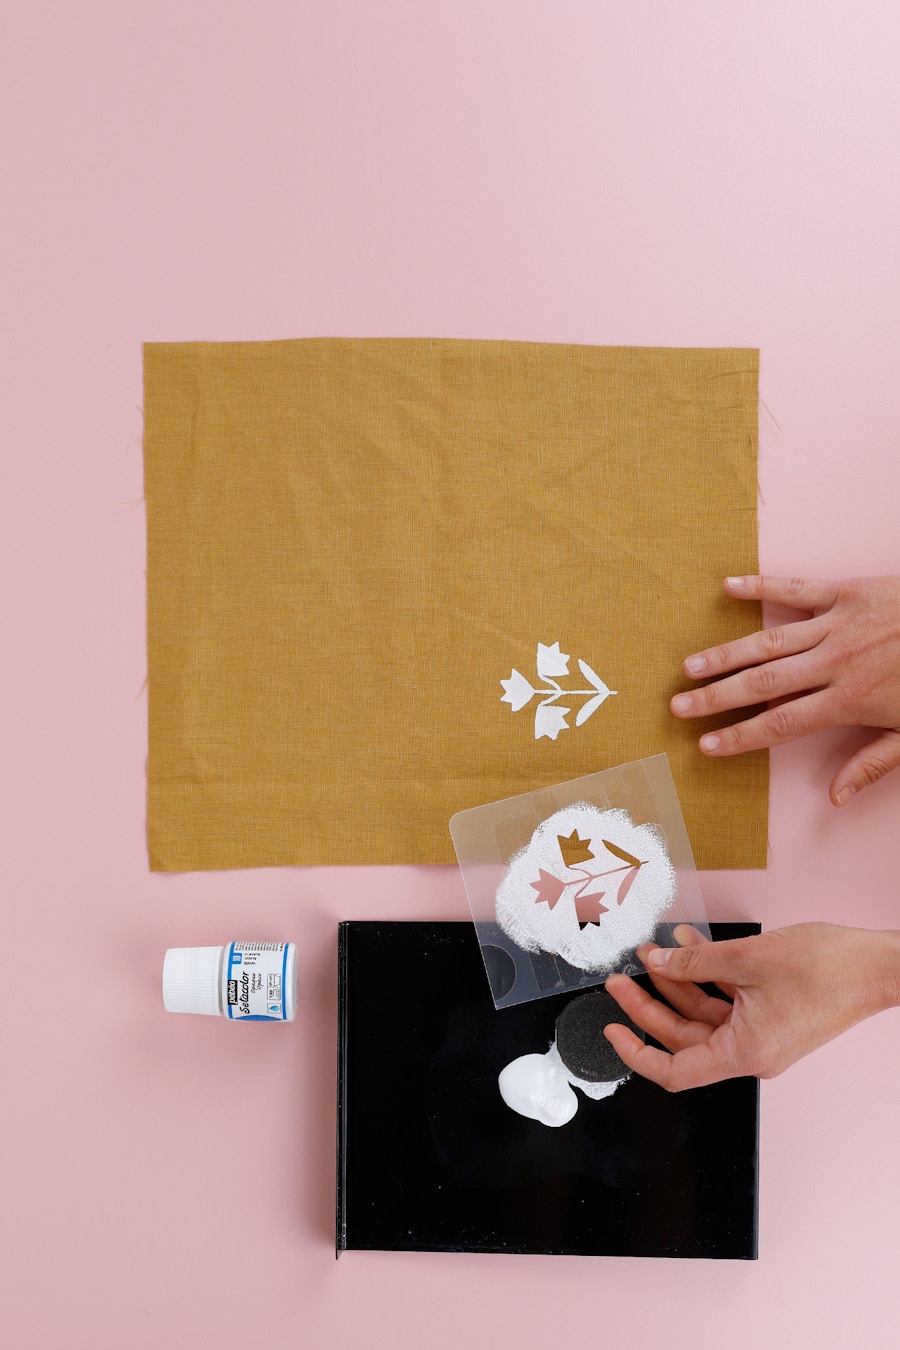
The final step is to 'set' your print using an iron after it has air dried for about an hour. This may differ depending on the type of fabric paint you use, so be sure to read the instructions on yours first. Usually you use an iron on a hot cotton setting with no steam - we placed our fabric between two layers of craft paper and ironed it for a good 5 minutes, then gave it a quick final press with no paper. Most fabric paints also recommend you wash your printed fabric afterwards too, but again, be sure to check your instructions.
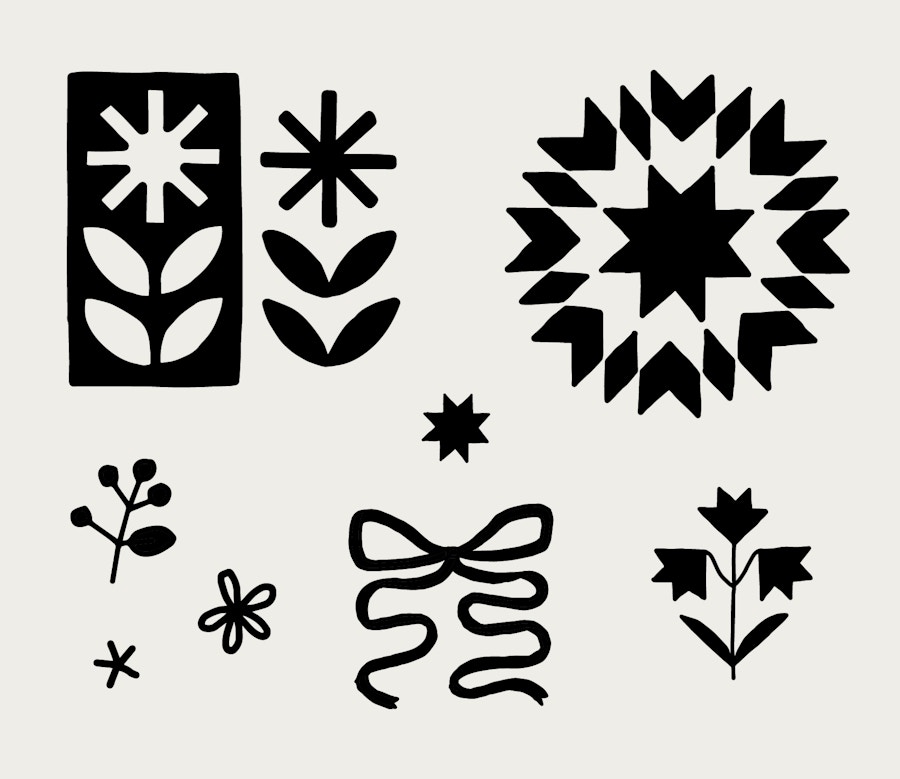
If you'd like to try the designs we printed, we've popped some digital downloadable files in a open access folder here.

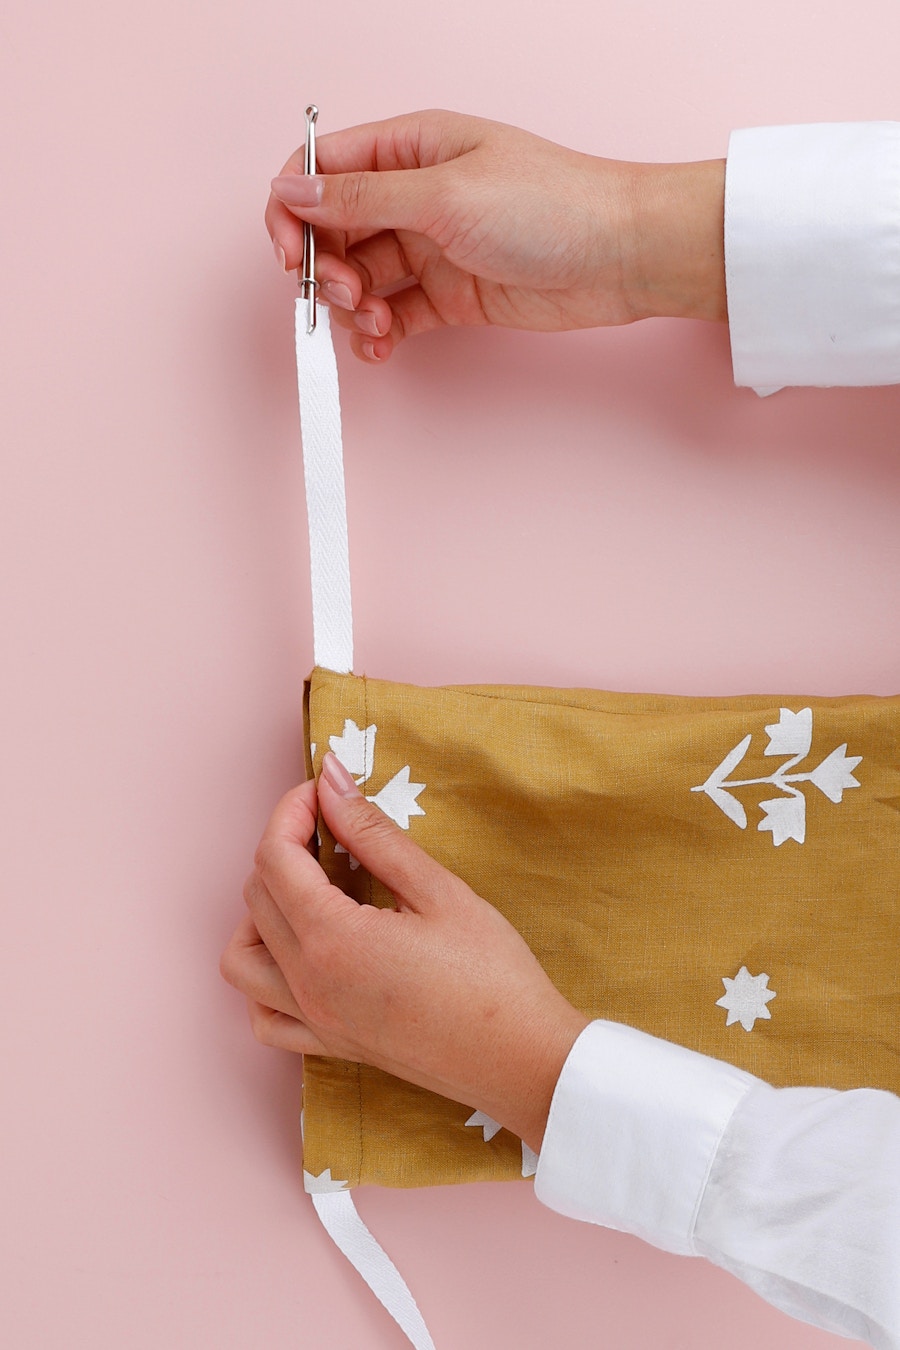
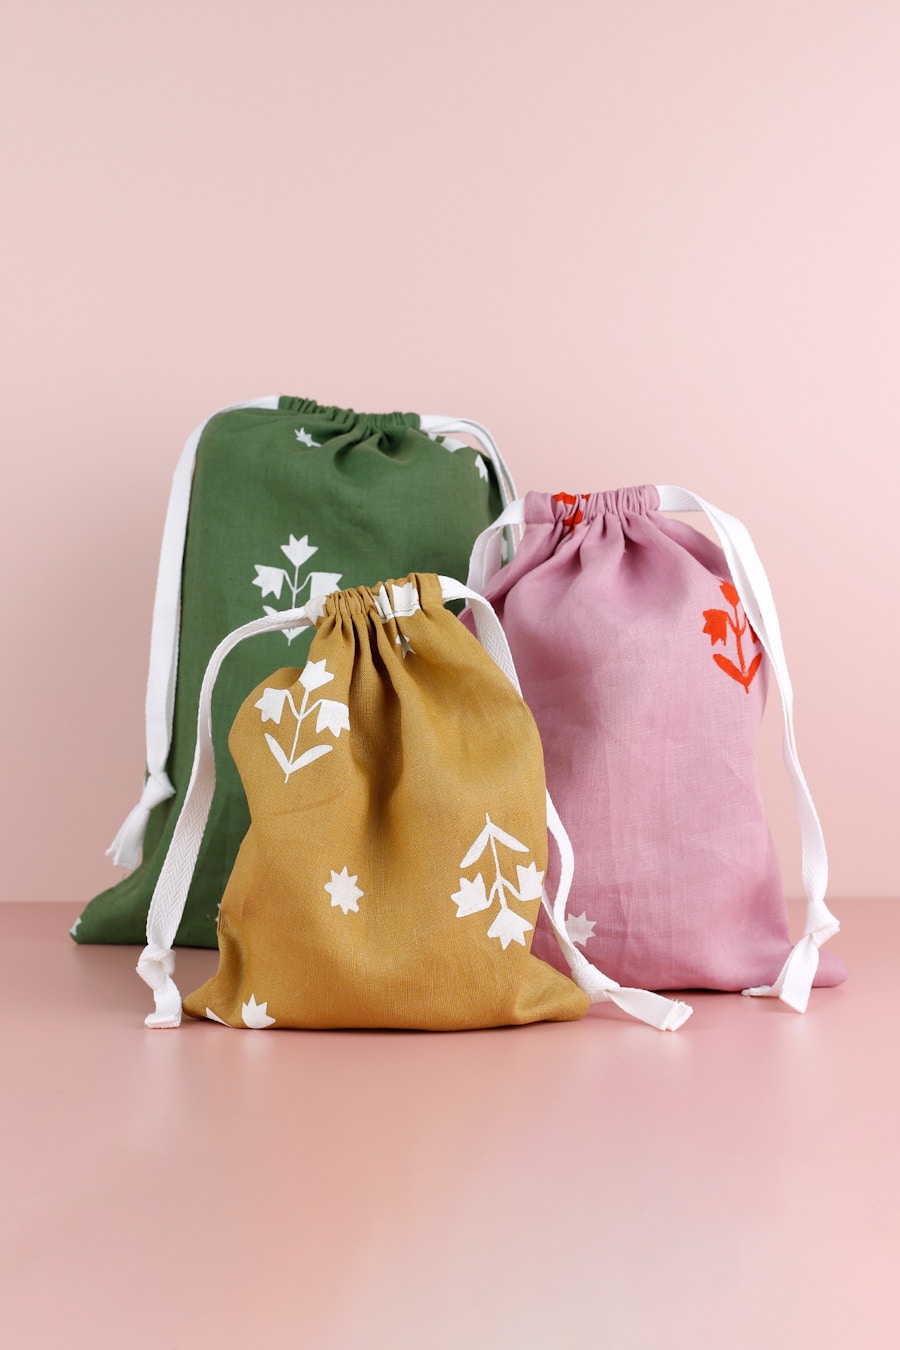
Love the look of our prezzie bag trio? We loosely followed this tutorial from Lou over on YouTube, which shows you how to create a basic drawstring bag. We made three different sizes, allowing us space to test out a few different print scales. Bags like these, made using offcuts or fabric scraps, are a cute yet inexpensive way of presenting festive gifts, perfect to pop under the tree!
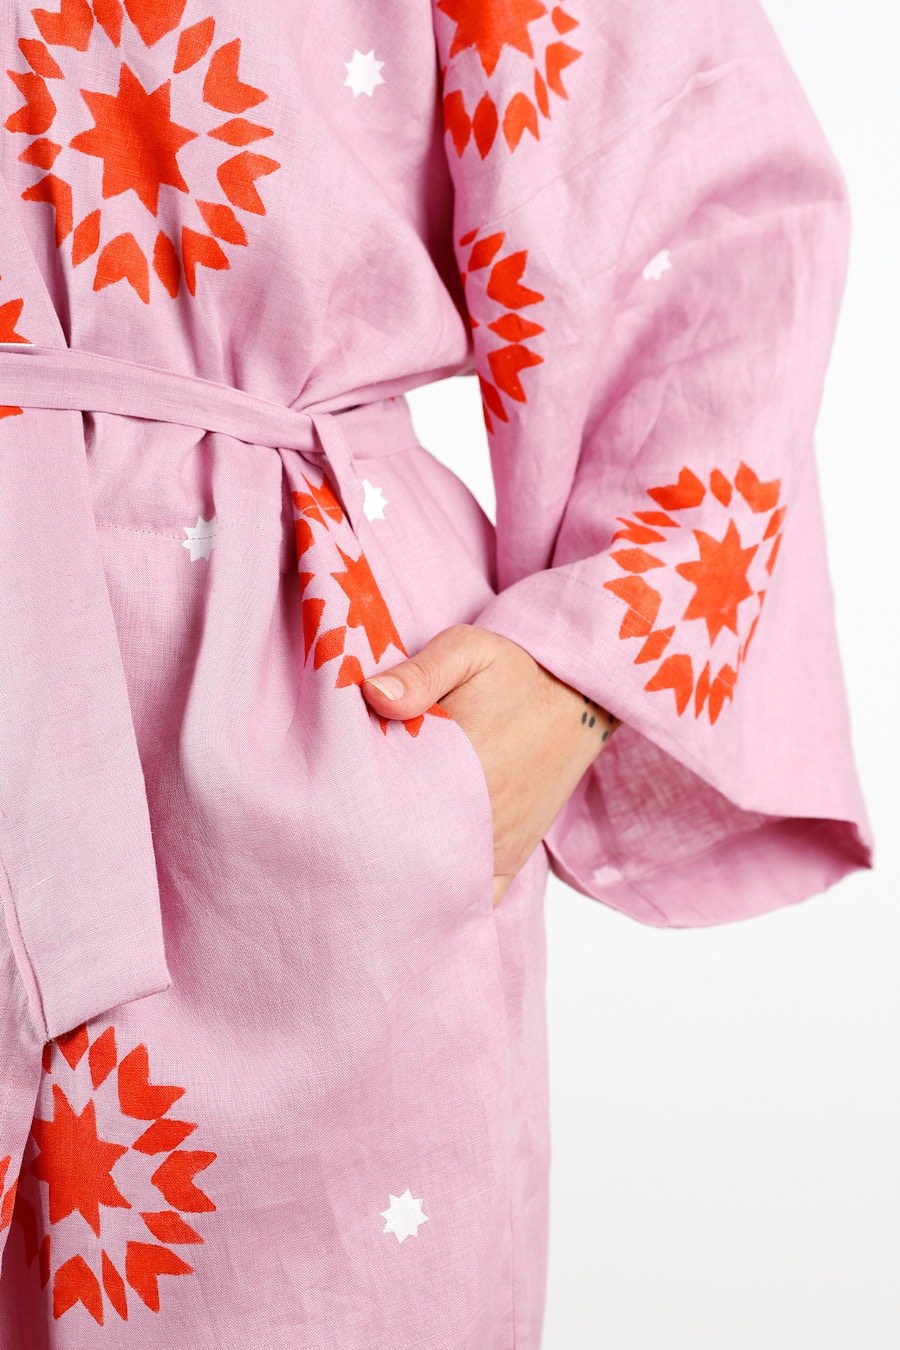
Our Lucie Robe pictured is a size B, sewn in Foxglove Organic Linen and kindly modelled by Zosia from our Online team. Lucie is a beginner-friendly sewing pattern and it's simple silhouette makes it a perfect gift idea for friends and family from all walks of like! Download the Lucie Robe pattern from our Online Store here.
