Paint Dress + Top Sew Along

1 — Pre-Pressing
01—November 2022
Welcome to our Paint pattern sew along! In this post, we go through the interfacing/pre-pressing steps.
If you are sewing the long sleeve option, you may want to interface your cuff pieces depending on the weight of your fabric. This will help provide strength and stability for the button and buttonholes. This can be done by block fusing or piece fusing. Block fusing is a fusing technique whereby you apply your interfacing to a section of fabric prior to cutting out the pattern pieces. It helps avoid interfacing slippage and stops your pattern pieces from stretching out of shape, and therefore ensures accuracy. It also means you only need to cut your pieces out once. Block fusing does require you to group all the pattern pieces requiring interfacing together when you cut out your pattern however, so you may require additional fabric.
If you do not wish to block fuse, you can piece fuse these pattern pieces. This means cutting out each pattern piece in both interfacing and your main fabric and then applying the interfacing to each piece separately. If you choose to piece fuse keep your pattern pieces close by for reference and make sure they don’t stretch out of shape.
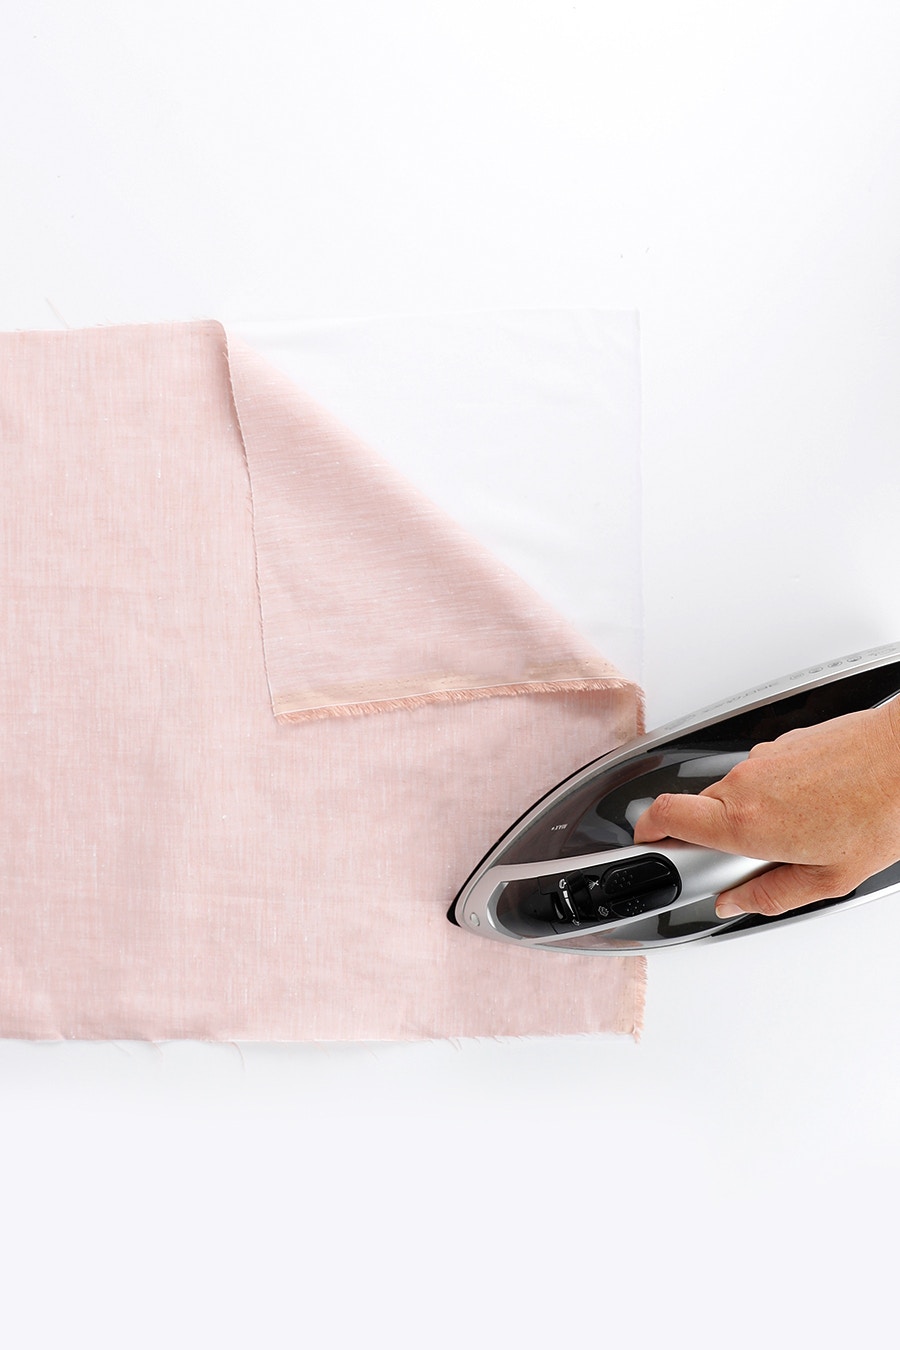
We strongly recommend that you use an iron to press some areas of your pieces before you begin sewing. This will help to ensure accuracy as you sew, as well as aid in giving your Paint Dress or Top a neat and tidy finish. These pressing guidelines apply to both the Dress and the Top views.
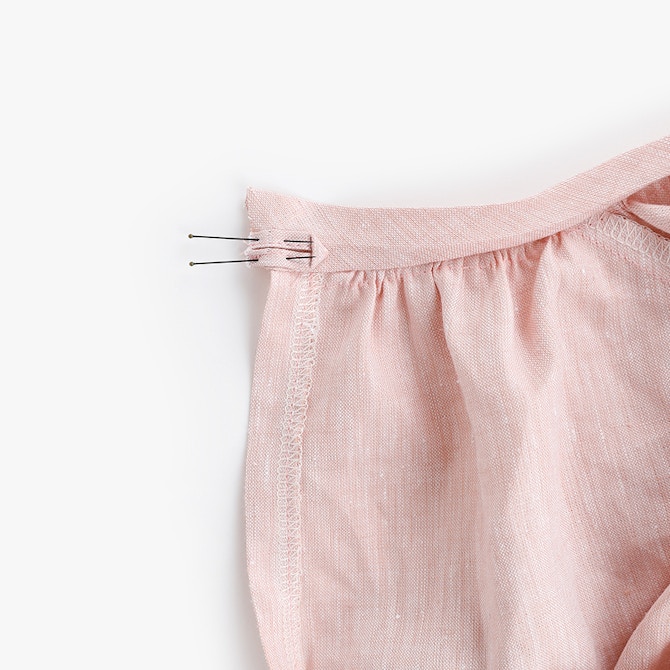
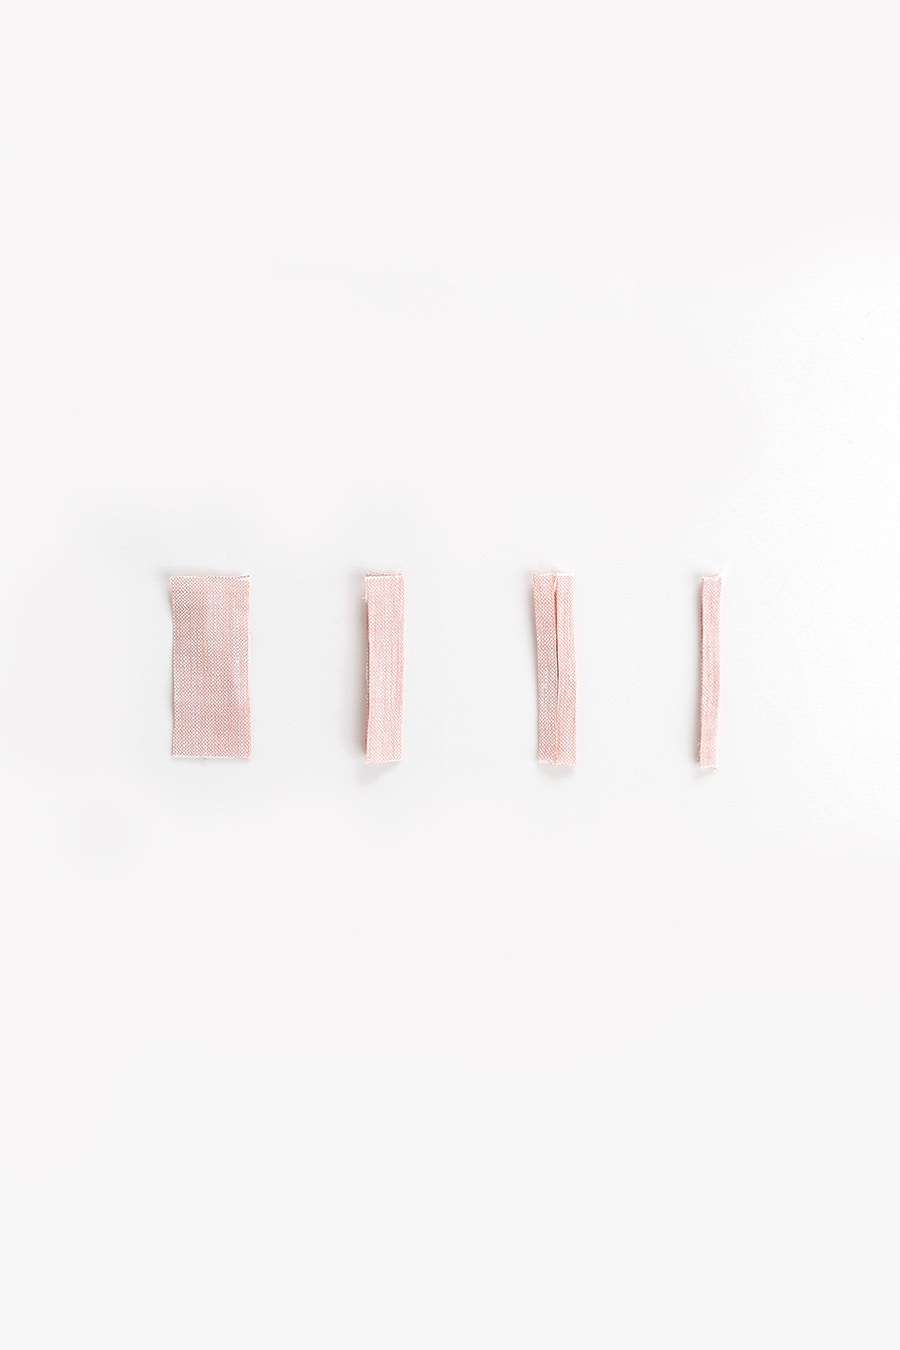
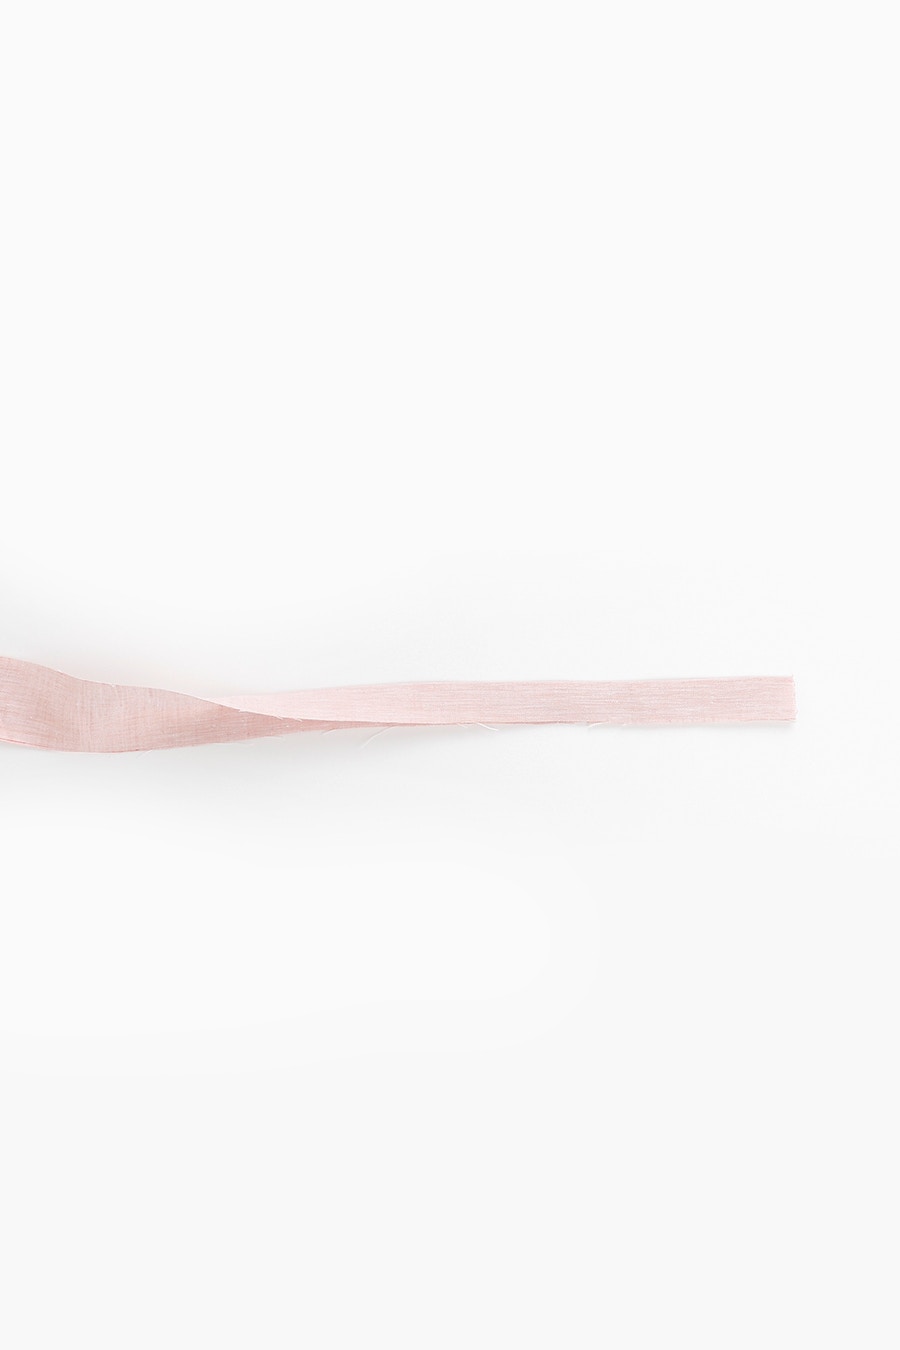
Press the button loop in half lengthways, wrong sides together. Open out, then fold the outer edges to meet at the centre crease line. Fold in half lengthways and press again. Your finished pressed piece will measure 5mm in width.
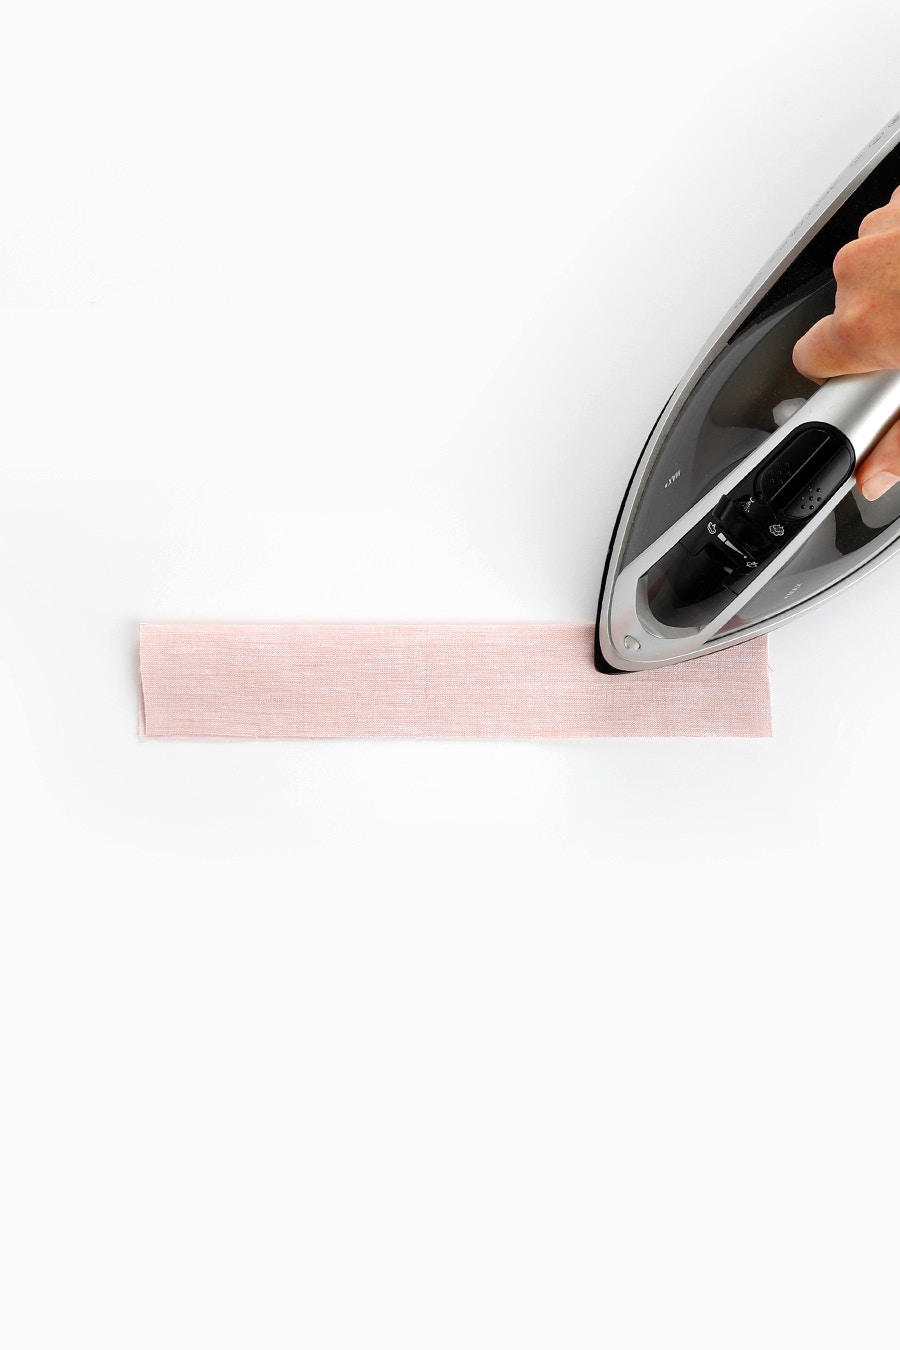
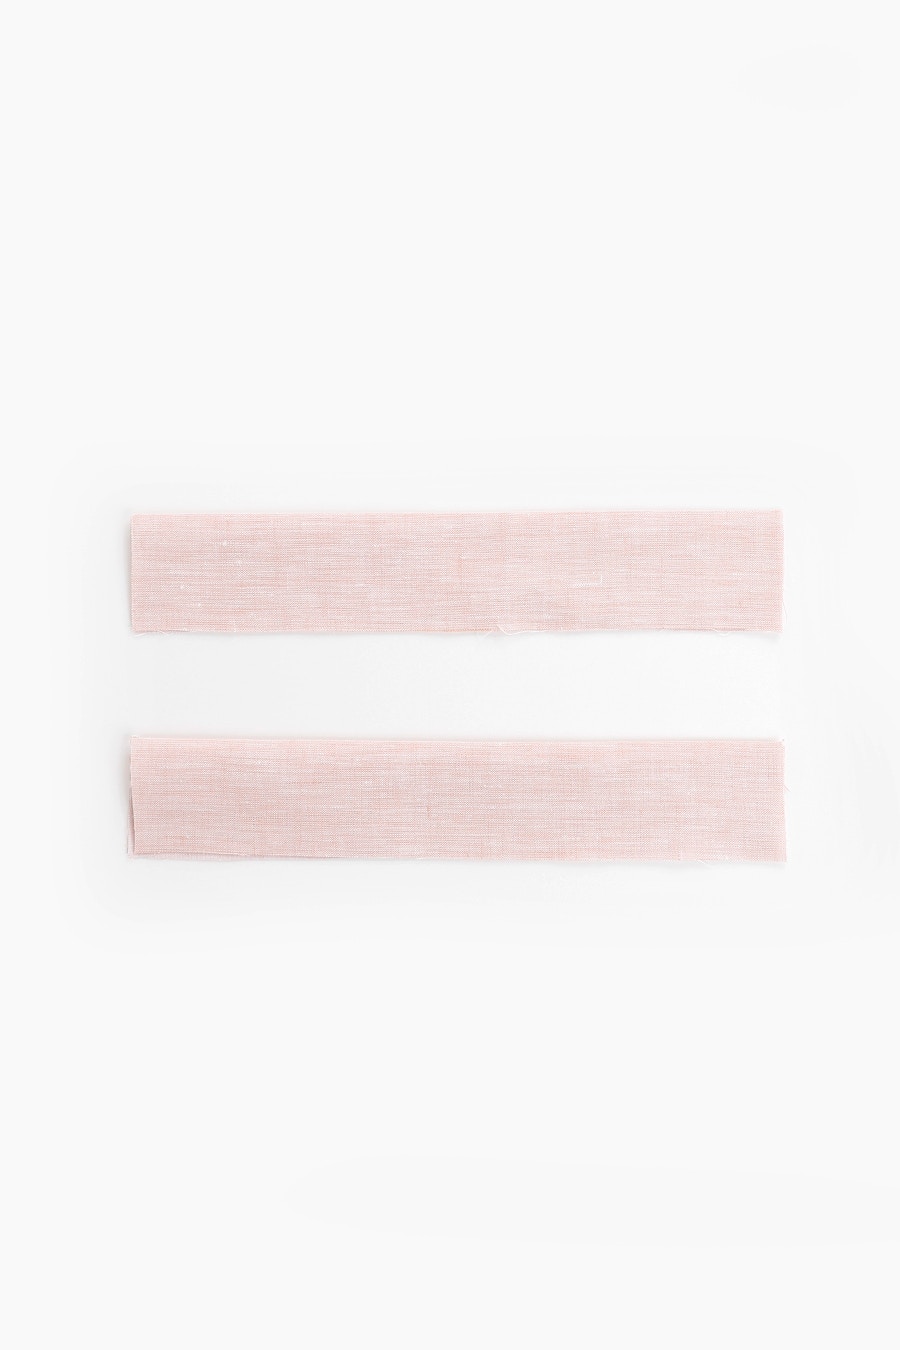
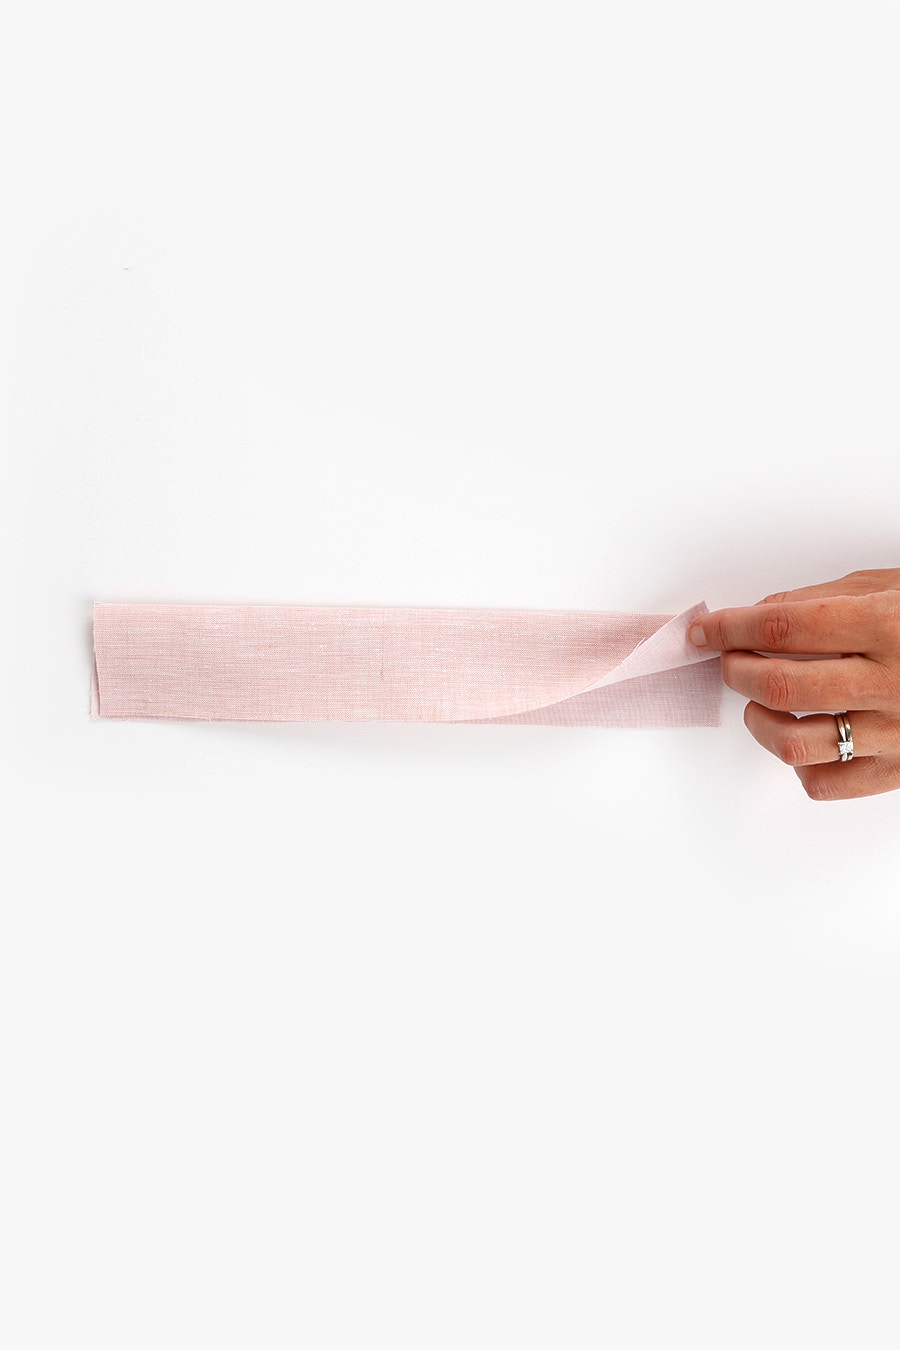
If you are sewing the long sleeve option, fold the cuffs in half lengthways with the wrong sides together and press.
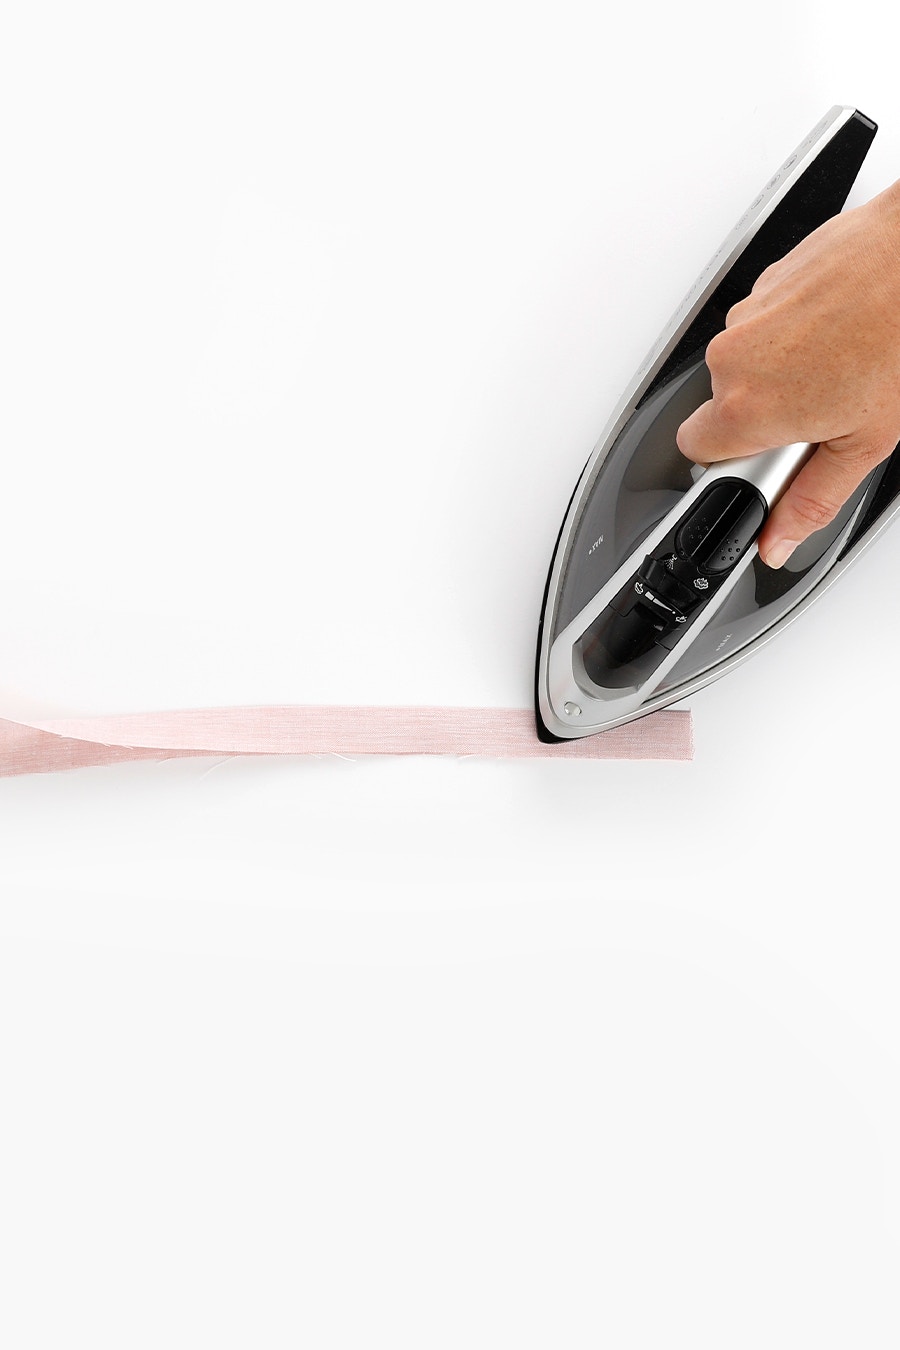
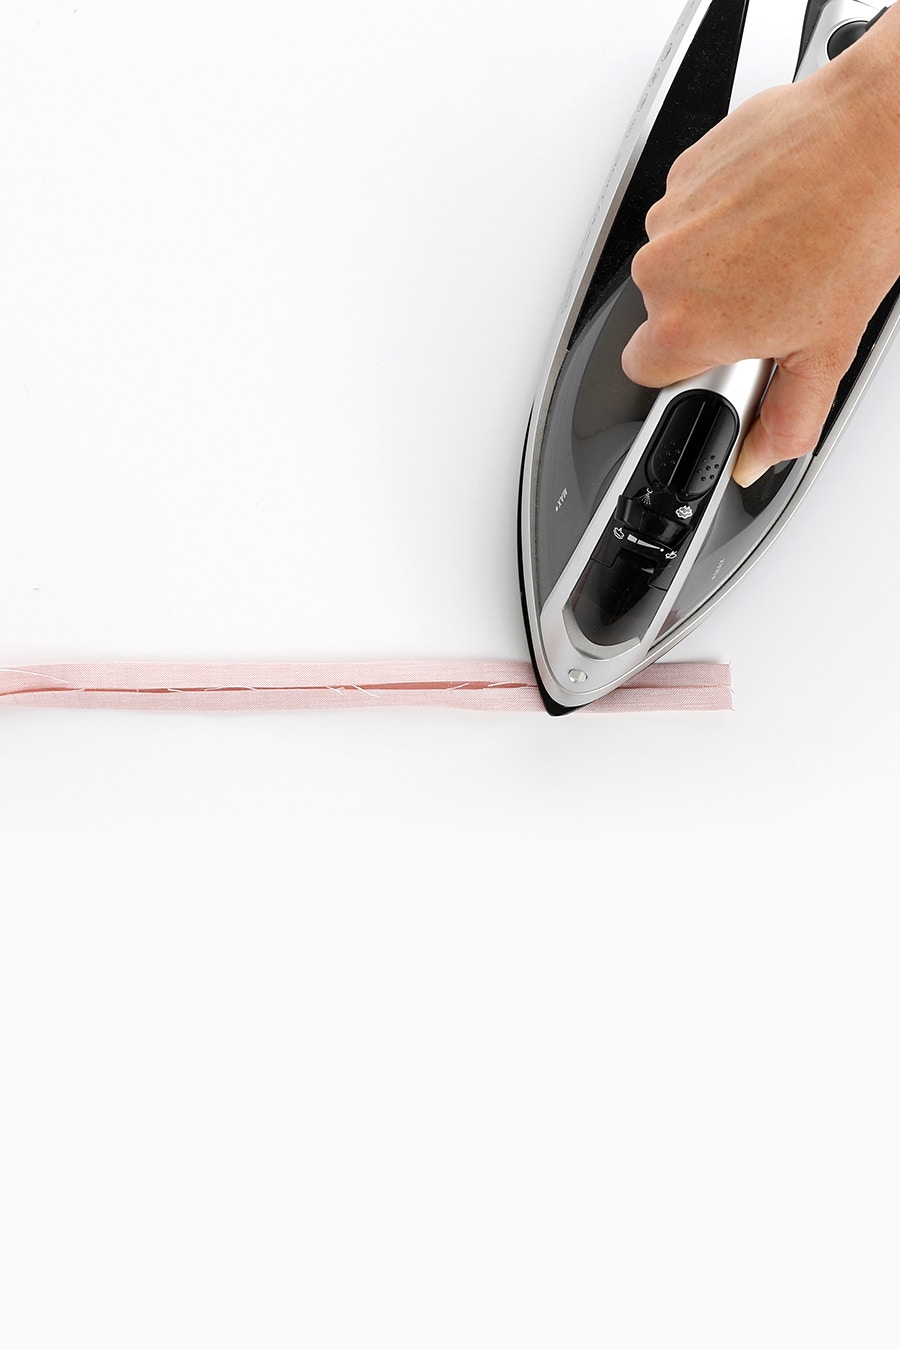

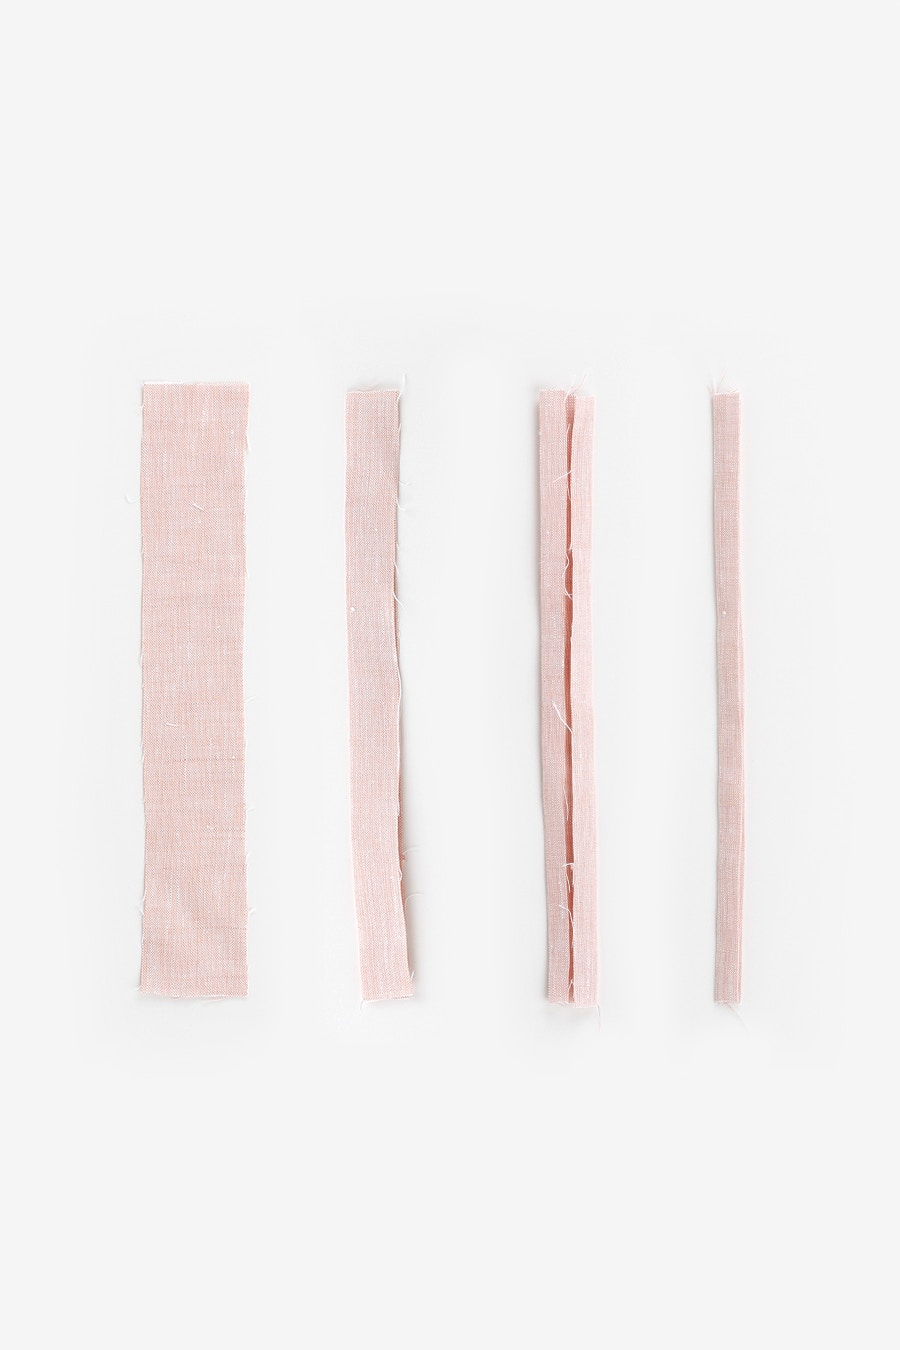
If you are sewing the long sleeve option, fold the sleeve placket binding pieces in half, press wrong sides together and press. Open out, then fold the outer edges to meet at the centre crease line. Fold in half lengthways and press again. Your finished pressed piece will measure 1cm in width.
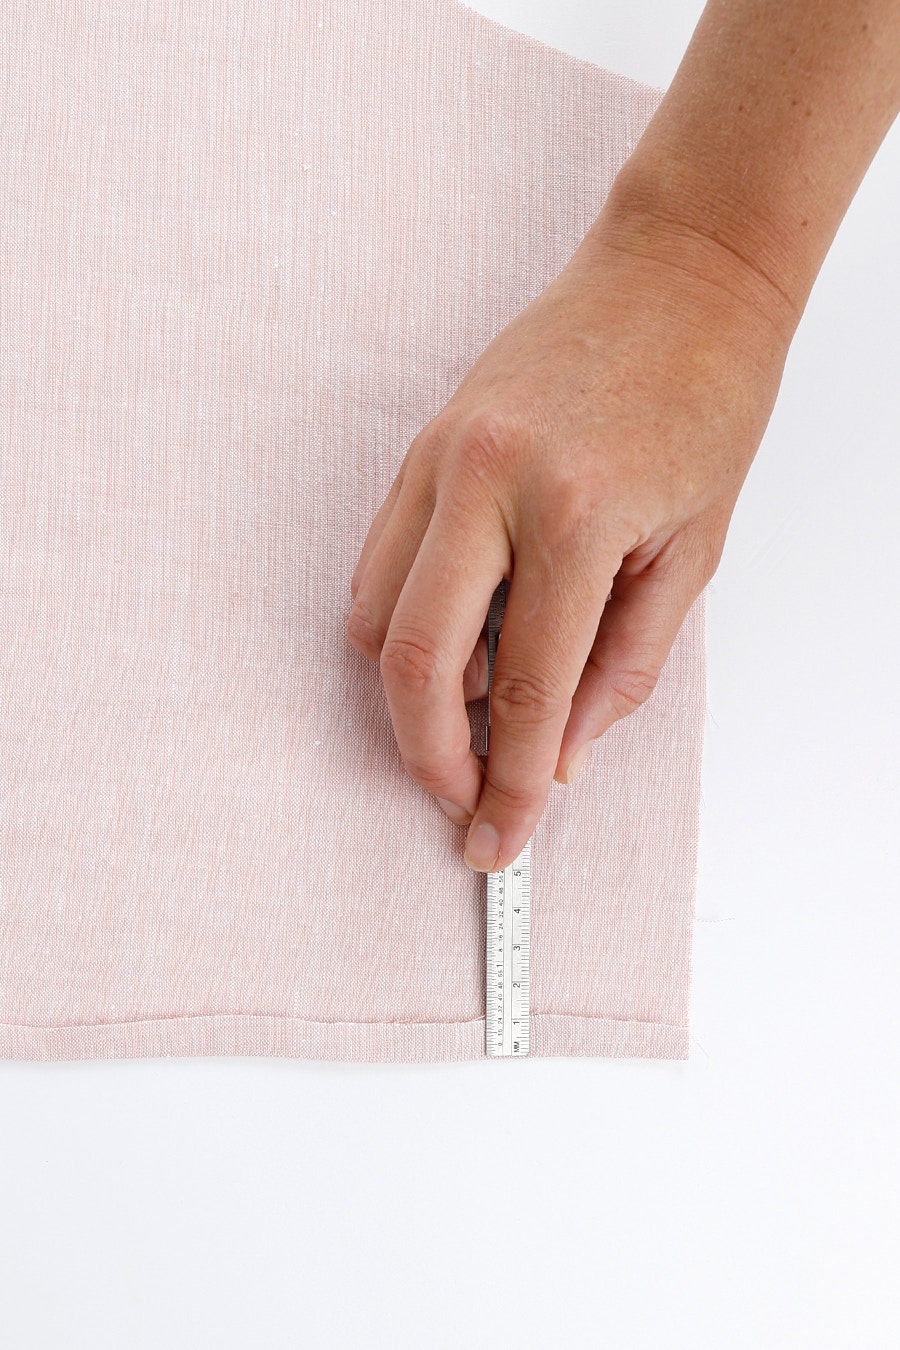
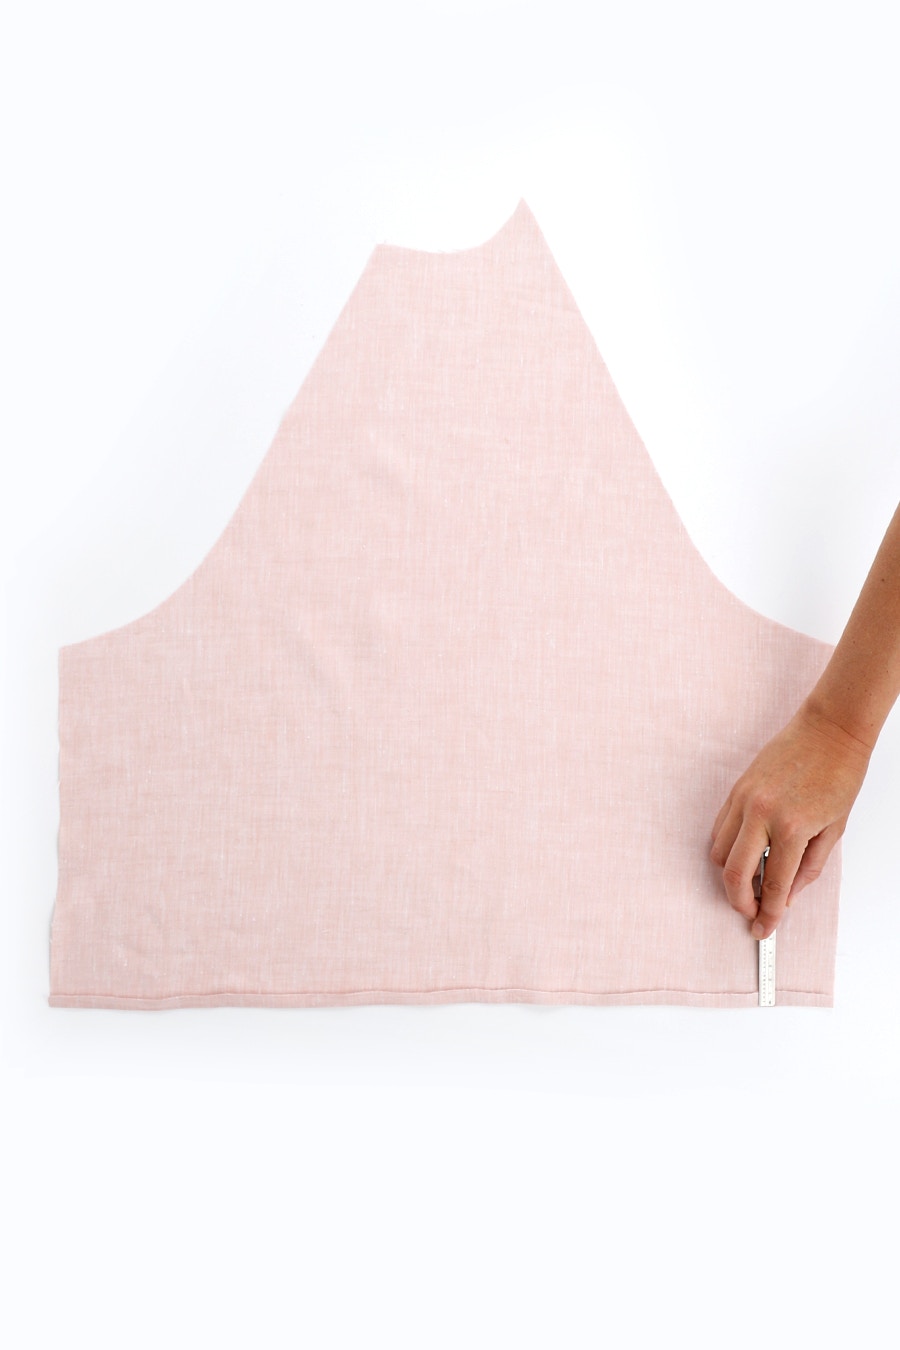
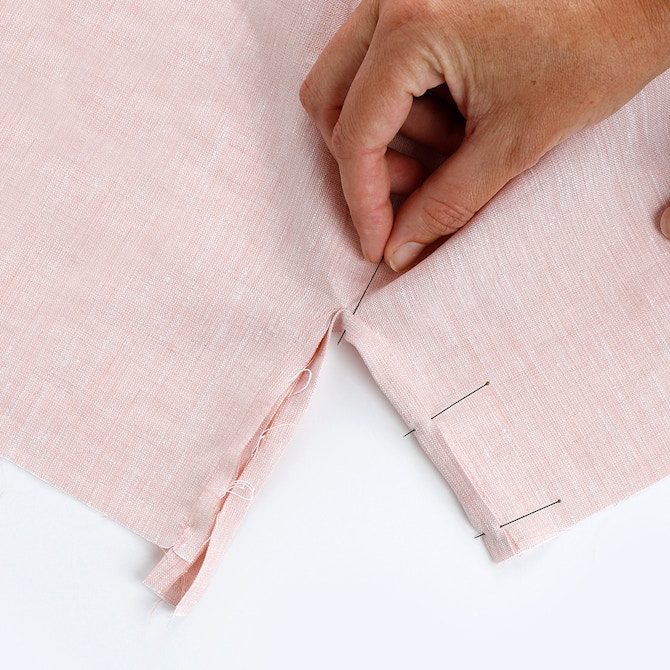
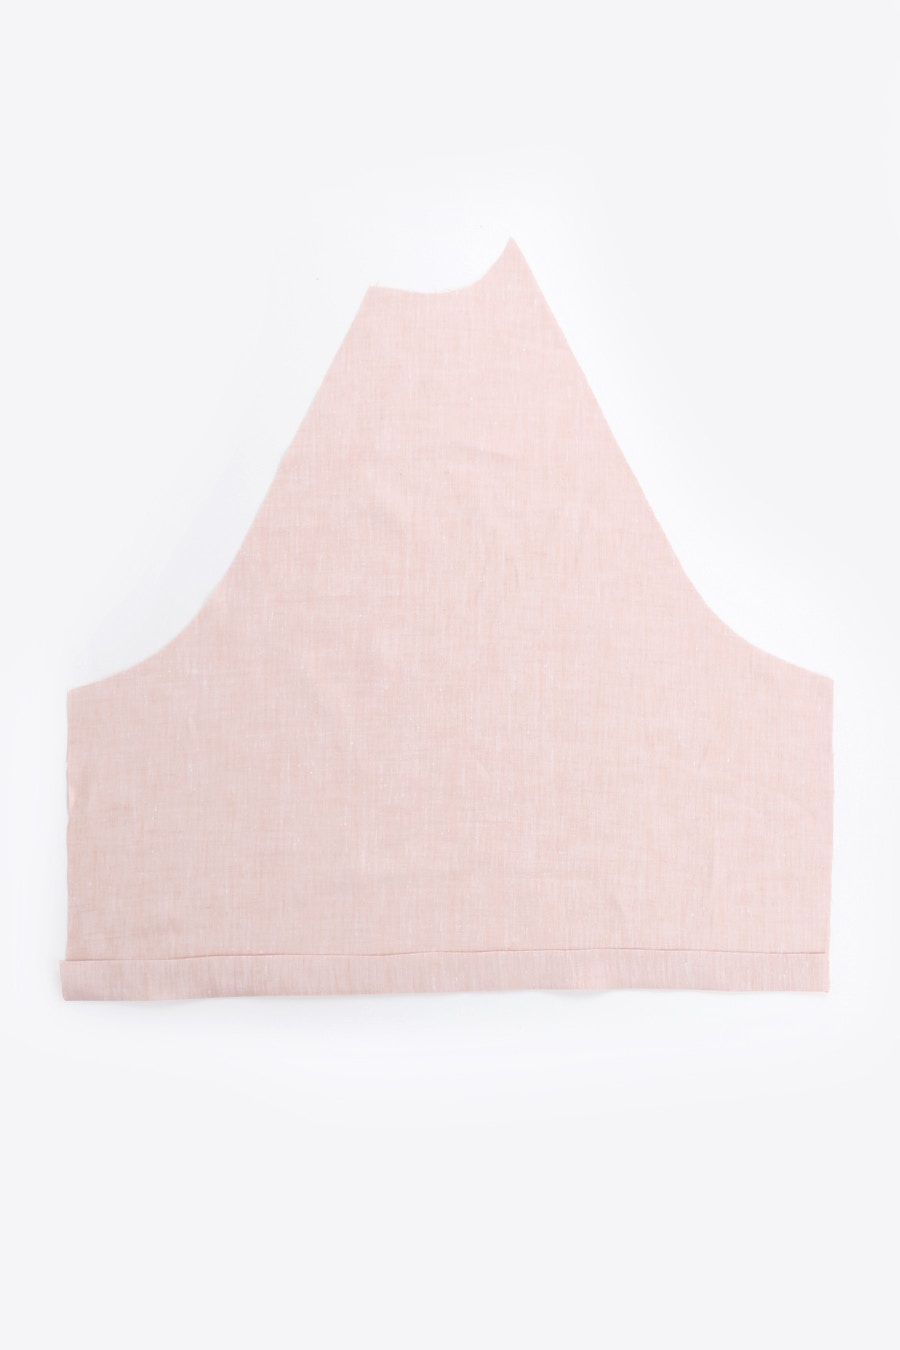
If you are sewing the short sleeve option, fold the seam allowance back 1cm to the wrong side at the hem and press. Fold the hem back again at the notches and press.
If you are sewing a waist tie, take the waist tie pieces and fold them in half lengthways with the wrong sides together, and press. Unfold and fold the outer edges 1cm in meeting at the centre crease line. Press. Fold your waist tie in half lengthways and press again. Your finished piece will measure 1cm in width.
In the next post, we assemble the front, including the pockets if you are sewing the dress.
Check out the Paint Dress + Top pattern in our Online Store here.
Don't forget you can always email us via patterns@thefabricstore.co.nz if you need advice!
Paint makes from our wonderful community are also popping up over on Instagram, follow @makebytfs and use #TFSPaint so others can check out your creations!