Paint Dress + Top Sew Along
3 — Sew Back and Attach Sleeves
01—November 2022
Next up in the Paint sew along, we sew the back and attach the sleeves.
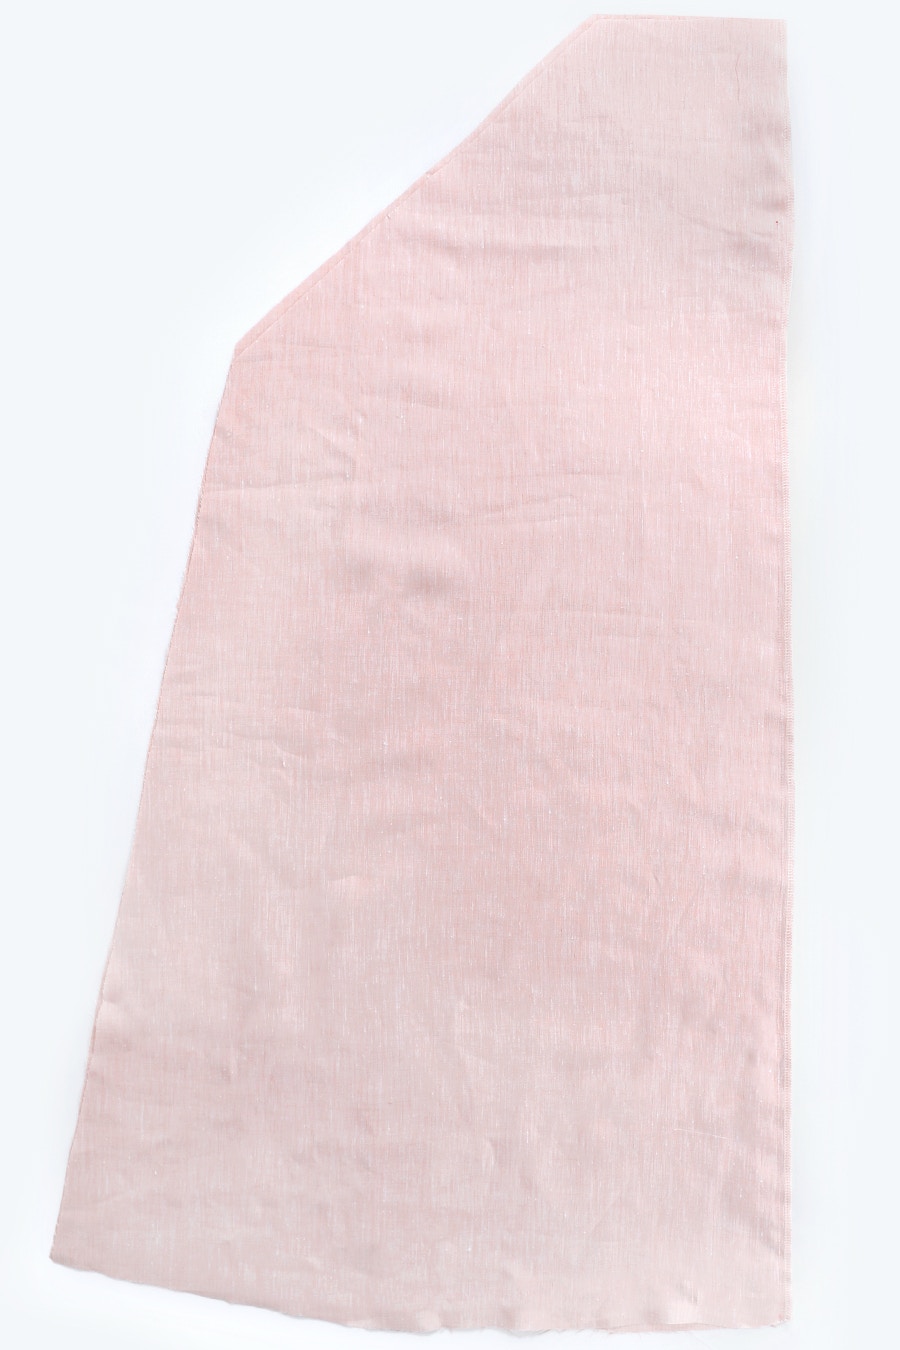
Start by neatening the centre back edge of each back piece separately.
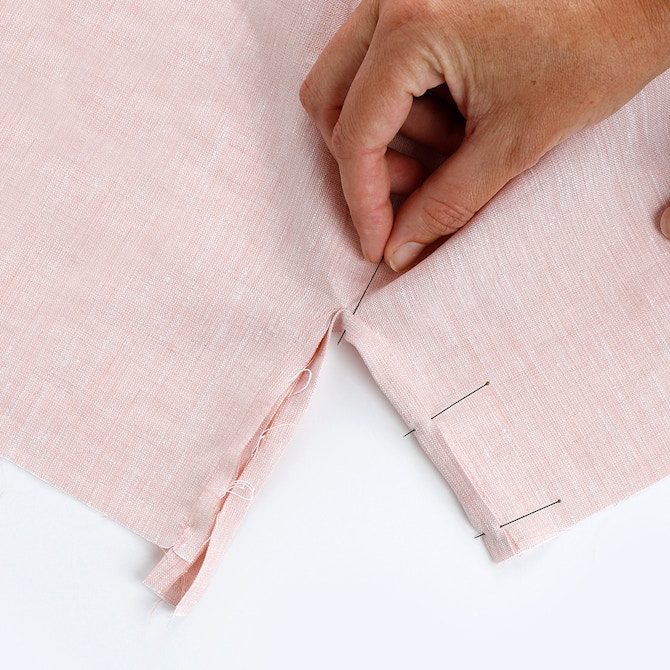
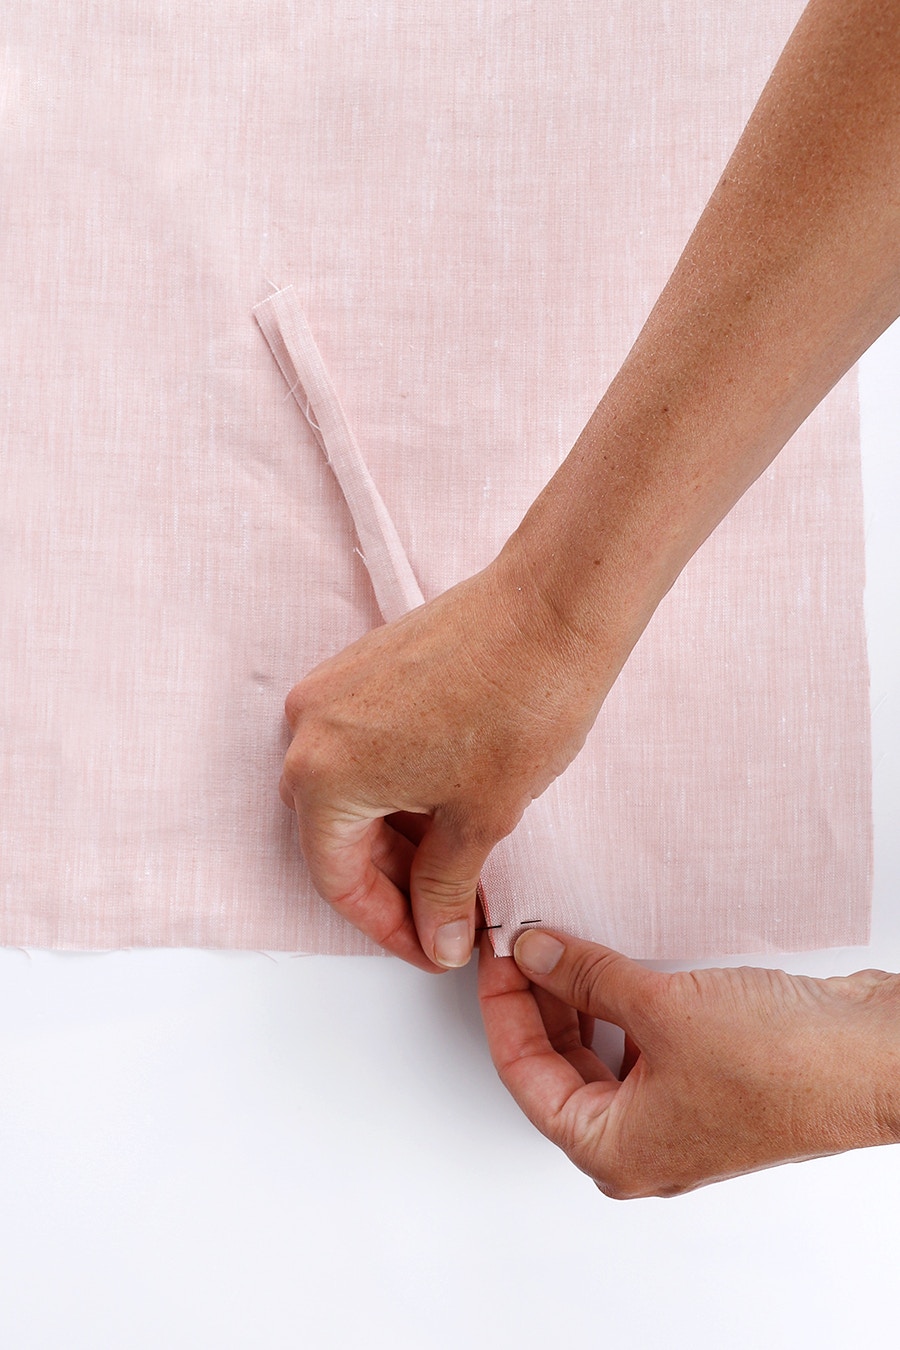
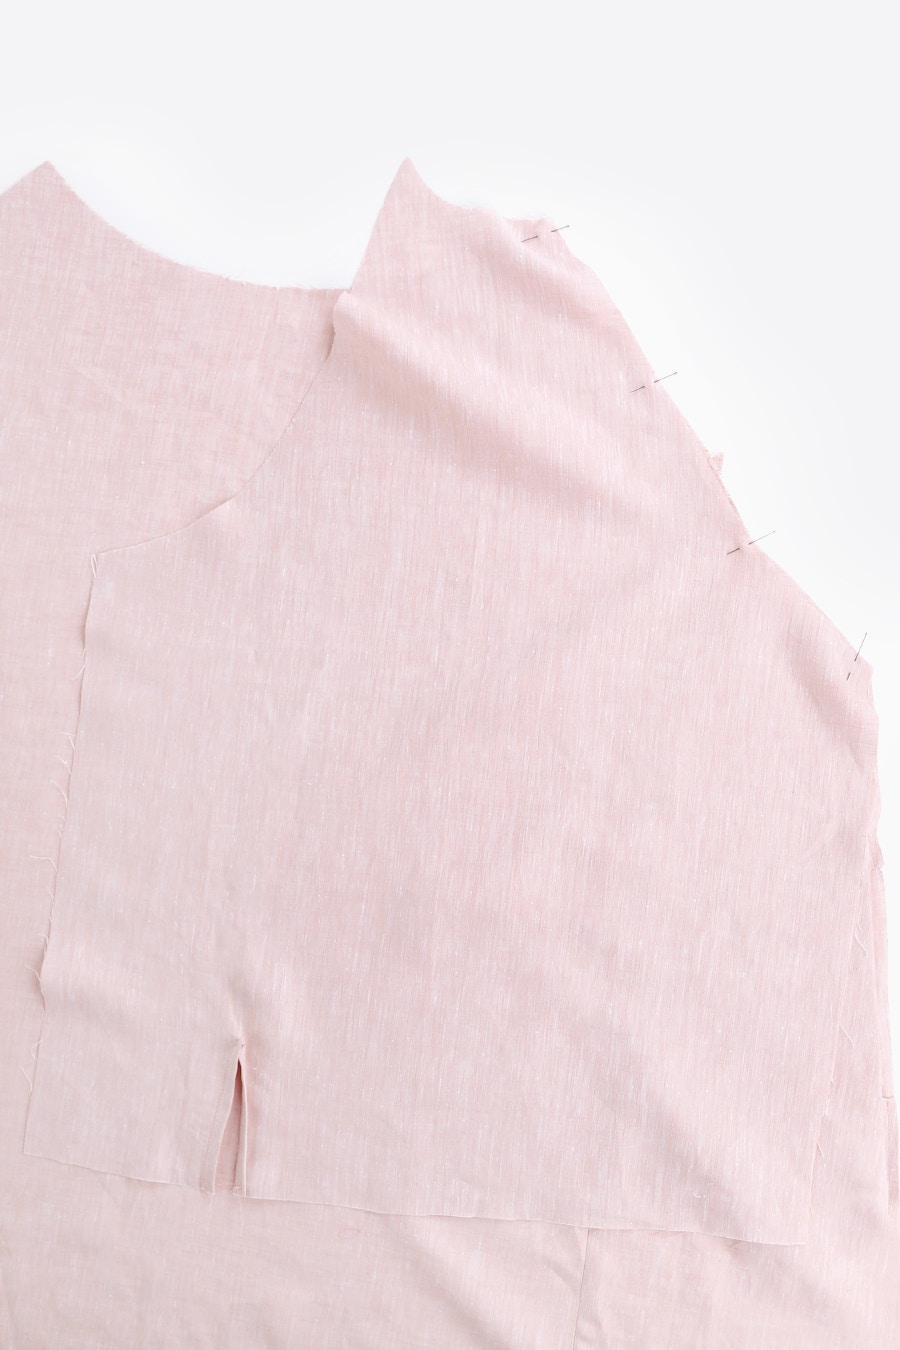
With the right sides together pin the two back pieces together at the centre back. The seam allowance on the centre back widens to 1.5cm at the top to allow for a facing at the back neck opening.
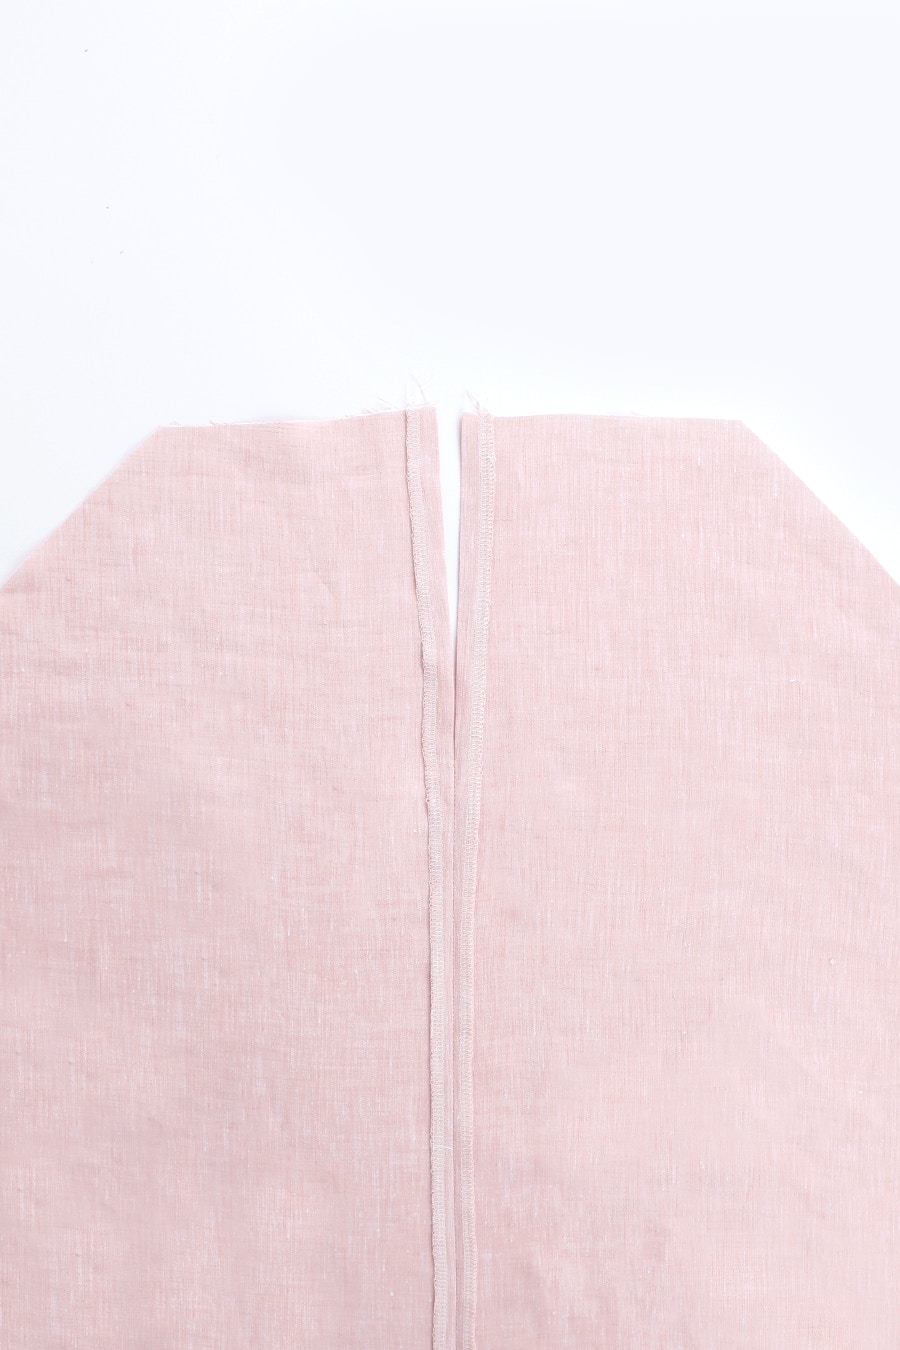
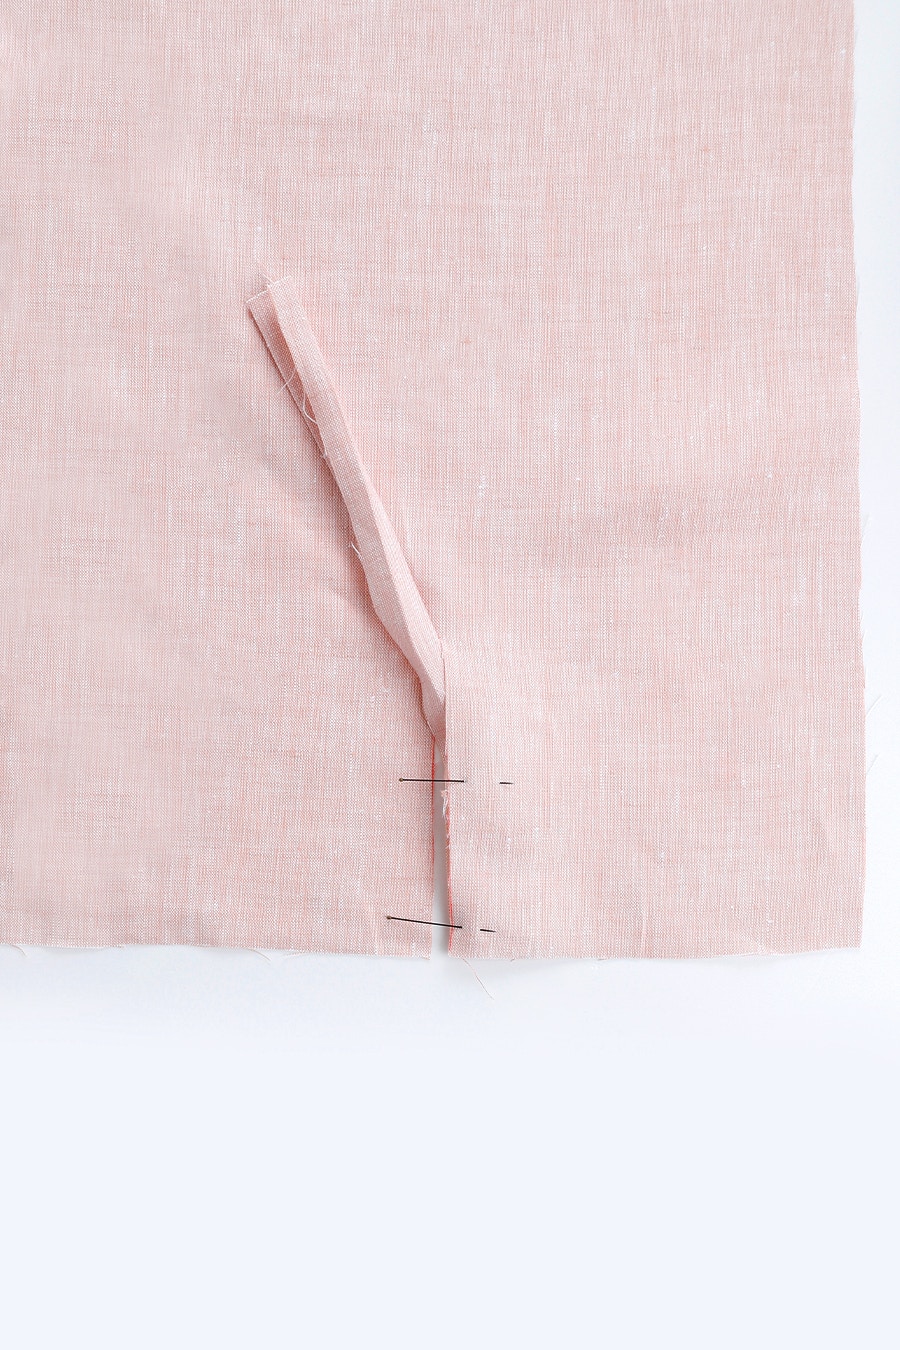
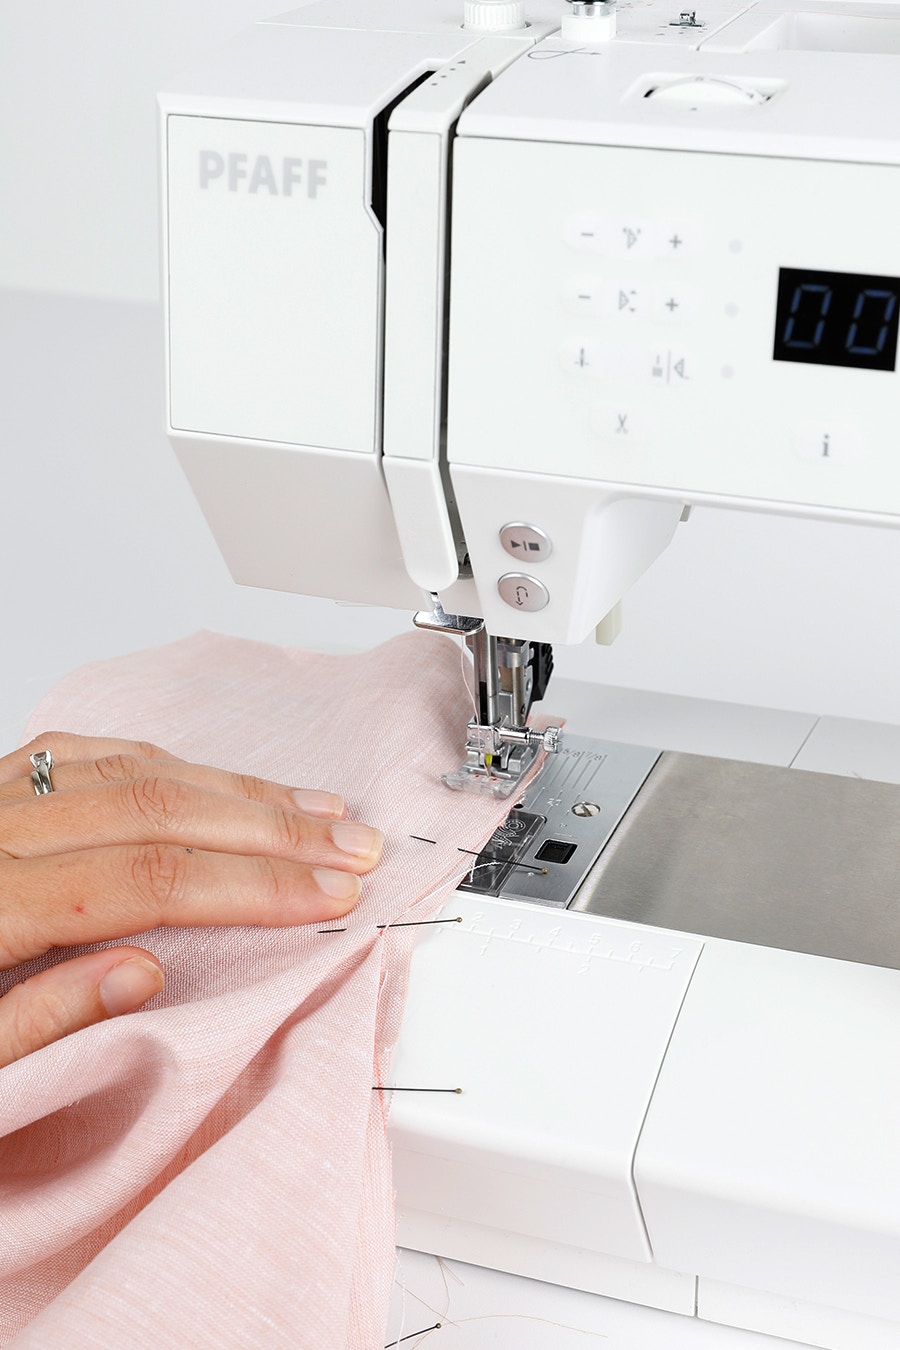
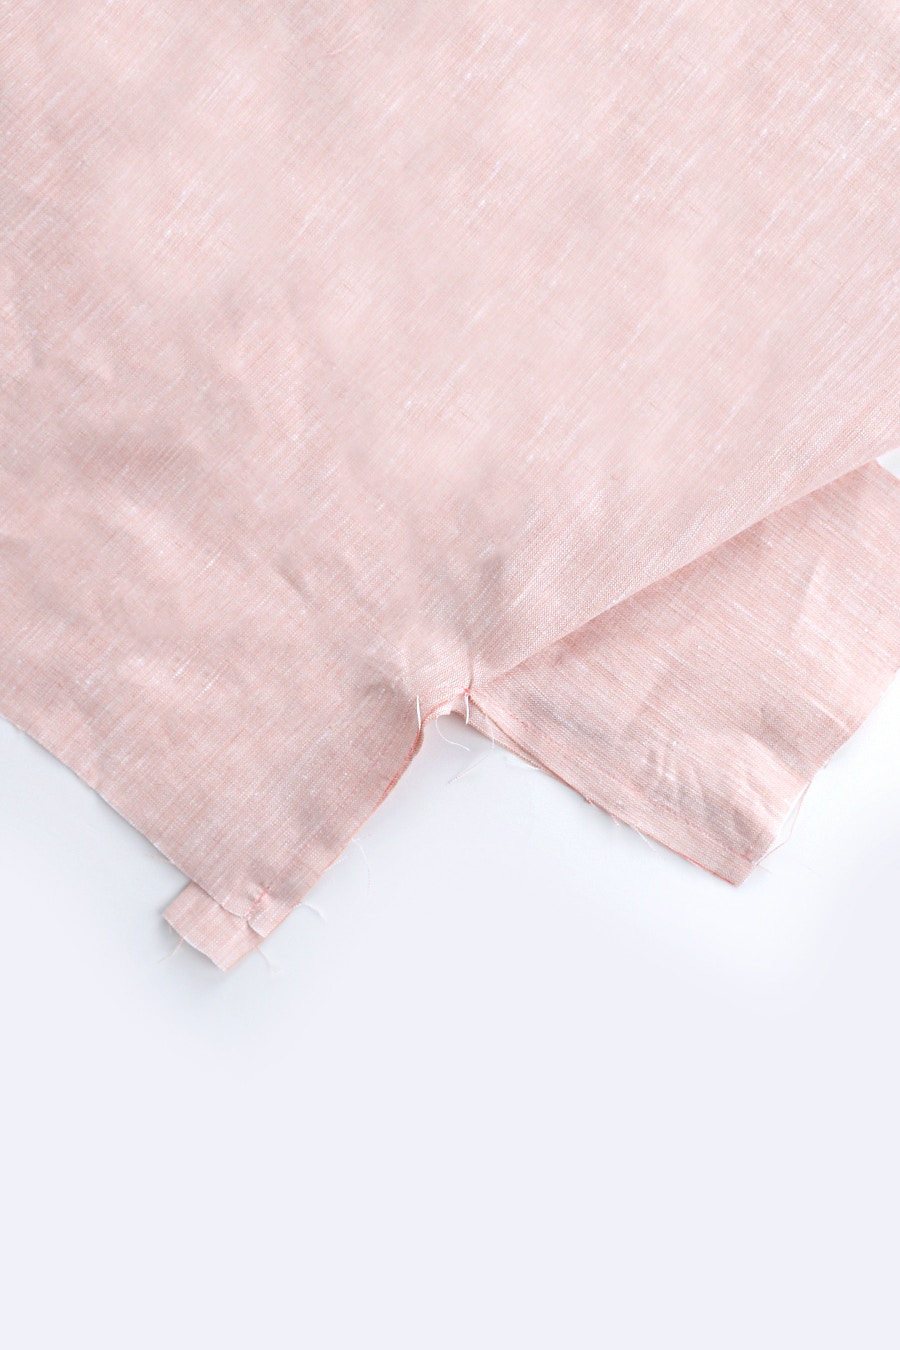
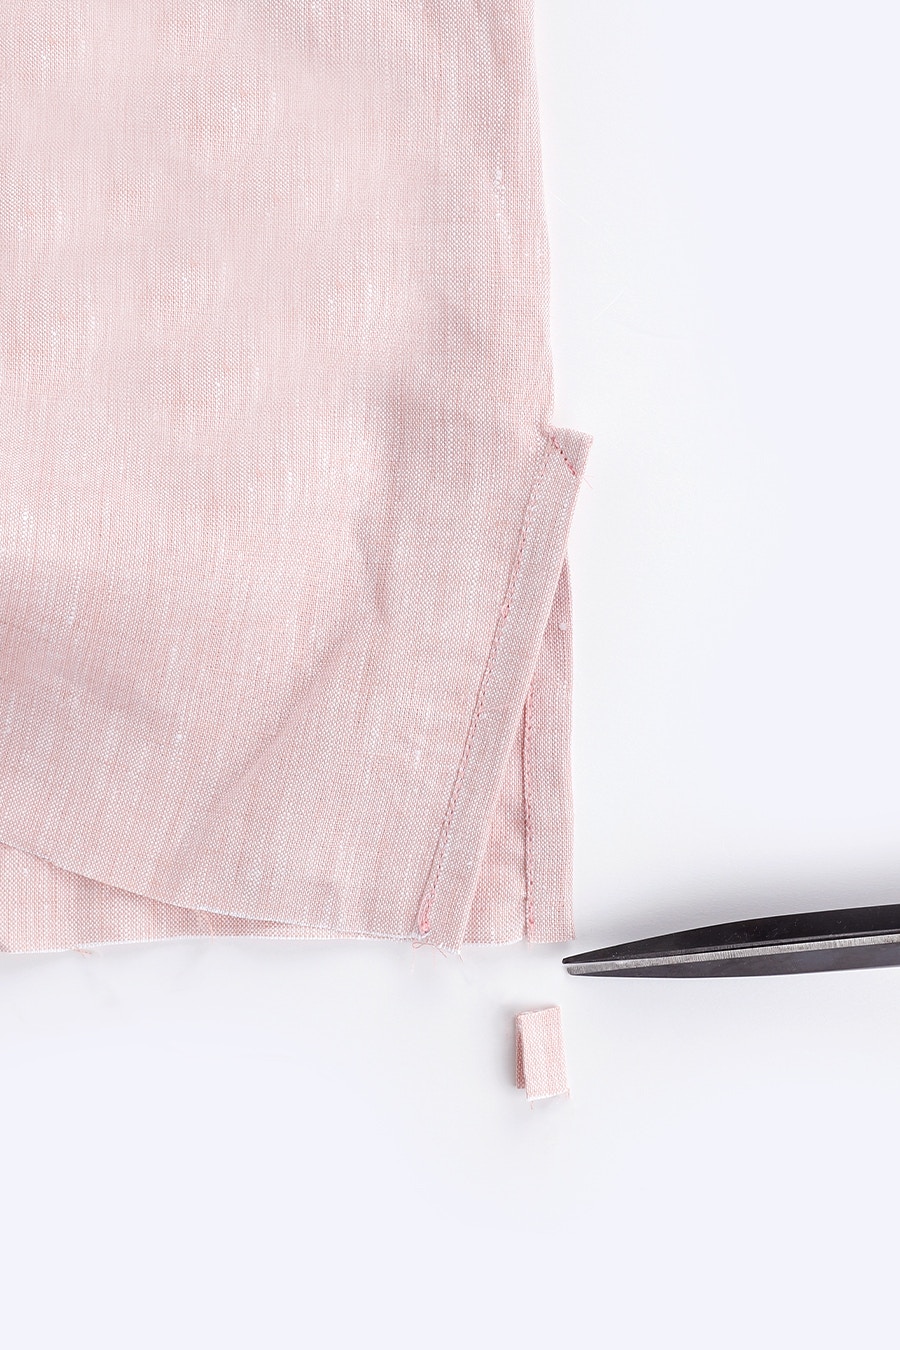
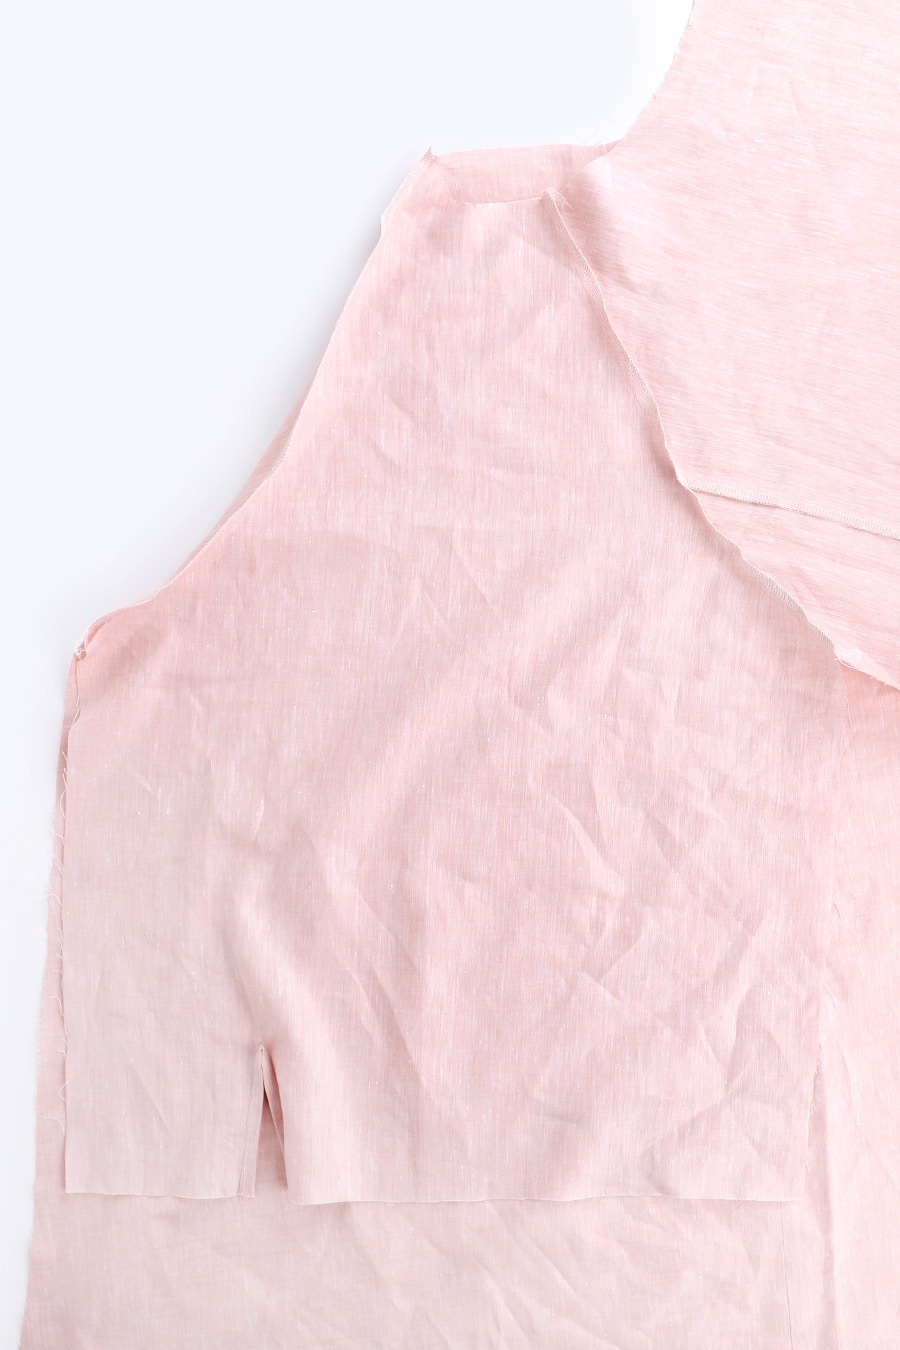
Sew the centre back seam, finishing at the + point that indicates the bottom of the neck opening.
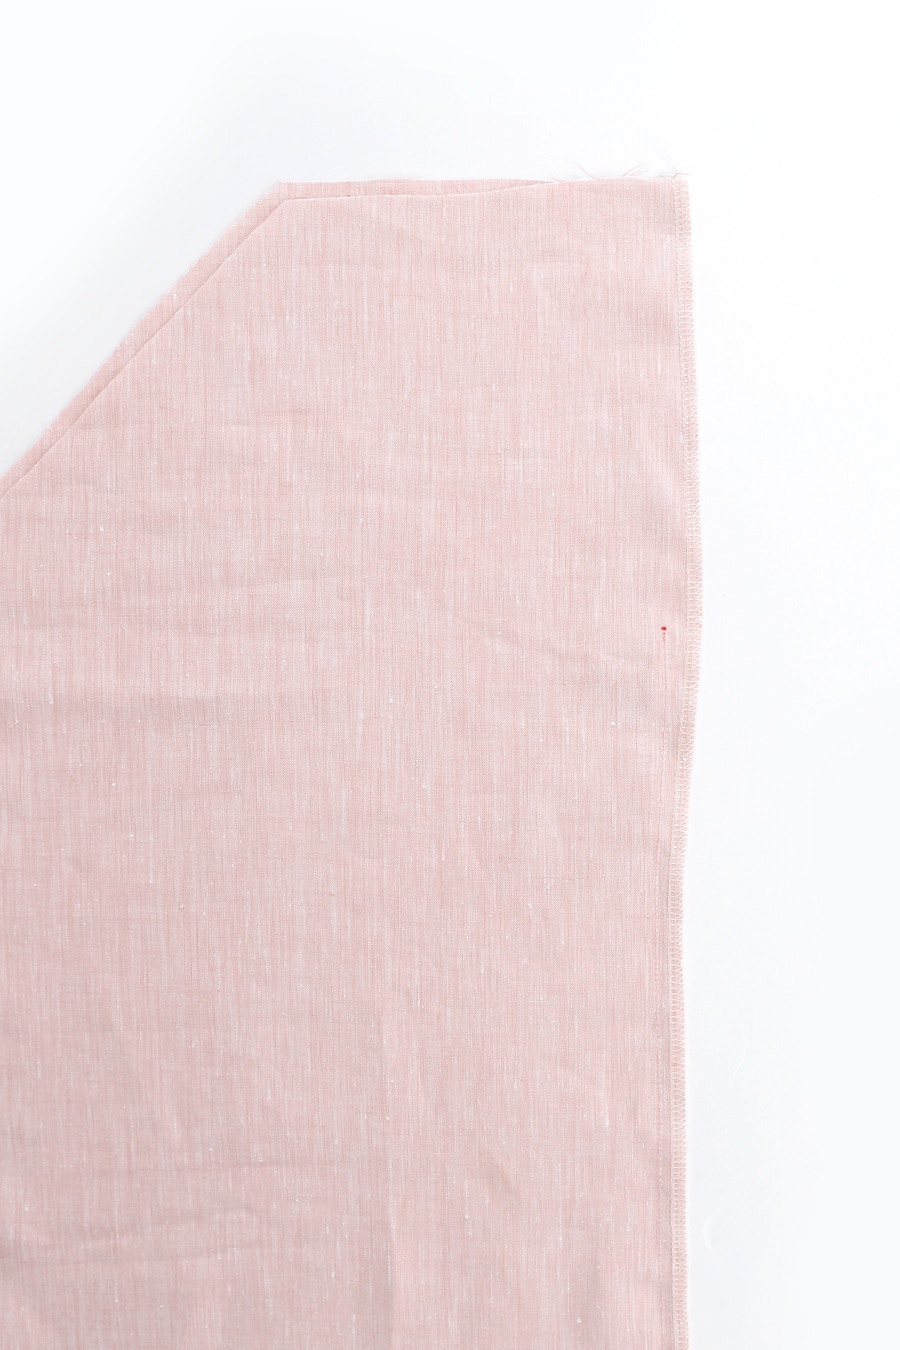
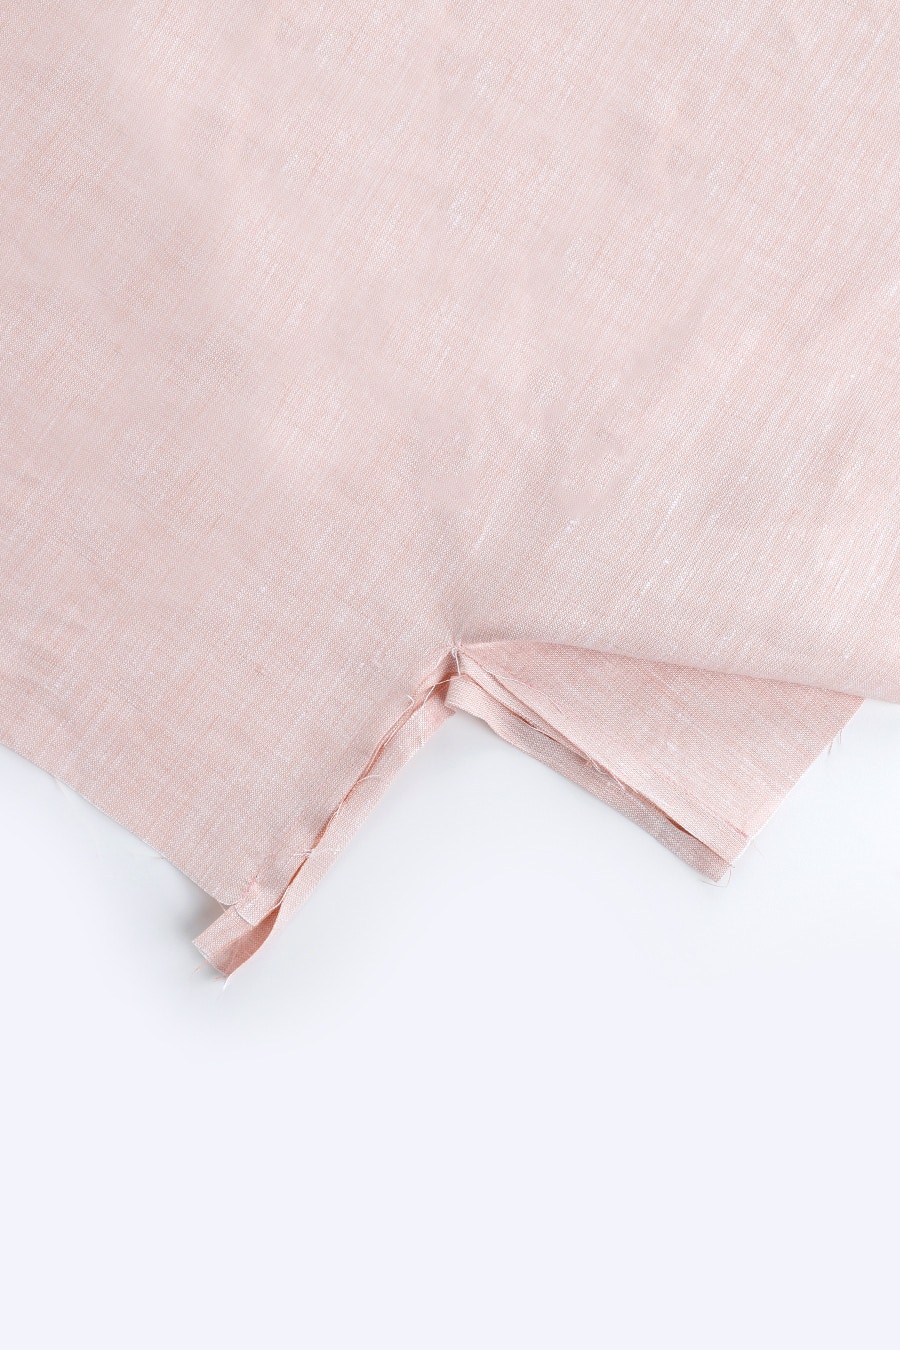
Press the seam open, folding back and pressing the edges of the neck opening 1.5cm at the same time.
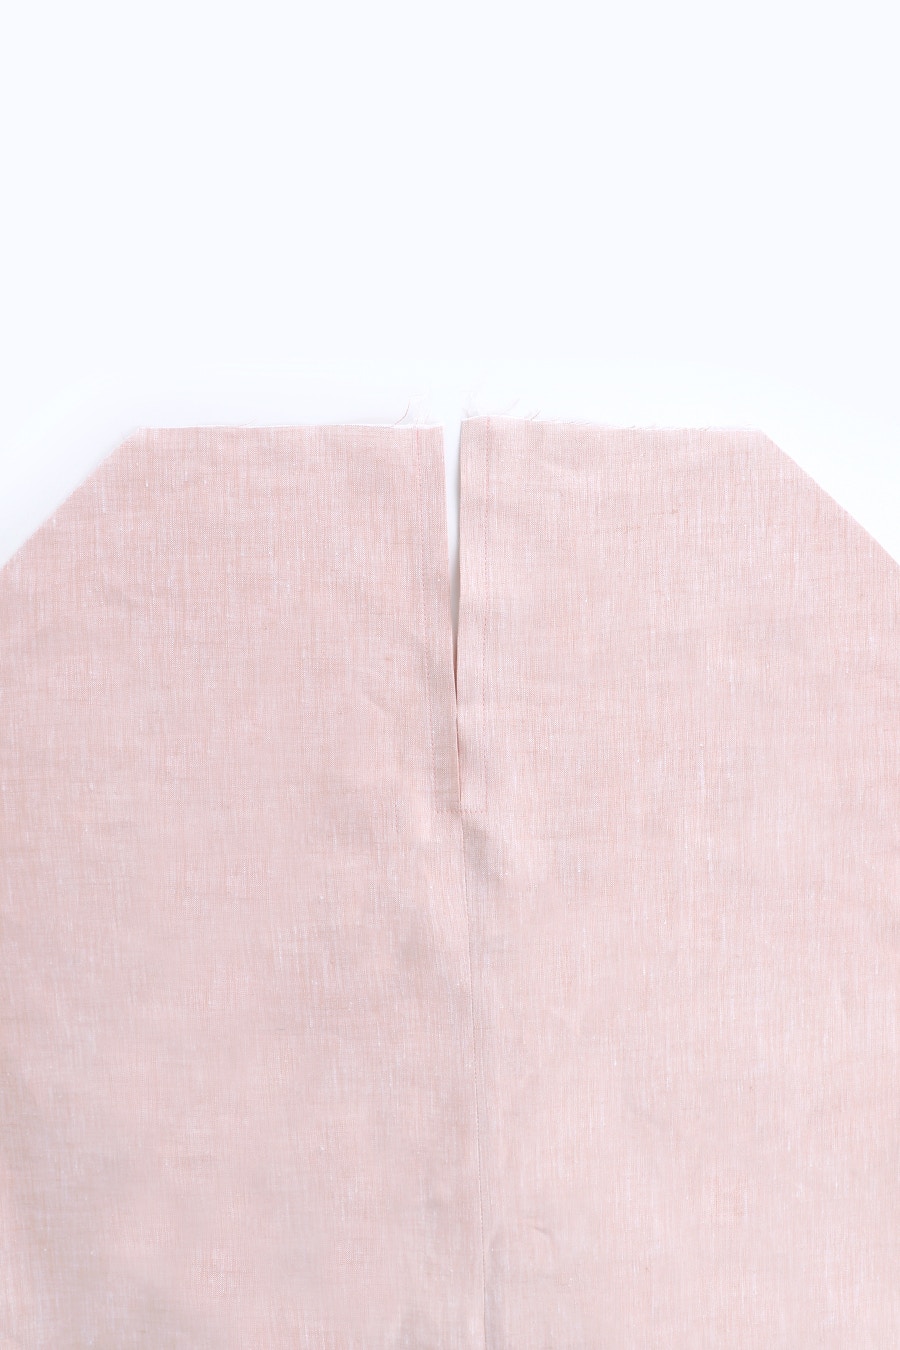
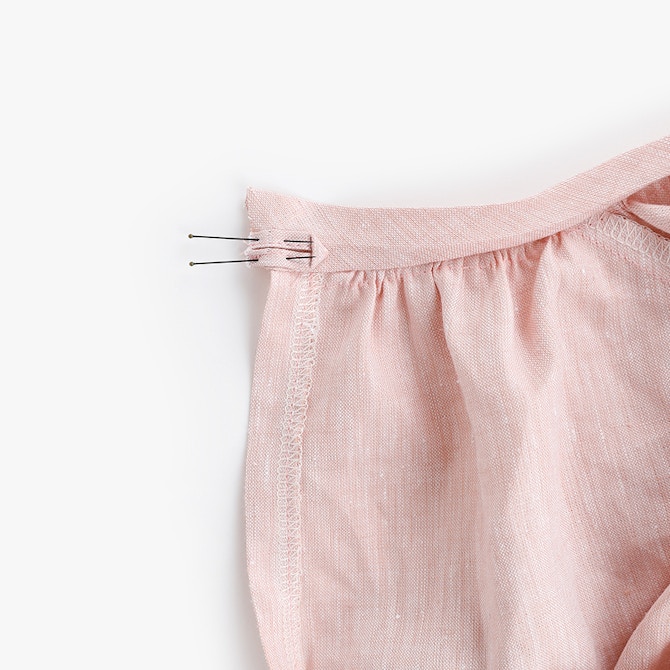
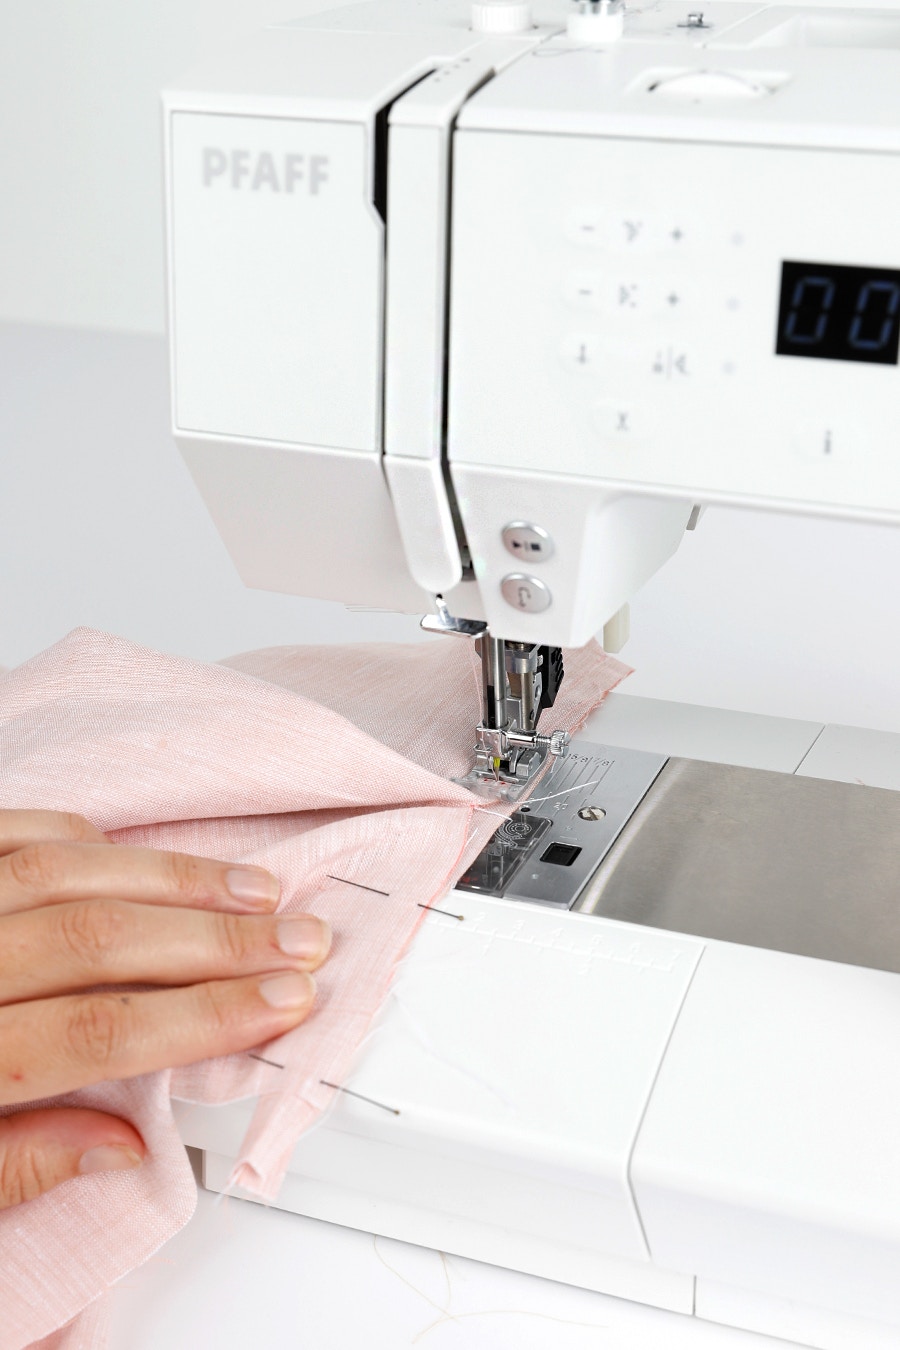
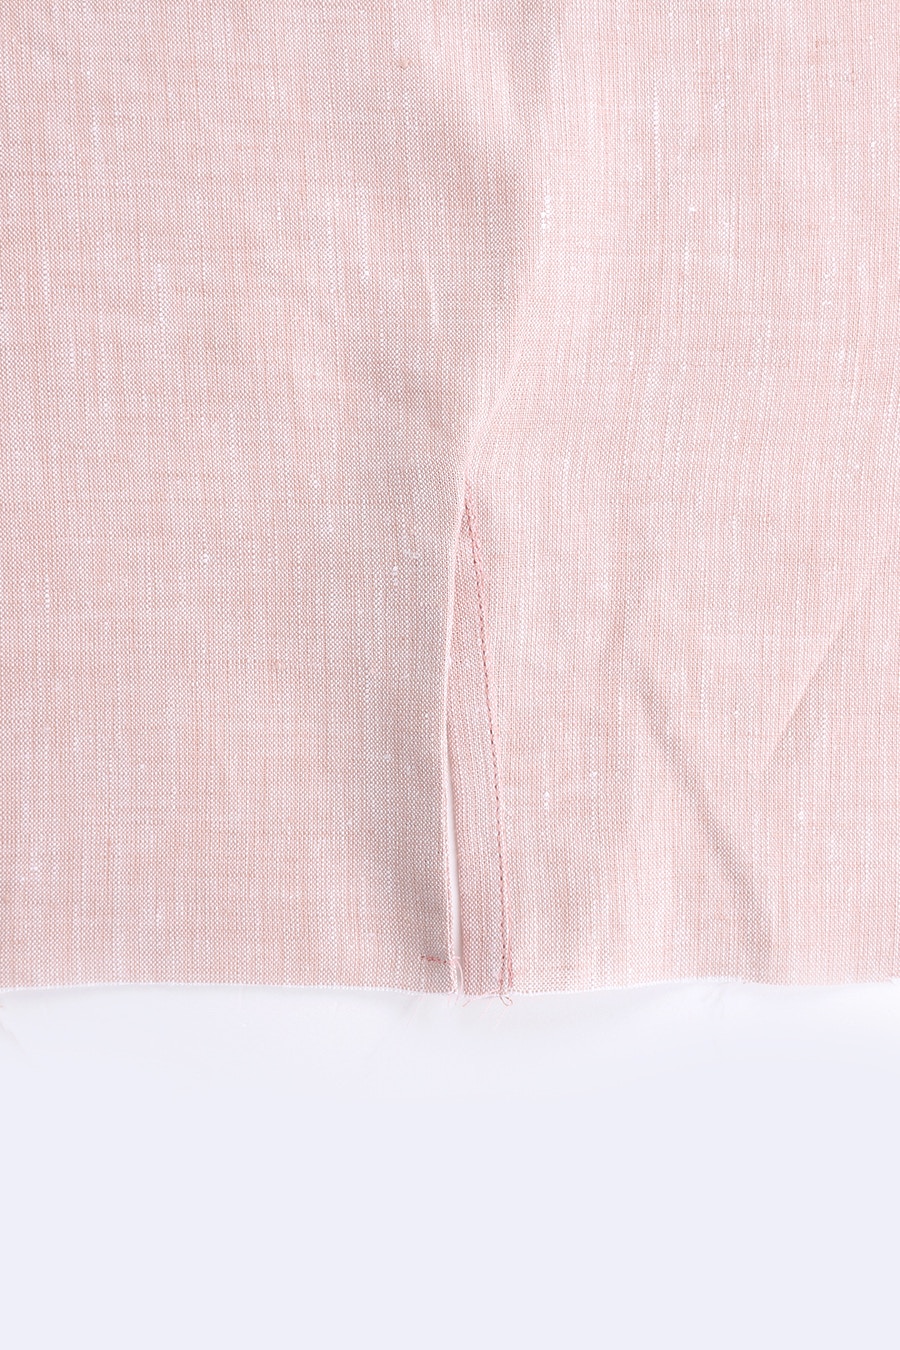
We will now finish the back neck opening with some top stitching.
Starting at the neck edge, stitch down towards the bottom of the opening, 1cm from the folded edge. Continue stitching 5mm past the end of the opening. Stop with your needle down, pivot 90 degrees and continue stitching 2cm across the bottom of the opening. Pivot 90 degrees again and continue sewing up to the neck edge again, 1cm from the folded centre back edge.
If you are sewing the long sleeve option, continue here to sew your sleeve plackets. If you are sewing the short sleeve option, scroll down to attaching the sleeves.
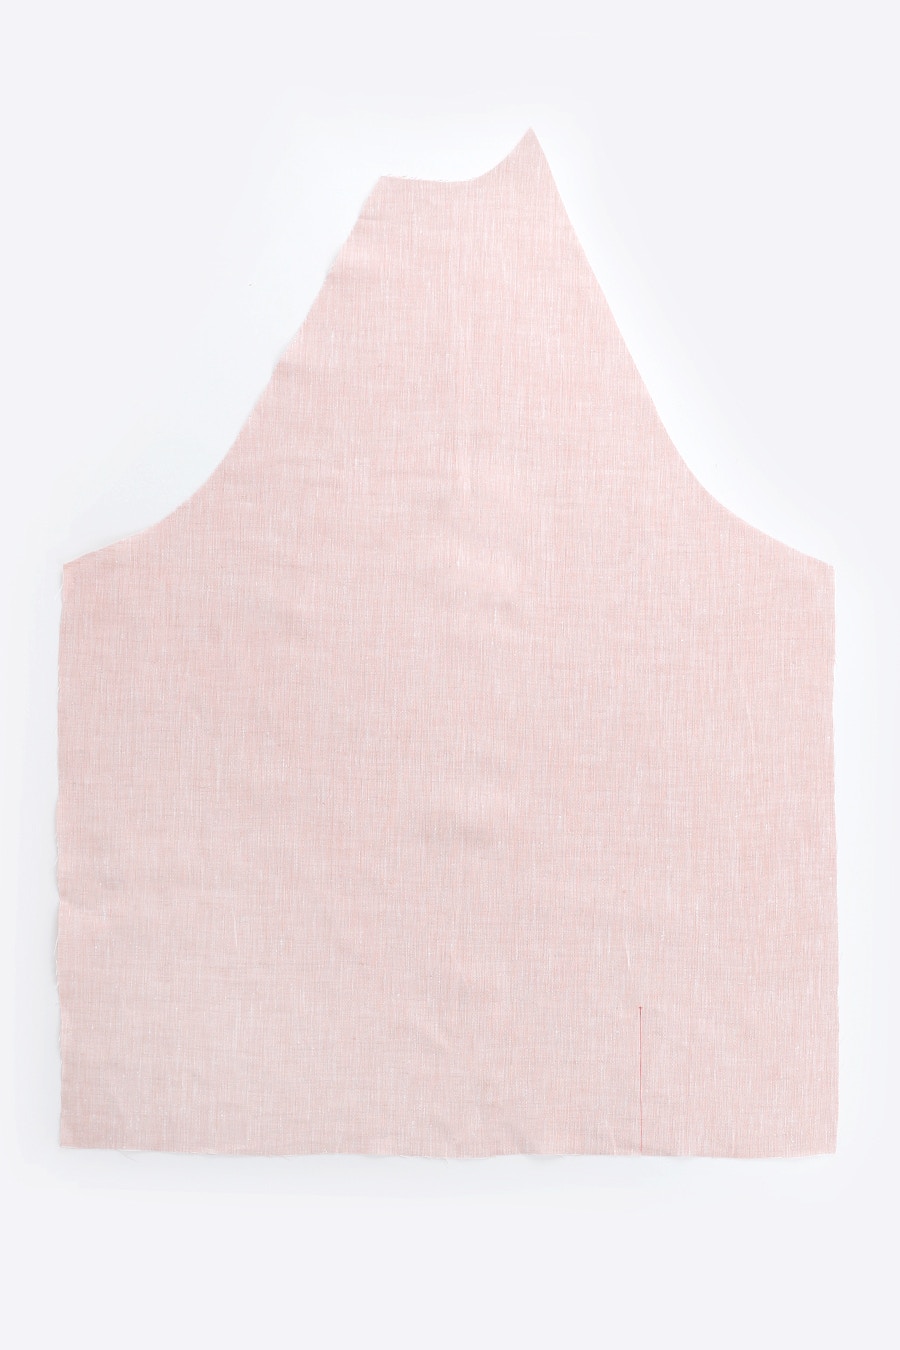
Using a ruler and tailor’s chalk or a fabric pen, mark your slash line from the notch at the wrist to the X mark.
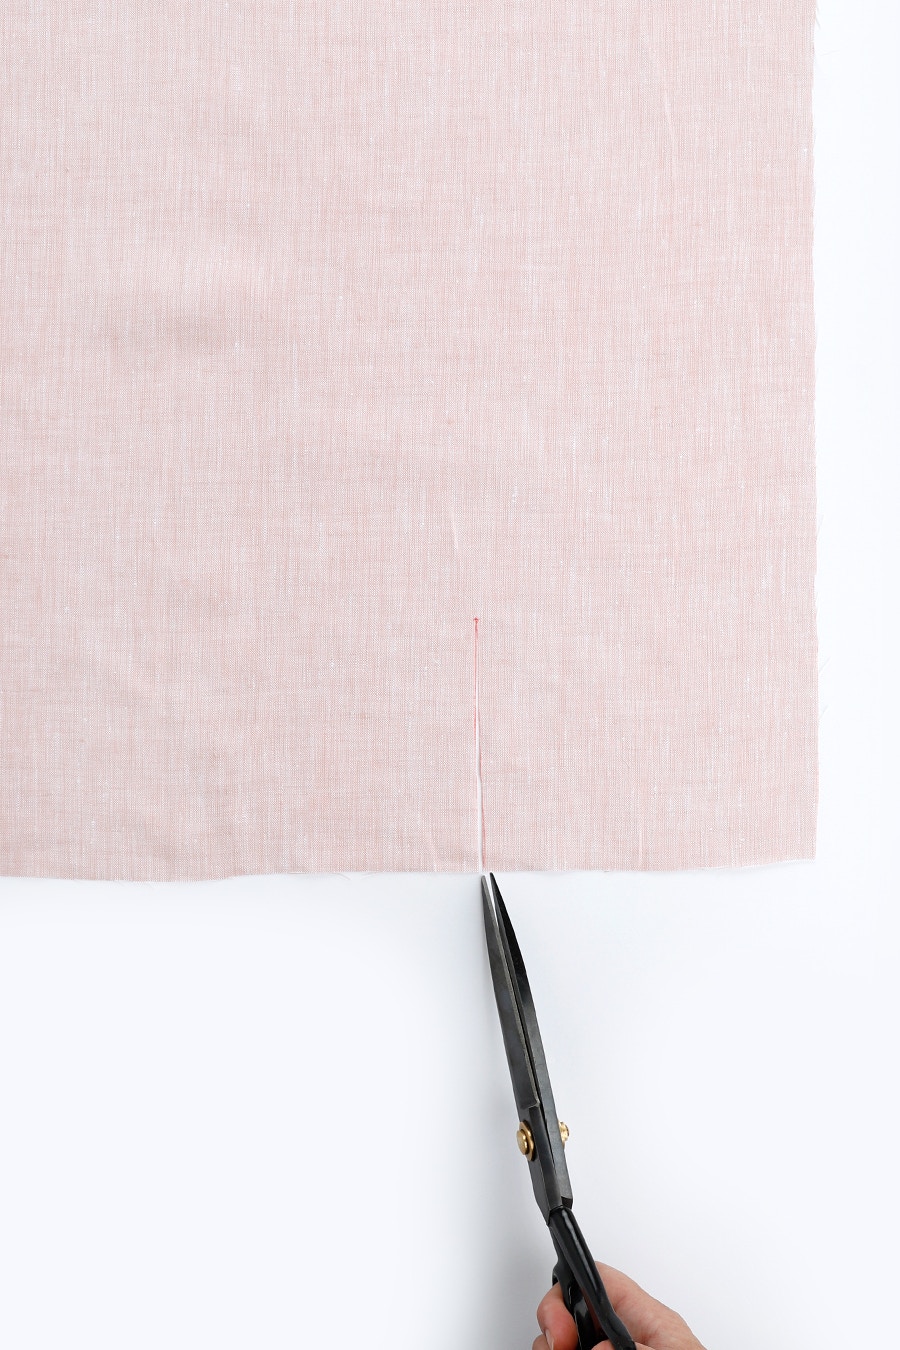
Cut up the slash line to the X mark. Do not cut past the centre of the X or your opening will be too long for the sleeve placket binding.
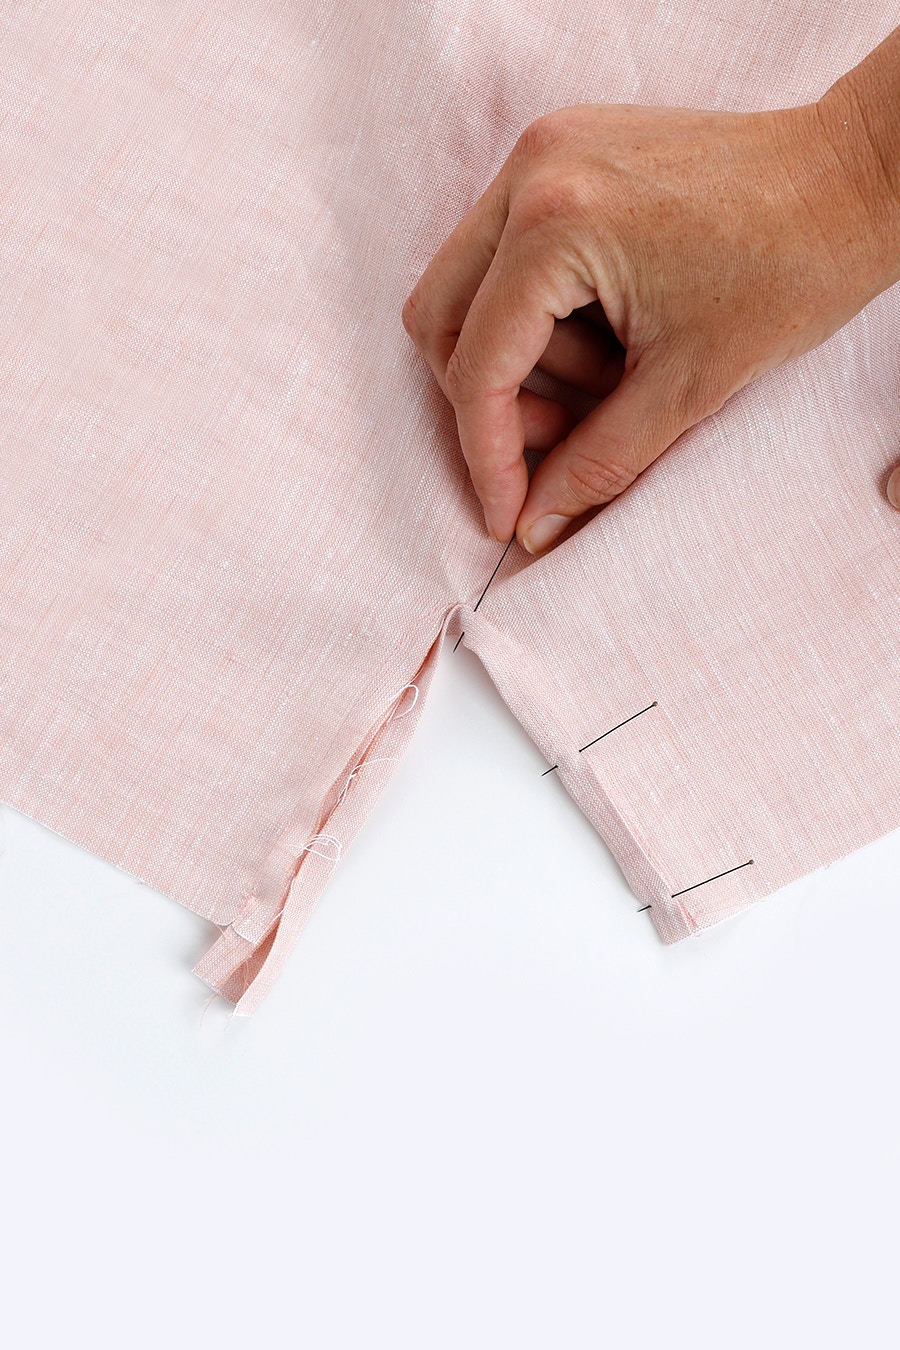
Lay the sleeve placket binding right side up, then place the sleeve on top, also right side up. The cut edge of the sleeve split aligns with the long edge of the sleeve placket binding at each end. The top of the split is set back 8mm from the binding edge.
Sew a seam 1cm from the edge of the sleeve placket binding, until you reach the top of the split. The seam allowance on the sleeve starts at 1cm and reduces to 2mm at the top of the split. Stop with your needle down at the top of the split, adjust your fabric, and then continue sewing to the other end.
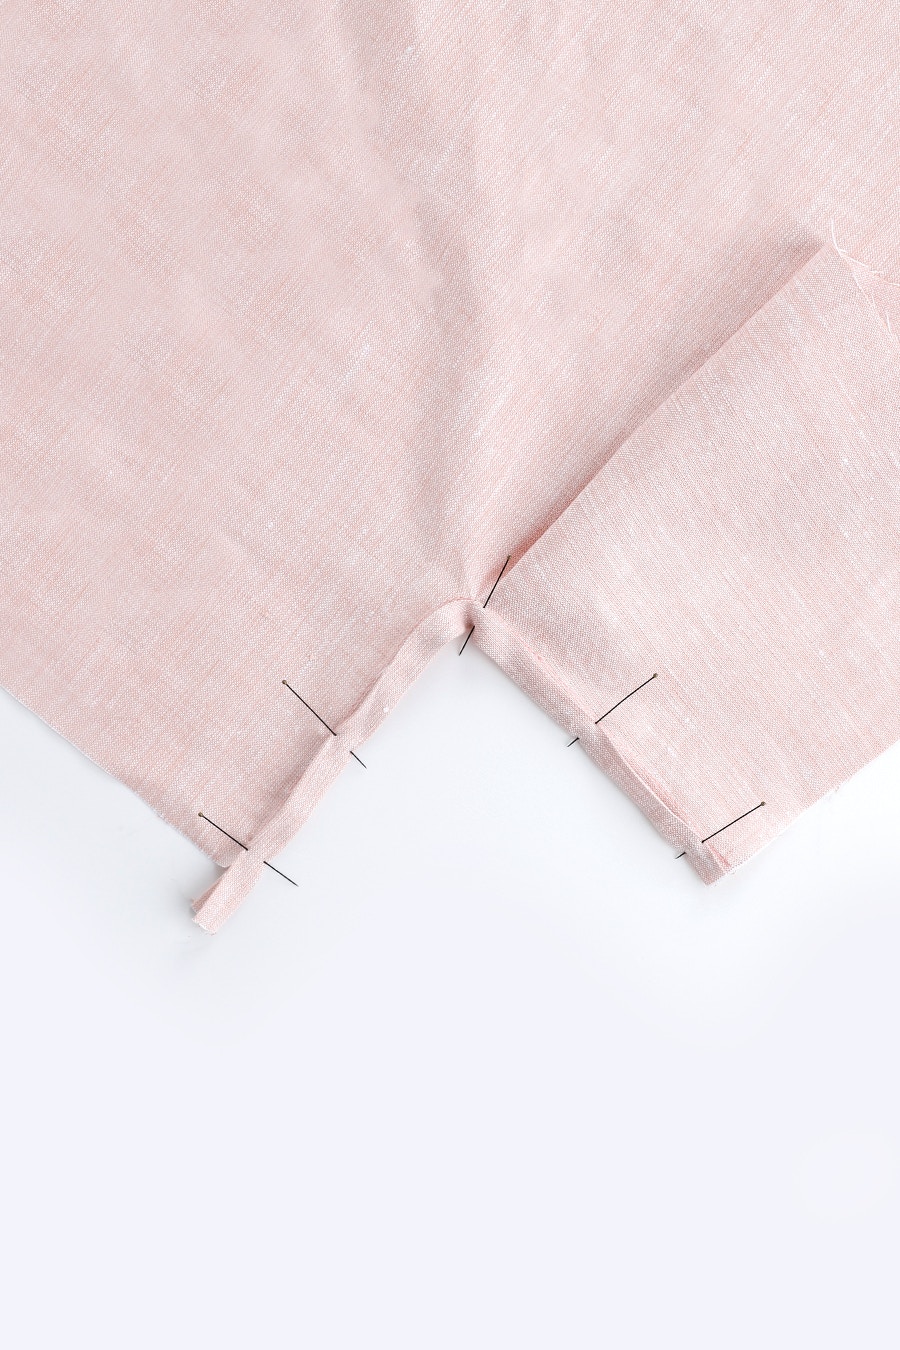
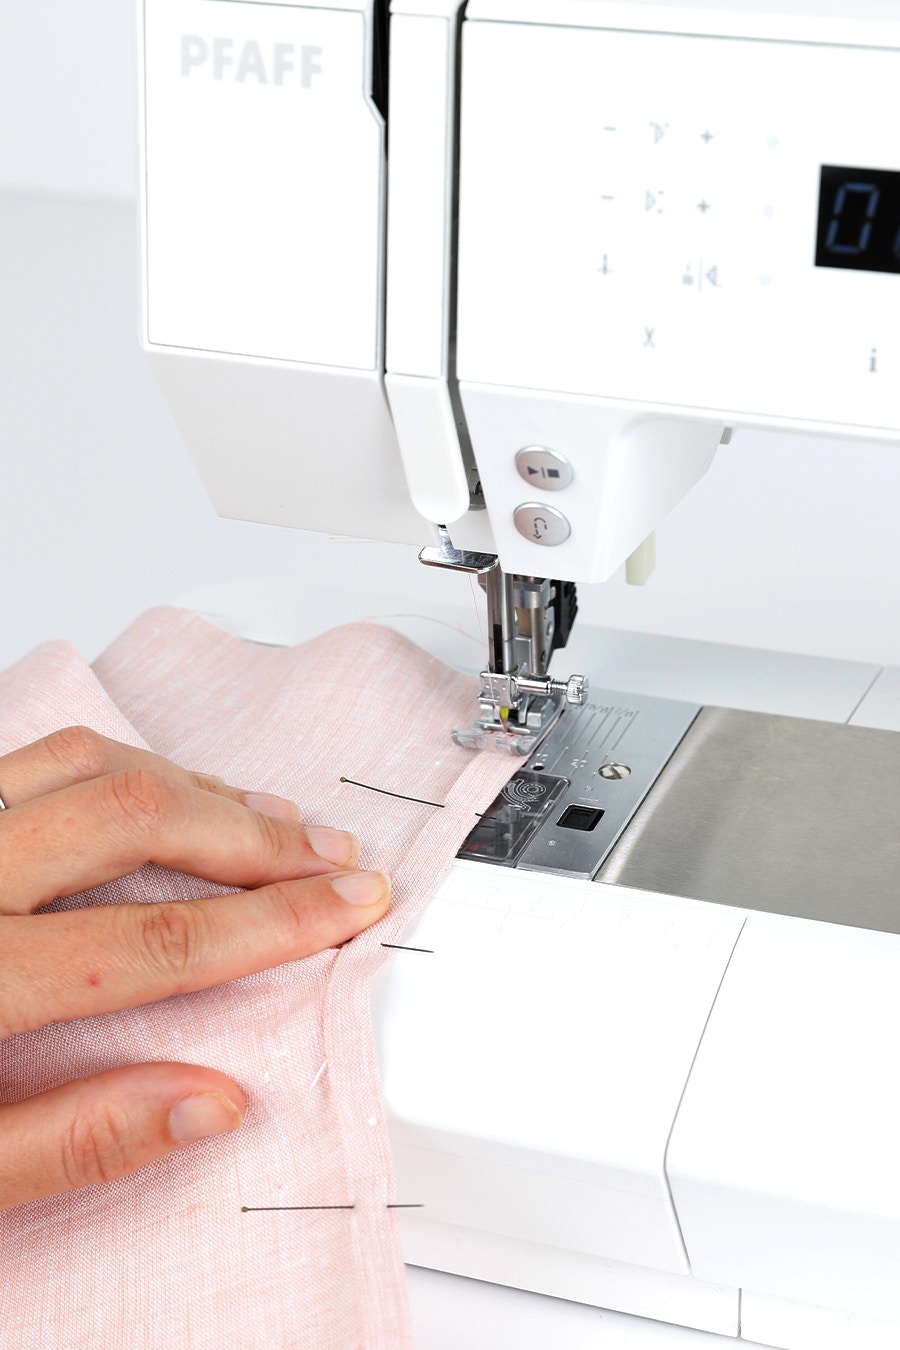
Fold the long free edge of the placket binding over 1cm to meet the other long edge of the placket binding. Fold the binding to enclose the raw edge, tucking the 1cm seam allowance of the placket binding under. Pin in place then edge stitch the binding closed from the right side.

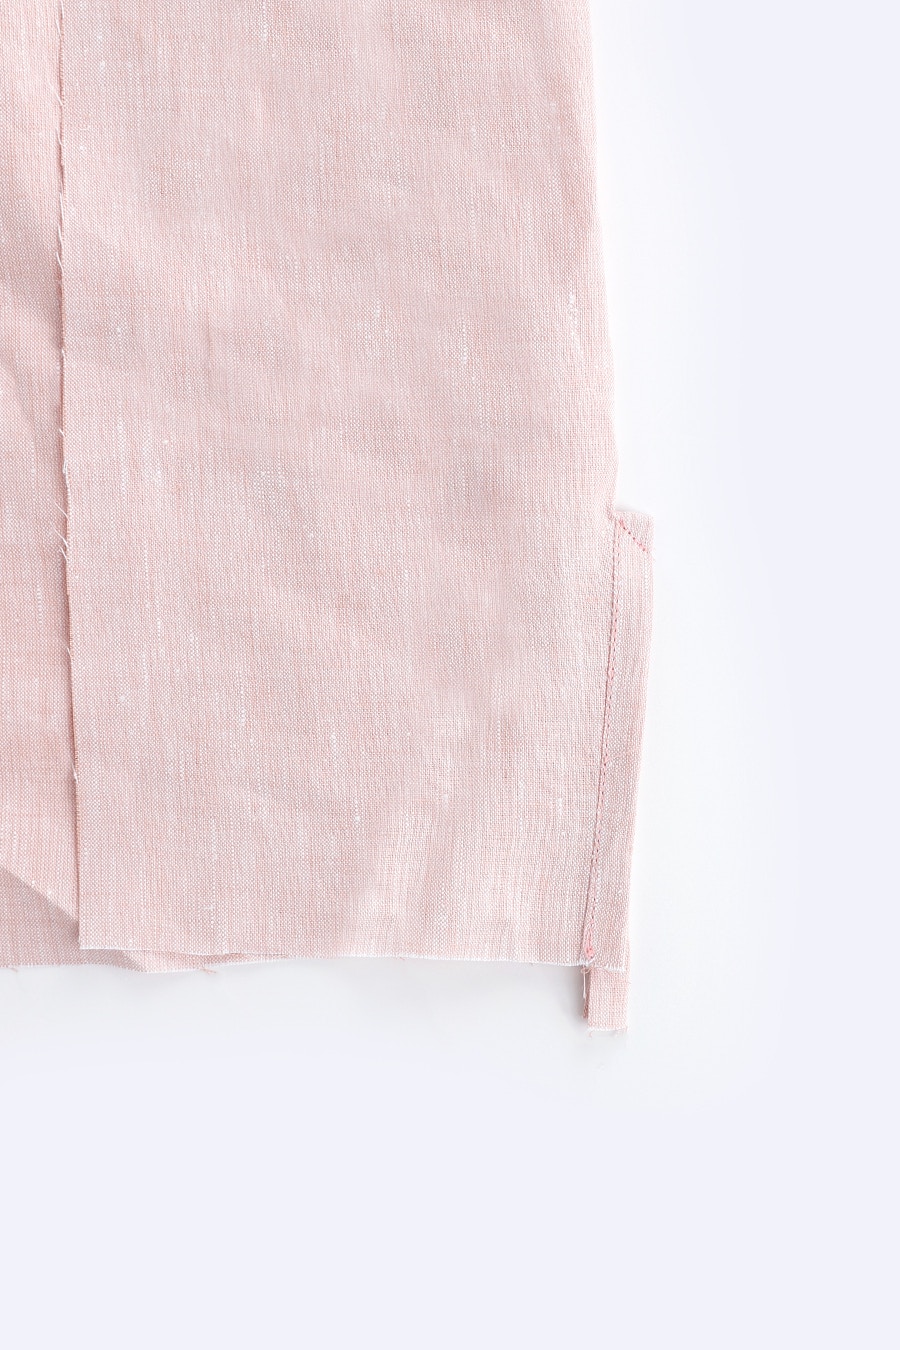
Fold the binding in half with the right sides of the sleeve together and stitch diagonally across the fold in the binding.
Turn the upper binding under to the wrong side, then baste in place. Trim the excess binding and gently give it a press.
Repeat for the other side.
We will now attach to sleeves to the front and back, continue here for both sleeve options.

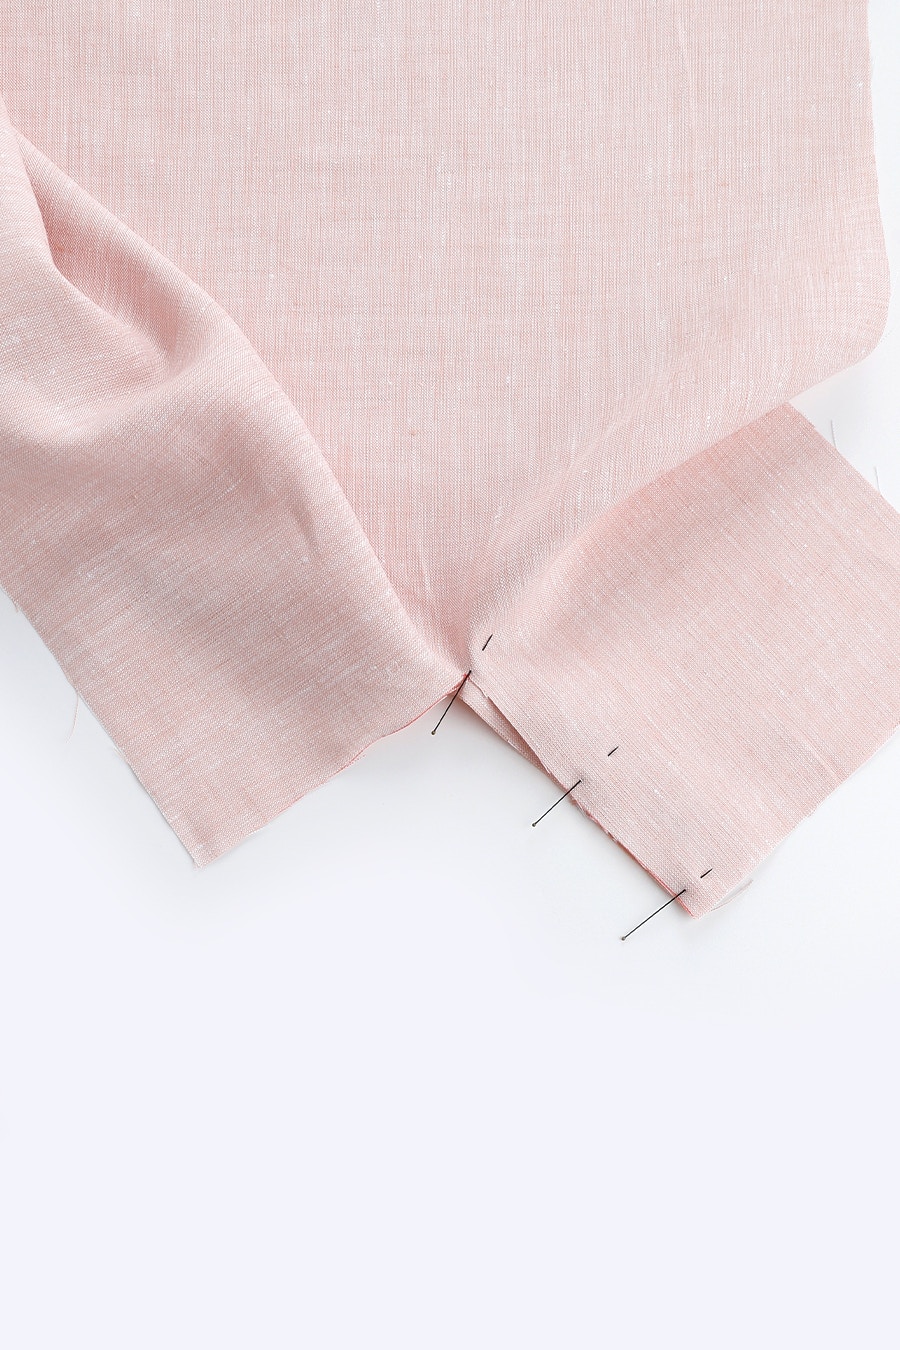
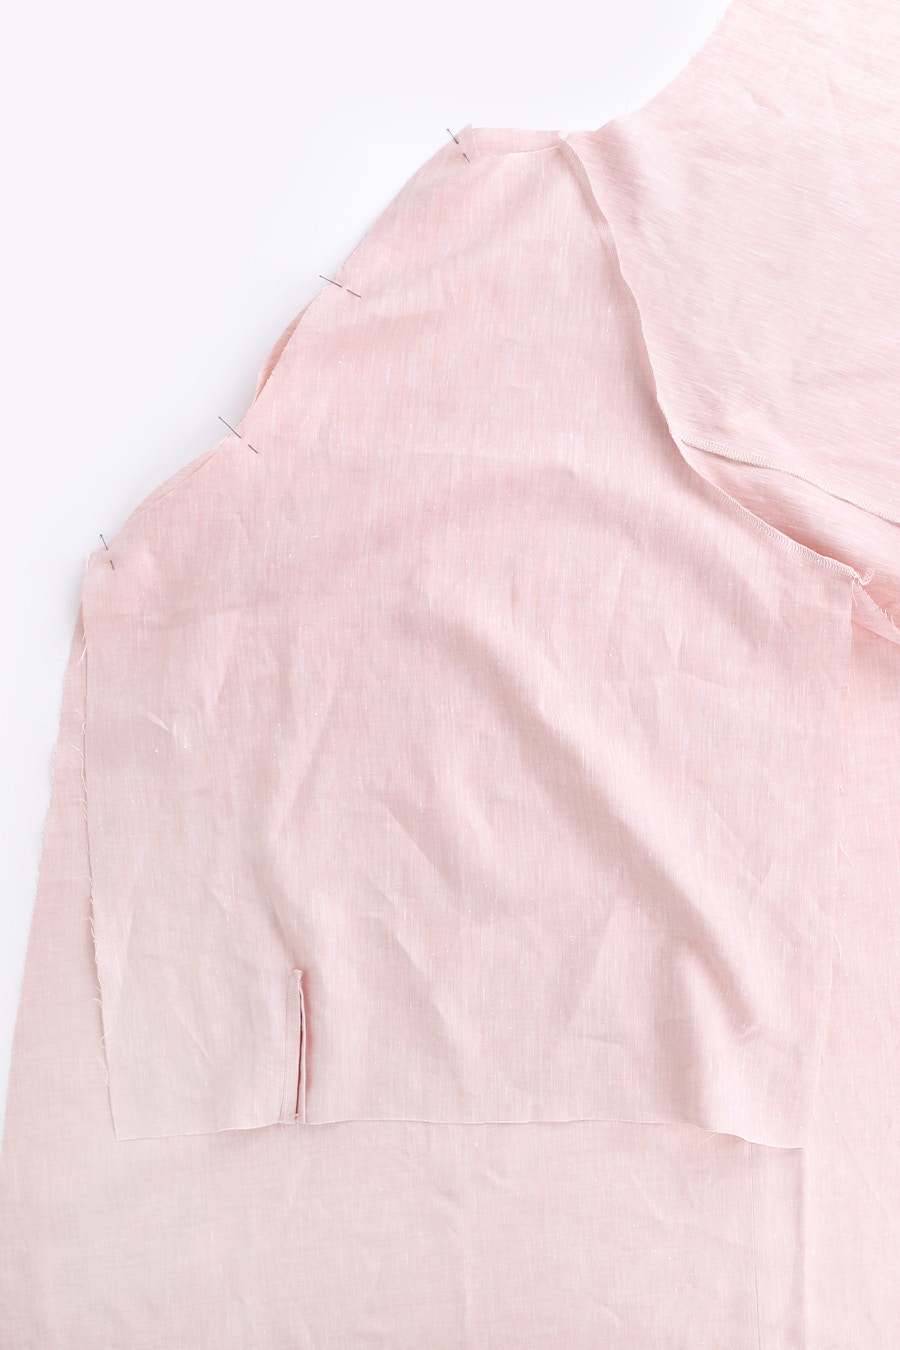
With the right sides together, pin the left sleeve to the left front matching the sleeve notches. Sew the two pieces together.
Neaten the seam and press it towards the sleeve.
Repeat for the other sleeve.
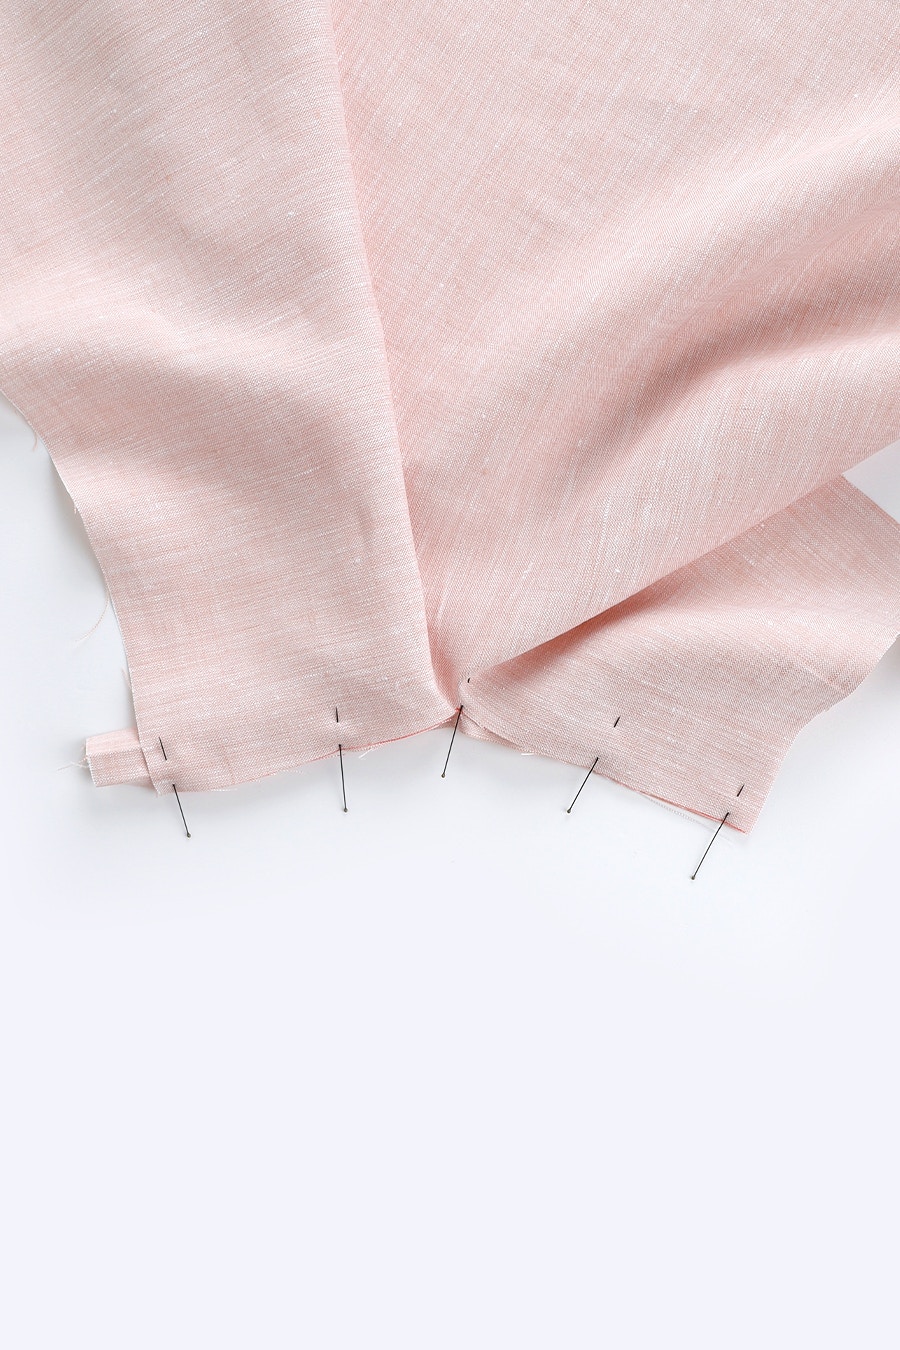
Next, with the right sides together, pin the left sleeve to the left back matching the notches. Sew the two pieces together. Neaten the seam and press it towards the sleeve.
Repeat for the other sleeve.

Now that your sleeves are attached, we will finish sewing the body of your dress or top in the next post.
Check out the Paint Dress + Top pattern in our Online Store here.
Don't forget you can always email us via patterns@thefabricstore.co.nz if you need advice!
Paint makes from our wonderful community are also popping up over on Instagram, follow @makebytfs and use #TFSPaint so others can check out your creations!