May Jean Sew Along

Curved Back Waistband Adjustment
17—May 2022
In this post, we go through a simple alteration to the May Jean waistband to accommodate a curve in your lower back.
We strongly recommend sewing a toile (sample garment) in calico fabric (or similar) prior to cutting your final jean. This will ensure you have the opportunity to make any alterations in length or fit the jean pattern using an inexpensive fabric. Sewing a toile requires additional time, but we consider this time well spent for a project of this type.
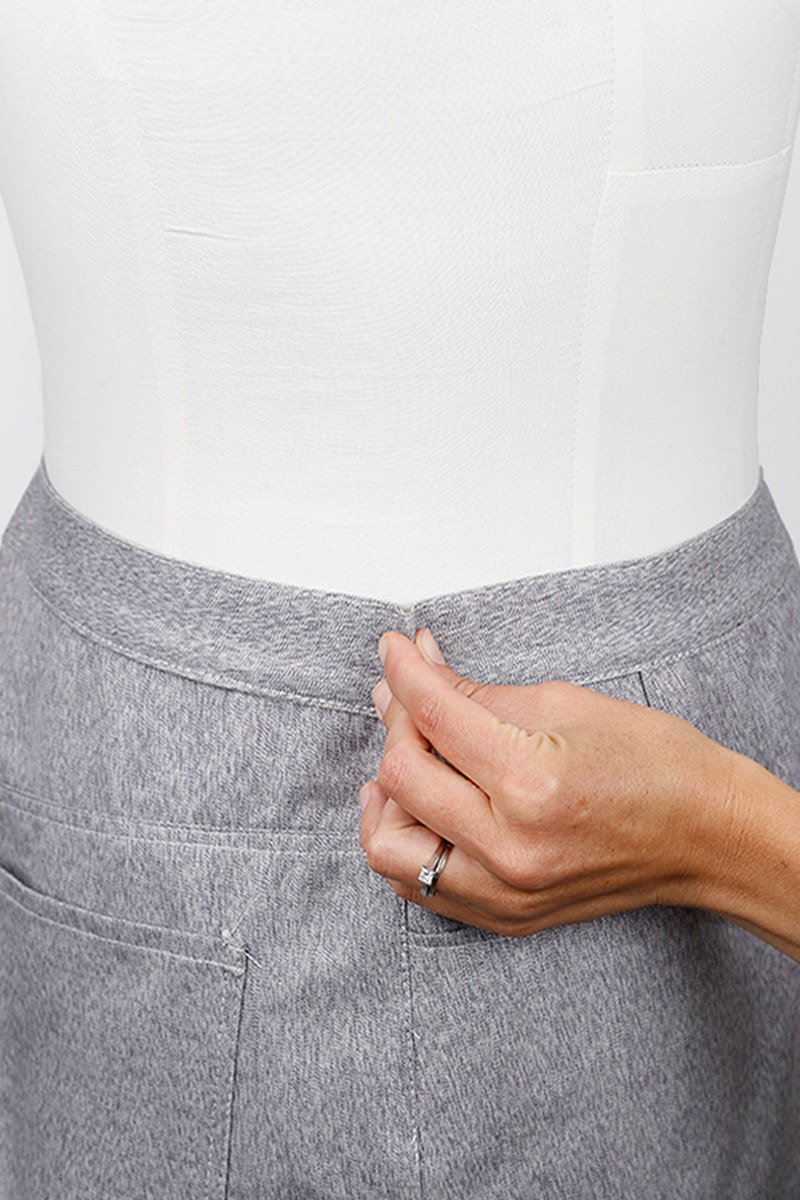
When fitting our toile to our model Adorate, we needed to remove a small amount of excess from the waistband to accommodate the curve in her lower back. This post will cover how we did this, and is a very simple alteration to the pattern. The method we used keeps your waistband on the straight grain*, which can help to avoid stretch across the waistband over time.
*Note that you can also curve off the waistband if you prefer, and you may wish to add stabilising interfacing if you choose to do this.
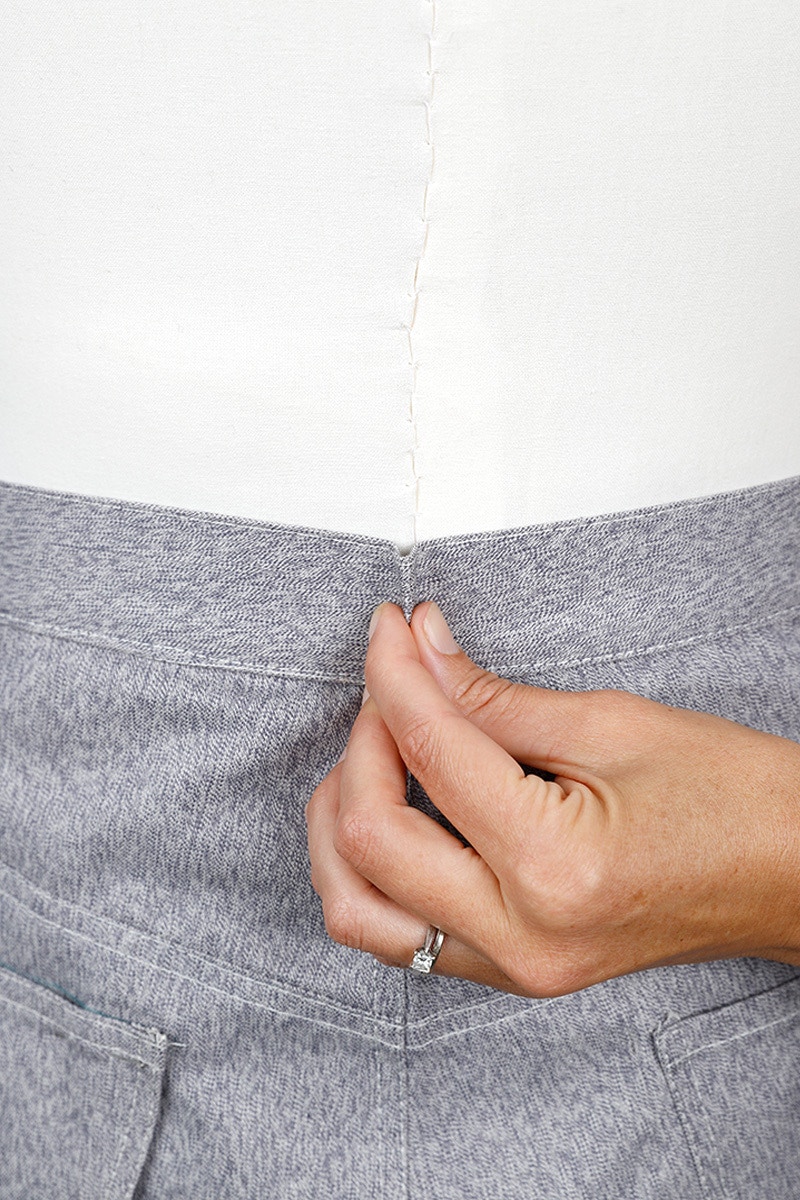
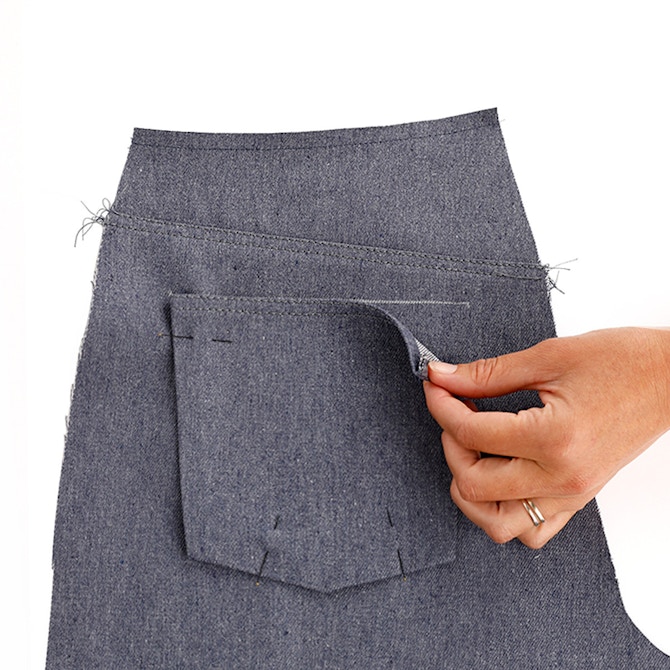
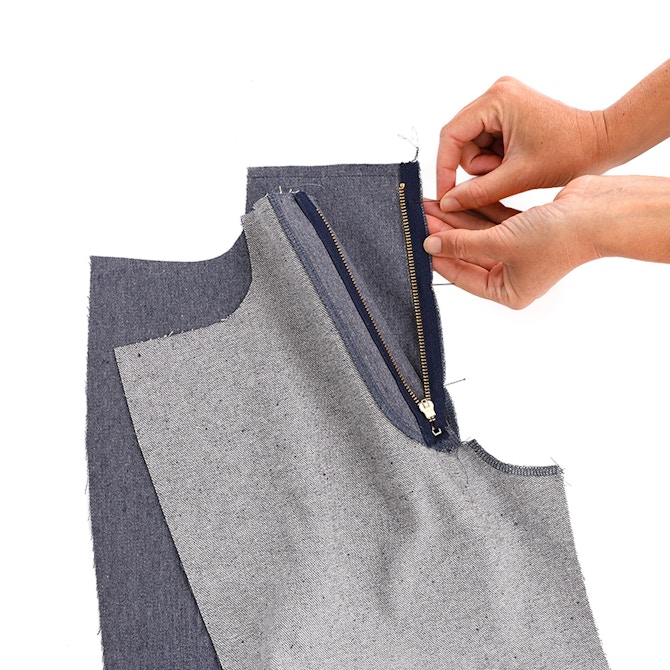
Try on your toile and pinch out the excess to get the waistband sitting comfortably and fix it with a pin. You can take the excess all from the centre back, from the side seams, or a combination of both. If the amount you are removing extends past the waistband, you will need to remove this from the side seams and/or centre back of your front and back pieces.
In our example, we are taking the excess from both side seams and the centre back of the waistband only. You can alter the steps for what works for you.

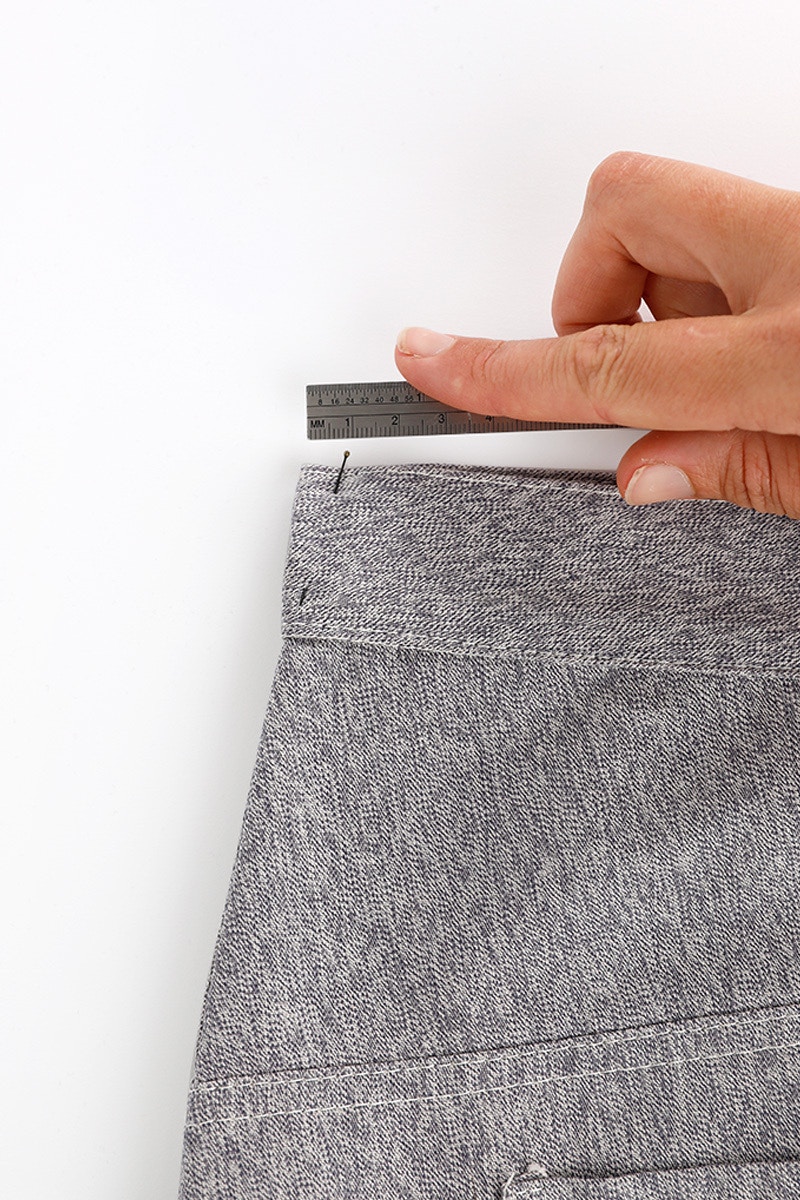
Take off your toile then measure and take note of the amount you need to remove at each seam. Our excess measured 1cm at the top of the waistband, to nothing at the bottom, for each seam.

We will now take the measurements from your toile and alter the waistband pattern piece.
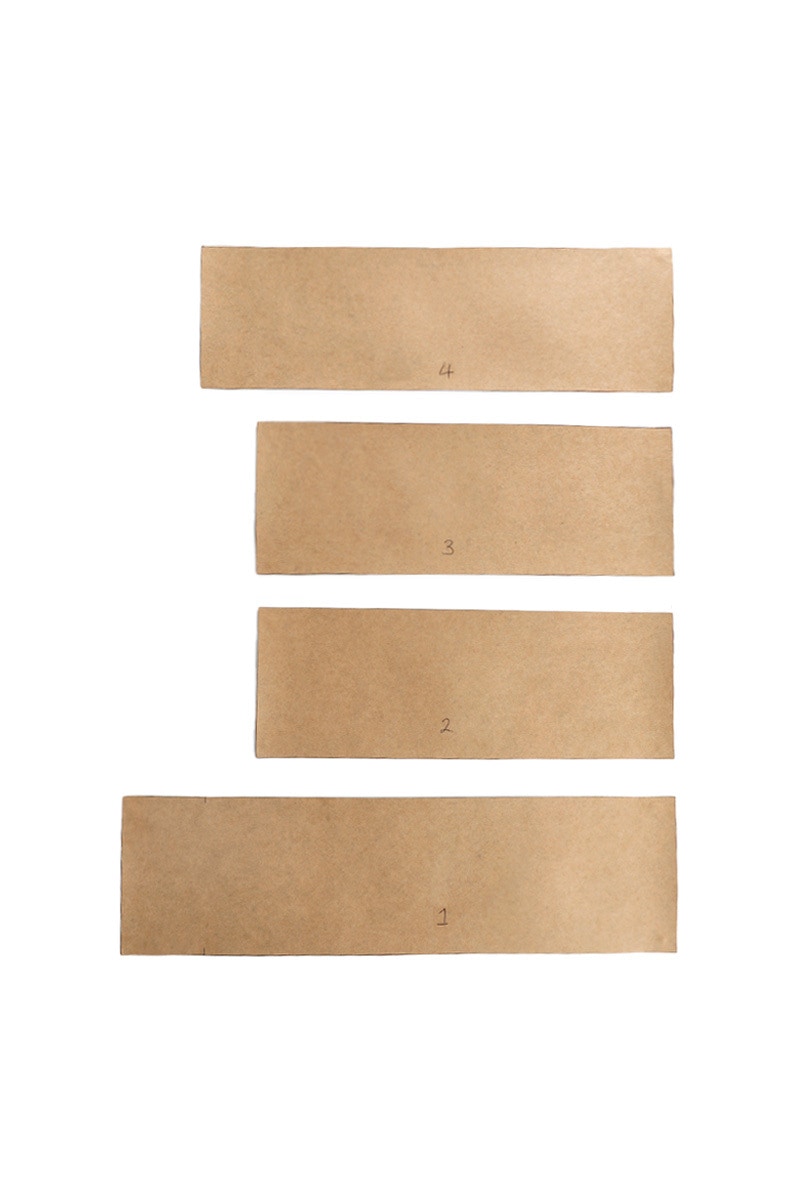
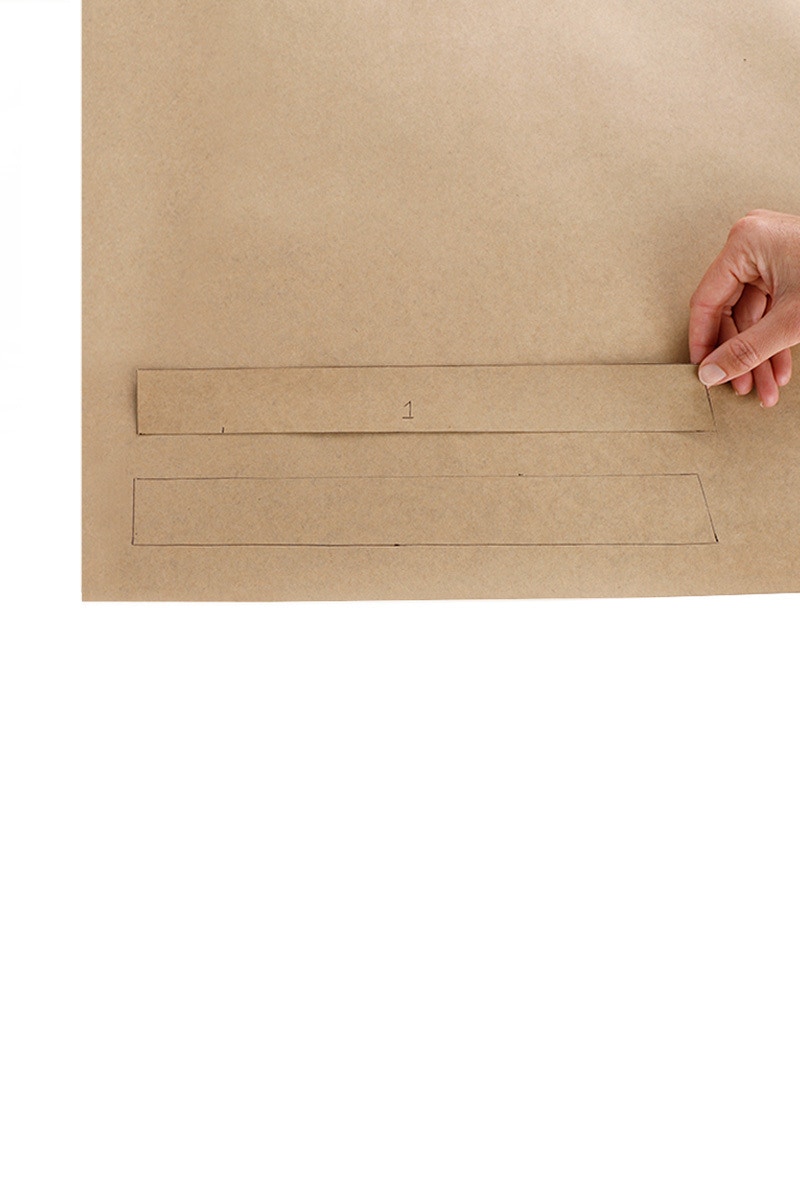
Split the waistband at each seam that you are removing excess from. The notches in the waistband indicate the side seams and centre back to help you find these seam locations.
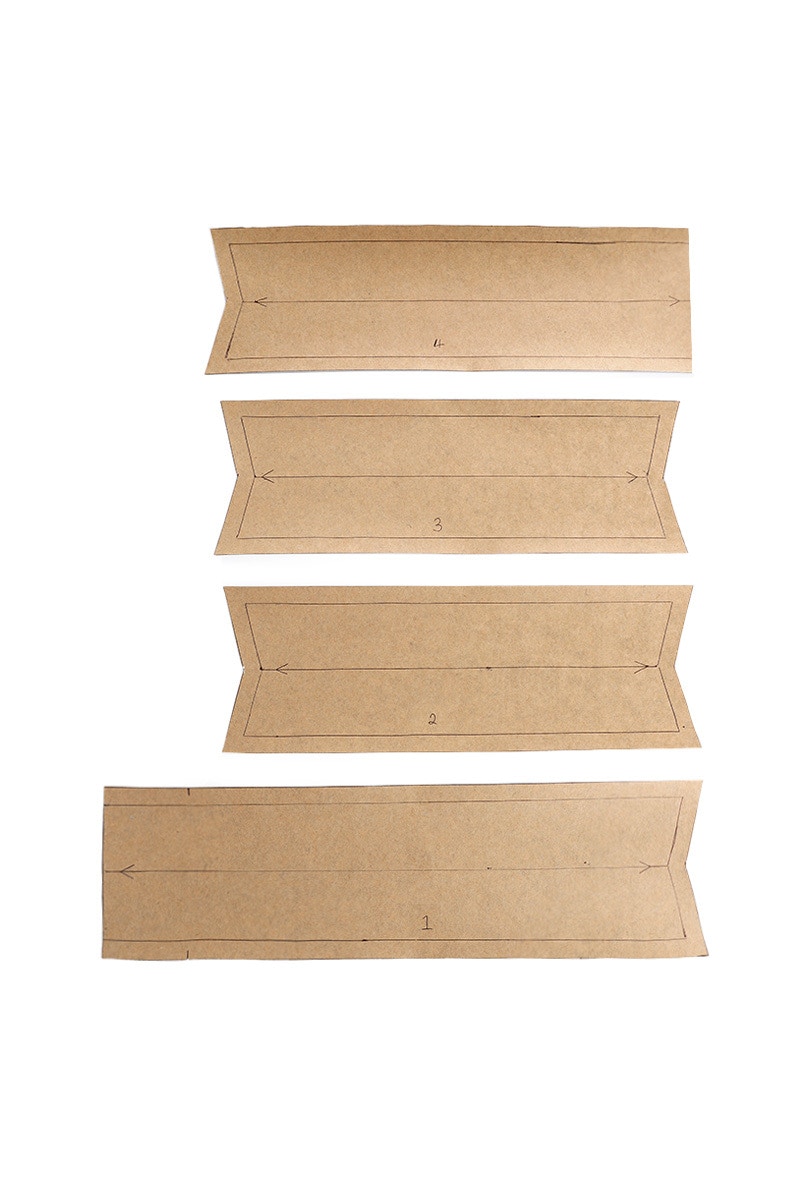
As the pieces can look very similar it can be helpful to number each piece so you know which order they go in.


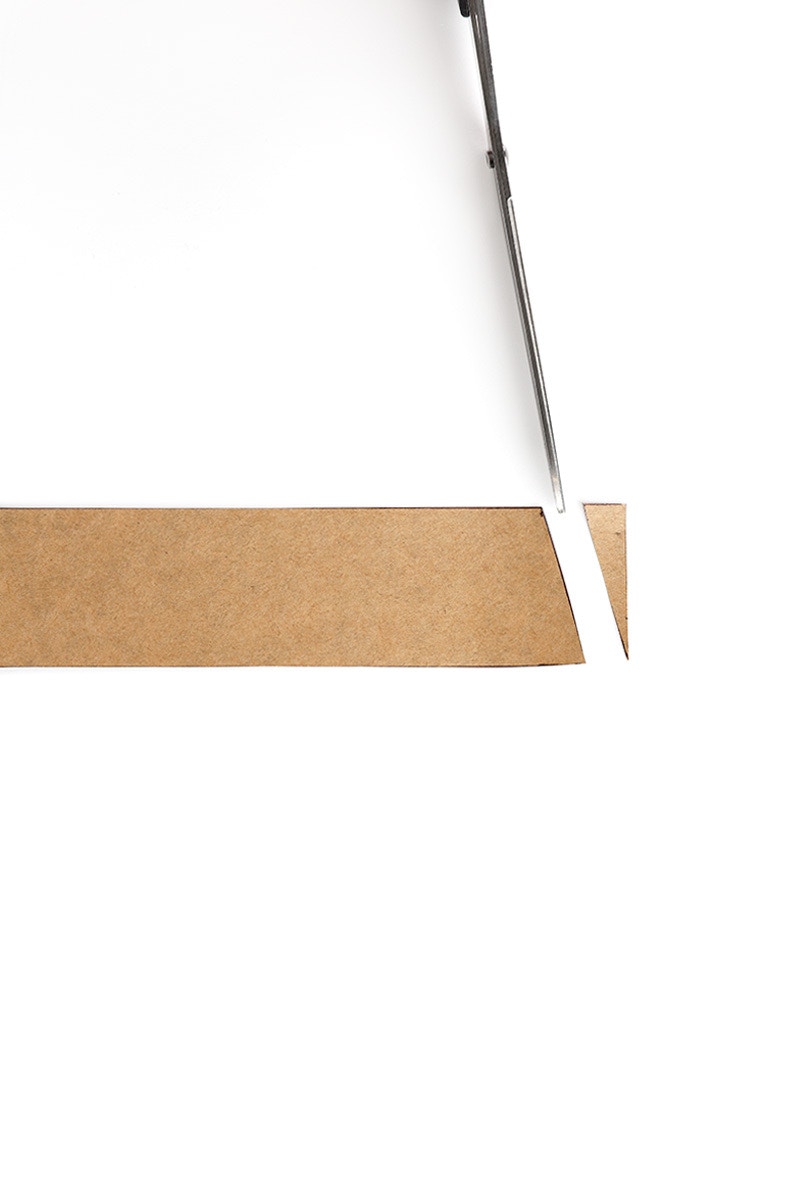
As the waistband is folded when it's sewn on, we need to cut each waistband piece in half lengthwise.
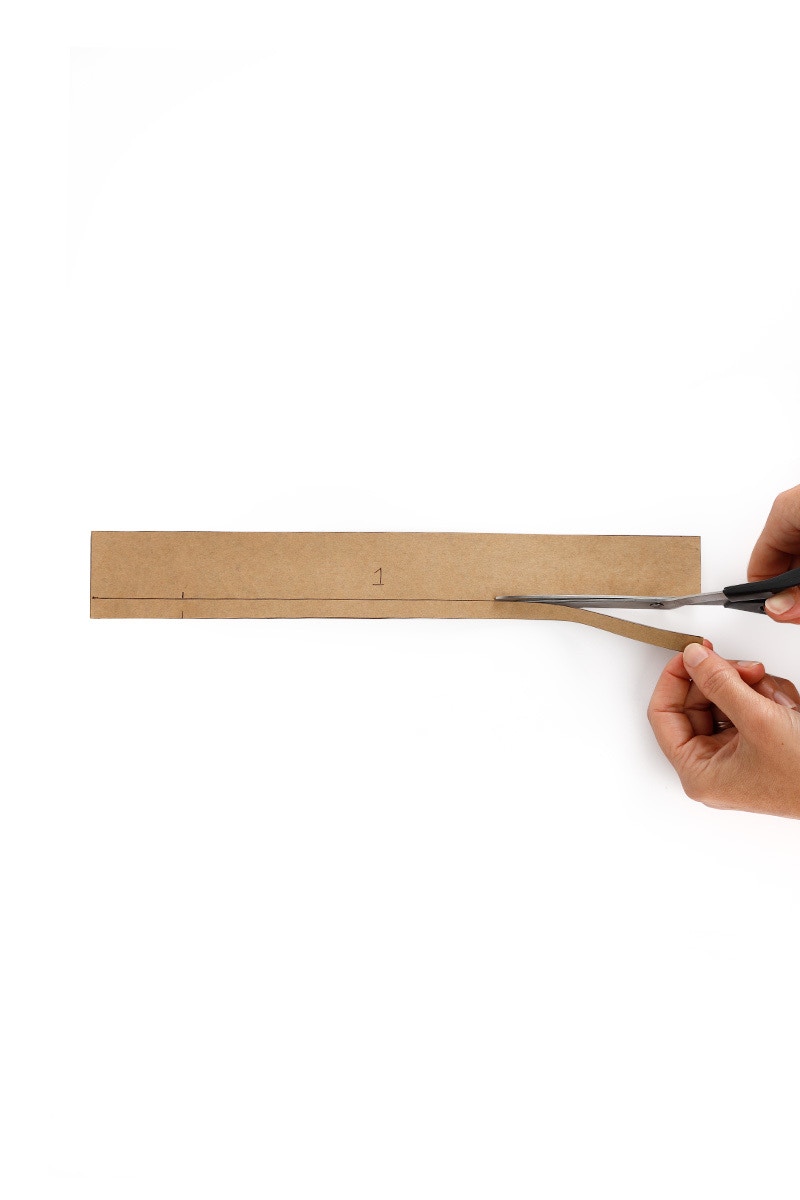
Next, remove the 1cm seam allowance at the bottom edge of the pattern piece. Don't forget to transfer any notches!
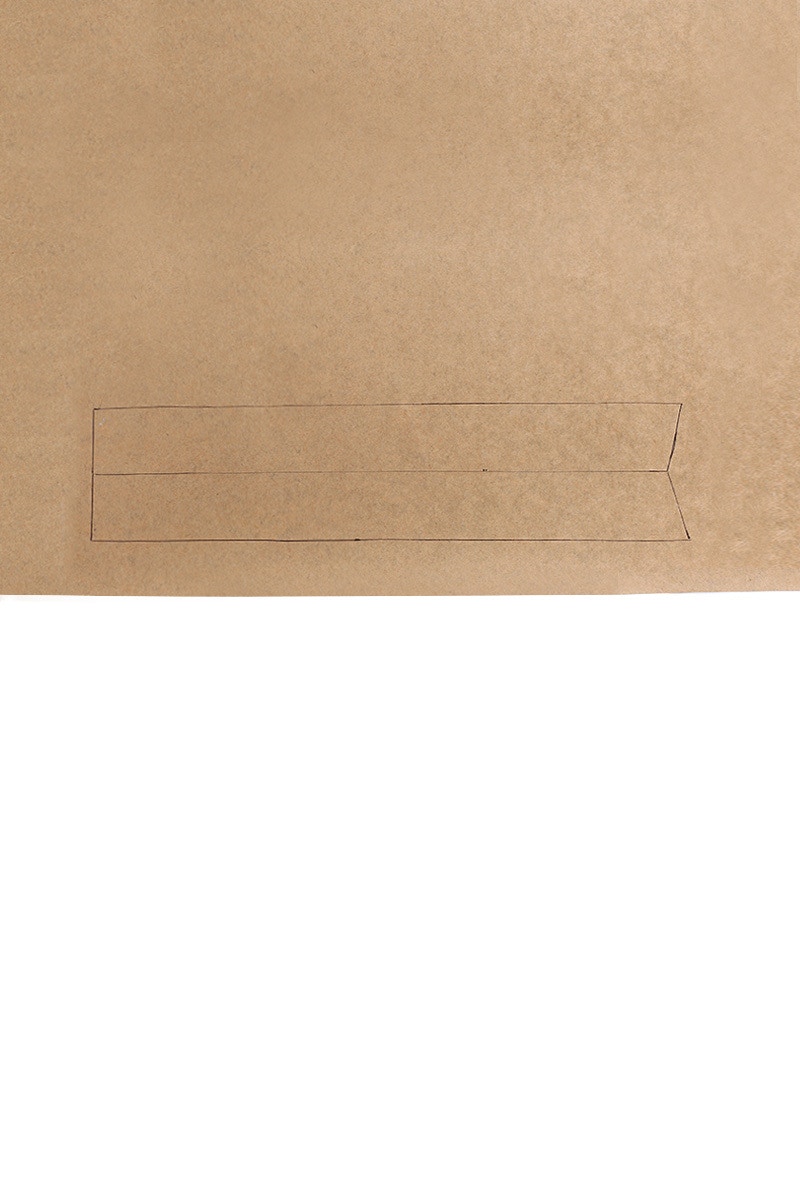
Measure and draw on the amount the needs to be removed from each seam. Our example has 1cm removed at the top tapering to nothing at the bottom. Cut off the excess on the pattern.

Repeat the last step for each seam that requires excess to be removed.
Now that we have removed the waistband excess, we need to re-create our pattern pieces.
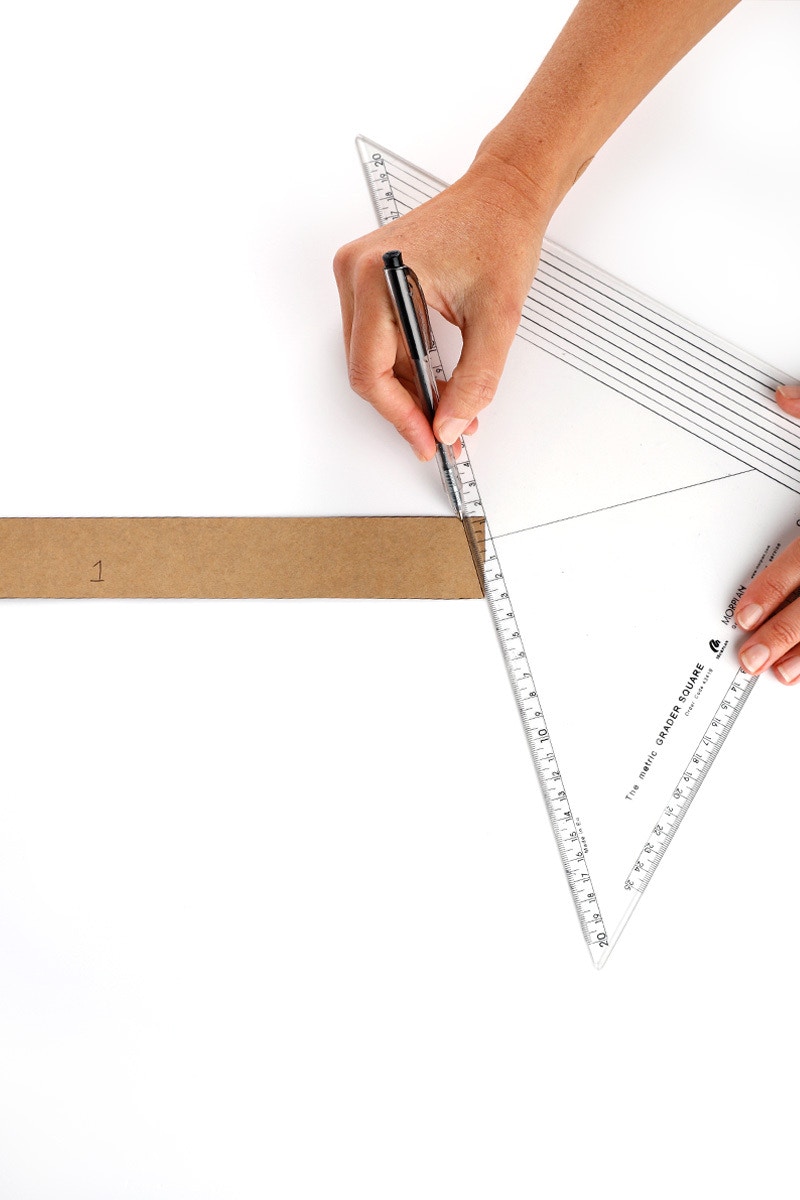
Trace your altered pattern piece onto a fresh piece of paper.
Reflect the pattern upwards, along the fold line on the waistband and trace around it. The waistband depth should now measure 8cm.

Add the 1cm seam allowance back on each long edge, and the ends you have shaped.
Remember that we have not changed anything at the centre front of the waistband so we don't need to add seam allowance there.
Repeat for each pattern piece.
Don't forget to draw on your grainline and notches, and rename each piece.


Now it is time to sew your waistband!
Trace around each piece onto your fabric and then cut them out.

Press each piece in half as per the pre-pressing steps in the Instruction Booklet.

Sew each seam together with a 1cm seam and then press the seams open.

Press your waistband in half again. It is now ready to attach to your jeans as per the steps in the Instruction Booklet, matching the waistband seams to the side and centre back seams.


Check out the May Jean pattern in our Online Store here.
Don't forget you can always email us via patterns@thefabricstore.co.nz if you need advice!
May makes from our wonderful community are also popping up over on Instagram, follow @makebytfs and use #TFSMay so others can check out your creations!