DIY Projects
Cot Sheet + Pillow Case
21—August 2023
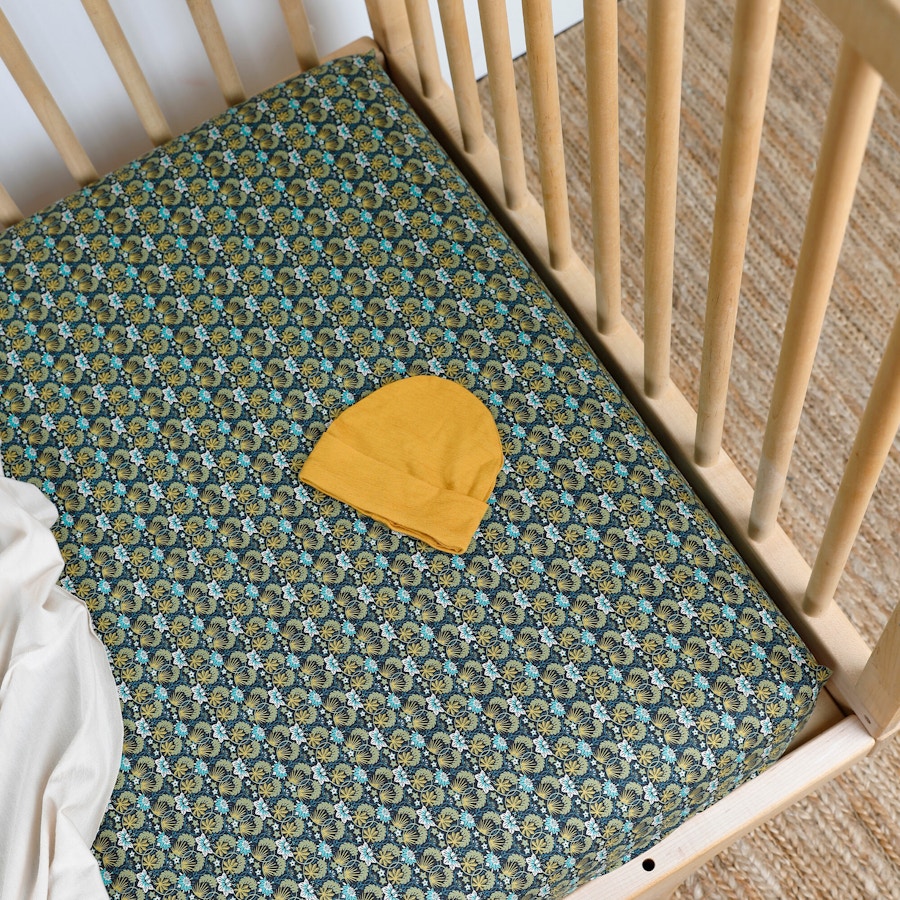
New Liberty cotton prints have arrived and we're whipping up a DIY cot sheet and pillow case!
This DIY cot sheet is a fun and beginner-friendly way to add a little print or colour to a toddler's bed, and they make a dreamy gift too! This sheet is a super quick project to sew and the end result looks clean and professional. Crisp and lightweight Liberty poplin is delightful to sleep on all year round and is machine washable, making it an easy care option for bedding. Read on for DIY steps, and shop Liberty poplin prints in stores and online!

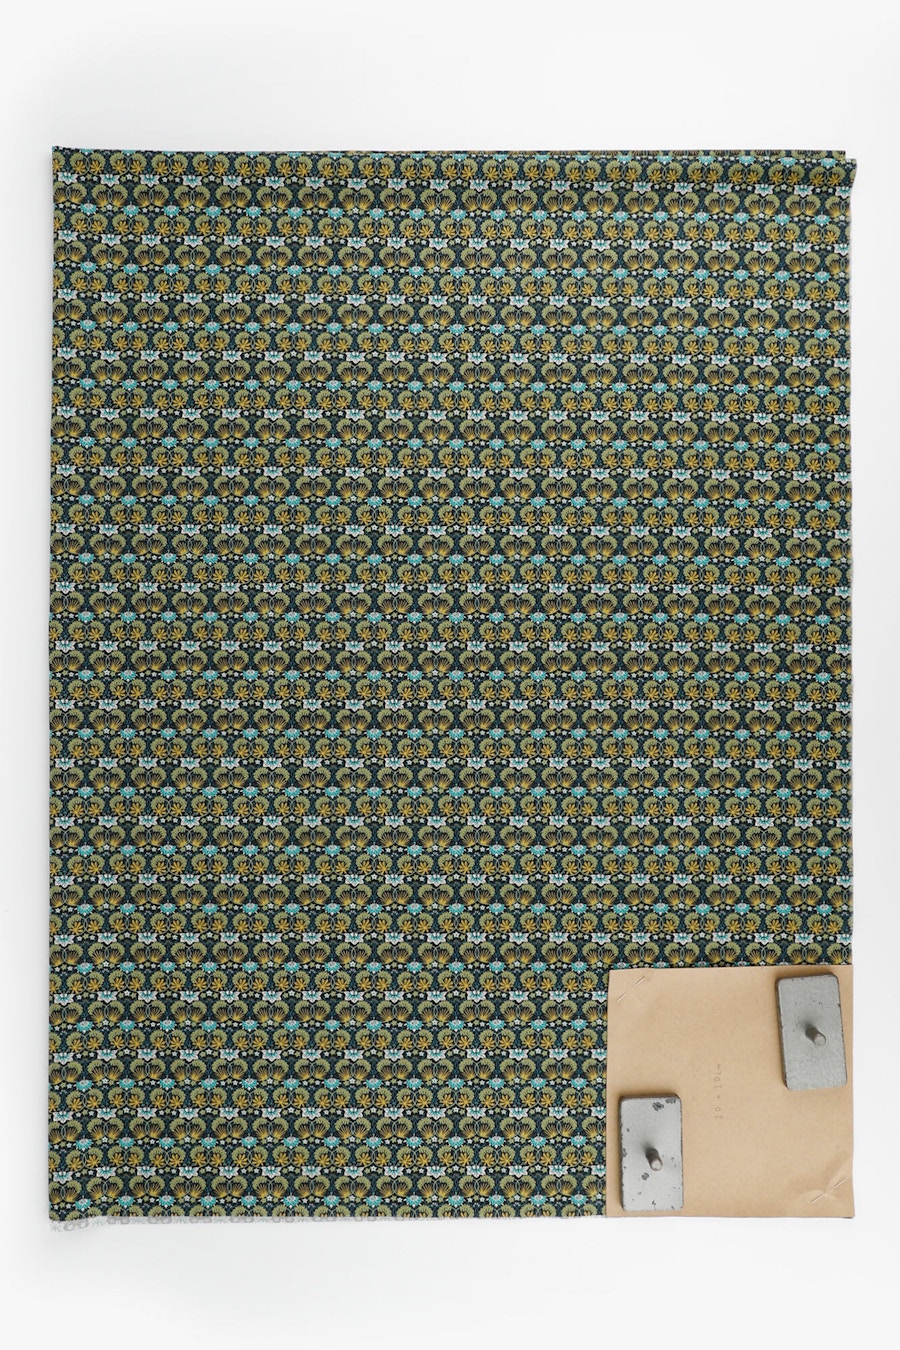
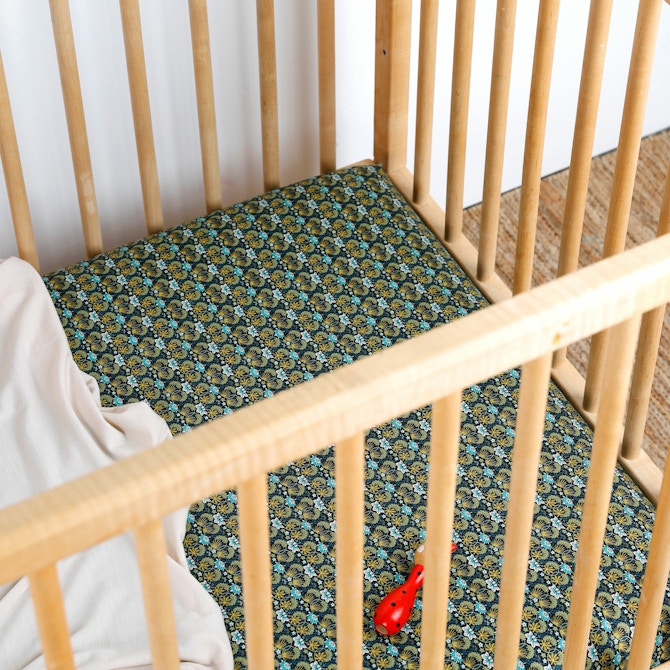
This series of simple steps are designed for a standard cot sheet size 130 x 70cm, made with woven lightweight fabrics. We picked Liberty Piccadilly Poplin – Mallow / C, a beautiful crisp cotton at 142cm wide, and this project took 1.8m. We'd recommend washing, drying and ironing your fabric before you begin, to ensure any shrinkage is removed from the piece before you start constructing the sheet.
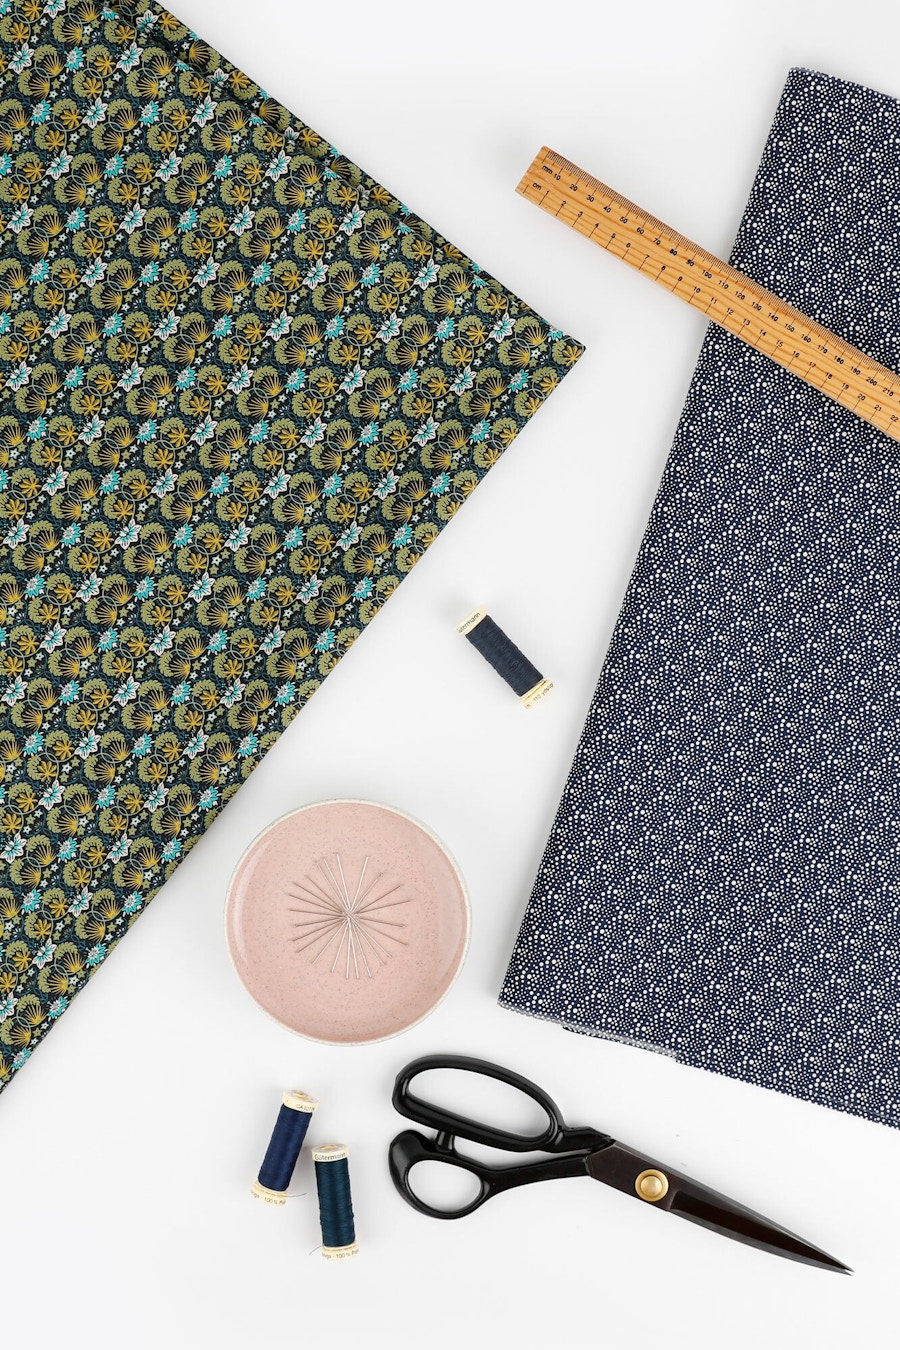
To make this sheet, you'll need a sewing machine, fabric scissors, fabric of your choice, a handful of sewing pins, 3mm elastic (we used about 2.5m), thread and a ruler.
Step 1 — Lay your fabric out flat and cut a rectangle 170cm by 110cm, following the fabric's grain line for the longest side. This measurement is taken from the mattress size plus an additional 20cm on each side, to allow the corners to tuck underneath the mattress sides.
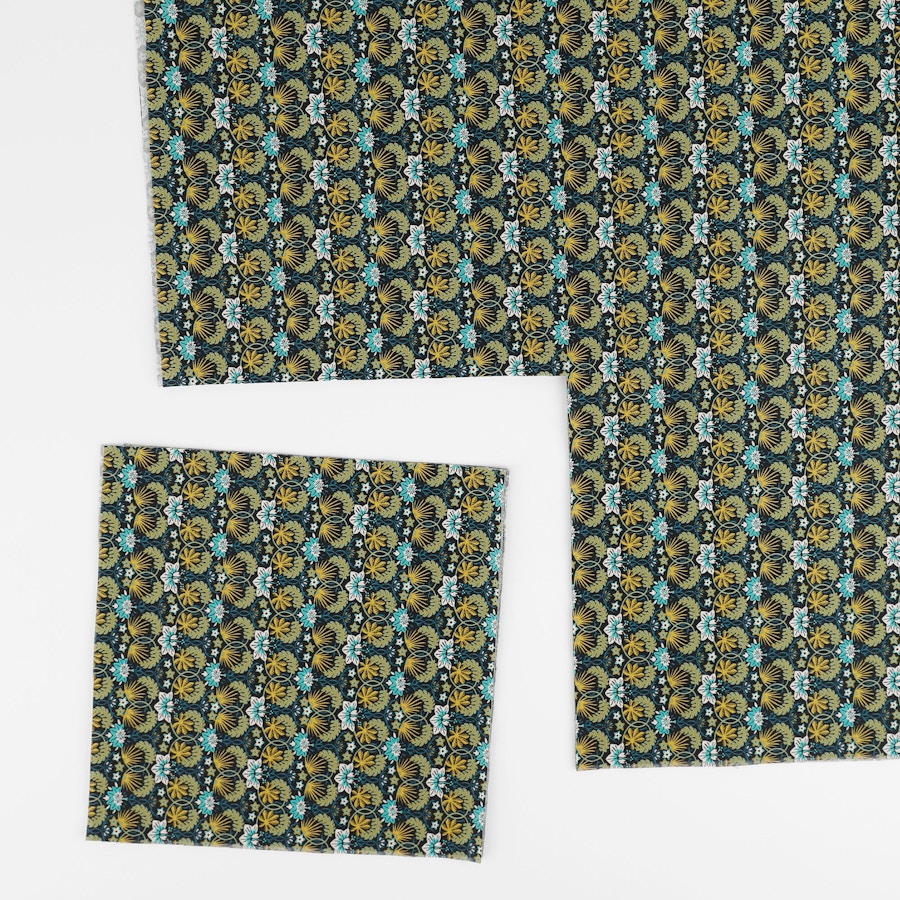
Step 2 — Now you will need to cut a 20cm x 20cm square from each corner of your rectangle. The easiest way to do this is to fold the rectangle up, and cut off all four corners at the same time. You can make up a 20cm x 20cm square card template to lay over and cut around, if you find that easier!
Step 3 — Next, place your rectangle with the right side down, and iron 1cm around all four outer edges (not the cut corners) in towards the wrong side. Once you have ironed, secure the turn back in place using a few pins if you need, and then stitch each edge down at 6mm.
Step 4 — Now you will need to sew the corners from where you cut the 20cm x 20cm square, and we chose to french seam ours. Take one corner and fold the wrong sides together so the two cut edges meet. Stitch them together (using pins if you need) about 3mm from the edge. Turn the corner out so the right sides are together, iron the sewn edge flat, and then stitch again at 6mm from the edge. Turn it back, and iron the seam edge again.
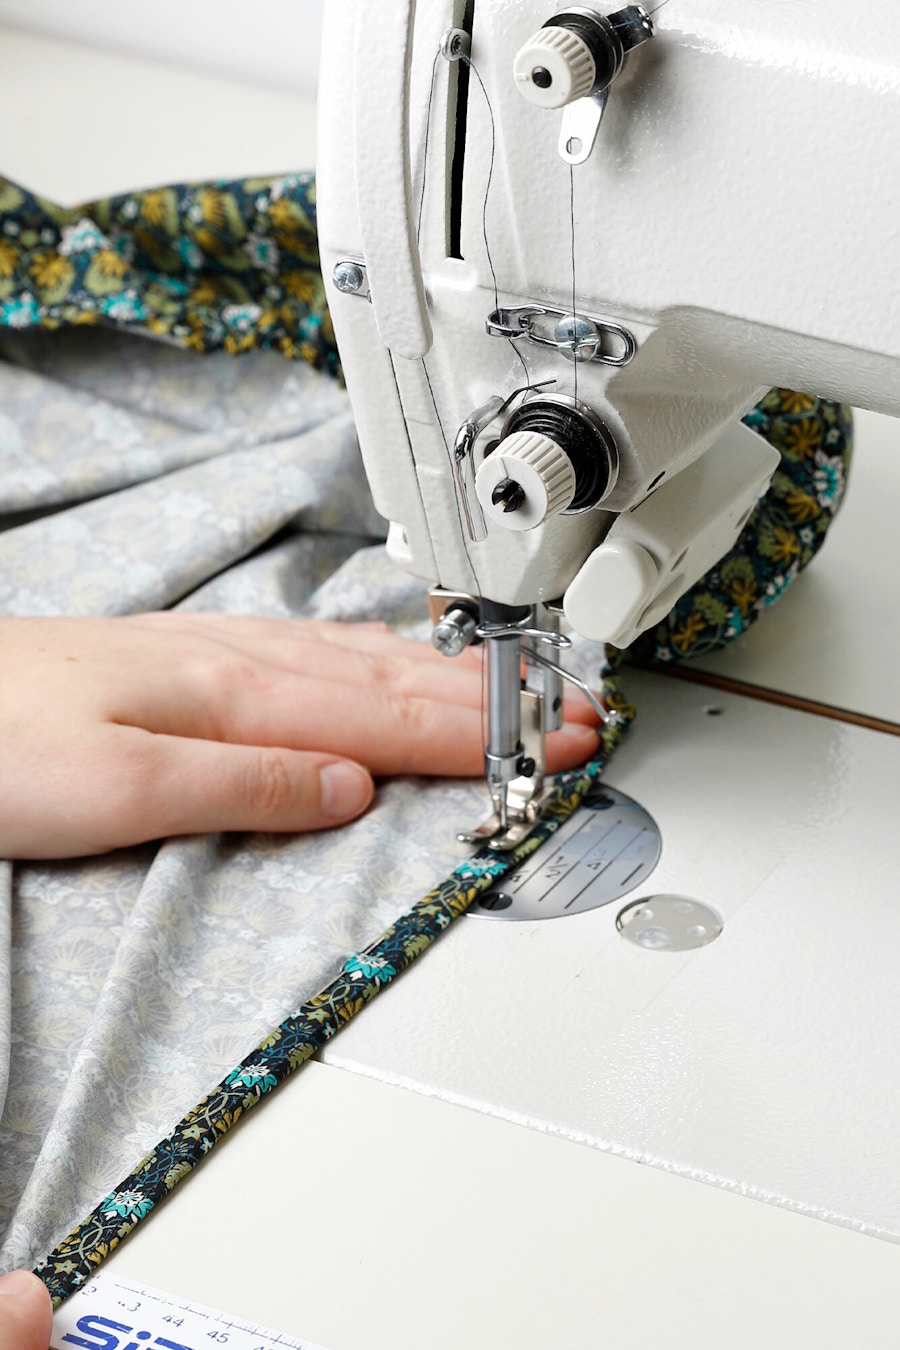

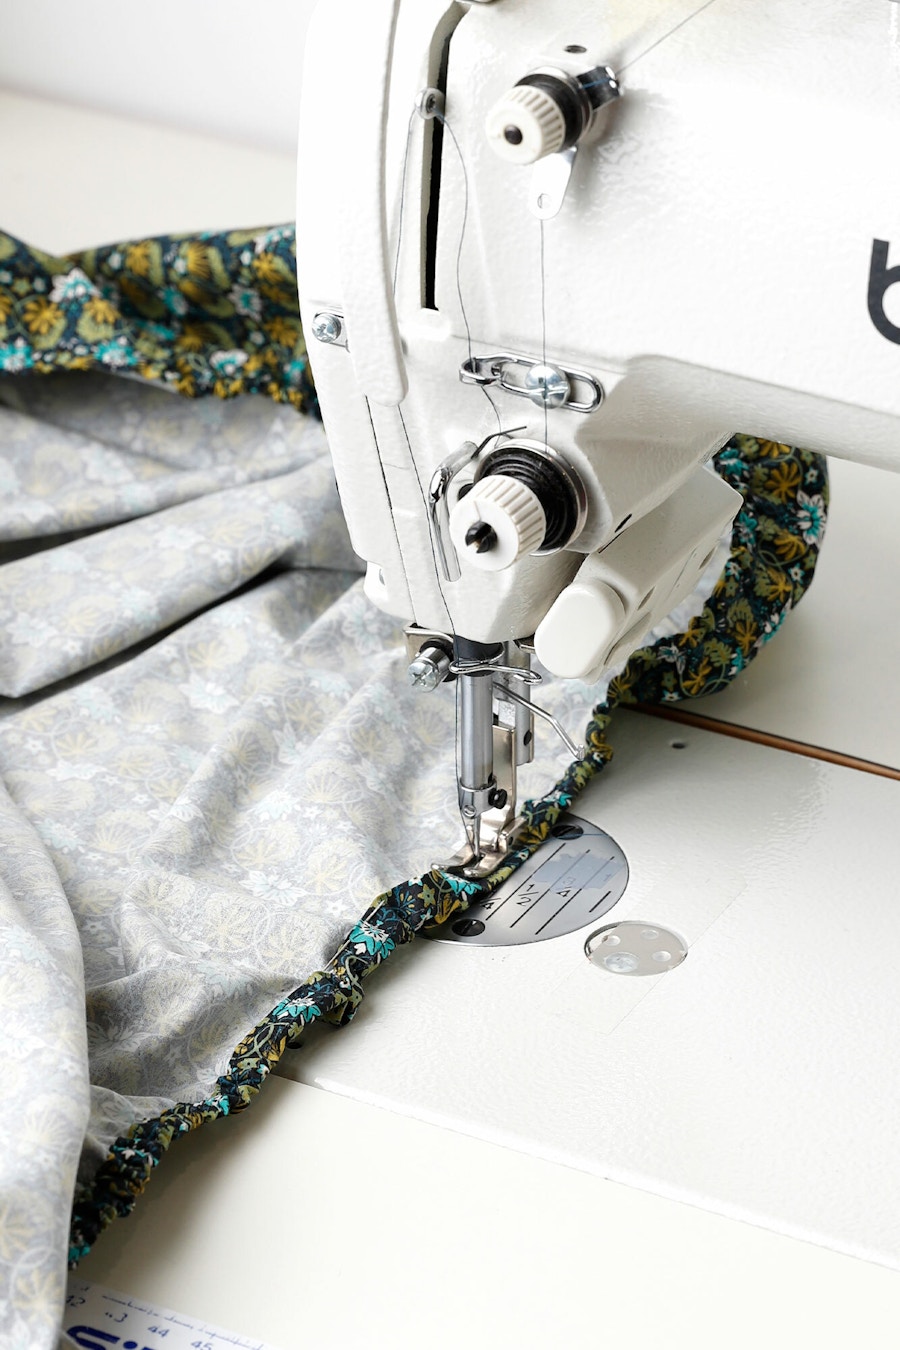
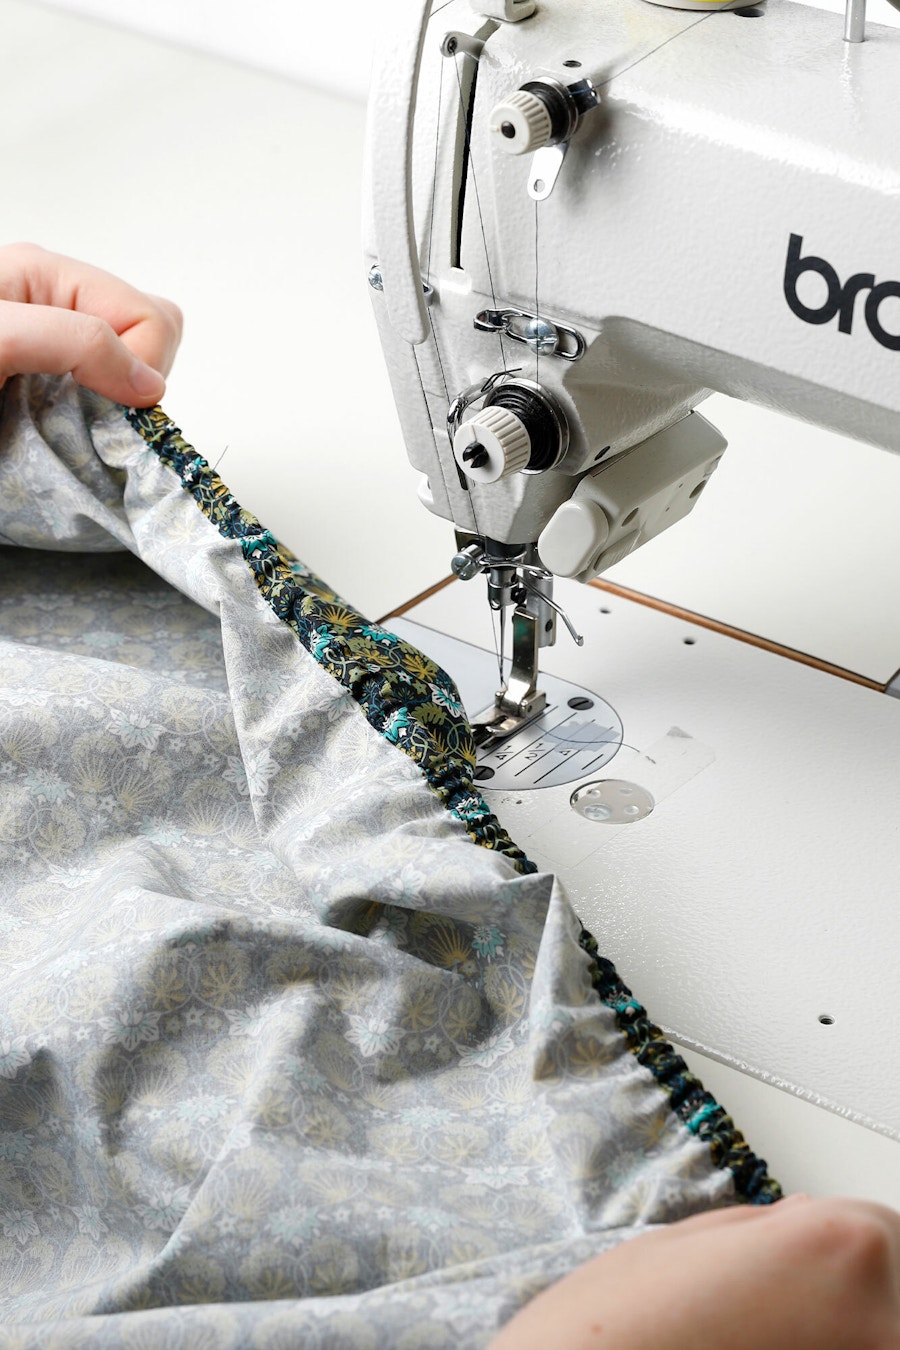
Step 5 — Next you'll sew the elastic casing. The casing needs to go around the entire edge of the sheet, to ensure it clings under the cot mattress properly. To sew the casing, fold a further 1cm towards the wrong side all the way around the sheet, securing with pins, and edge stitch it. Take care to edge stitch as close as you can, to ensure a tunnel remains for the elastic to thread through. Don't stitch the entire tunnel closed just yet, you'll need a small gap to thread the elastic through.
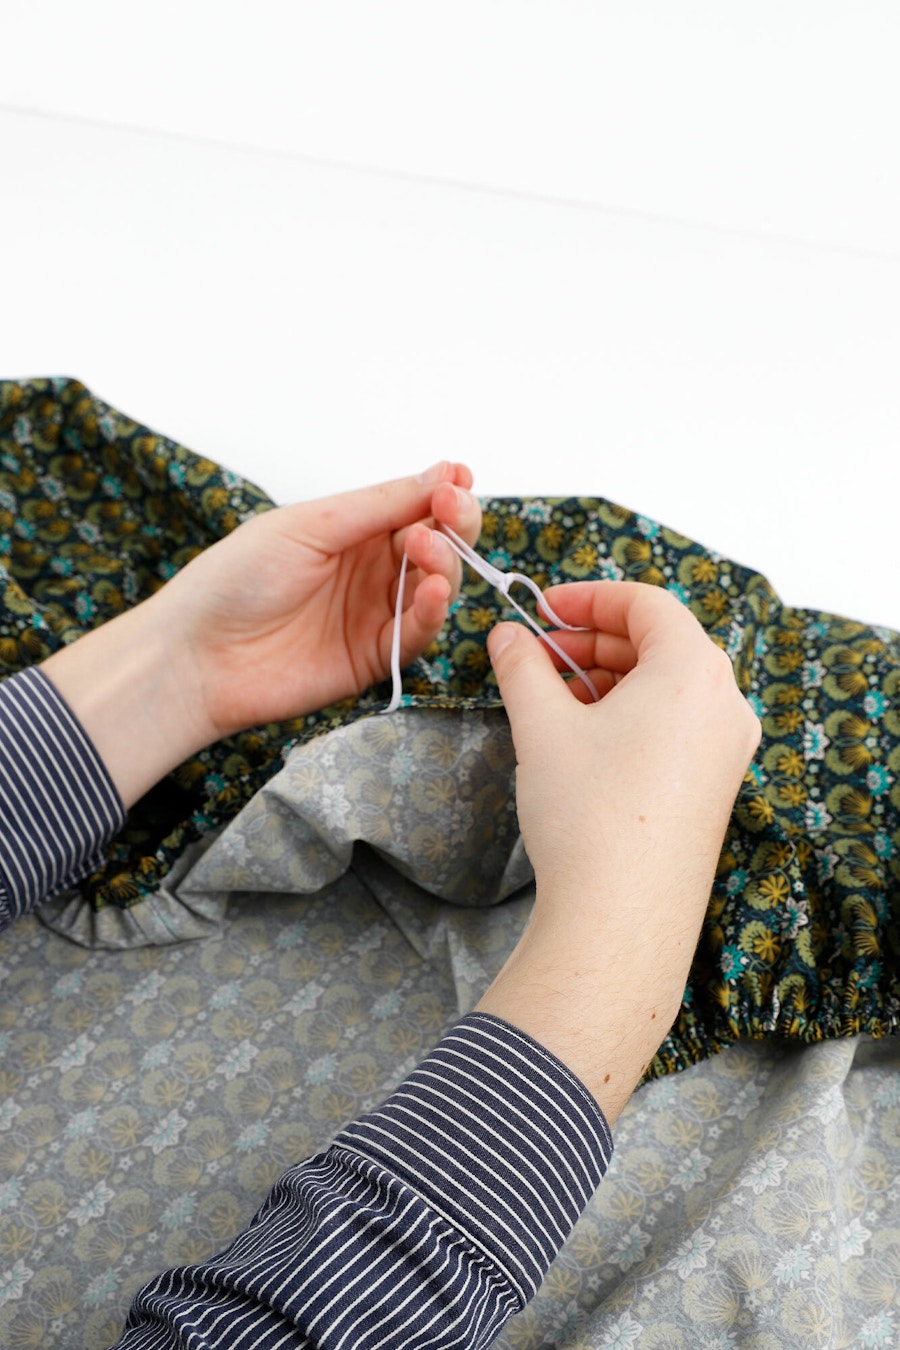
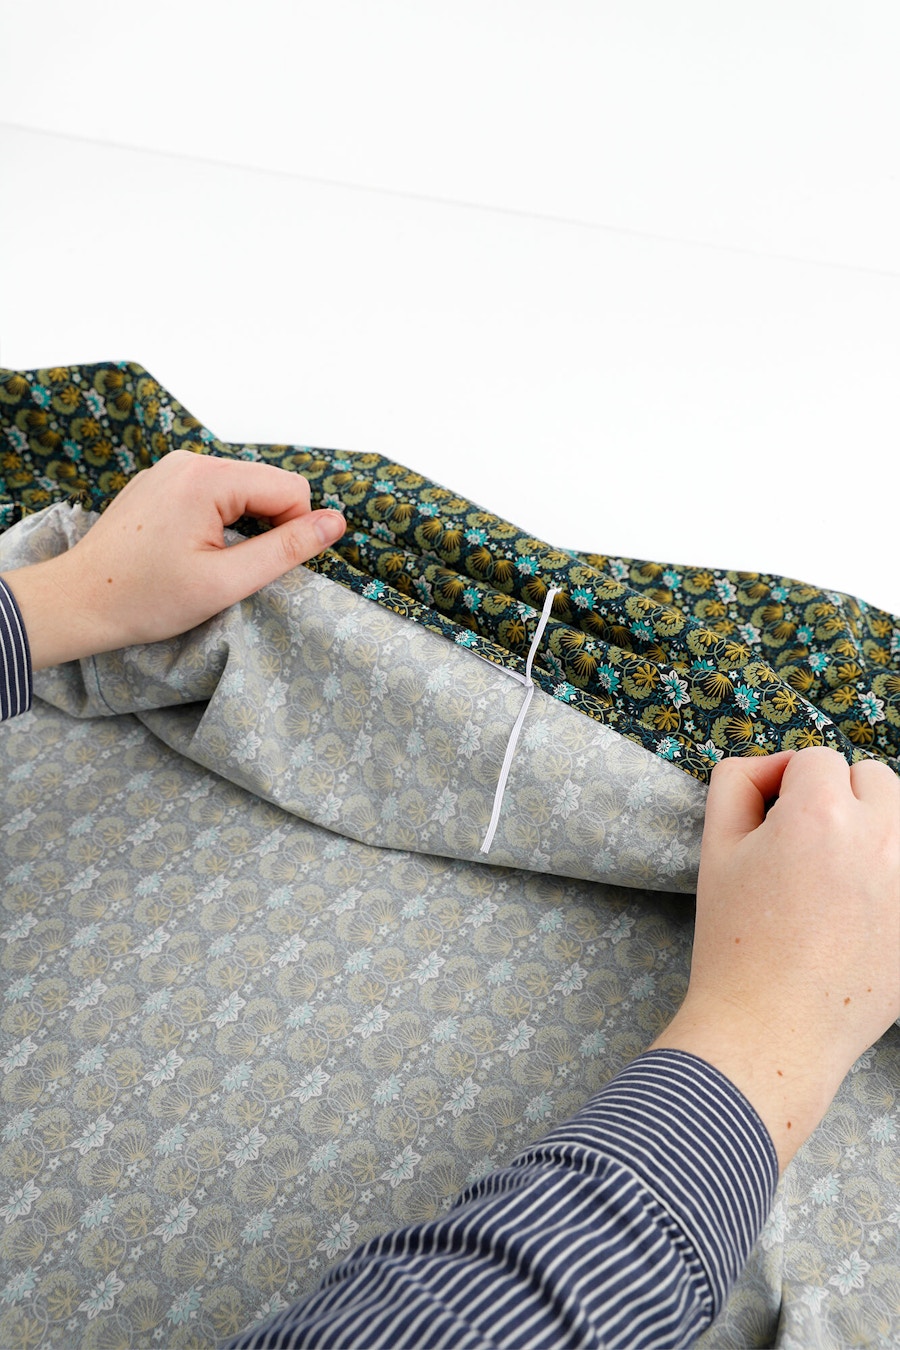
Step 6 — Now we'll thread our elastic. We used approximately 2.5m of our Braided Elastic 3mm - White. Thread your elastic through the gap (we used a safety pin to help with this), secure the two elastic ends together by tying a small tight knot, and then stitch the little gap closed.
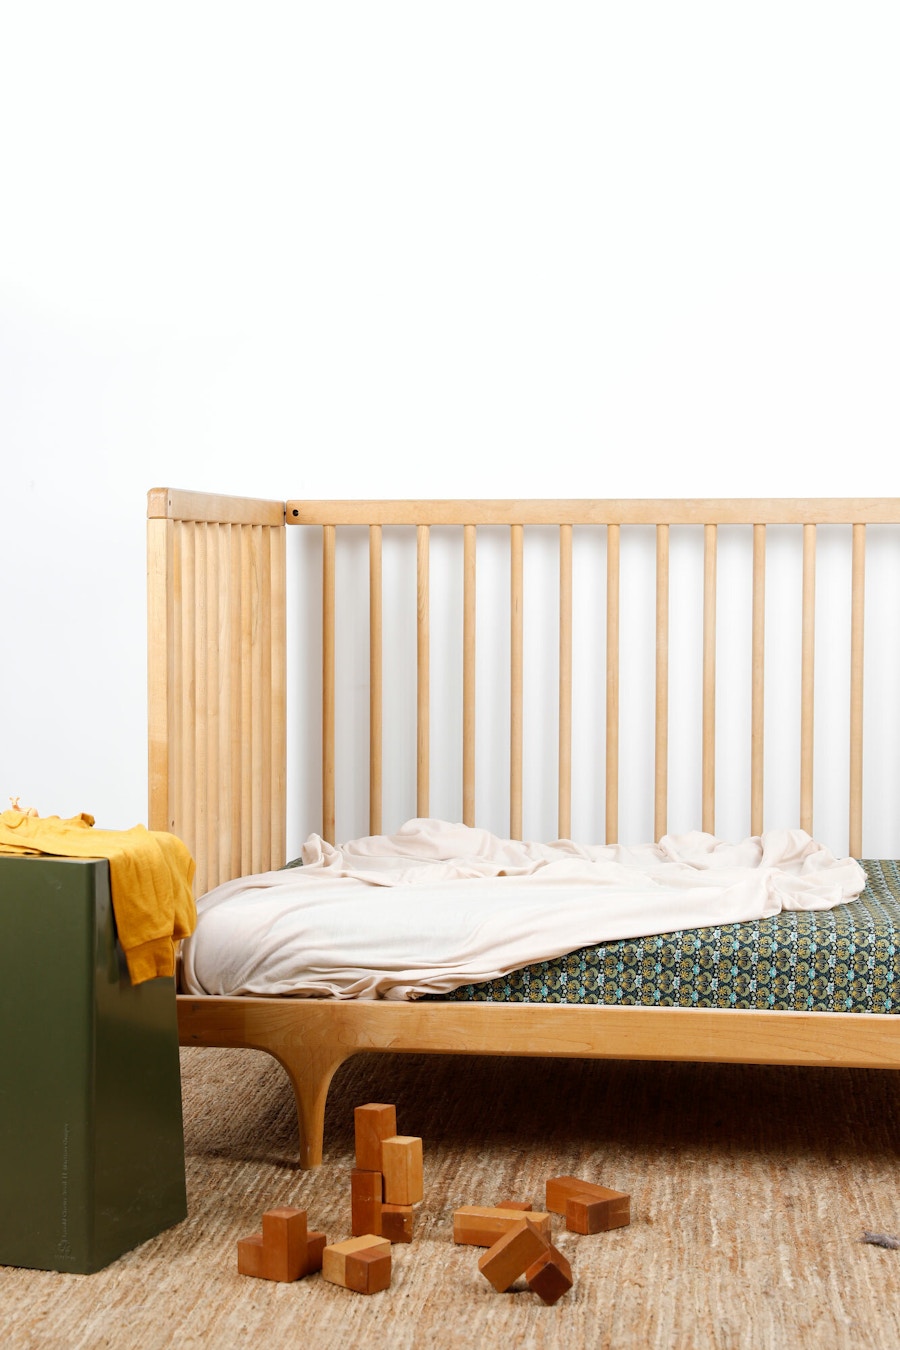
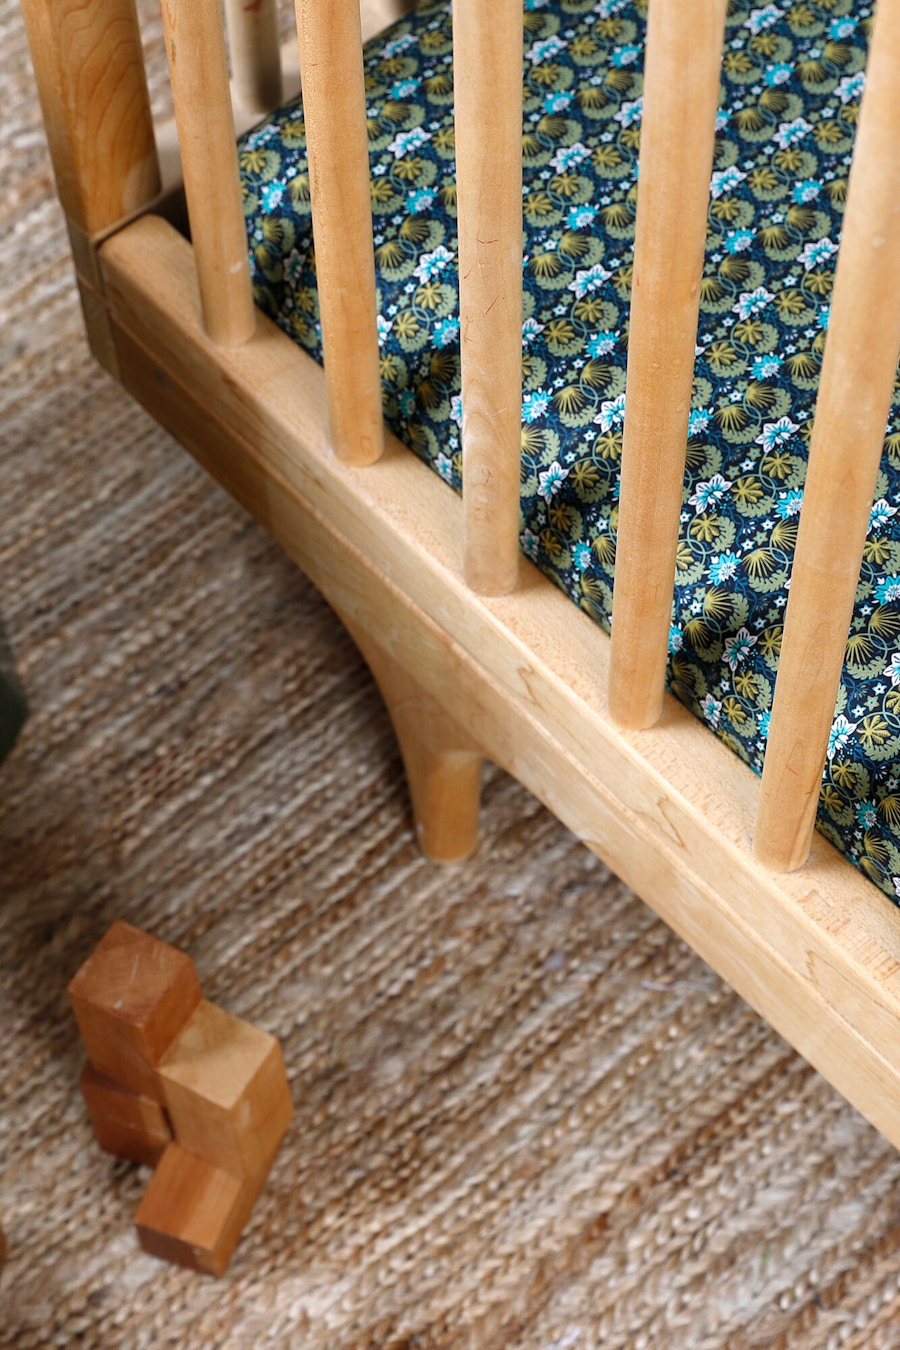
Voila! Turn out the right way and your sheet is ready to place over your cot mattress.
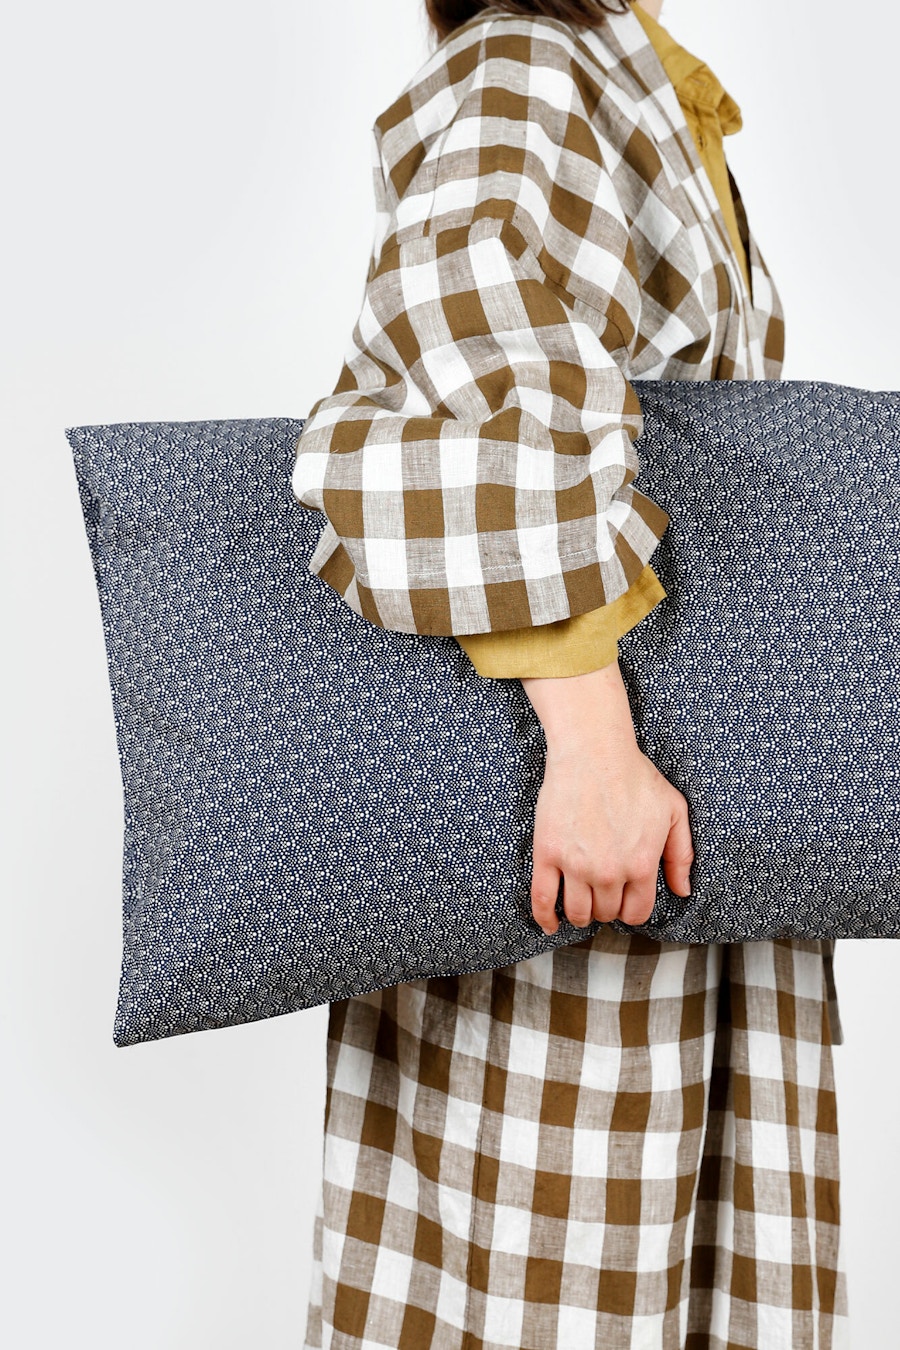
Pillow cases are another easy and quick project with a clean finish, a delight to make for yourself or to give as long-lasting gifts. We whipped up two pillows using this cute deco inspired print Liberty Piccadilly Poplin – Spotlight / C, following the steps from our earlier blog post. If you're keen to make some pillows, check out the steps here.


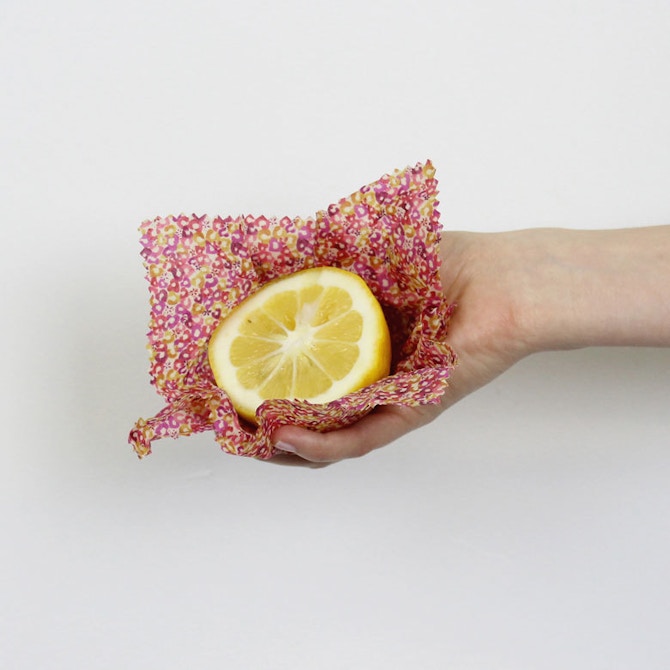
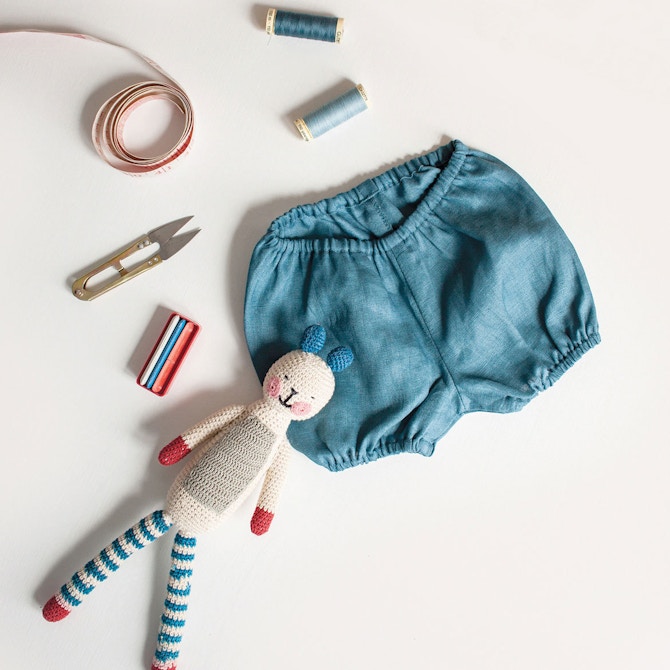
We love a practical DIY project and you'll find loads of fun makes here on the blog! From kitchen basics like beeswax wraps and cutlery holders, to cosy merino wraps for the little ones and sewing room plastic alternatives, there's something for every DIY aficionado. Share your DIY projects and gift ideas with us over on Instagram and TikTok, we'd love to see them!