
2 — Front Pocket
24—January 2022
In this post we will sew the front pocket, follow along if you are adding one to your Cloud Sweatshirt.
Follow along with the steps in this post if you are sewing the front pocket.
If you are not sewing the pocket, move on to this post where we will sew the shoulders and neckline.
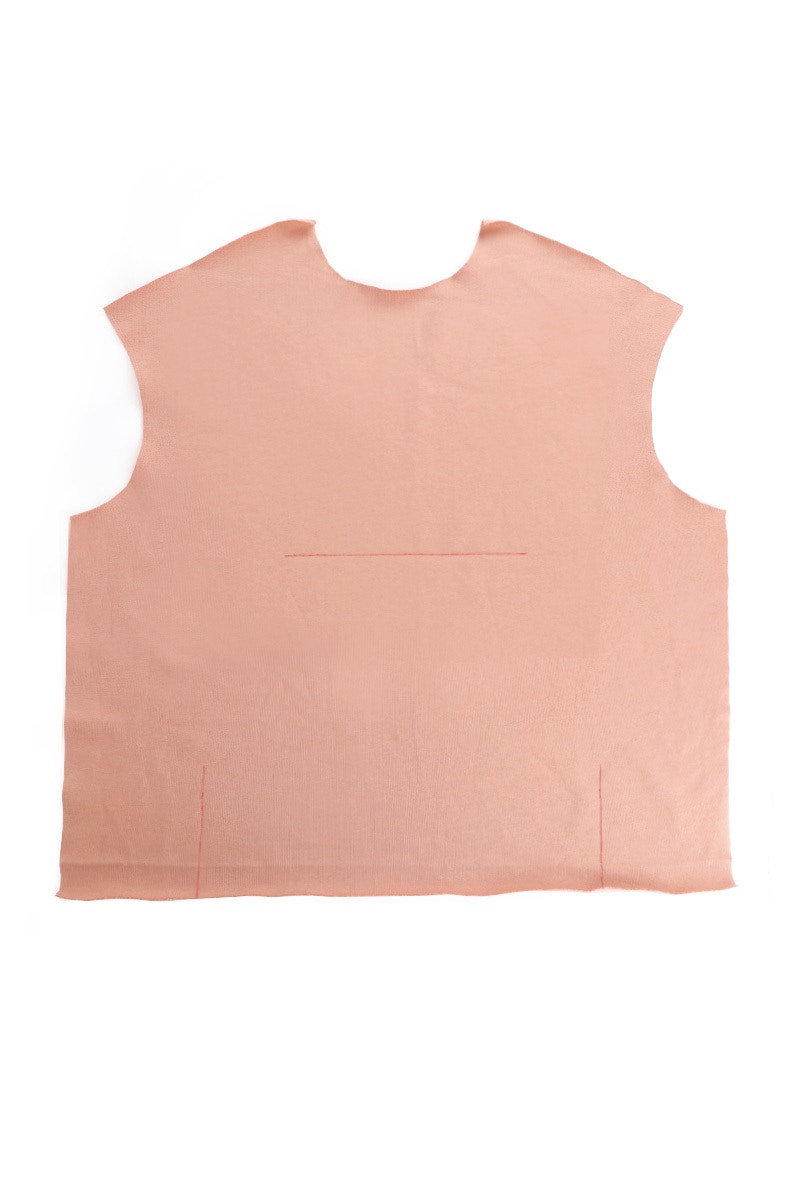
First, transfer the front pocket stitching lines to your front using tailor’s chalk or a fabric pen.
Make sure the pen or chalk can rub off easily so you are not left with marks on your sweatshirt!
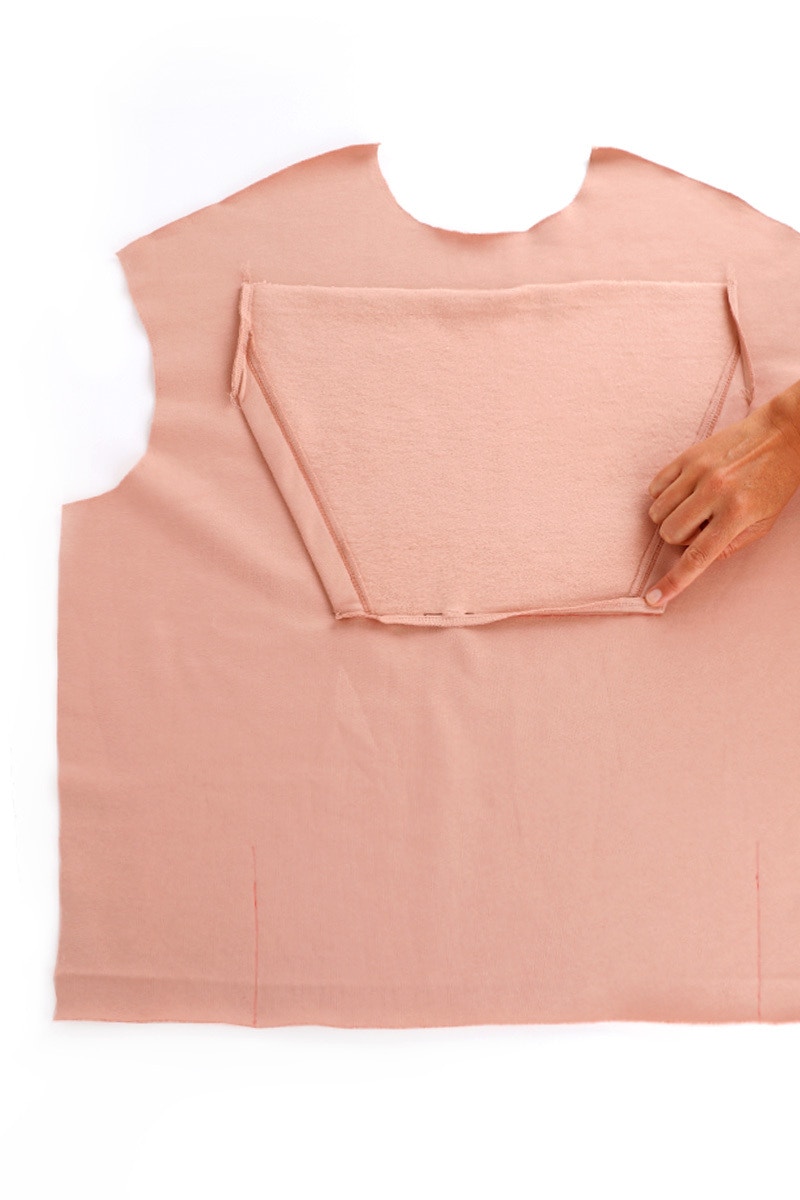
The front pocket has a grown-on facing at each opening. Neaten this facing edge with your overlocker.
Now, fold the pocket facing to the wrong side and stitch in place at 2cm with a twin needle, cover seam, or your preferred finishing stitch.
Repeat for both sides.
Next, neaten the top and side edges with your overlocker.
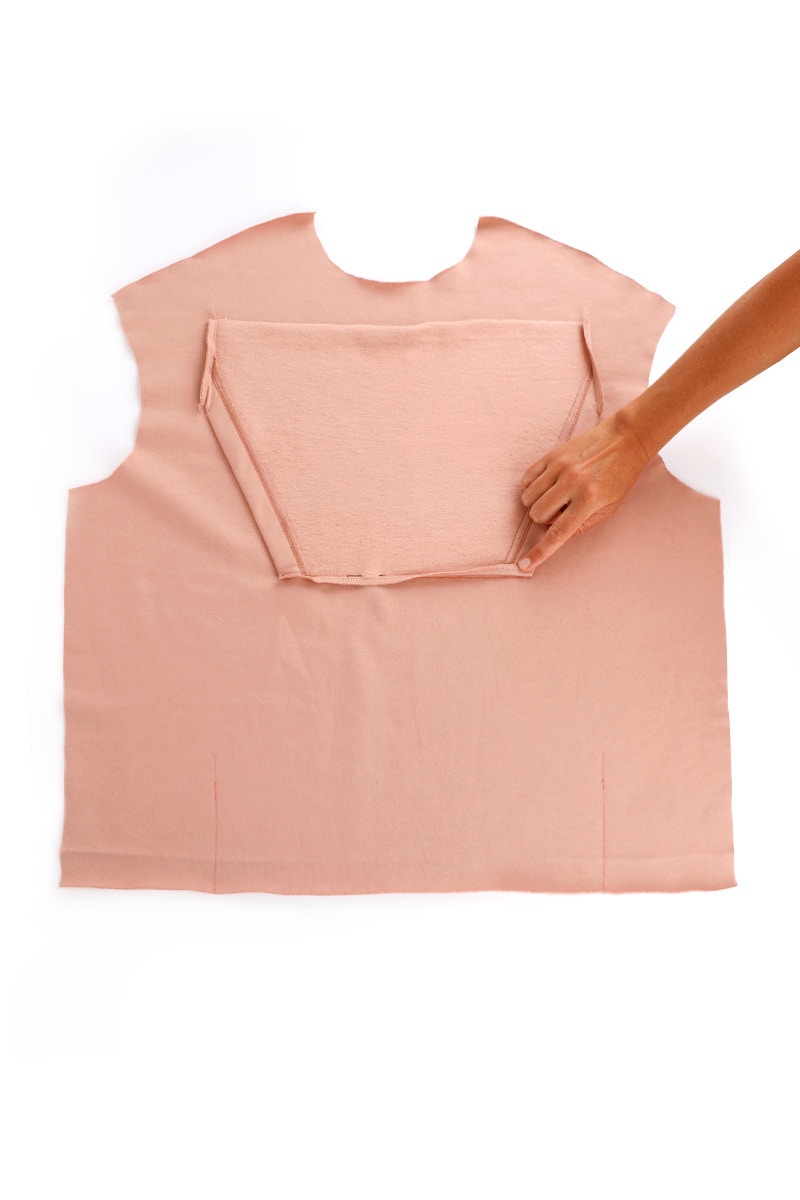

Fold the 1cm seam allowance at the top of the pocket to the wrong side.
With the right sides together, place the pocket on the front, matching the folded edge of the pocket to the top pocket placement line on the front. The bulk of the pocket will be towards the neck.
Pin in place and then stitch the pocket to the front along the stitching line.
Fold the pocket down and press.


Now, fold the seam allowance of one pocket edge under 1cm. Match the folded edge to the pocket placement line on the front and pin.
Fold the pocket back and sew the pocket to the front.
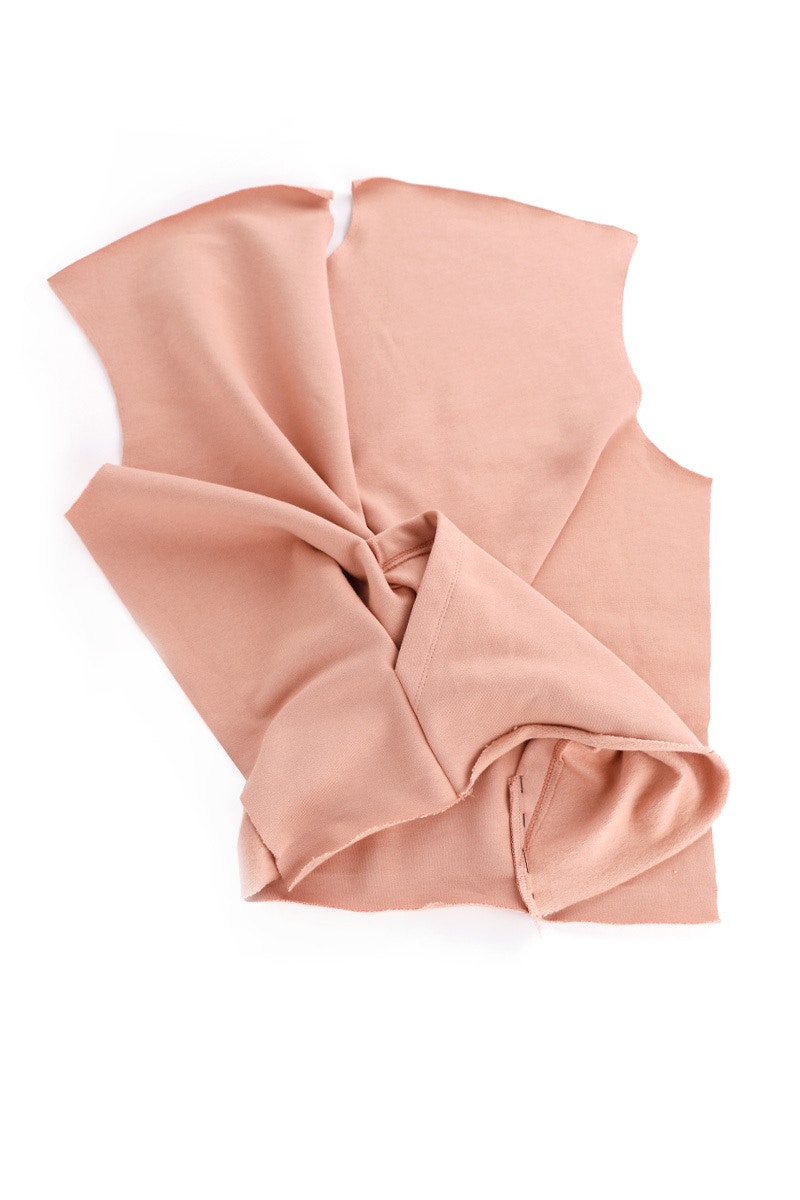
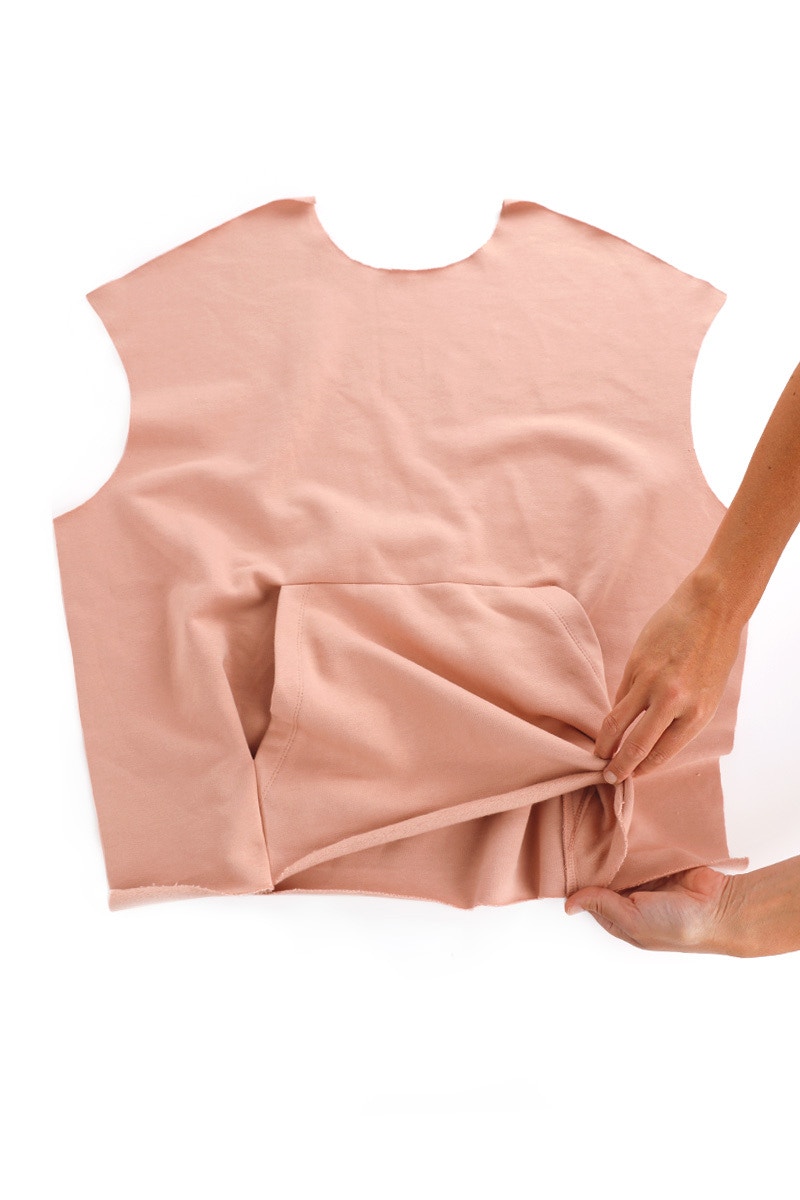
Now we will attach the other side of the pocket.
Fold seam allowance the pocket edge under 1cm and pin it along the pocket placement line. Hold the pocket out of the sew the pocket to the front.
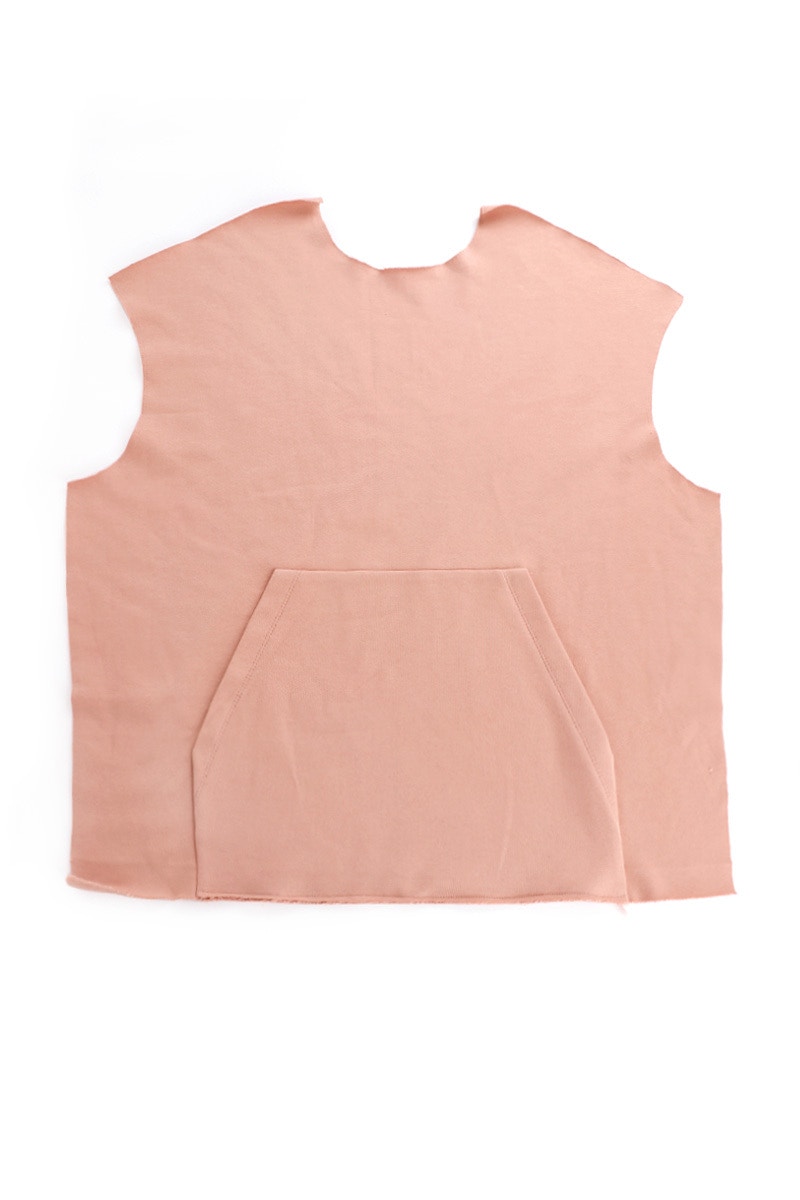
Baste the pocket to the front at the waist edge.
Now continue on to the next step where we will sew the shoulders, neck and hood.
Check out the Cloud Set patterns in our Online Store here.
Don't forget you can always email us via patterns@thefabricstore.co.nz if you need advice!
Cloud makes from our wonderful community are also popping up over on Instagram, follow @makebytfs and use #TFSCloud so others can check out your creations!


