7 — Finishing Touches
26—April 2022
Now for the finishing touches!

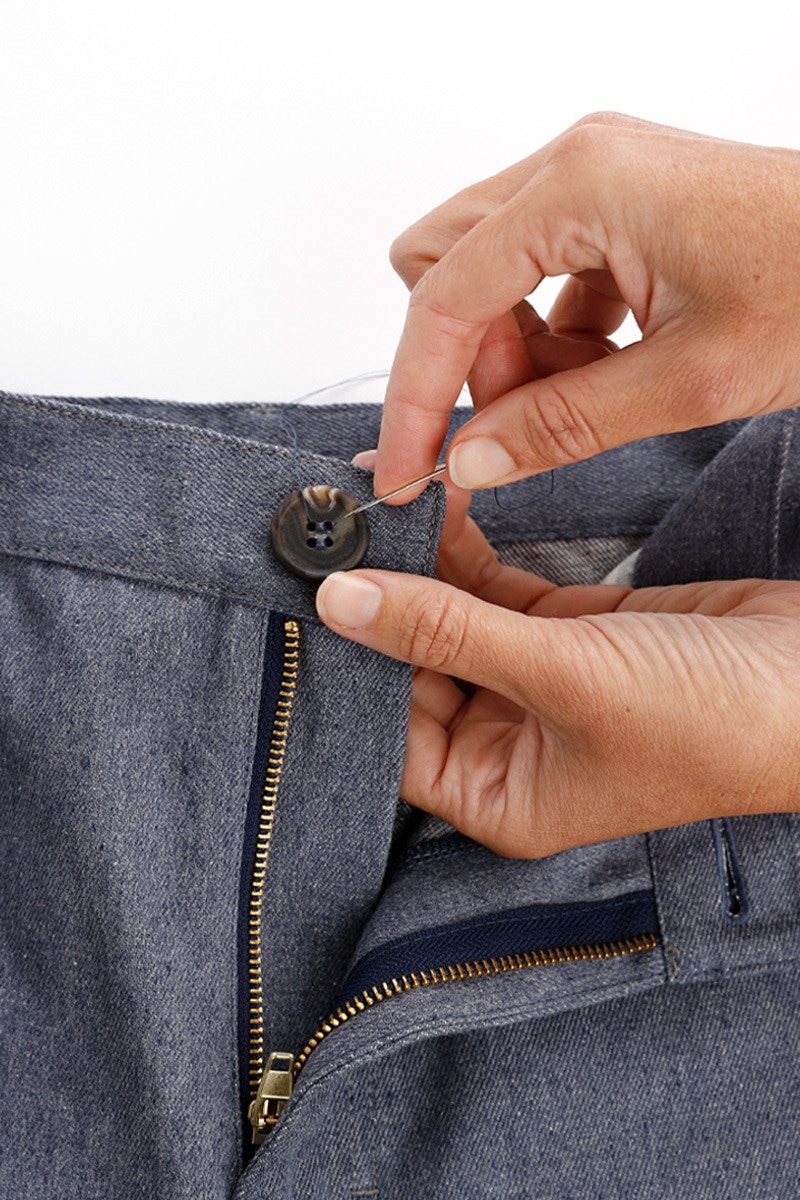
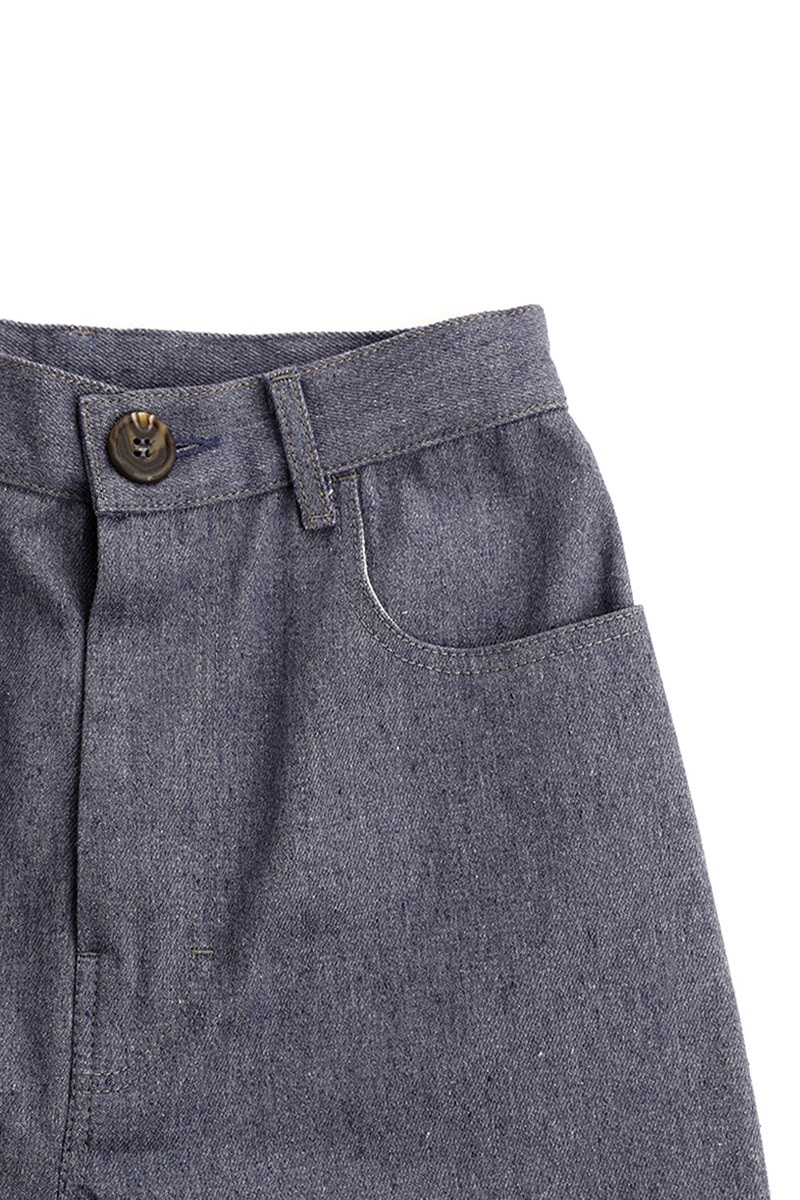
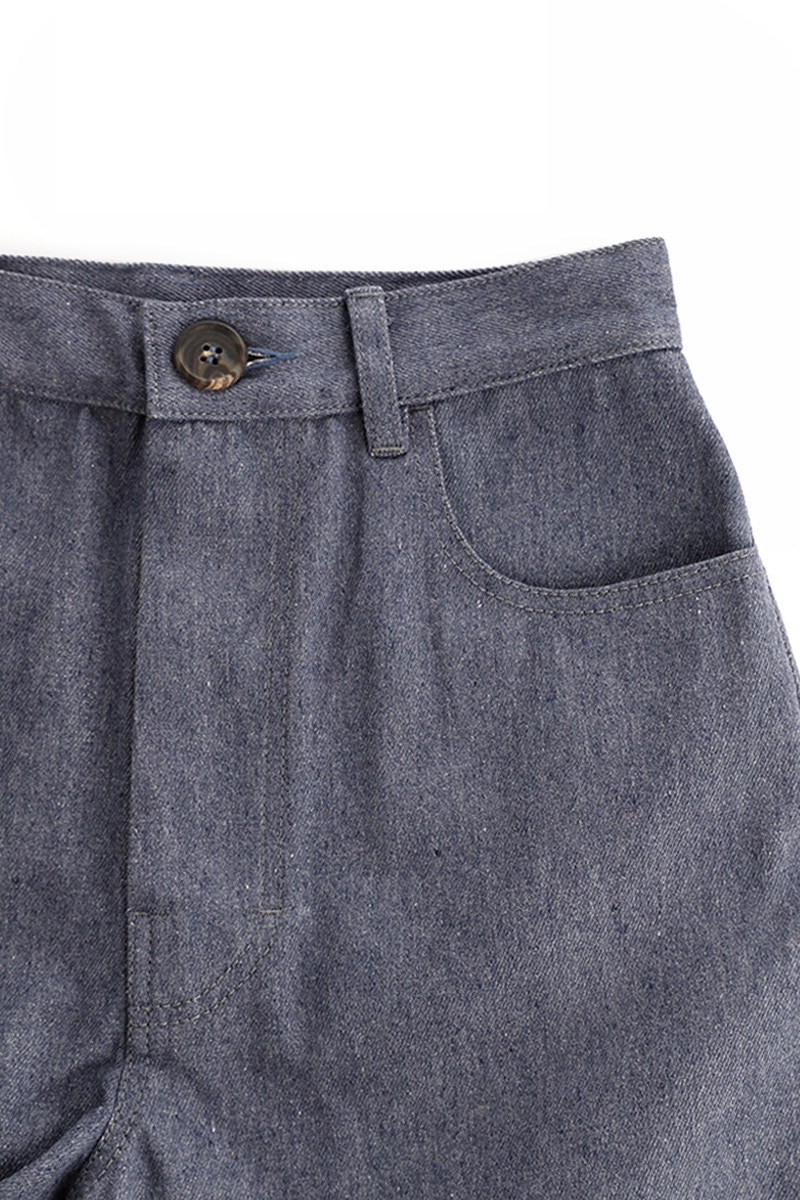
It’s time to add your button and buttonhole!
Sew a buttonhole on the left waistband as indicated on the waistband pattern piece. If your button varies in size to the recommended you will need to adjust the length of your buttonhole accordingly.
Install, or sew on, your button on the right waistband, opposite the buttonhole.
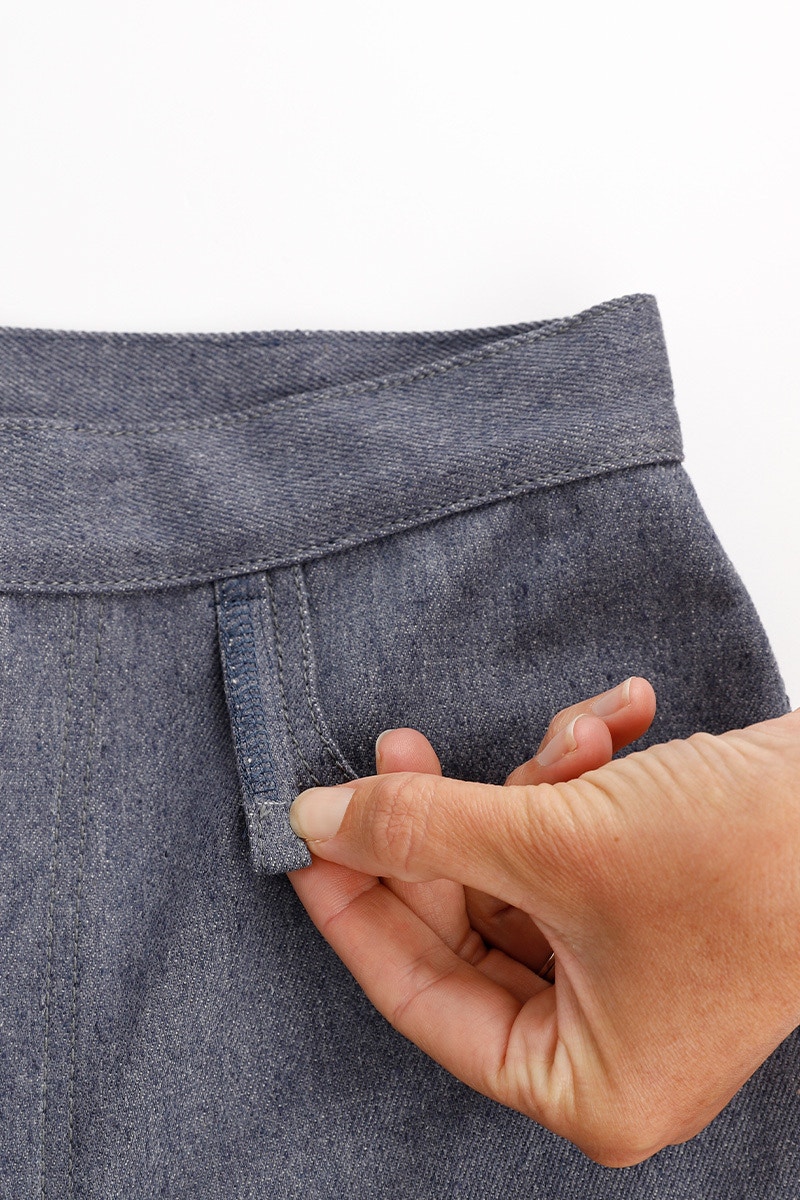
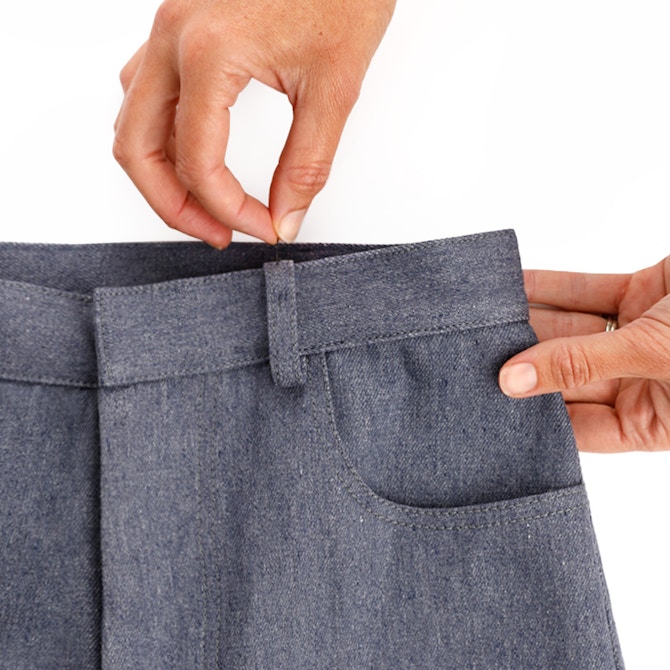
To complete your belt loops, flip each belt loop up.
Fold under the free end of the belt loop so the edge of the belt loop is in line with the top of the waistband.
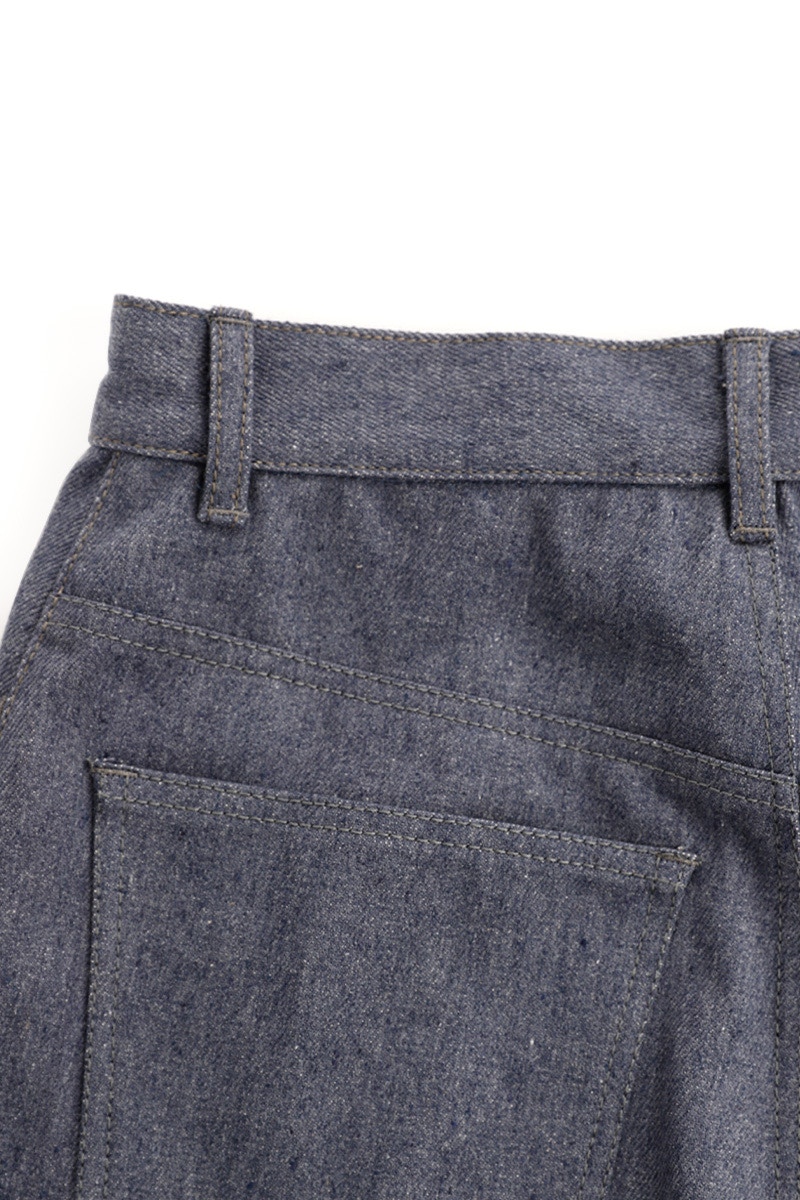
Top stitch along the top and bottom edges of the belt loops, or bar tack at each edge to secure.
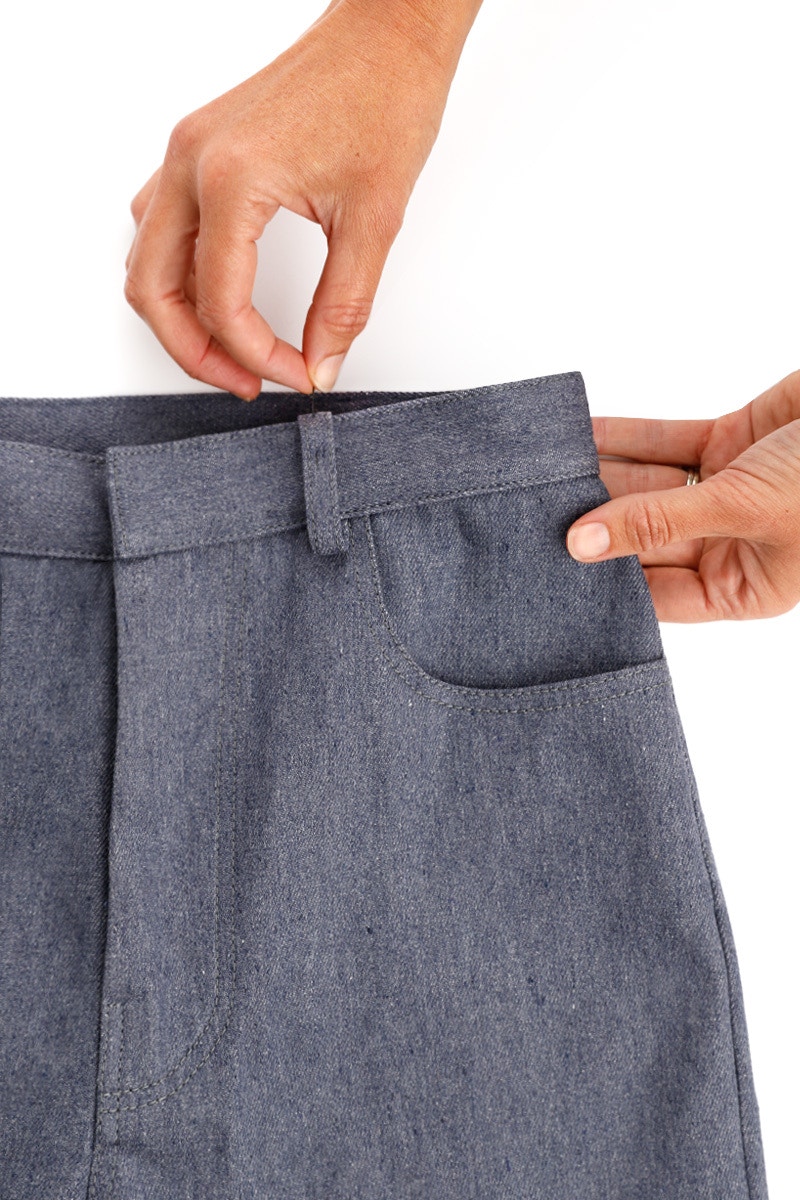
Now it is time to add bar tacks.
Make sure the fly guard is sitting flat behind the zip then sew two bar tacks, one at the top of the centre front crotch top stitching and one parallel to the first, in the fly top stitching. Stitch your bar tacks through all the layers..
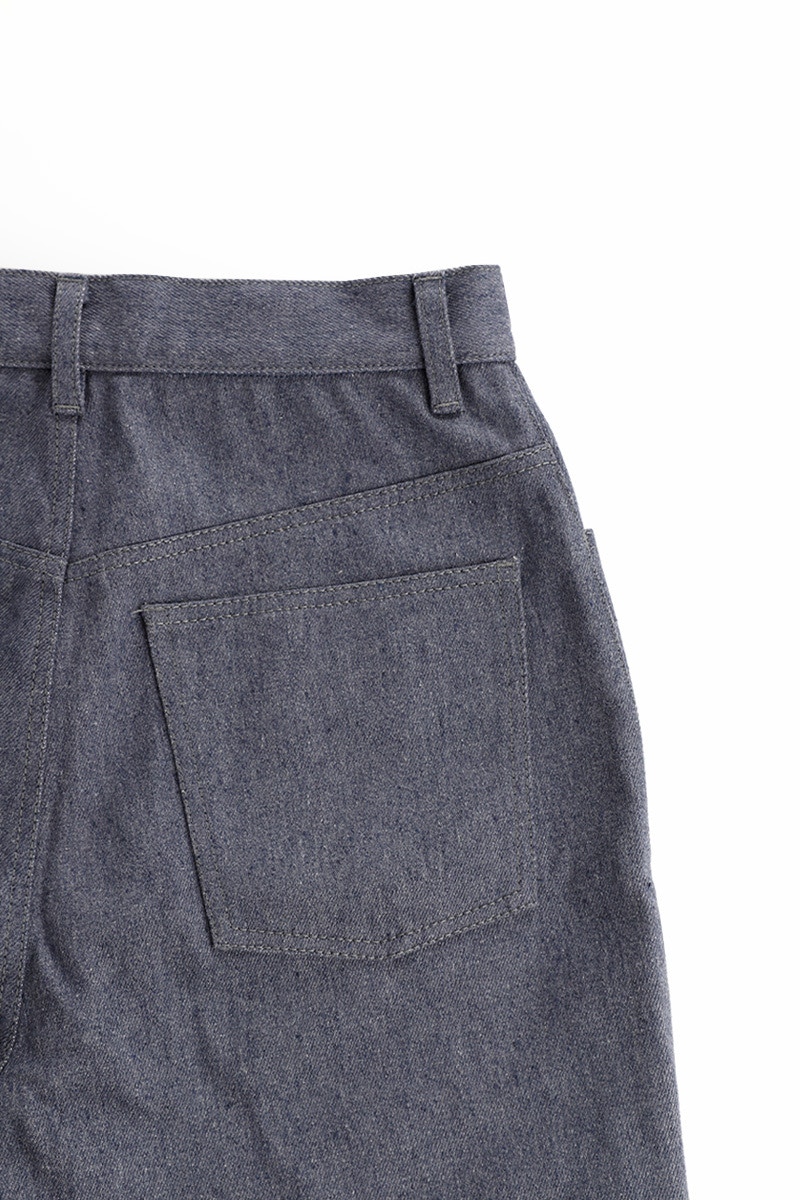
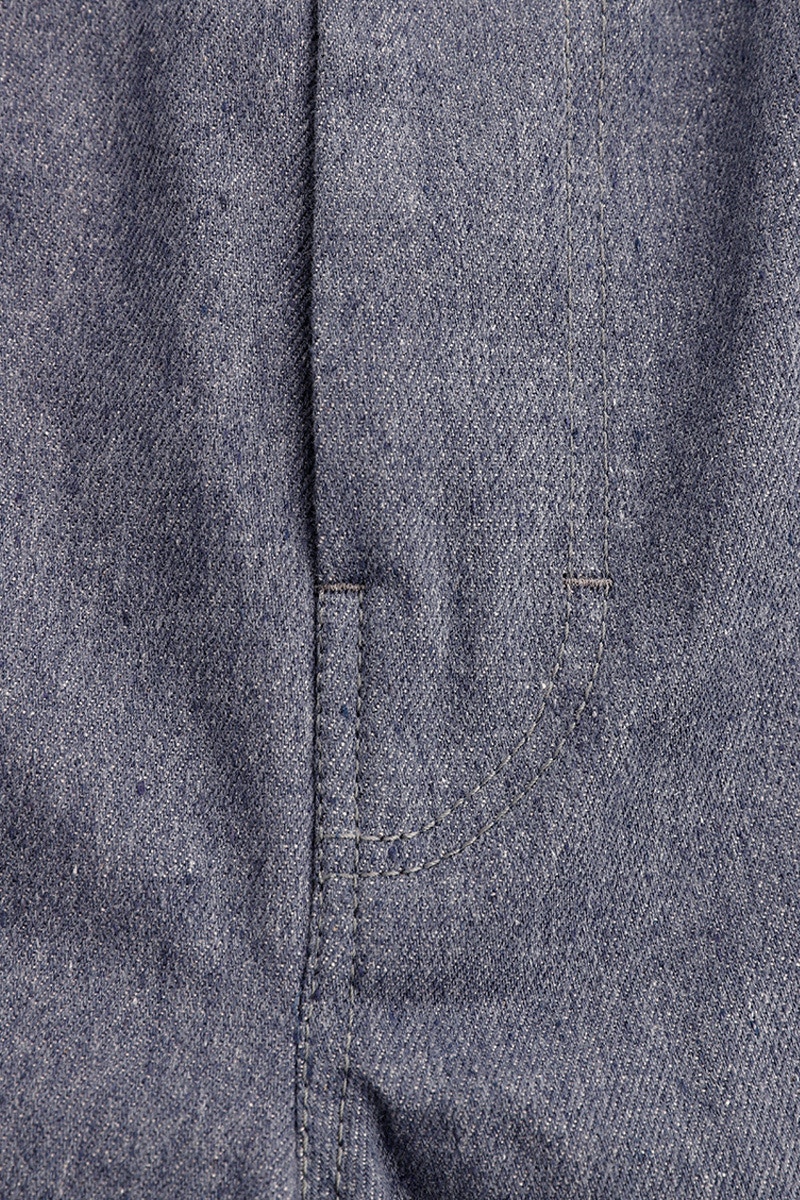
In addition to the belt loops and fly, bar tacks can also be sewn at some key stress points on your jean for added longevity. These are located at each corner of the coin pocket, the side seams and waist edges of the front pockets, and each corner of the back pockets.
Alternatively, if you are using rivets, attach them at these locations.
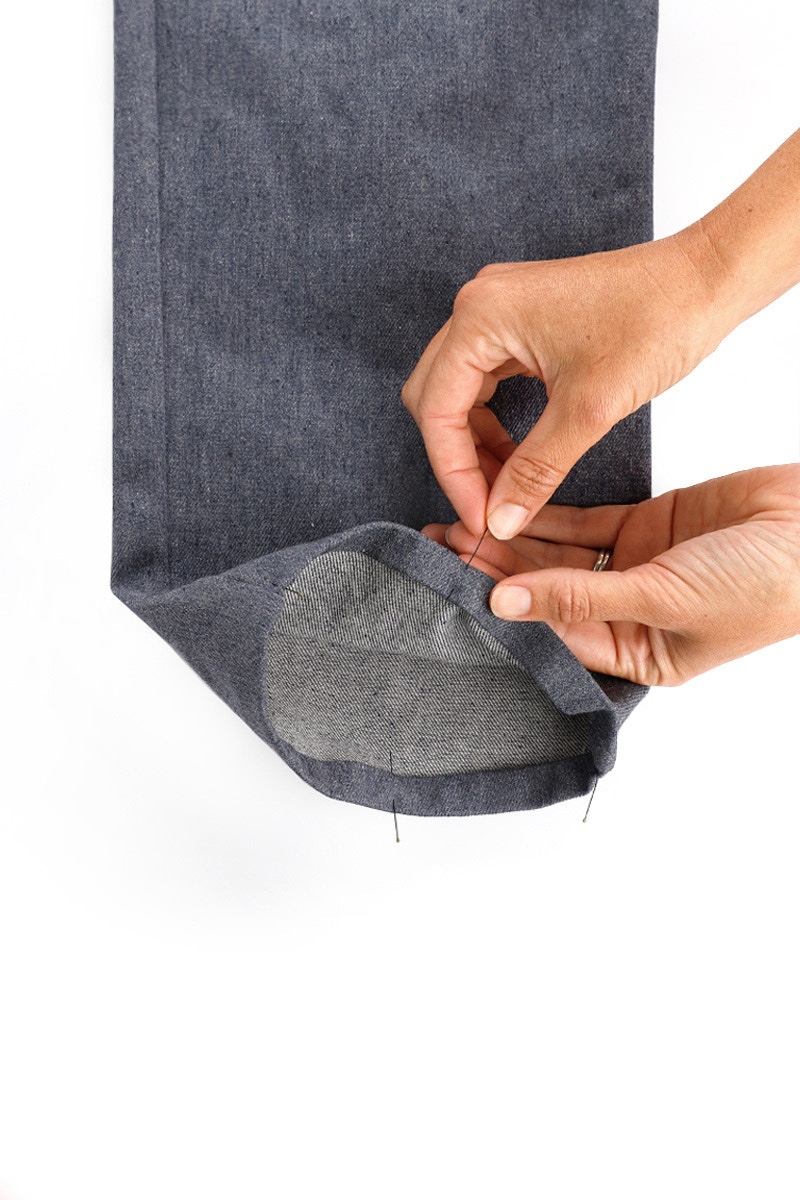
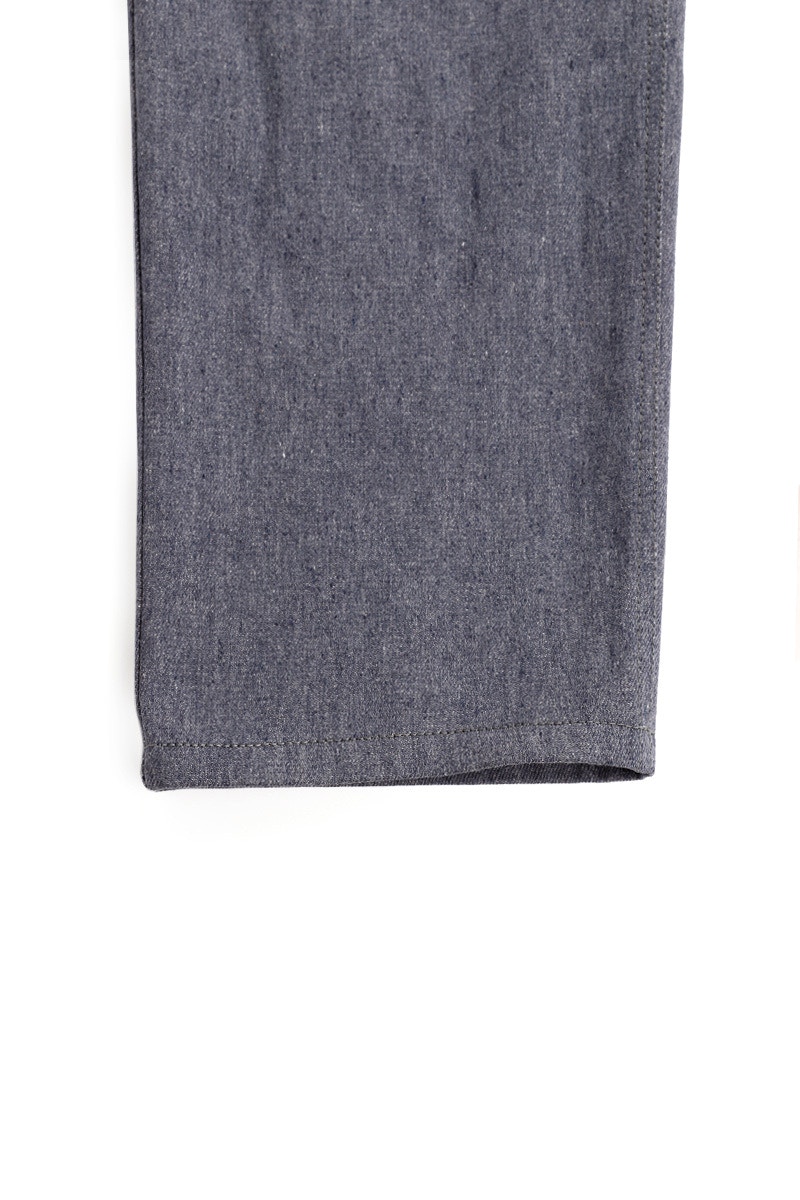
At the bottom of your jeans, fold up the hem 1.5cm, two times, and then press. Top stitch from the right side at 1.3cm, making sure you are catching the folded hem on the wrong side as you are sewing.
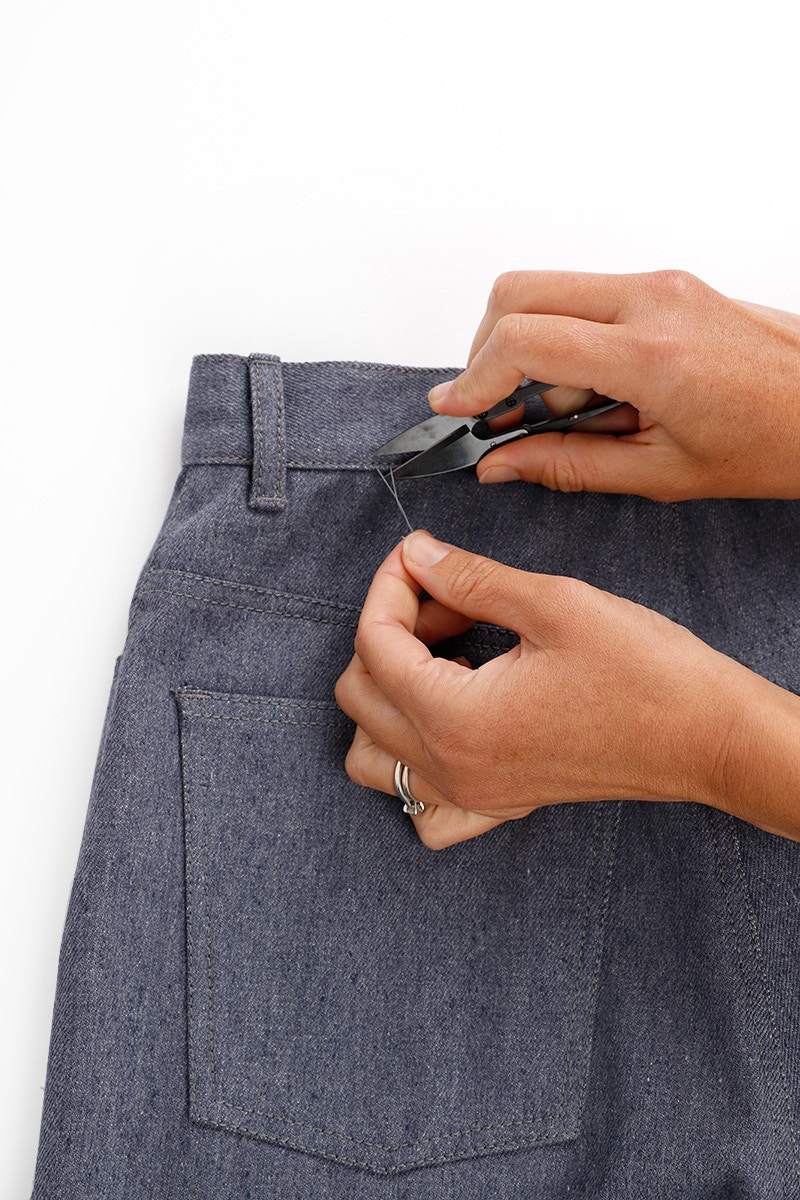
Clip any loose threads.
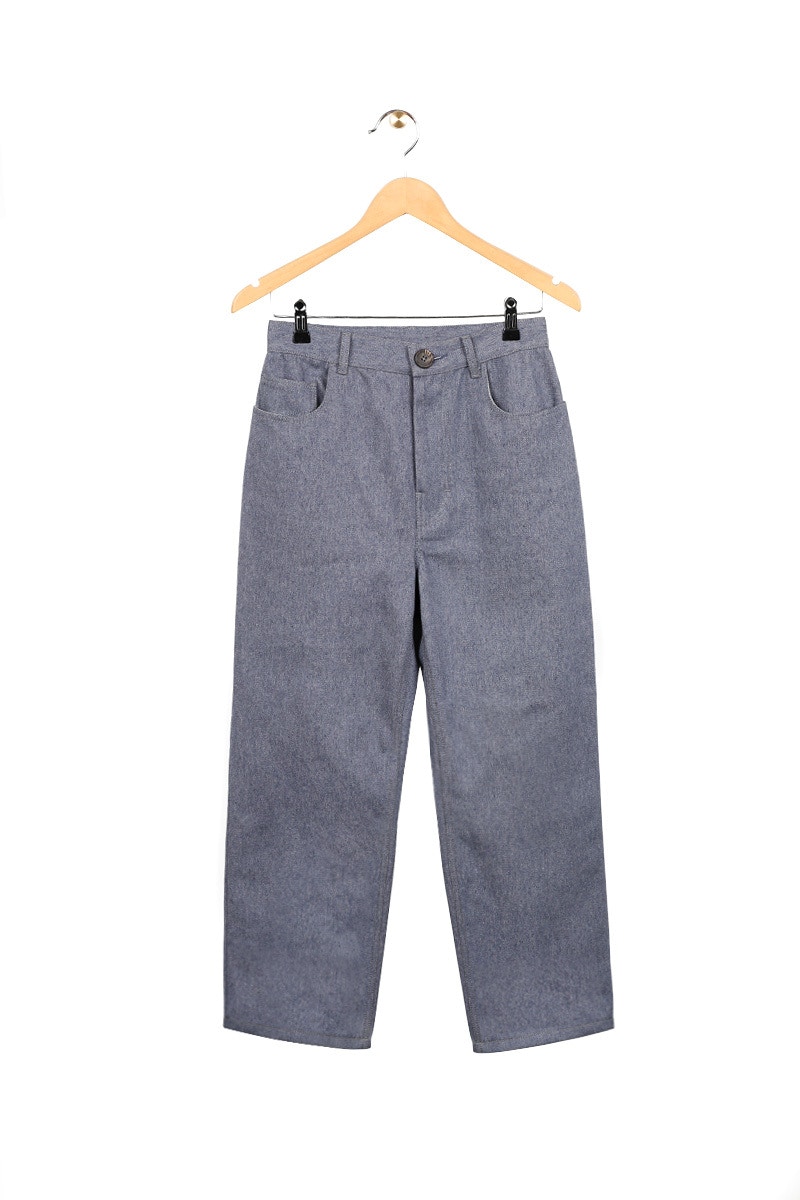
Give your jean a final press. You’re all done!
Check out the May Jean pattern in our Online Store here.
Don't forget you can always email us via patterns@thefabricstore.co.nz if you need advice!
May makes from our wonderful community are also popping up over on Instagram, follow @makebytfs and use #TFSMay so others can check out your creations!