![Assembling title square 2](https://fabric-store.imgix.net/Blog/Make-by-TFS/May/May-Jean-Sew-Along/5-Assemble-Jean/assembling_title_square_2.jpg?auto=format&fp-x=0.5&fp-y=0.5&ixlib=php-3.3.1&q=85&w=670)
5 — Assemble the Jean
26—April 2022
Now we will start to assemble your jean!
![1 pinning crotch](https://fabric-store.imgix.net/Blog/Make-by-TFS/May/May-Jean-Sew-Along/5-Assemble-Jean/1_pinning_crotch.jpg?auto=format&fp-x=0.5&fp-y=0.5&ixlib=php-3.3.1&q=85&w=800)
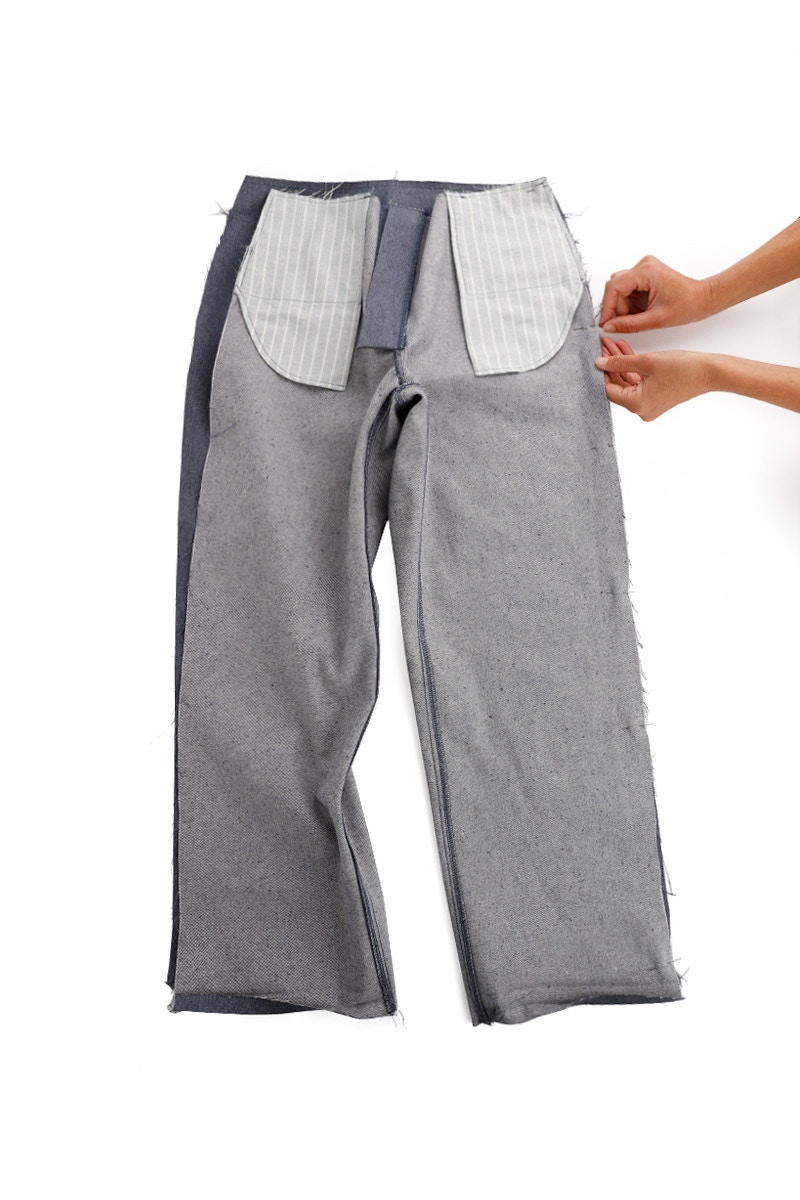
With the right sides together, pin the front to the back through the inseam, matching the seams and notches. Sew them together at 1cm and then neaten the raw edge.
Press the seam towards the front.
![4 crotch topstitch close](https://fabric-store.imgix.net/Blog/Make-by-TFS/May/May-Jean-Sew-Along/5-Assemble-Jean/4_crotch_topstitch_close.jpg?auto=format&fp-x=0.5&fp-y=0.5&ixlib=php-3.3.1&q=85&w=800)
![3 crotch seam topstitch](https://fabric-store.imgix.net/Blog/Make-by-TFS/May/May-Jean-Sew-Along/5-Assemble-Jean/3_crotch_seam_topstitch.jpg?auto=format&fp-x=0.5&fp-y=0.5&ixlib=php-3.3.1&q=85&w=800)
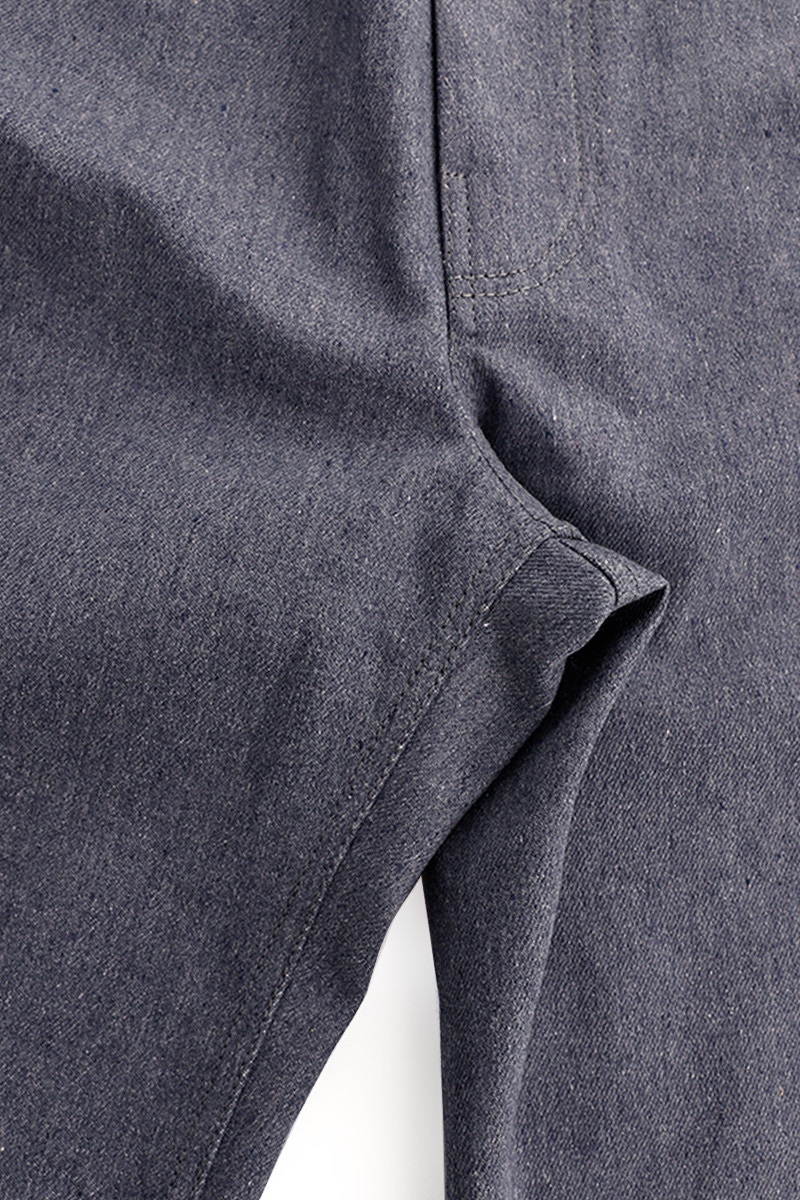
Top stitch the seam on the right side with two rows of stitching 6mm apart.
![New 6 pinning outerlegs6 assembling jean](https://fabric-store.imgix.net/Blog/Make-by-TFS/May/May-Jean-Sew-Along/5-Assemble-Jean/new_6_pinning_outerlegs6_assembling_jean.jpg?auto=format&fp-x=0.5&fp-y=0.5&ixlib=php-3.3.1&q=85&w=800)
![7 outer leg seam overlock](https://fabric-store.imgix.net/Blog/Make-by-TFS/May/May-Jean-Sew-Along/5-Assemble-Jean/7_outer_leg_seam_overlock.jpg?auto=format&fp-x=0.5&fp-y=0.5&ixlib=php-3.3.1&q=85&w=800)
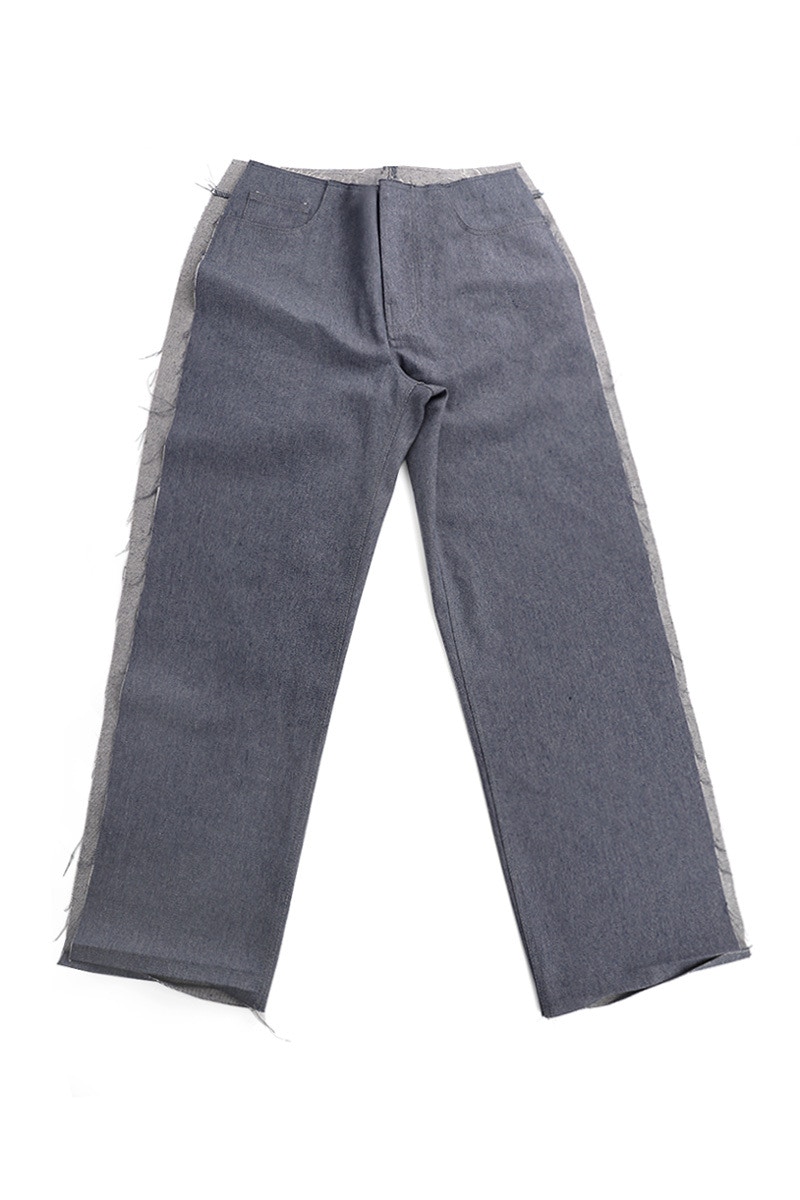
Next, with the right sides together, pin front to the back at the side seam. Sew at 1cm then neaten the raw edge.
![8 pressing leg seam](https://fabric-store.imgix.net/Blog/Make-by-TFS/May/May-Jean-Sew-Along/5-Assemble-Jean/8_pressing_leg_seam.jpg?auto=format&fp-x=0.5&fp-y=0.5&ixlib=php-3.3.1&q=85&w=800)
Press the seam towards the back.
Repeat for the other side.
![9 marking side topstitch](https://fabric-store.imgix.net/Blog/Make-by-TFS/May/May-Jean-Sew-Along/5-Assemble-Jean/9_marking_side_topstitch.jpg?auto=format&fp-x=0.5&fp-y=0.5&ixlib=php-3.3.1&q=85&w=800)
![10 marked side topstitch chalk](https://fabric-store.imgix.net/Blog/Make-by-TFS/May/May-Jean-Sew-Along/5-Assemble-Jean/10_marked_side_topstitch_chalk.jpg?auto=format&fp-x=0.5&fp-y=0.5&ixlib=php-3.3.1&q=85&w=800)
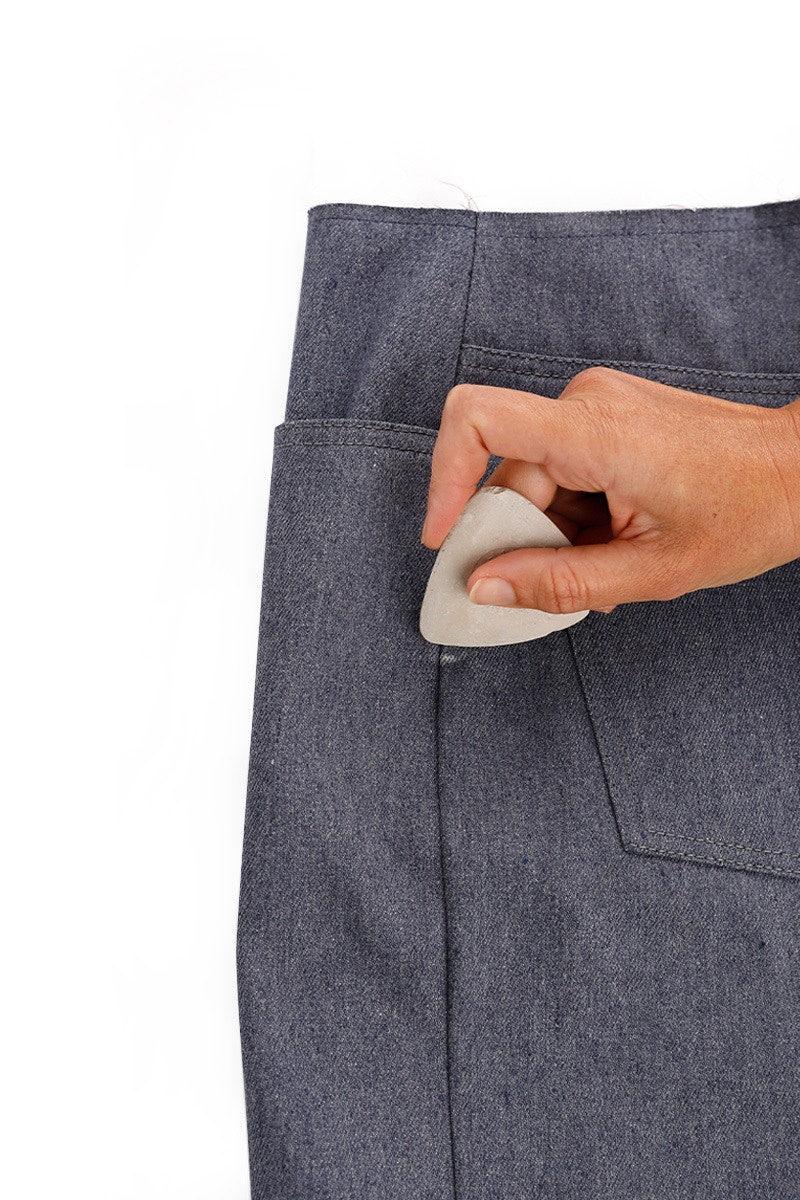
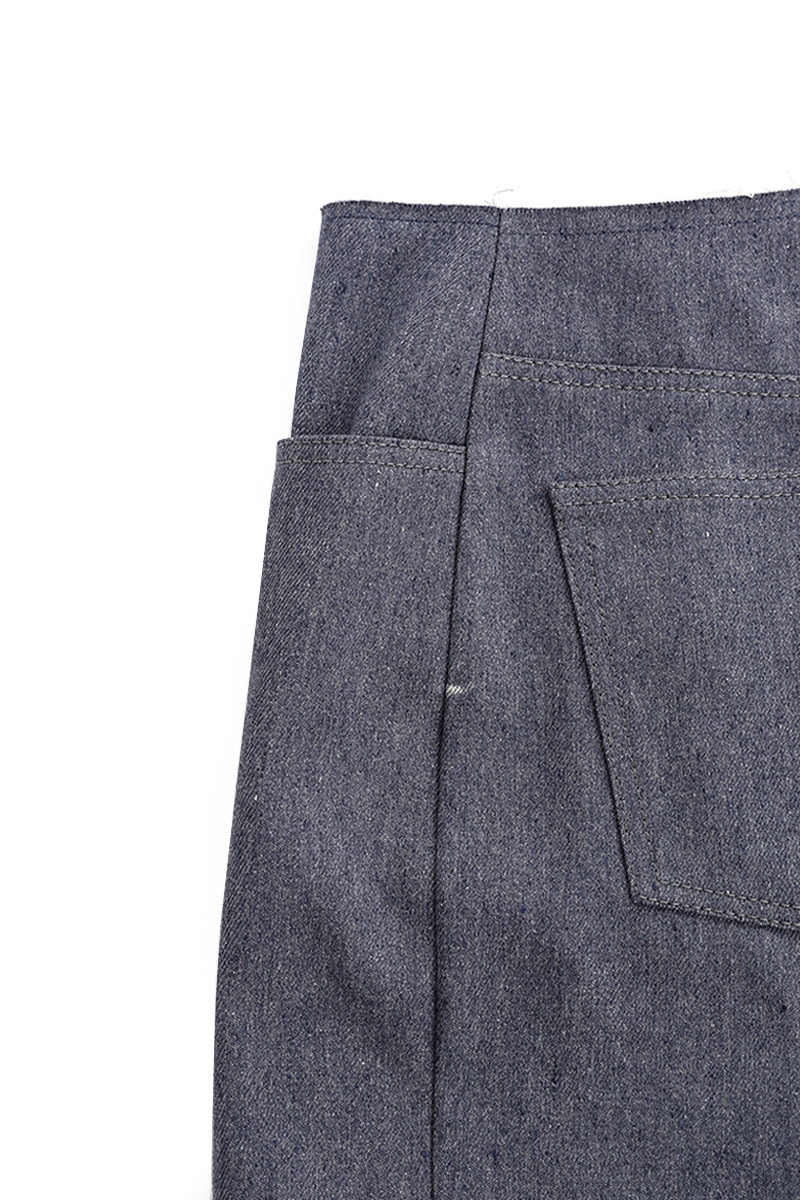
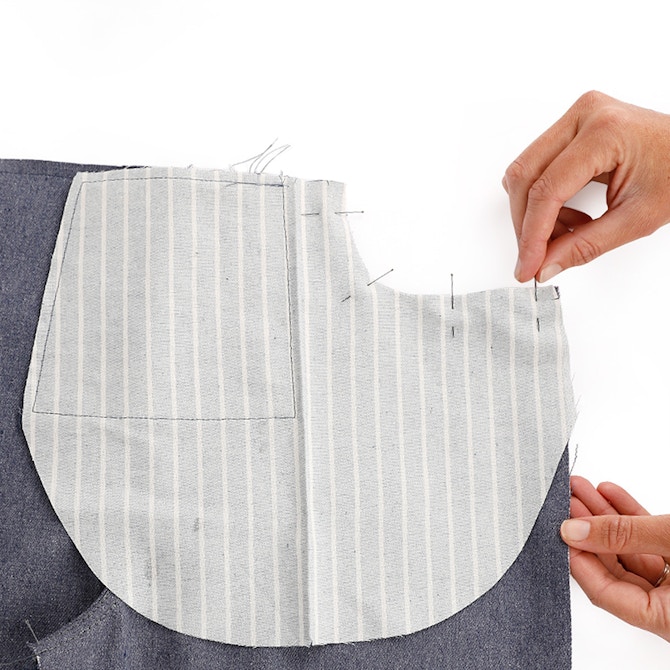
Turn the jean right side out. At the side seam, mark the bottom of the pocket bag using chalk or a pin.
![13 topstitched side seam](https://fabric-store.imgix.net/Blog/Make-by-TFS/May/May-Jean-Sew-Along/5-Assemble-Jean/13_topstitched_side_seam.jpg?auto=format&fp-x=0.5&fp-y=0.5&ixlib=php-3.3.1&q=85&w=800)
Using top stitching thread, edge stitch from the waist to the bottom of the pocket lining. Back tack 2-3 stitches at the bottom of the pocket bag, or pull the thread through to the wrong side and tie off with the bobbin thread.
In the next post, we will sew the belt loops and attach the waistband.
Check out the May Jean pattern in our Online Store here.
Don't forget you can always email us via patterns@thefabricstore.co.nz if you need advice!
May makes from our wonderful community are also popping up over on Instagram, follow @makebytfs and use #TFSMay so others can check out your creations!