6 — Belt Loops and Waistband
26—April 2022
We will now sew the belt loops and attach the waistband.
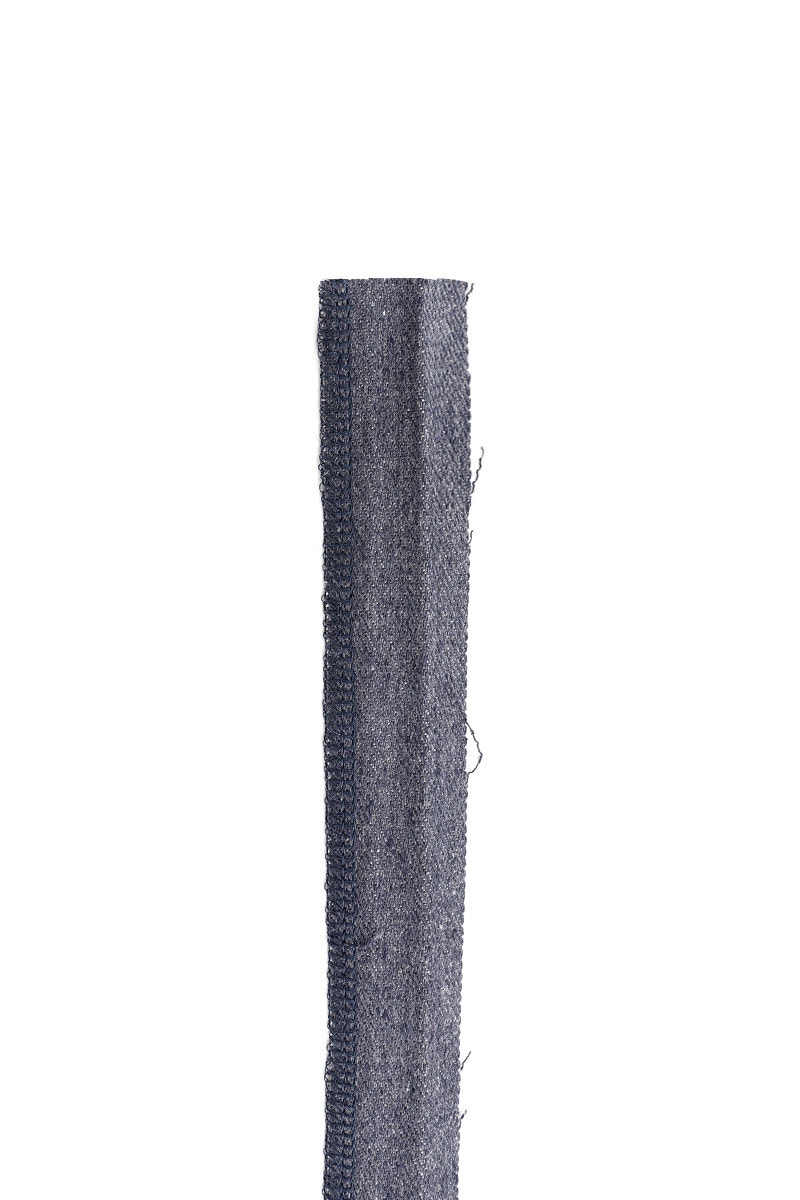

Neaten one long edge of the belt loop pieces. Fold the belt loops into three lengthways with the right side out and the finished edge on top.
Using top stitching thread, edge stitch the length of the belt loops on each side.
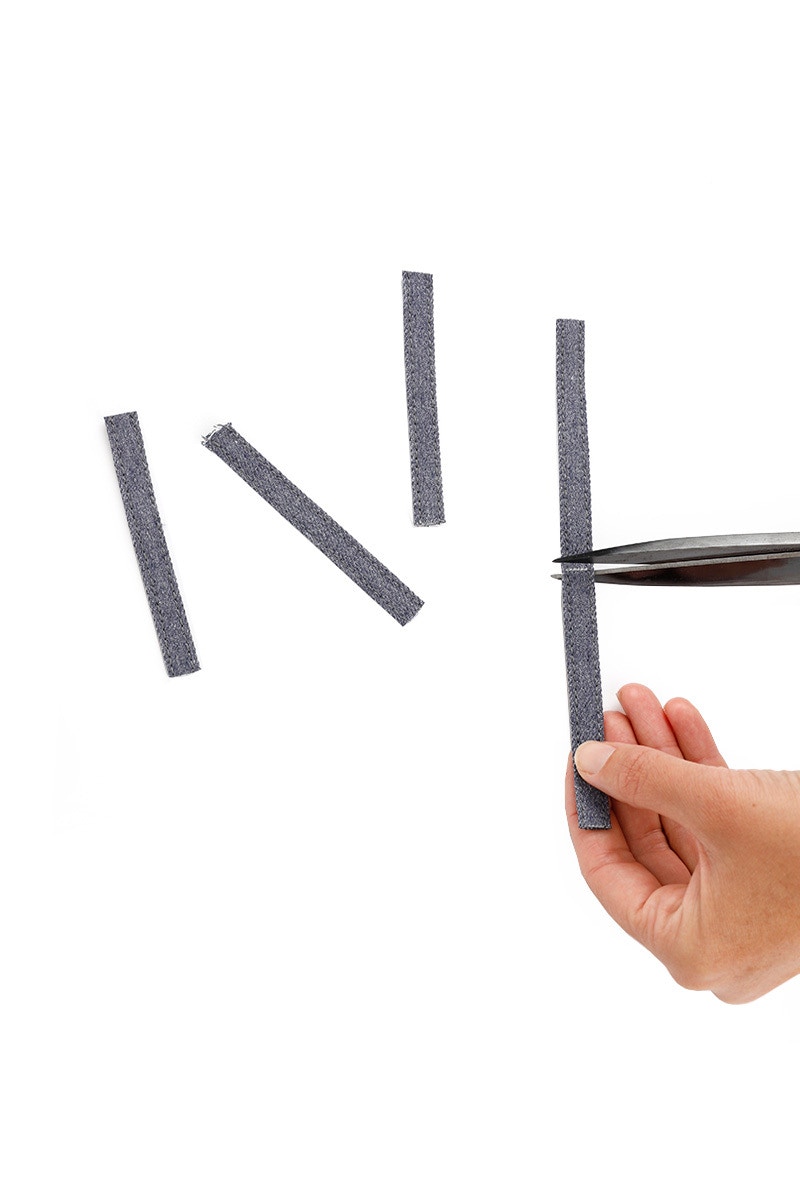
Cut the belt loops into five 10cm pieces.
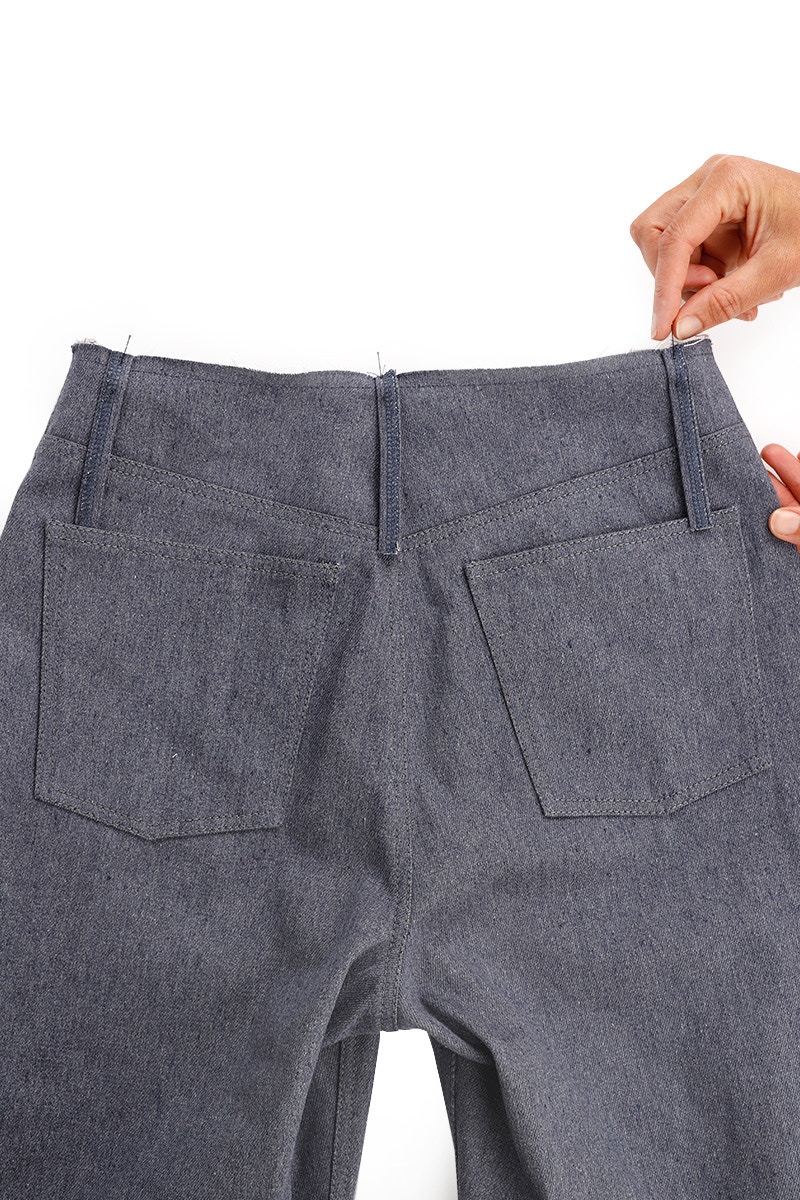
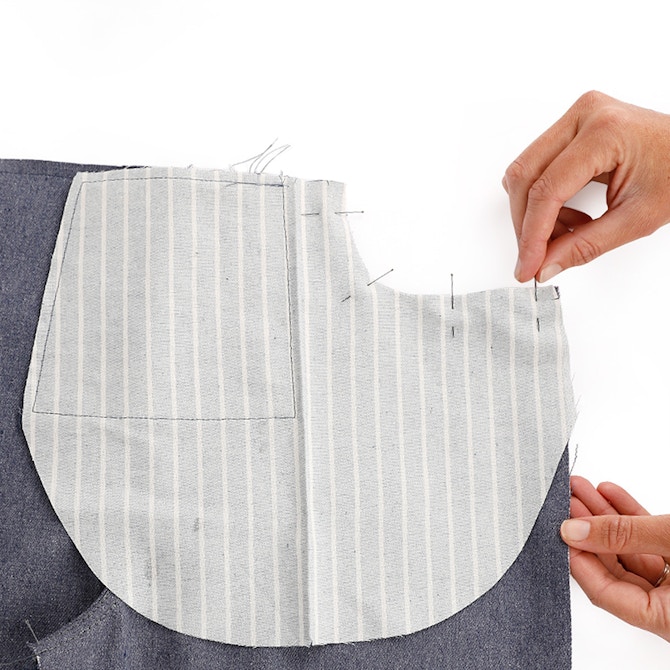
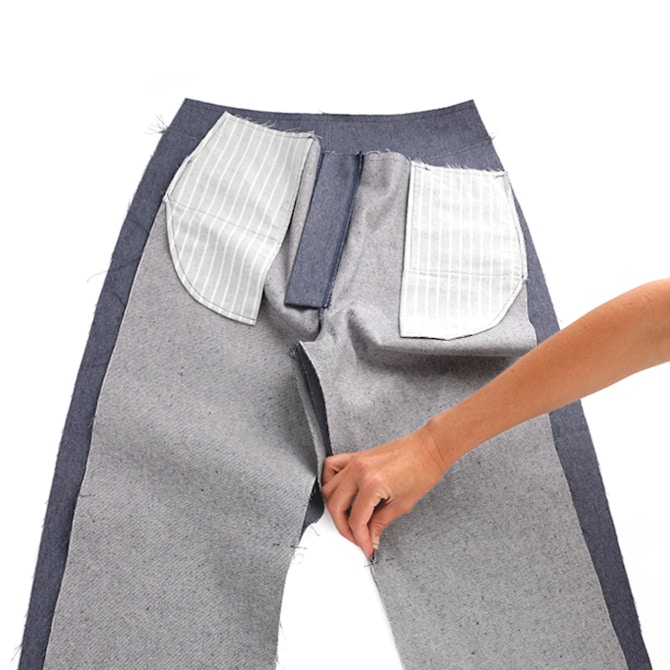
With the right sides together, place the belt loops at the waistline of your jeans. One belt loop sits over the top stitching at centre back. Two belt loops sit slightly to the back of each side seam, as indicated by a double notch on the yoke. The final two belt loops are placed next to the front pocket top stitching.
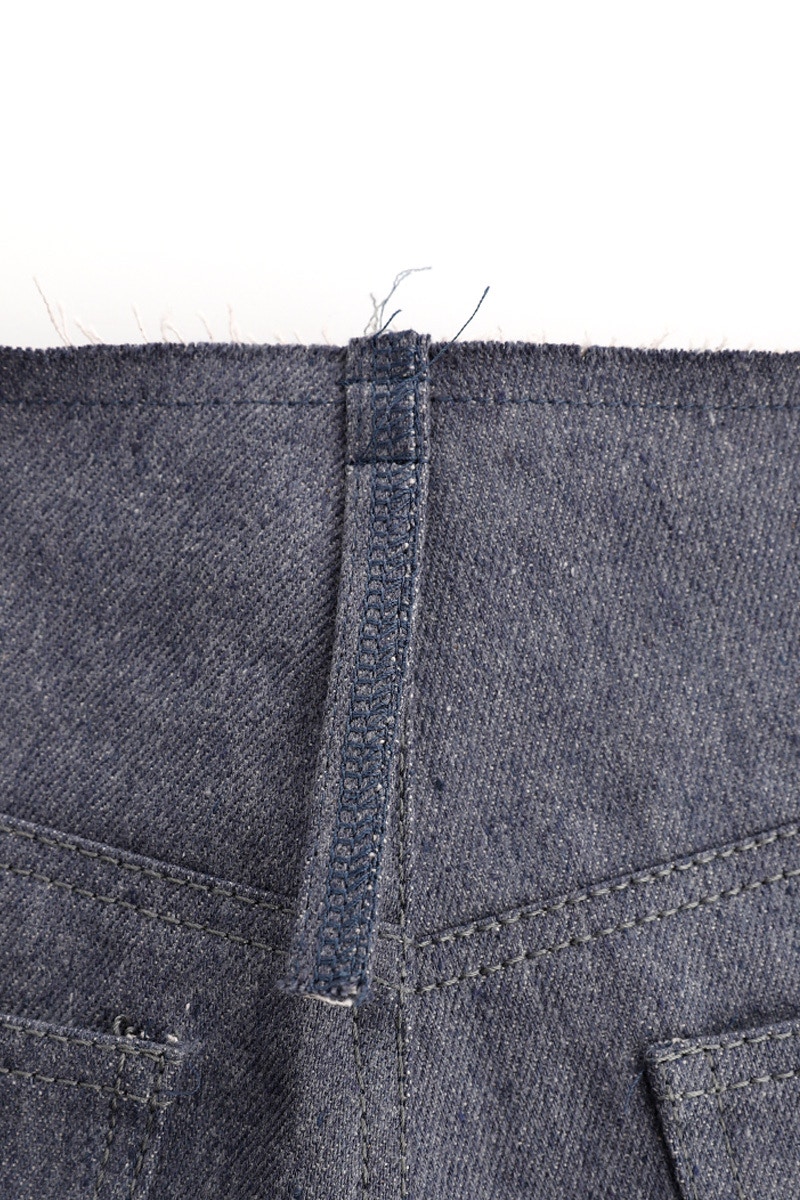
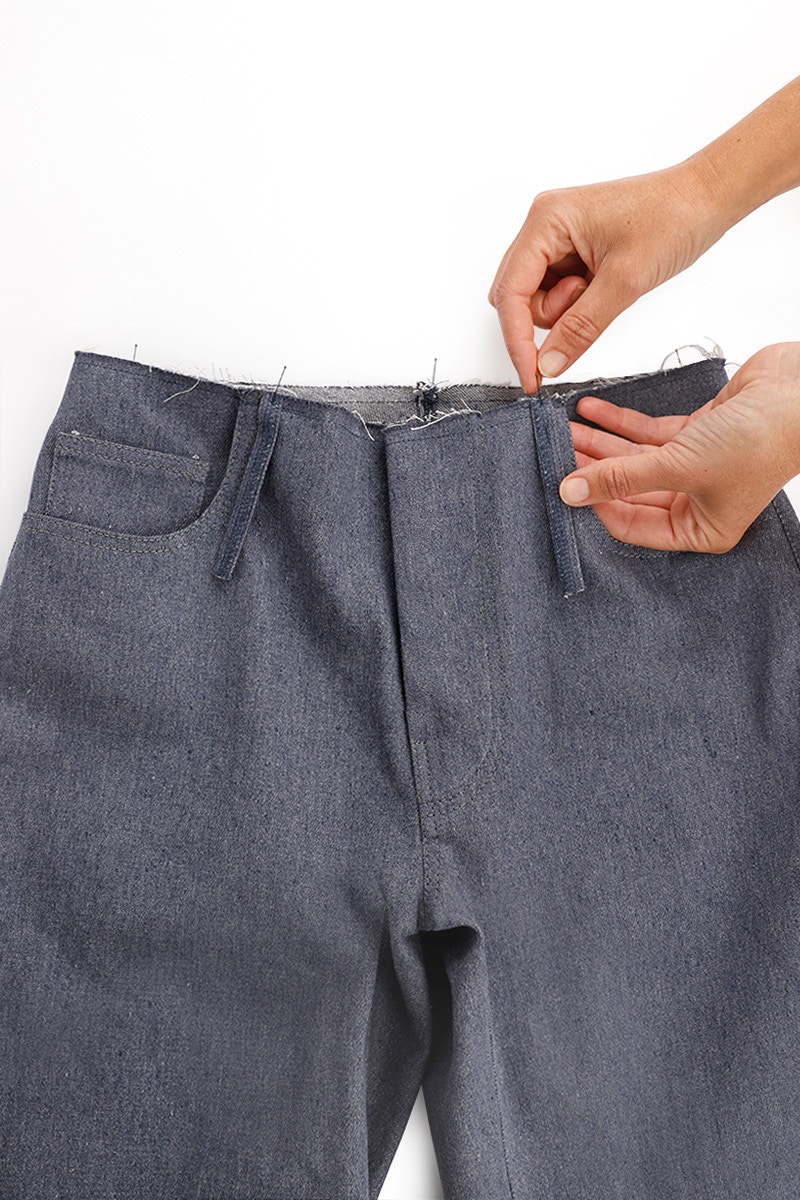
Stitch the belt loops in place at the waist edge, and again at 2.5cm from the waist edge.

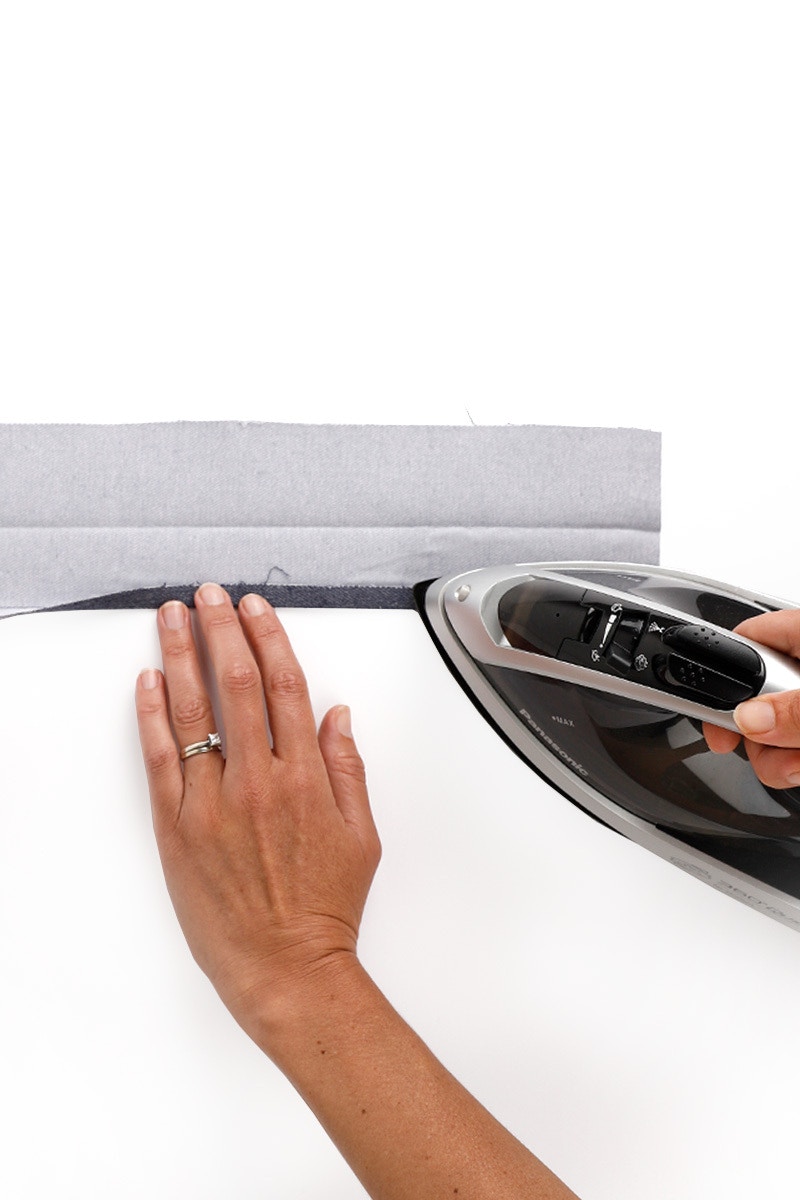
Machine baste a line of stitching at 1cm along the outer edge of the waistband piece.
Fold back the seam allowance 1cm to the wrong side using the basting as a guide and press.
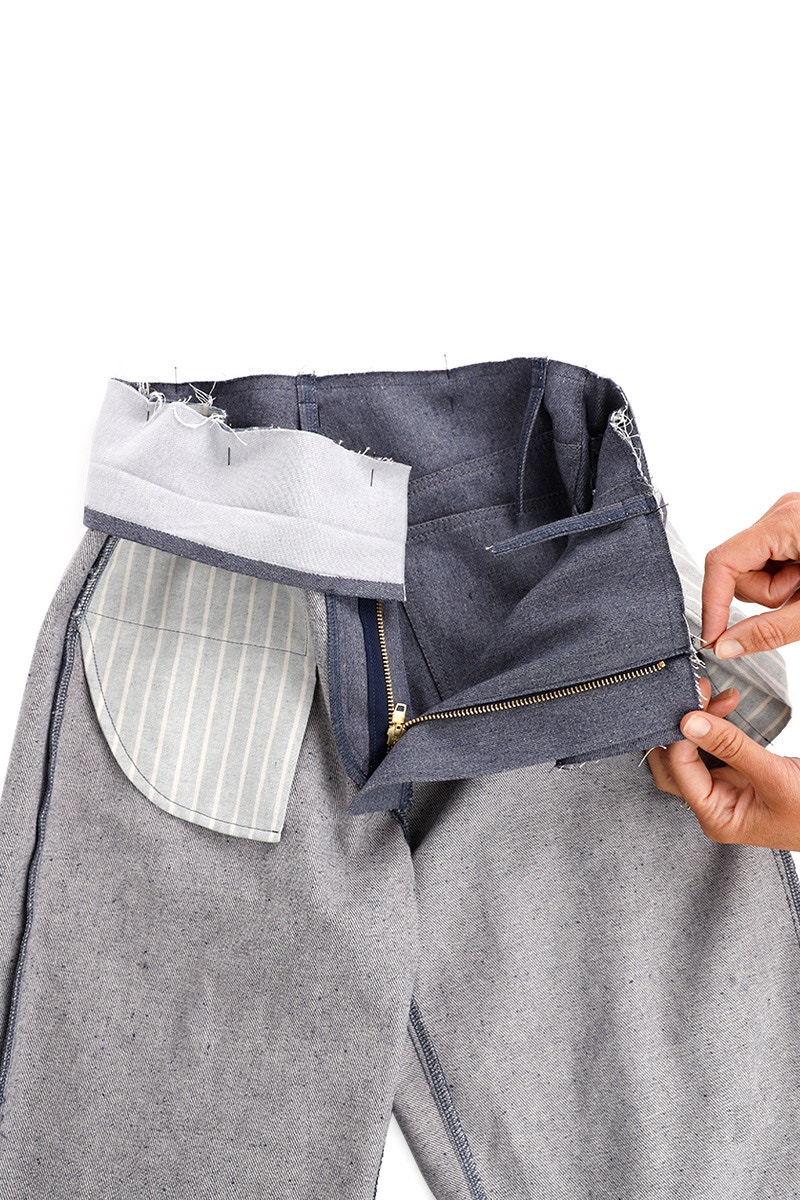
With the right side of the waistband facing the wrong side of the jeans, pin the two pieces together matching the notches and the seams. The waistband will extend past the centre front, and the fly guard by 1cm at each end.
The waistband measures slightly shorter than the waist of the jean itself. This helps the waistband sit closer to the body. Because of this, the jean will need to be eased into the waistband as you sew. If you are having trouble easing it in, try running a long ease stitch over each section to help bring the jean in a bit. Just be careful not to create any tucks in the fabric! A steamy iron can also help.
Sew the waistband to the jeans at 1cm.
Press the waistband and seam allowance up.
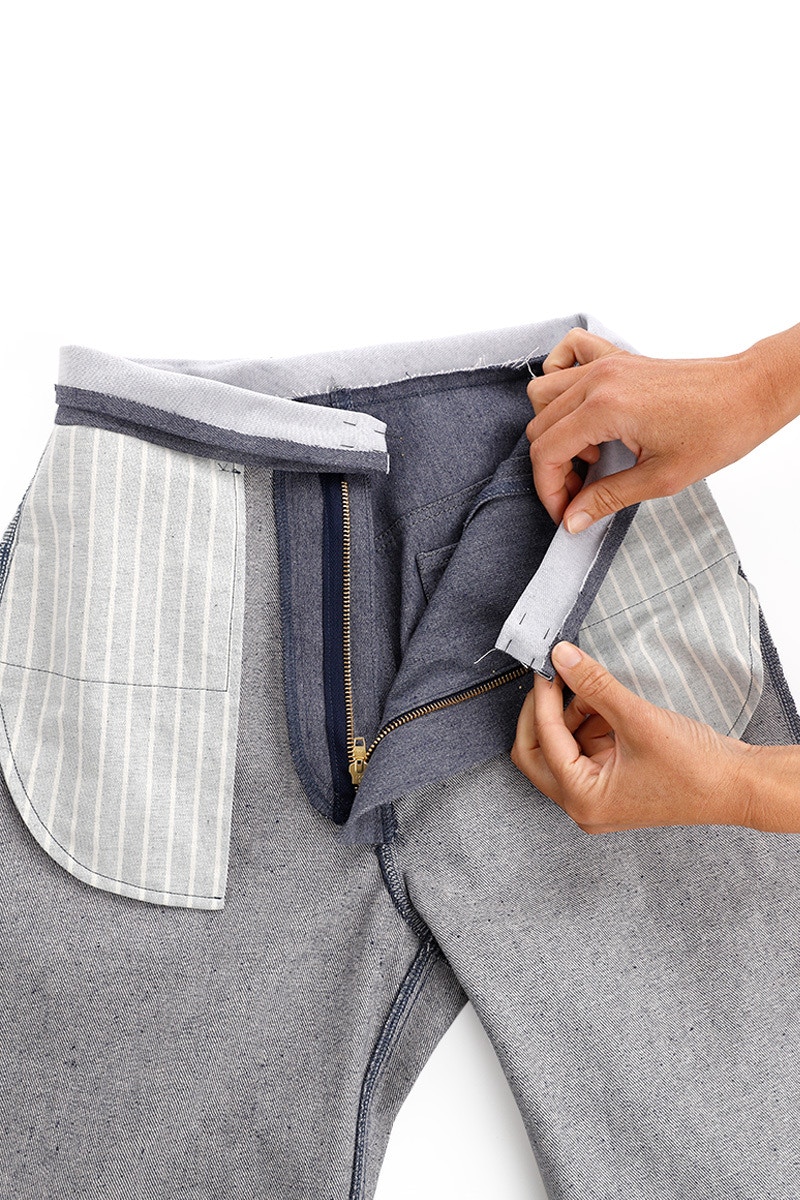
Fold the waistband in half, right sides together. This is opposite to the way you pressed this piece at the beginning. Keeping the seam allowances folded up, pin in place and then sew each short end of waistband closed.


Turn the waistband right side out, using a point turner to help get a nice, sharp corner. Depending on the thickness of your fabric, you might want to snip the corner to reduce bulk.
Give your waistband a press.
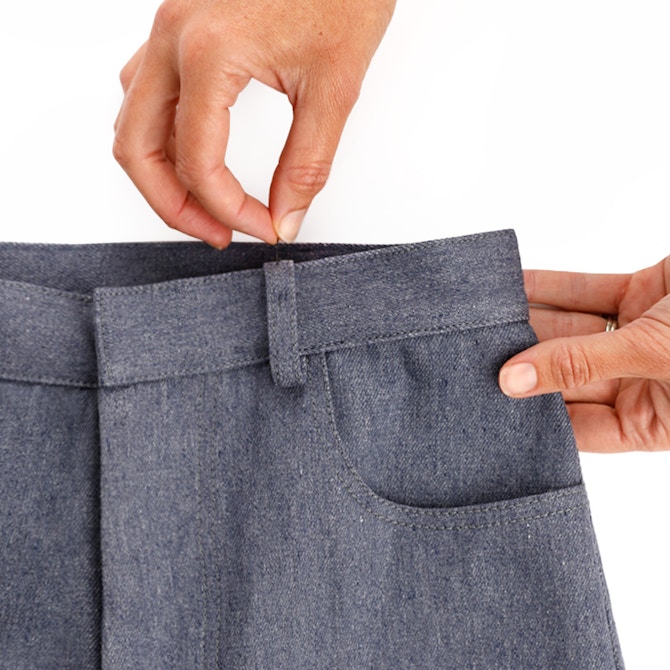
Pin the waistband closed. The edge of the waistband will meet with the last line of stitching you made.
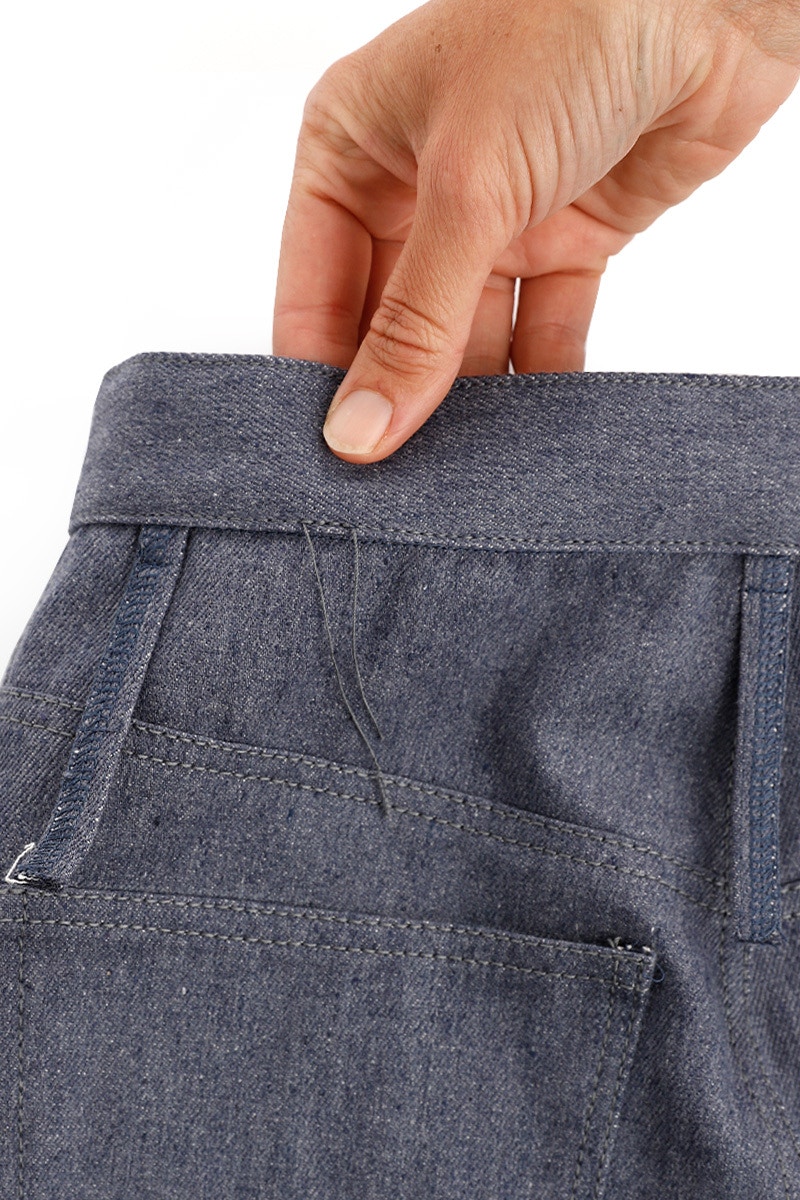

Edge stitch around the waistband with top stitching thread. Sew from the right side, starting and finishing on the lower edge, at the back.
You're almost finished, time for the finishing touches!
Check out the May Jean pattern in our Online Store here.
Don't forget you can always email us via patterns@thefabricstore.co.nz if you need advice!
May makes from our wonderful community are also popping up over on Instagram, follow @makebytfs and use #TFSMay so others can check out your creations!