May Jean Sew Along

1 — Pre-pressing
26—April 2022
We start your May Jean with a few sewing tips and then pre-pressing some pattern pieces.
Before you get started on your May Jean, here are a few sewing tips that can make the sewing process a bit smoother.
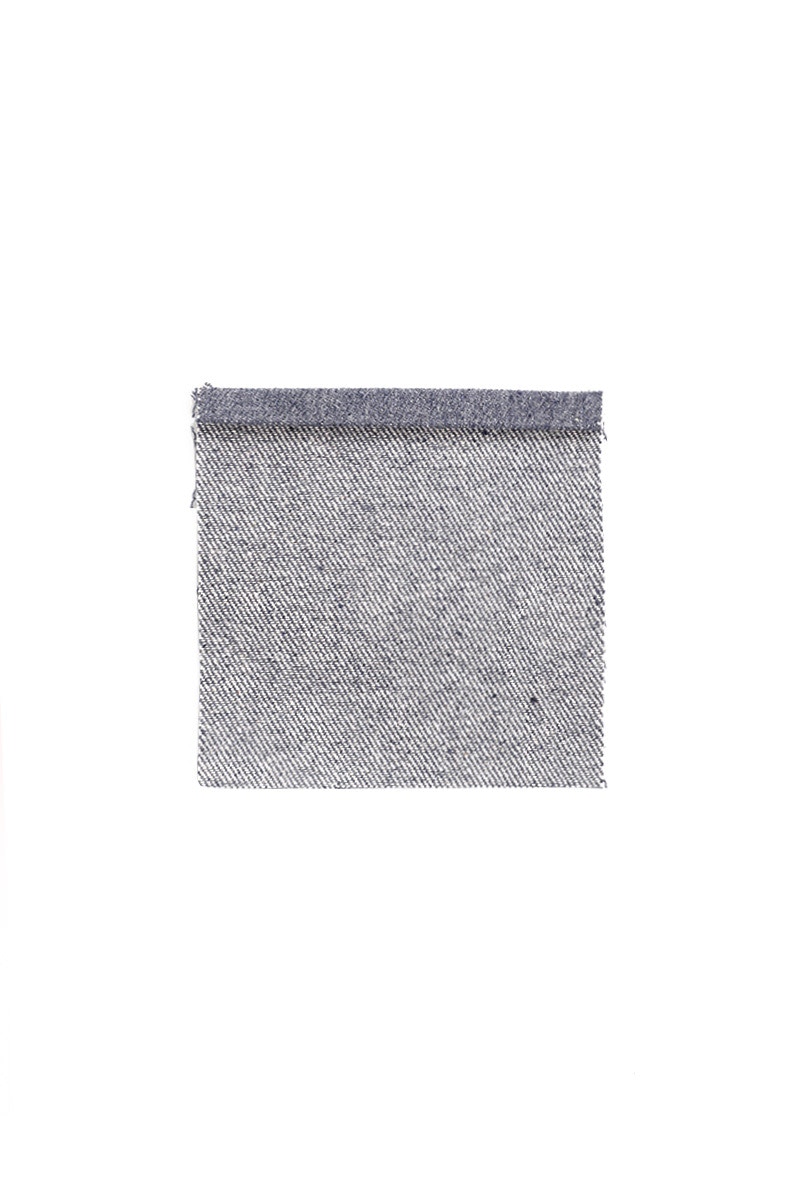
— Check your tension by sewing through a couple of layers of scrap denim. Make sure you check your tension with both regular thread and top stitching thread. You may also want to test sew some bar tacks and buttonholes at this point, and try installing a jeans button and rivets if you are using them.
— Make sure to use a denim/jeans needle, or one that is suitable for heavyweight fabrics. For best results use a new, sharp needle.
— Use top stitching thread for the needle only, and regular thread in the bobbin.
— When sewing the bulkier parts of your jean, try using a hump jumper to keep the top stitches even. A hump jumper is a tool that levels the presser foot when sewing particularly thick bits of fabric. You can also use folded fabric or cardboard to achieve the same effect.
— It is not usually necessary to back tack when using top stitching thread as the ends will be caught by a seam when assembling your jeans. Where it is necessary to secure a seam, eg, when top stitching the side seams, you can back tack a stitch or two. If your sewing machine finds back tacking with top stitching thread difficult, pull the top thread to the wrong side and secure the end of the seam with a knot.
— Using an edge stitch foot, if you have one, will help in getting an accurate finish when top stitching your jean.
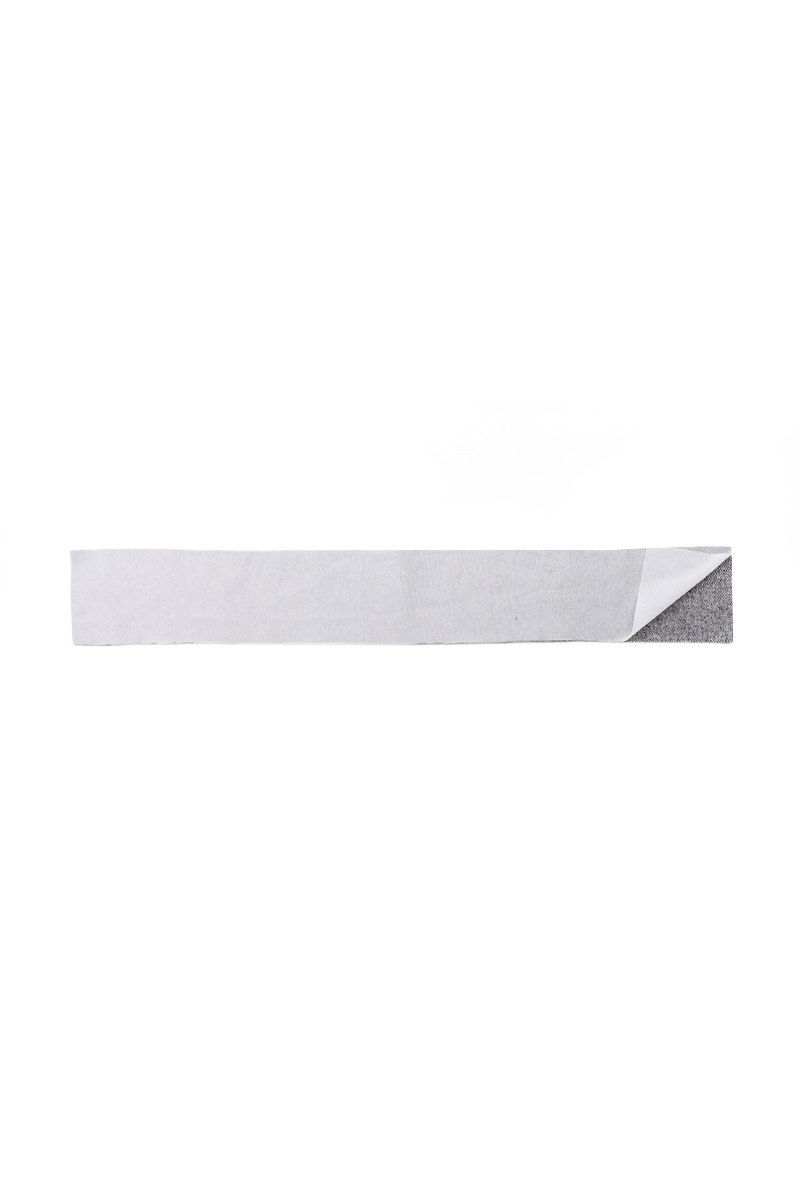
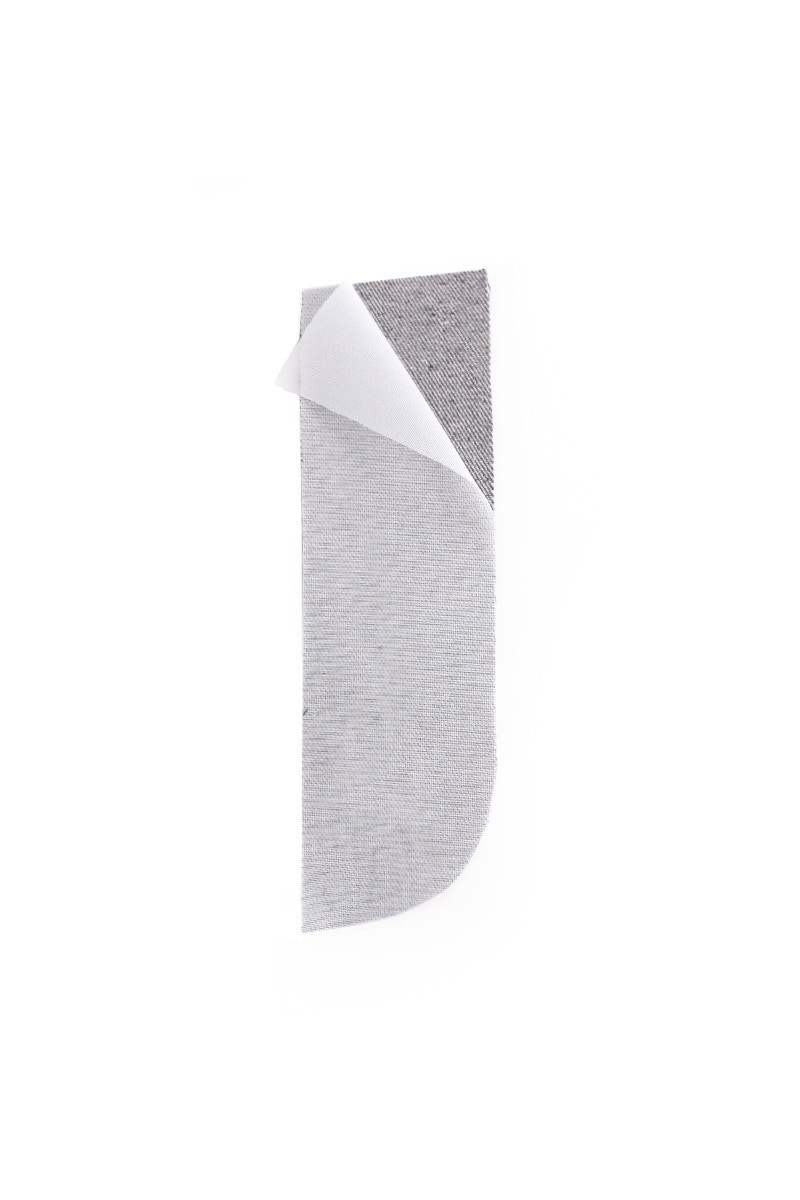
Depending on the weight of your denim you may choose to interface your waistband and fly facing. This can be done by block fusing, or piece fusing. If you do not wish to block fuse, you can piece fuse these pattern pieces. This means cutting out each pattern piece in both interfacing and your main fabric and then applying the interfacing to each piece separately. If you choose to piece fuse keep your pattern pieces close by for reference and make sure they don’t stretch out of shape.
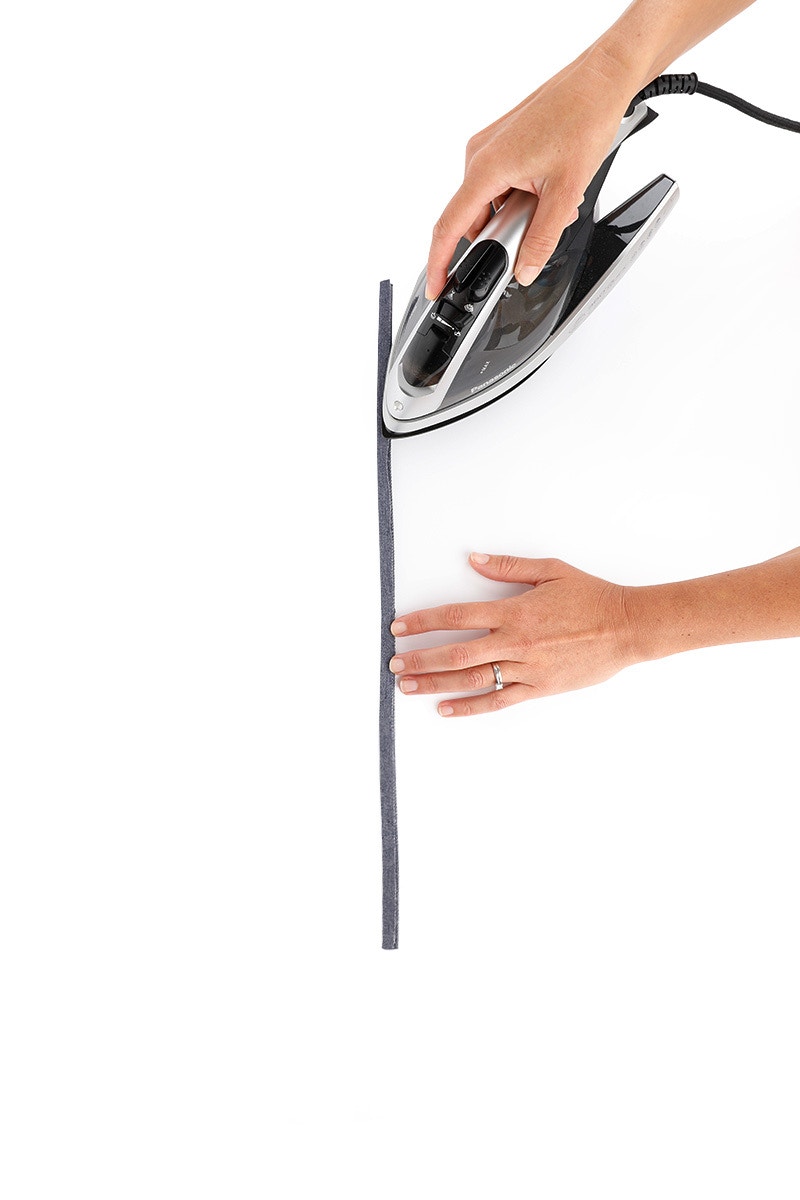
We strongly recommend that you use an iron to press some areas of your pieces before you begin sewing. This will help to ensure accuracy as you sew, as well as aid in giving your May Jean a neat and tidy finish.
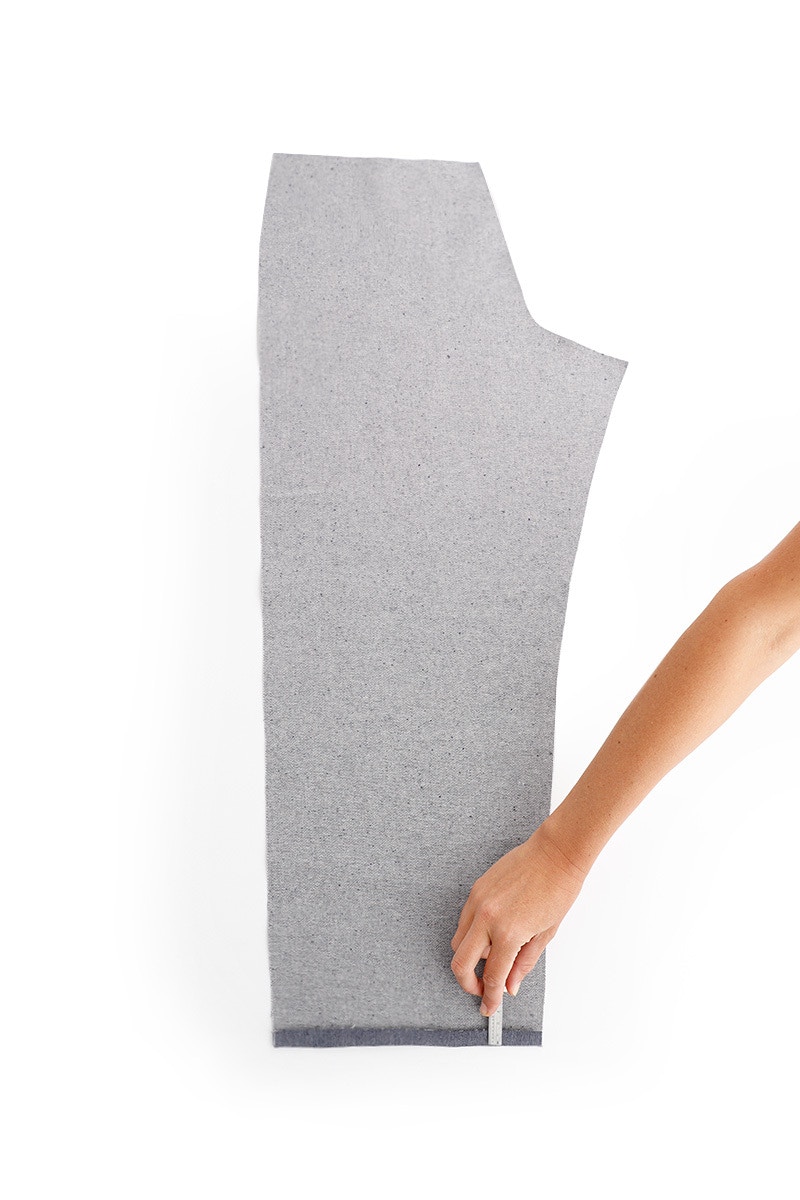
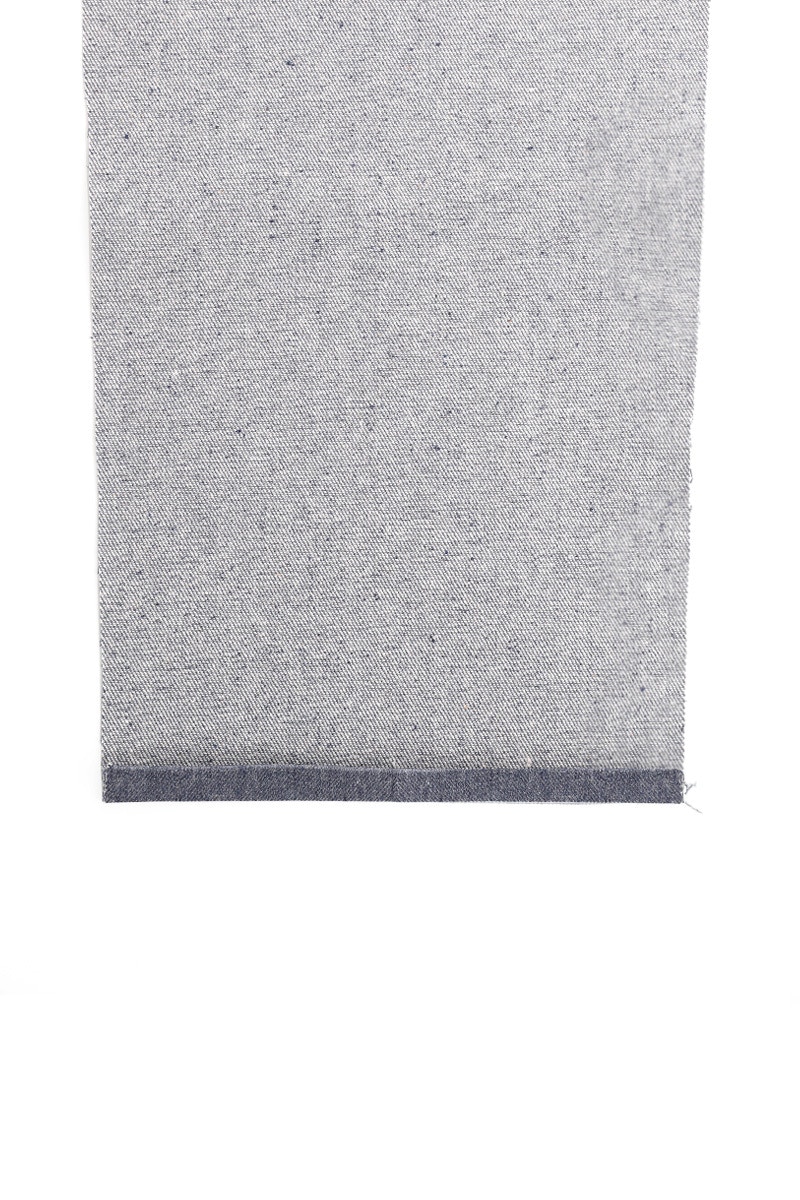
At the bottom of each front and back piece, fold back the hem 1.5cm to the wrong side and press. Fold the hem back 1.5cm a second time and press again. The finished hem depth will be 1.5cm.
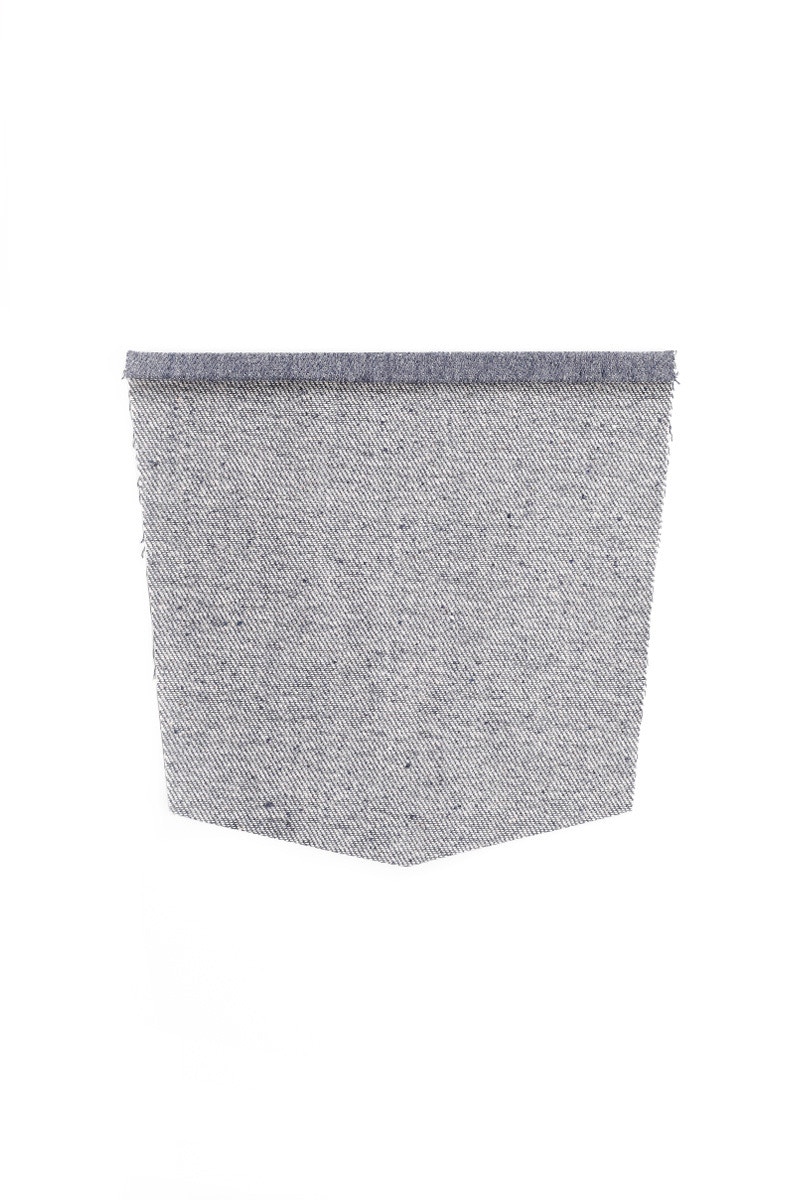
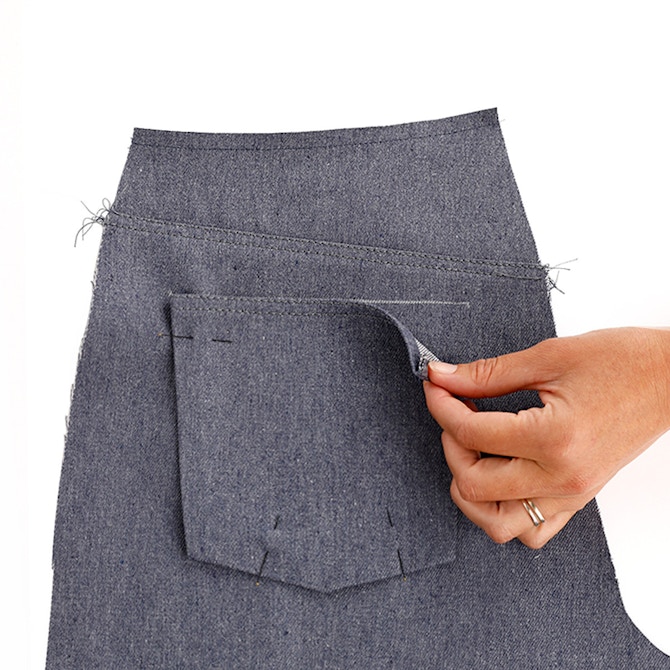
At the top of each back pocket fold the edge to the 1cm to the wrong side and press. Fold the edge back 1cm a second time and press again. The finished fold will measure 1cm.
At the top of the coin pocket fold the edge to the 1cm to the wrong side and press. Fold the edge back 1cm a second time and press again. The finished fold will measure 1cm.
Fold the fly guard in half, wrong sides together and press.
Fold the waistband in half length ways, with the wrong sides together. Press.
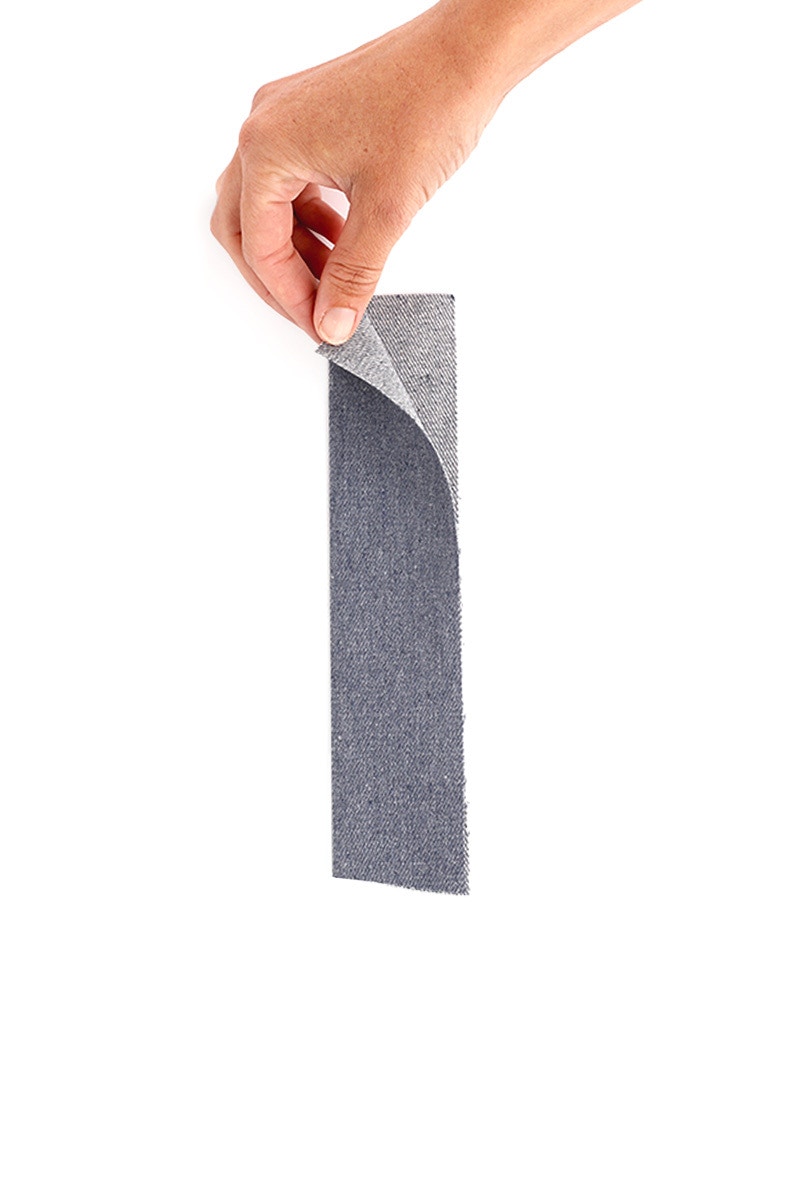
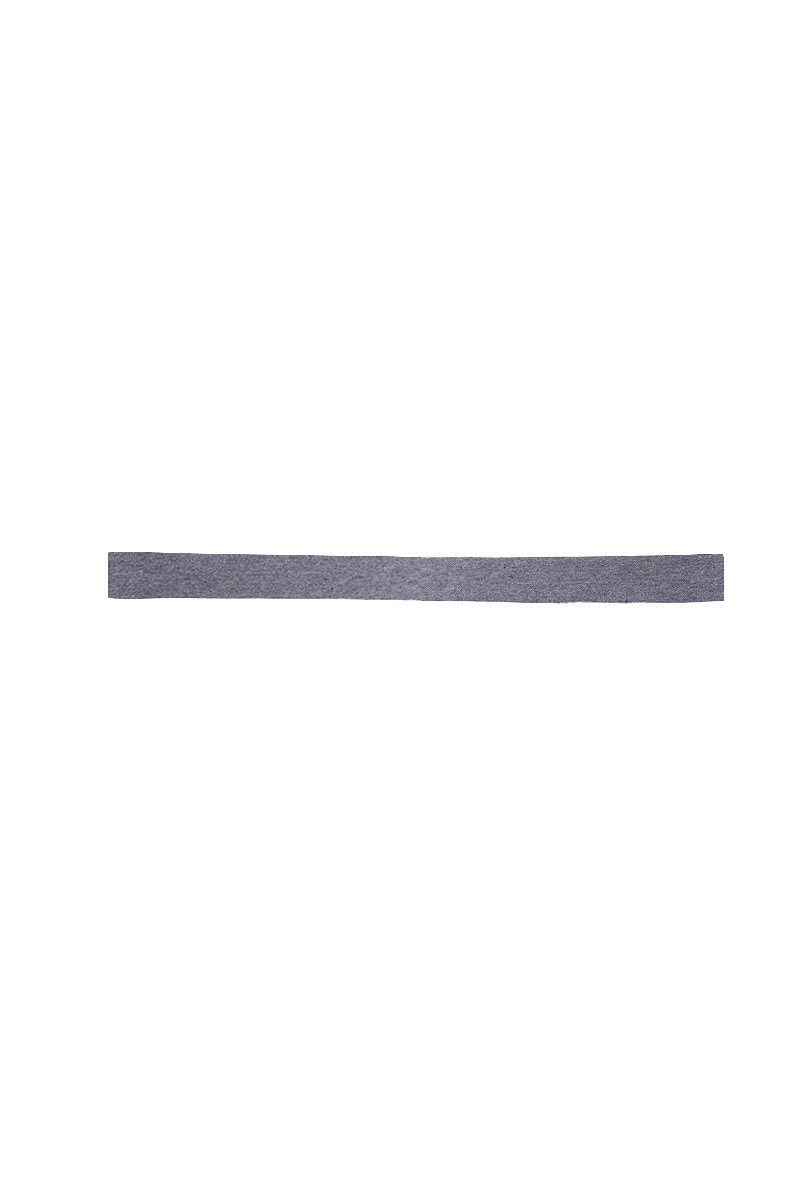
Fold the belt loops into thirds, lengthwise. Press.
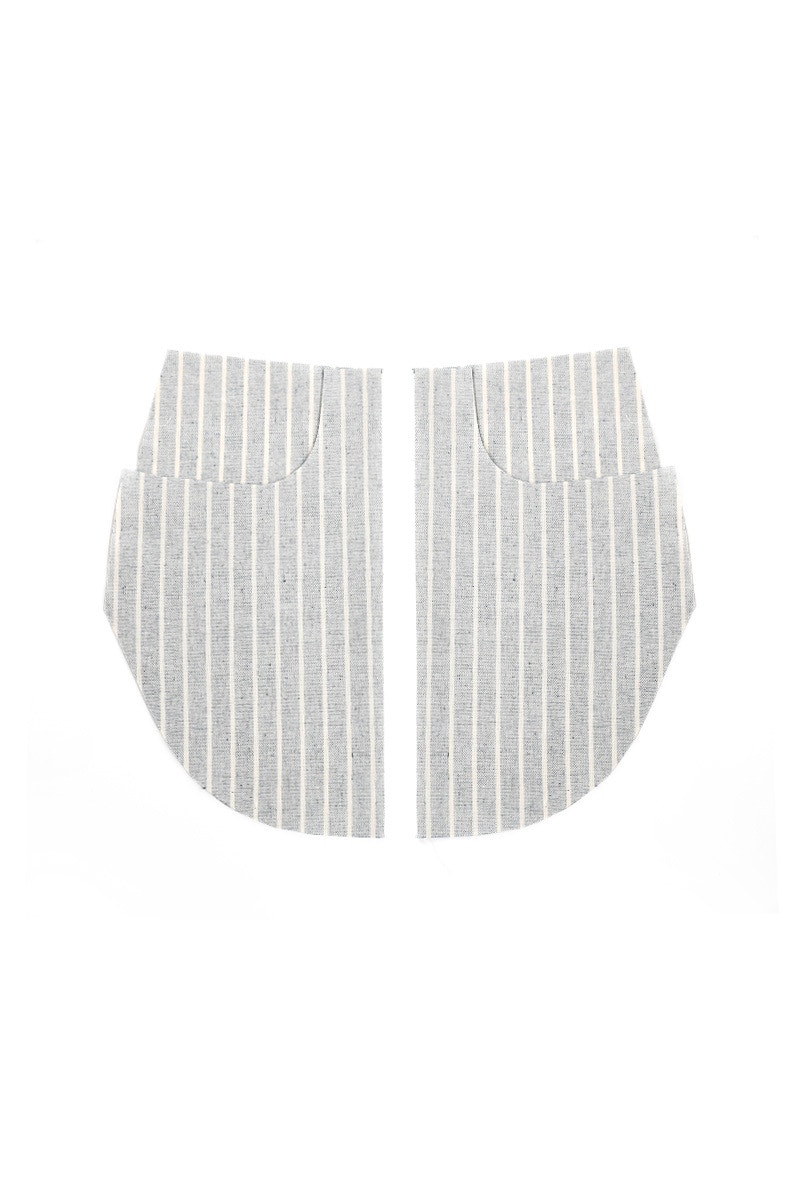
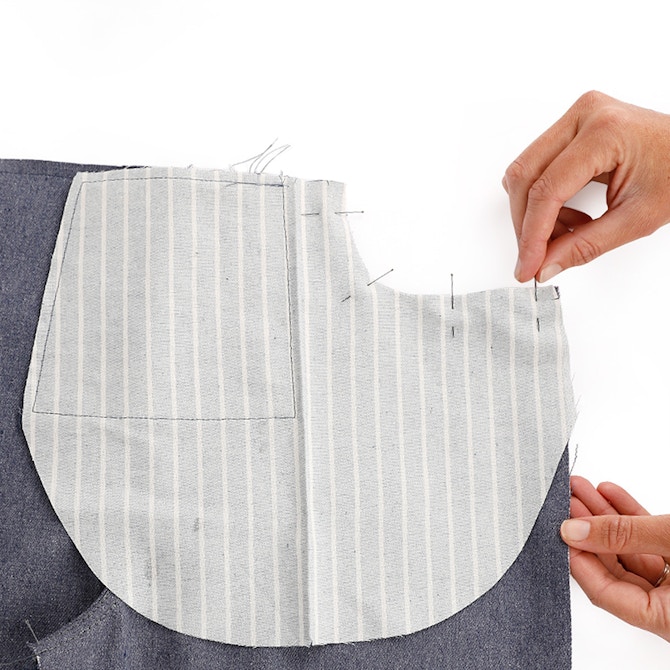
Fold each pocket bag in half at the notches, with the right sides together. Press.
Note, when pressing the pocket bag the side seams will not match. This extra fabric is known as pocket ‘spring’ and gives ease to allow for your hand to get into the pocket.
Next up in this sew along is constructing the backs of your jean.
Check out the May Jean pattern in our Online Store here.
Don't forget you can always email us via patterns@thefabricstore.co.nz if you need advice!
May makes from our wonderful community are also popping up over on Instagram, follow @makebytfs and use #TFSMay so others can check out your creations!