
2 — Front Panels and Pockets
24—December 2020
Time to start sewing! In this post we sew our front panels and pockets.

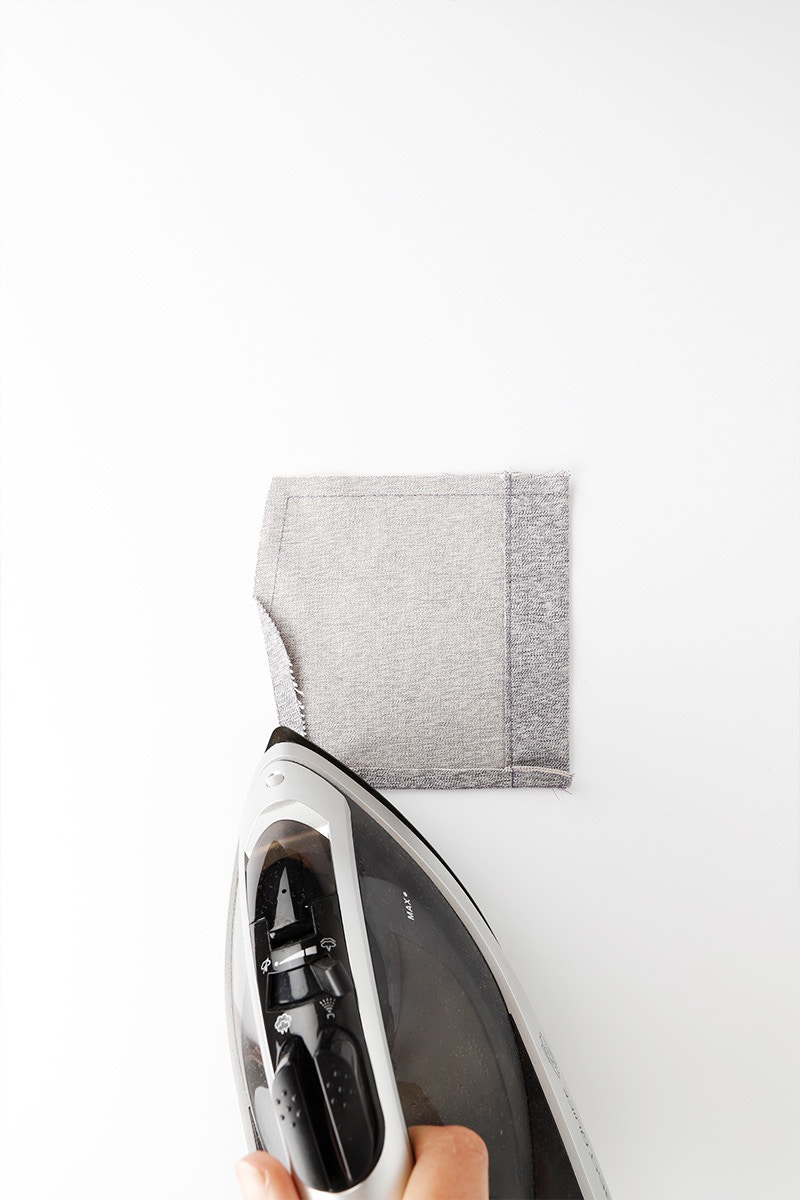
Fold the top of the patch pocket twice towards the wrong side, as youpressed at the beginning. Edge stitch the pocket hemin place and press.
Next, stitch around the remaining three raw edges of your pocket at 1cm. Then fold and press the edges back using the stitching line to help guide you.
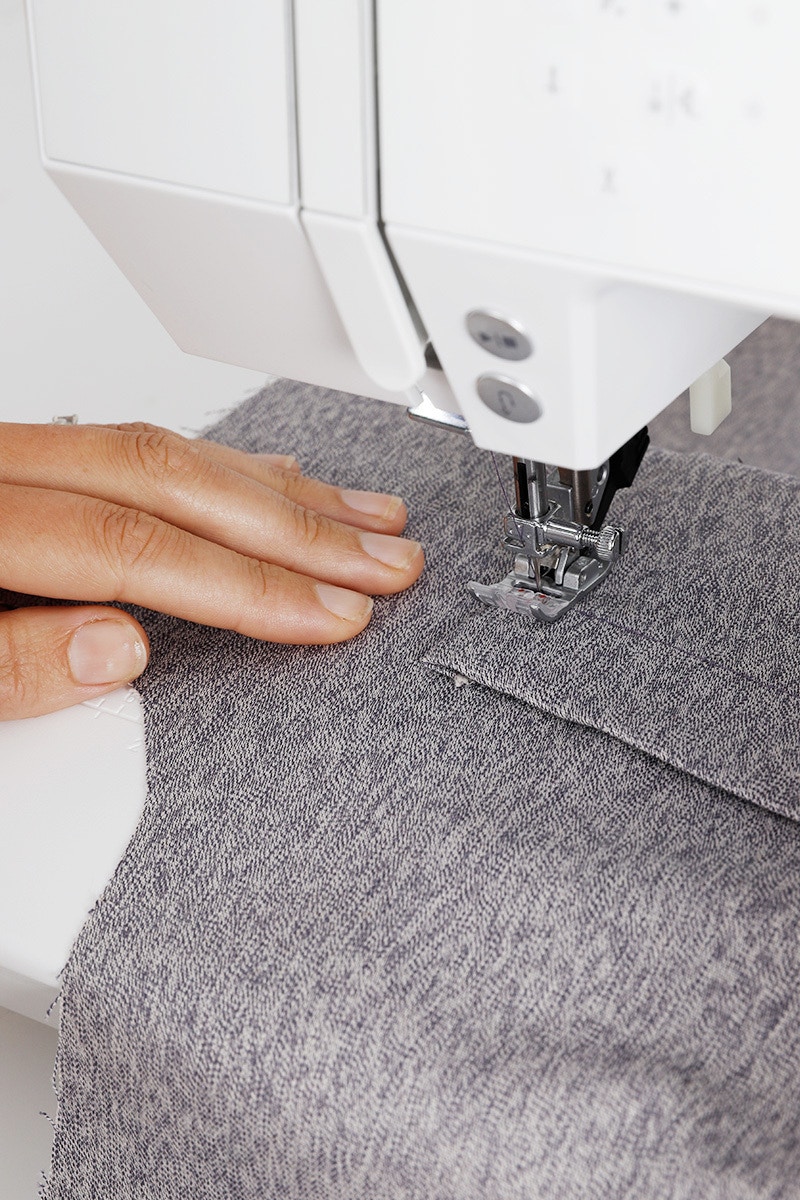
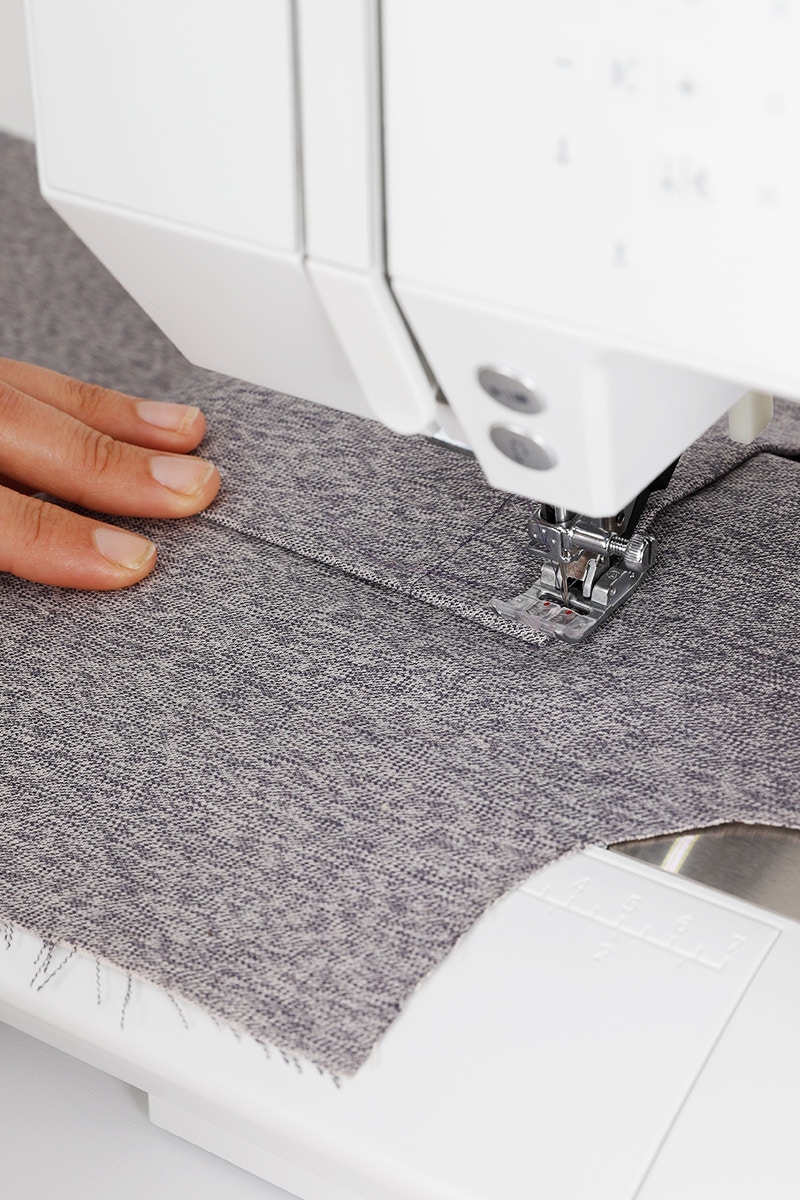
Now, pin the pocket to the left front as indicated by the markings on the pattern and edge stitch into place.
When attaching our patch pocket, we started 6mm from the pocket edge at the pocket hem stitch line. Then we sewed out to 10mm from the edge at the pocket opening. Next, we stitched across the top of the pocket for 10mm before pivoting and edge stitching around the sides and bottom edges. When we got the to pocket opening at the other side, we stitched along 10mm again, then down to meet the hem stitch line again, 6mm from the edge. Remember to keep your needle down when pivoting at the corners.

After you've attached your pocket, give it a gentle press.

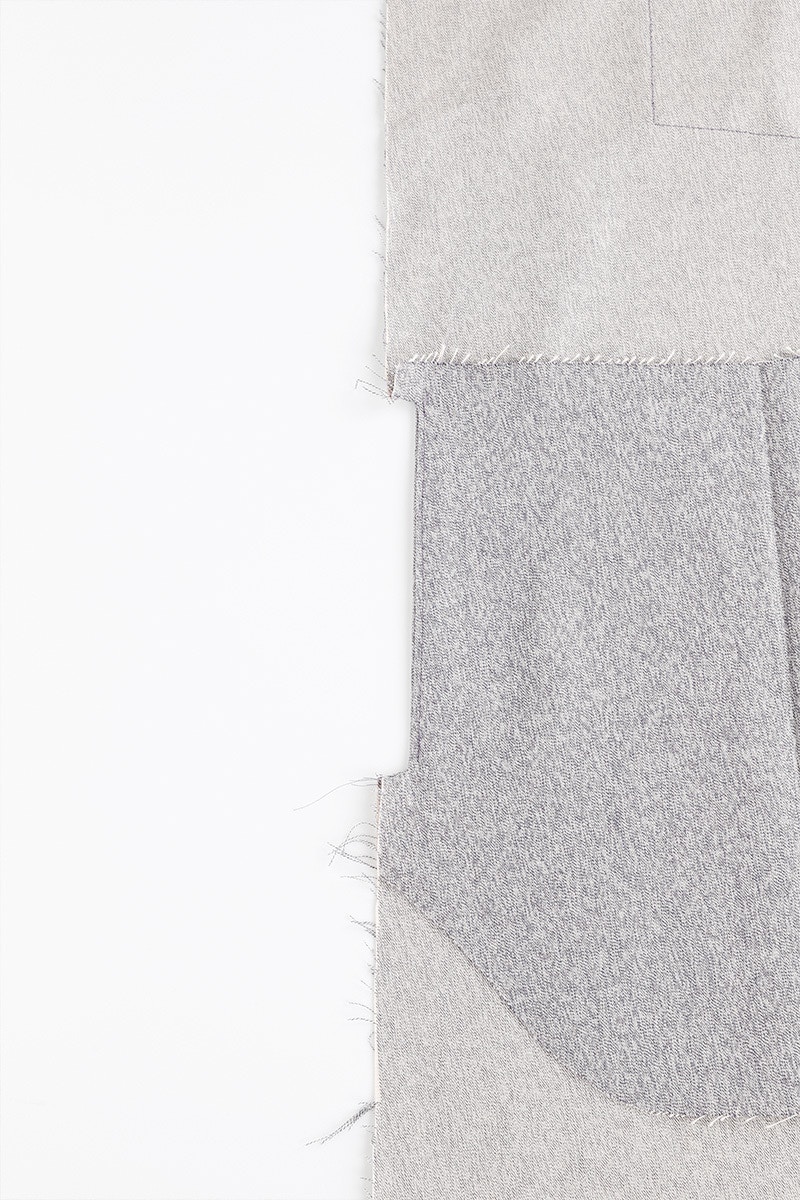
Using your tailors chalk or fabric marker, mark the sewing line on the wrong side of your pocket pieces with a ruler, using the pattern piece as your guide.
Matching the notches, pin your pocket piece to your front piece with right sides together.
Starting at one end sew in 1cm from the edge, following the line you have drawn. Pivot 90 degrees, making sure to keep your needle down. Sew the long edge of the side pocket opening 1cm from the edge, finishing at the next notch. Pivot 90 degrees again, and sew 1cm to the edge of your pieces.
Now that you have boxed out your pocket opening it is time to mitre into the upper and lower corners of the box. Using a sharp pair of scissors, clip in at a 45 degree angle into each corner. Be extra careful not to snip through your stitching line!
Next, fold the pocket over so the wrong sides are together and press along the edge of the pocket opening ensuring that the corners are well turned out. Under stitch the pocket opening on the pocket bag, from corner to corner.

Now fold the pocket bag in half, right sides together, so that the notches match the pocket opening. Sew the pocket bag closed across the straight top edge and around the lower curved edge with a 1cm seam allowance and back tacking at the beginning and end of each seam. You can neaten the seams with an overlocker/serger or using a zig zag stitch on your sewing machine.
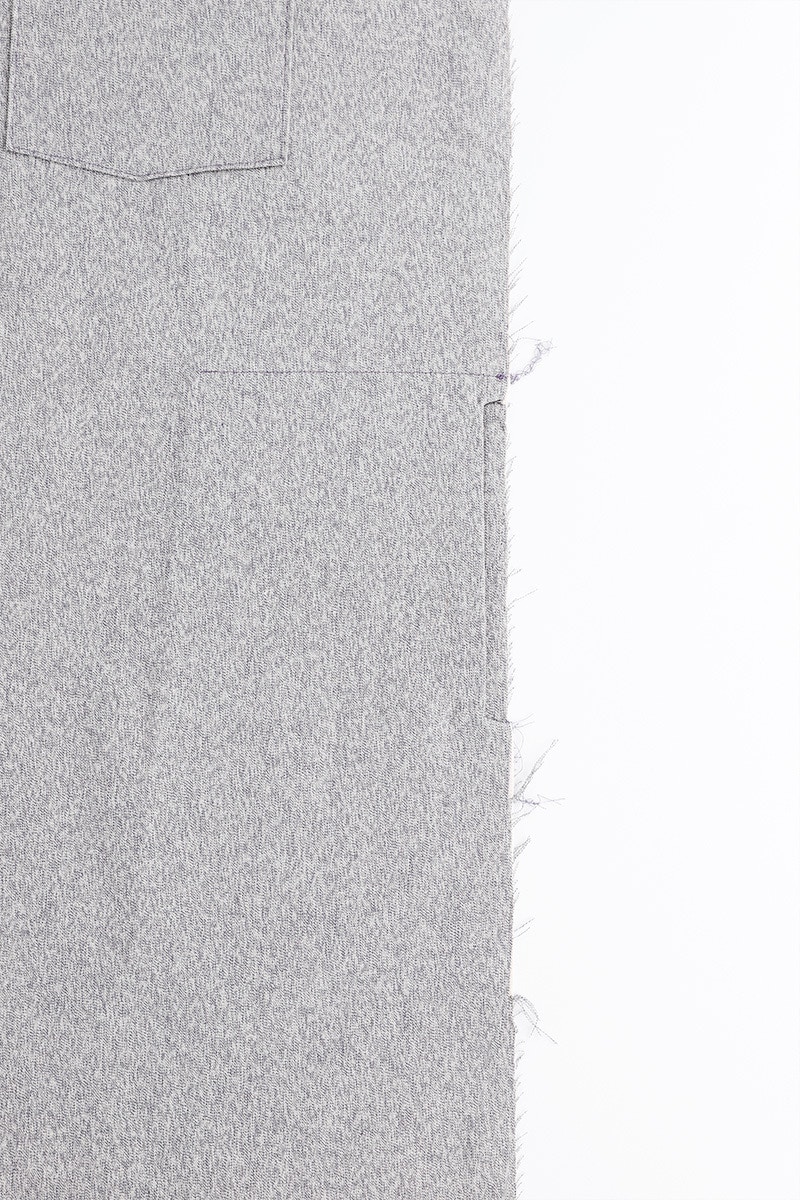
Next you will secure your pocket bag to the front piece. Pin your pocket bag, from the right side, to the front ensuring that it is sitting flat. Mark your top stitching line on the right side of the front with tailors chalk or a fabric marker and a ruler. Use your pattern piece as a guide. This line should run parallel to the top edge of the pocket bag, 5mm down, and run go from the side seam edge, stopping 5mm before the edge of the pocket bag. Top stitch along this line back tacking at the beginning and end.
Sew a pocket for each side.

Fold back and press the centre front plackets as indicated by the notches. This forms the button and buttonhole bands and each one will be 3cm wide. Baste them in place at the neck edge.
In the next post we will construct the collars!
Don't forget you can always email us via patterns@thefabricstore.co.nz if you need advice!
Bloom makes from our wonderful community are also popping up over on Instagram, follow @makebytfs and use #TFSBloomShirt and #TFSBloomDress so others can check out your creations!


