4 — Sew Lining
21—July 2022
Now it is time to sew your Leo Blazer lining.

Fold the back lining in half with the right sides together. Sew down 6cm at the centre back to create a pleat. Press the pleat excess to the left side as worn and baste it in place at the neck edge.
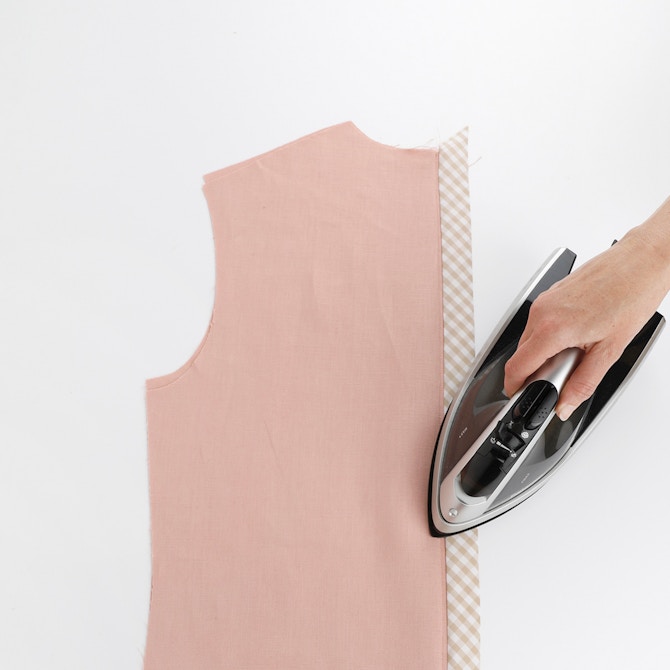
With the right sides together pin the front facing to the back lining at the shoulders. Sew each shoulder with a 1cm seam and then press the seam open.
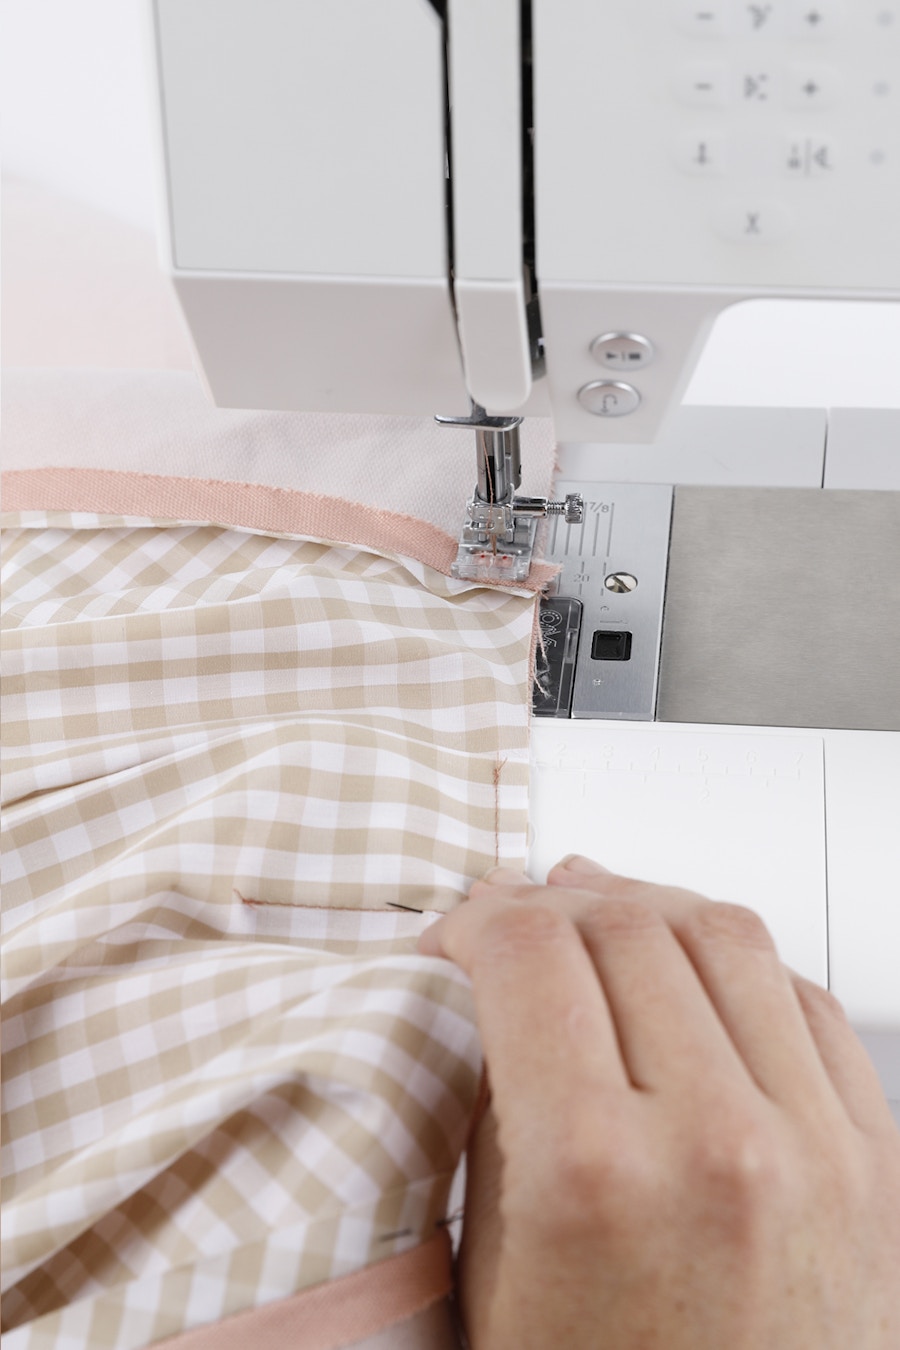
With the right sides together pin the facing to the lining at each side seam. Sew the side seam with a 1cm seam and then press the seams open.

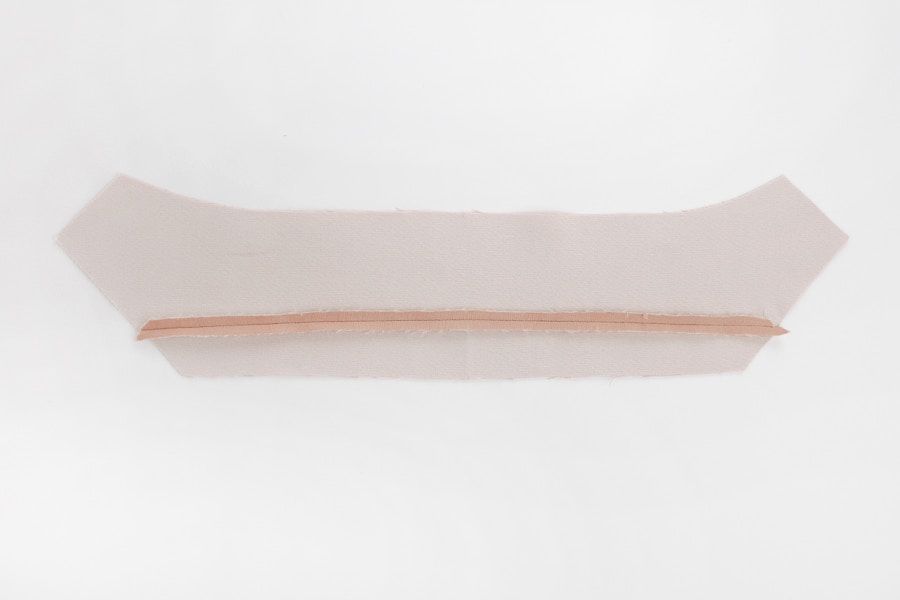
Apply bias binding to the lower edge of the facing and lining using the same steps as you did when applying the bias binding to the internal seams.
Re-press the centre back pleat.

With the right sides together pin the collar to the collar stand, matching the notches. Sew them together at 6mm and press the seam open.
At each corner on the front facing sew a line of stitching 1cm from the edge to reinforce the corners where the collar turns on the front facing. Clip into the corner to release the seam allowance. This will allow you to manoeuvre the pieces when sewing the collar.

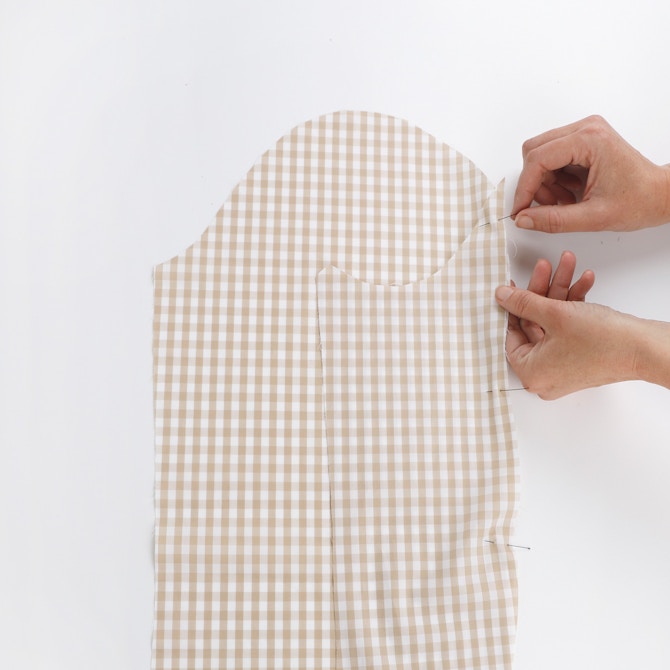
With the right sides together and matching the notches, pin the collar to the facing and lining. Each end of the collar extends 1cm past the notch on the facing.

Sew the collar and collar stand to the facing and lining with a 1cm seam, starting and finishing at the notch on the facing. When you reach a corner, stop with your needle down and raise the presser foot. Pivot, and rearrange your blazer so that the seam you are going to sew is lying at, then continue sewing to the next corner. Stop with your needle down and rearrange your blazer again.
Now continue sewing to the end of the collar.
You can sew with the collar on top, or on the bottom. Just make sure to catch the front pieces when you stop with your needle down at each corner.

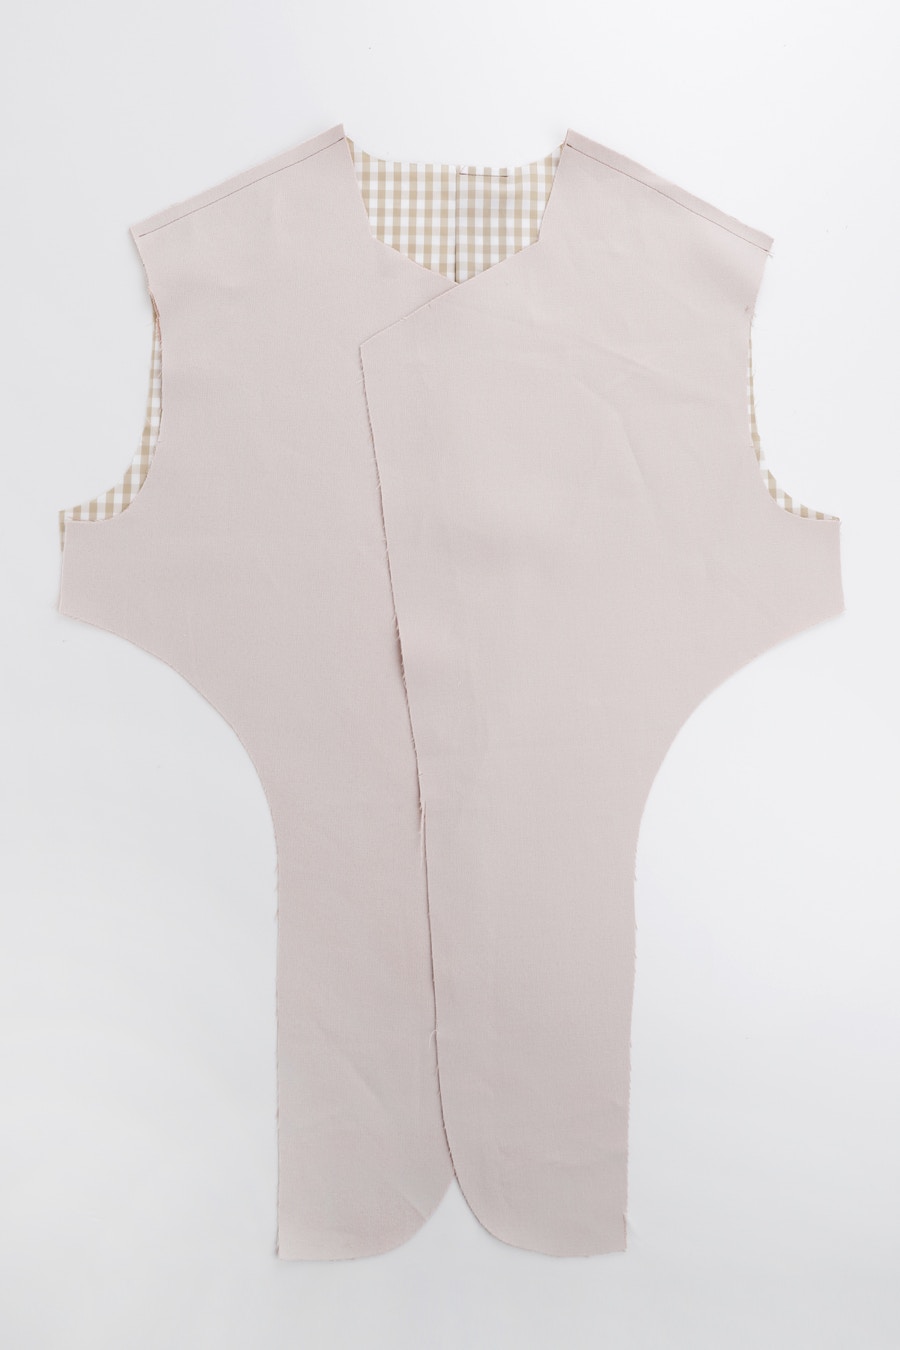
Press the seam open. The corners of the collar will need to be folded when you press this seam open.


Now we will sew the sleeve linings.
With the right sides together, pin the top sleeve lining to the under sleeve lining at both seams. Sew them with a 1cm seam and press open. Repeat for the other sleeve to create a pair of sleeve linings.

To set in the sleeve linings, run two lines of basting stitches 6mm apart over the sleeve head.

With the right sides together, pin the sleeve lining to the lining and facing, matching the notches. Pull the basting thread gently to ease the sleeve head into the armhole opening, as you did with the main sleeve.
Sew the sleeve to the lining and facings, adjusting the sleeve head as you sew and taking care not to create any tucks. Press the seam towards the sleeve lining.
Repeat for the second sleeve lining.

Give your lining a press. Now it is time to attach it to the main body and do the finishing touches!
Check out the Leo Blazer pattern in our Online Store here.
Don't forget you can always email us via patterns@thefabricstore.co.nz if you need advice!
May makes from our wonderful community are also popping up over on Instagram, follow @makebytfs and use #TFSLeo so others can check out your creations!