3 — Sewing the Fly Zip
26—April 2022
In this post, we take you through sewing the zip fly.
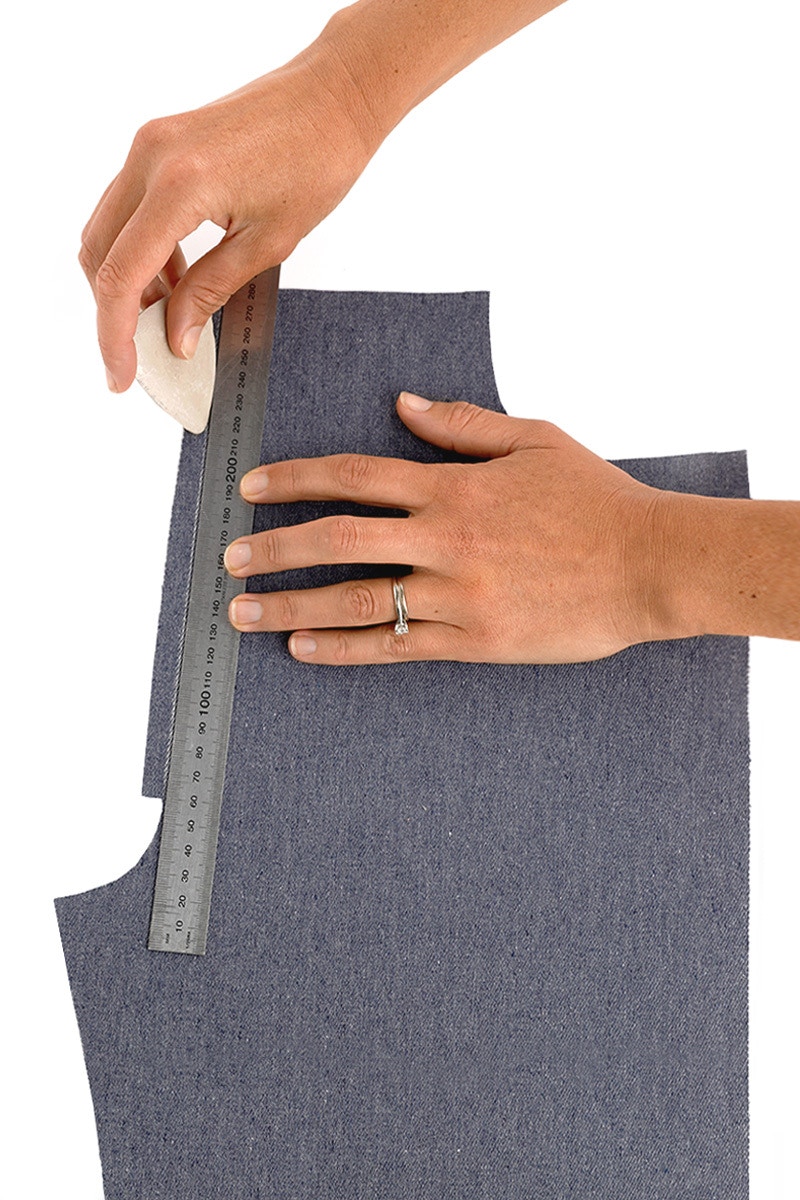
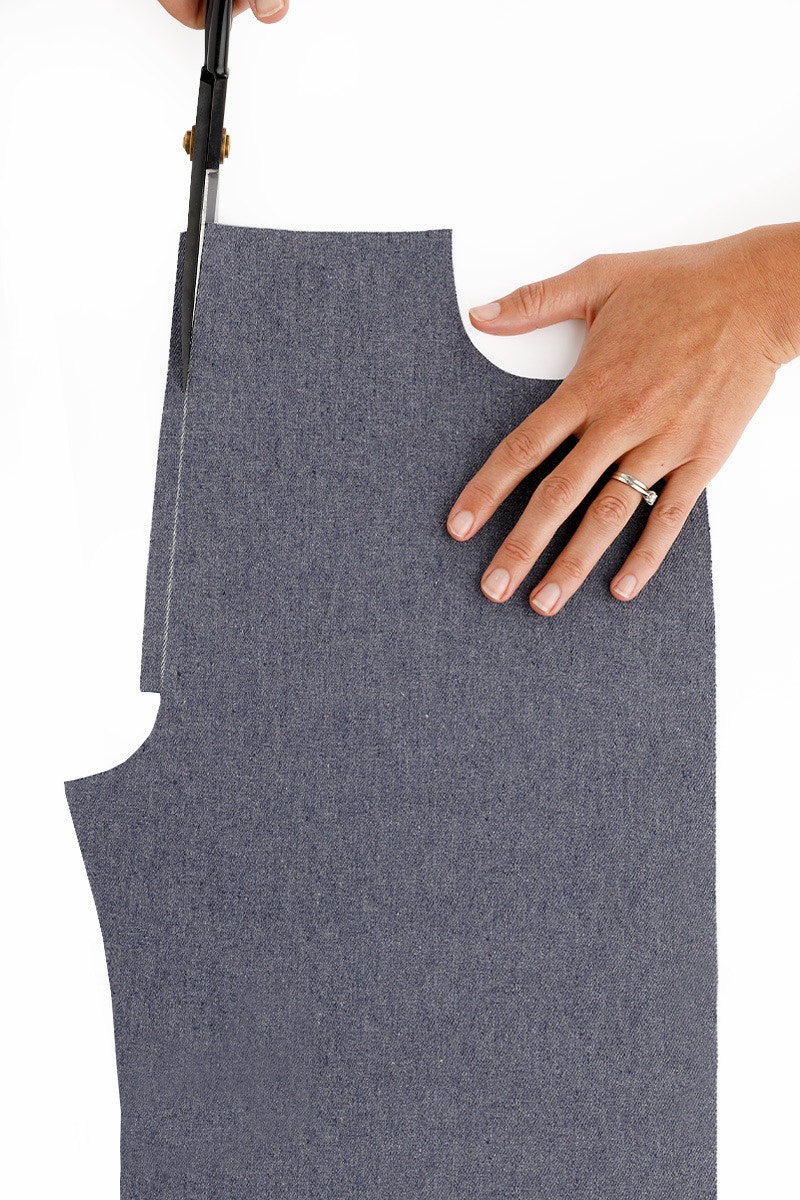
If you haven’t done so already, cut off the 1cm fly extension on the left front (as worn).
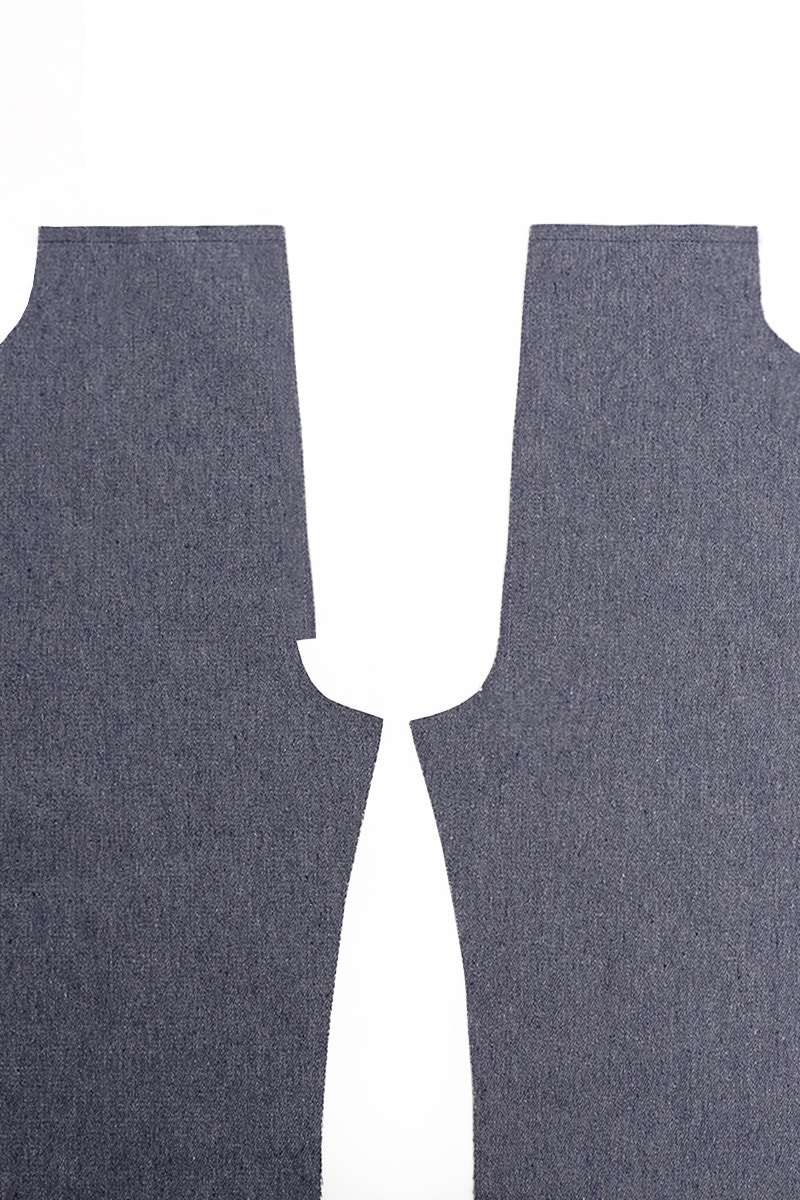
Stay stitch the waist edge of each front leg to prevent it from stretching out.
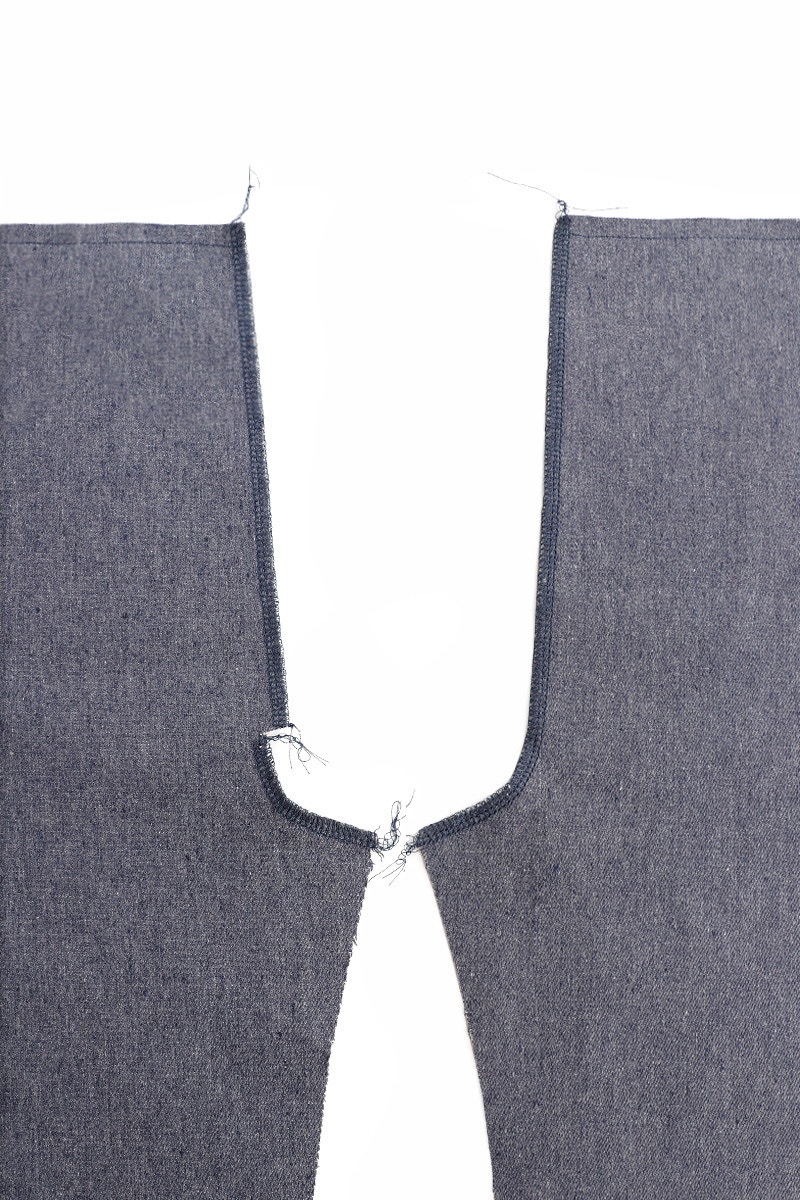
Neaten the centre front of each front piece separately.
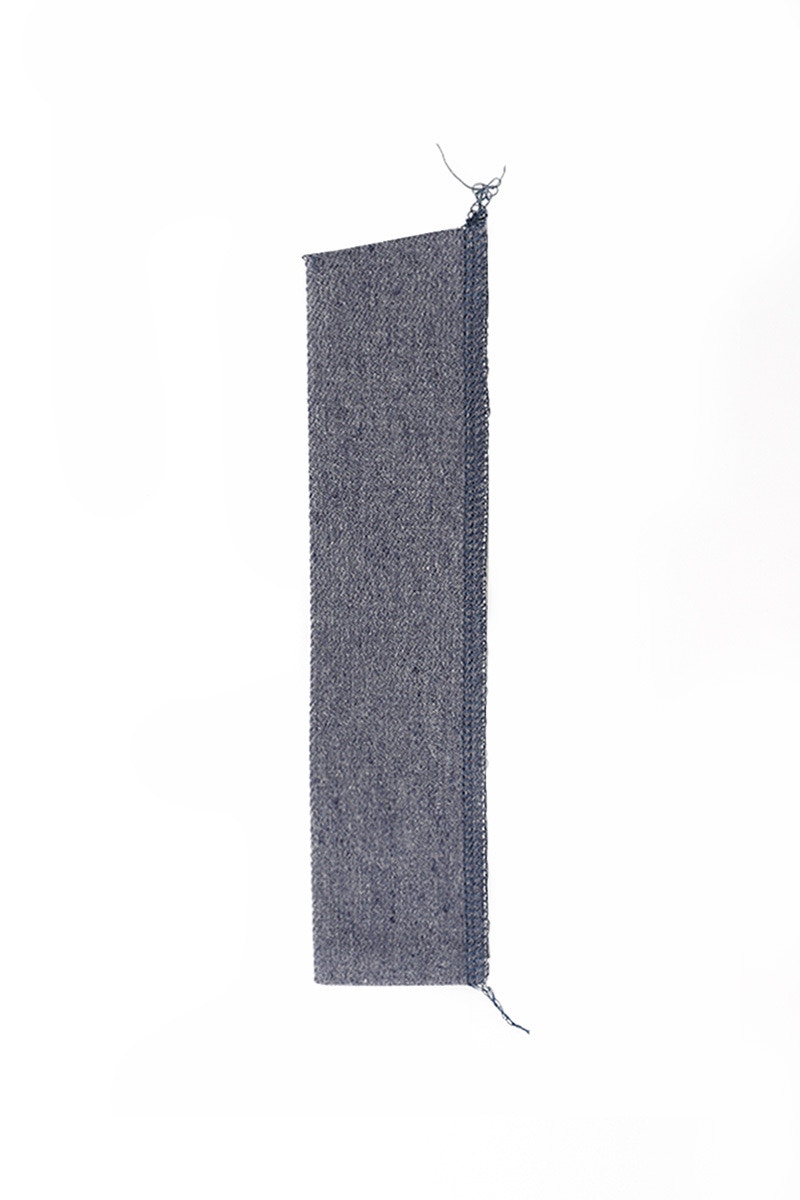
Fold fly guard in half, right sides together and stitch closed at 1cm at the bottom edge. This is opposite to the pressing you made at the beginning.
Turn right side out and press. Neaten the long raw edges of the fly guard together.
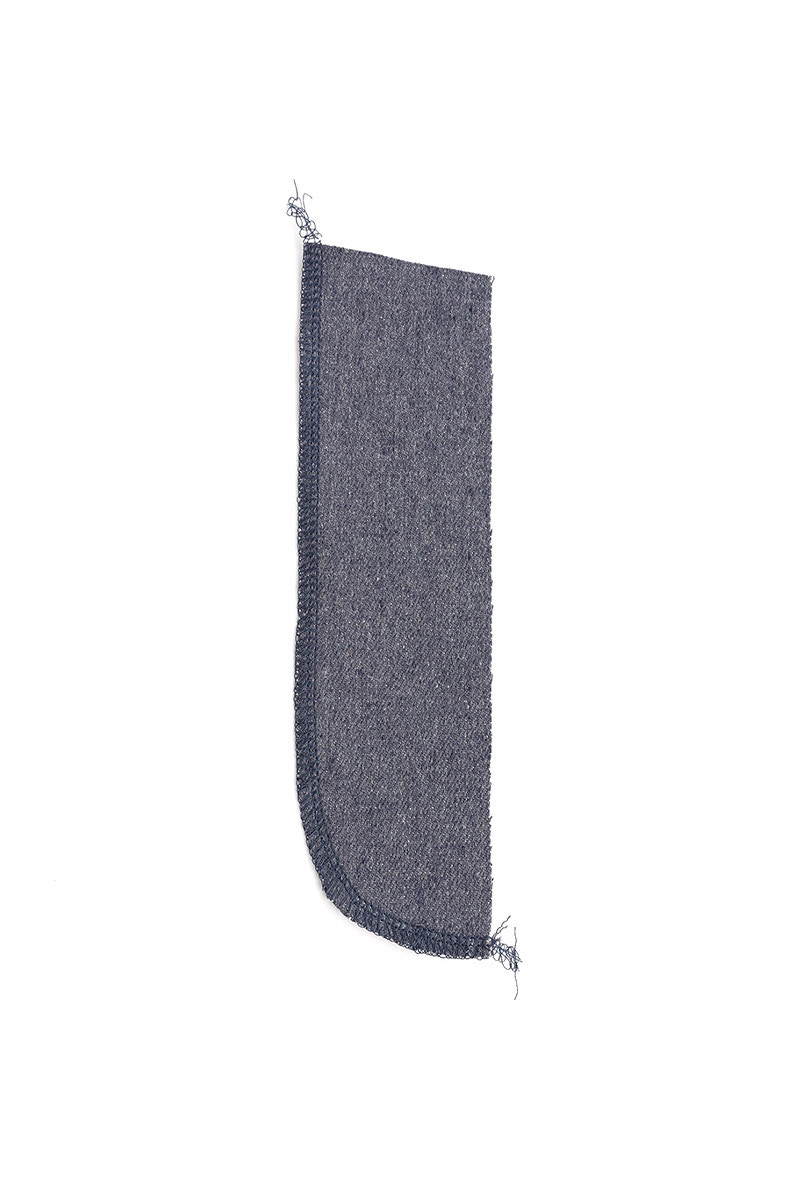
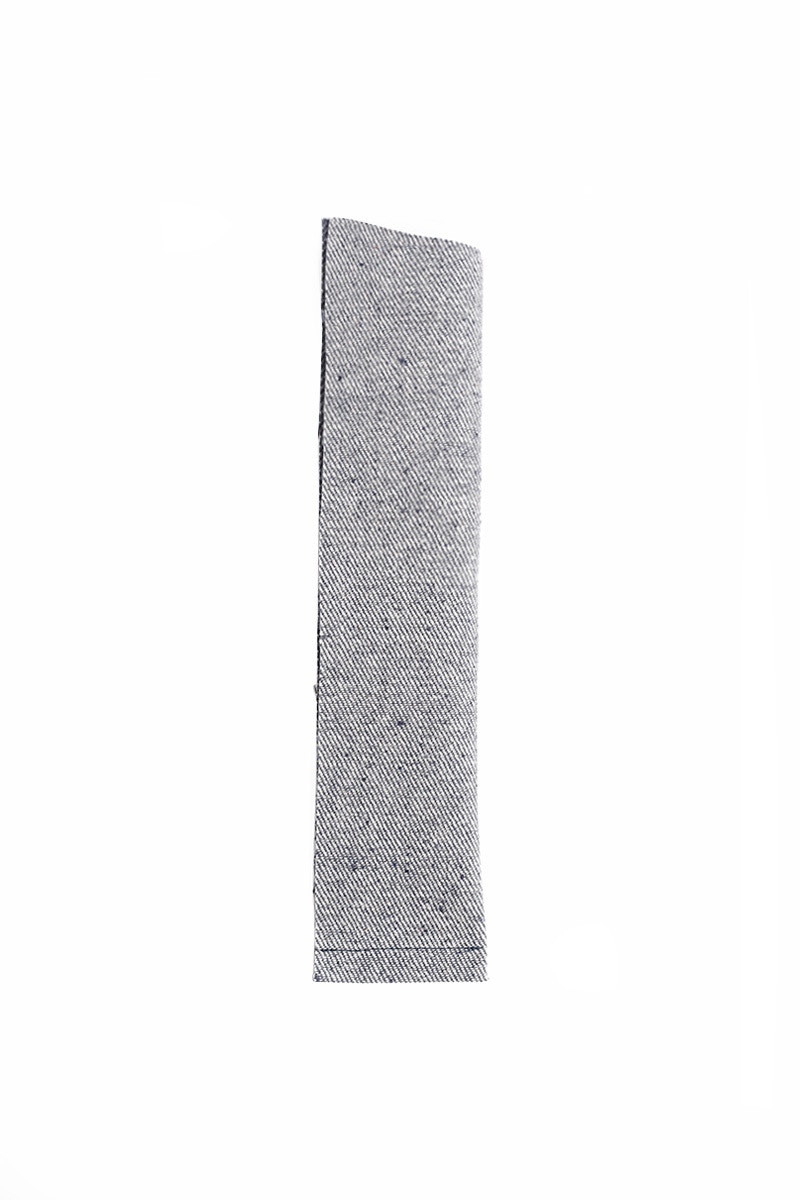
Neaten the curved edge of the fly facing.
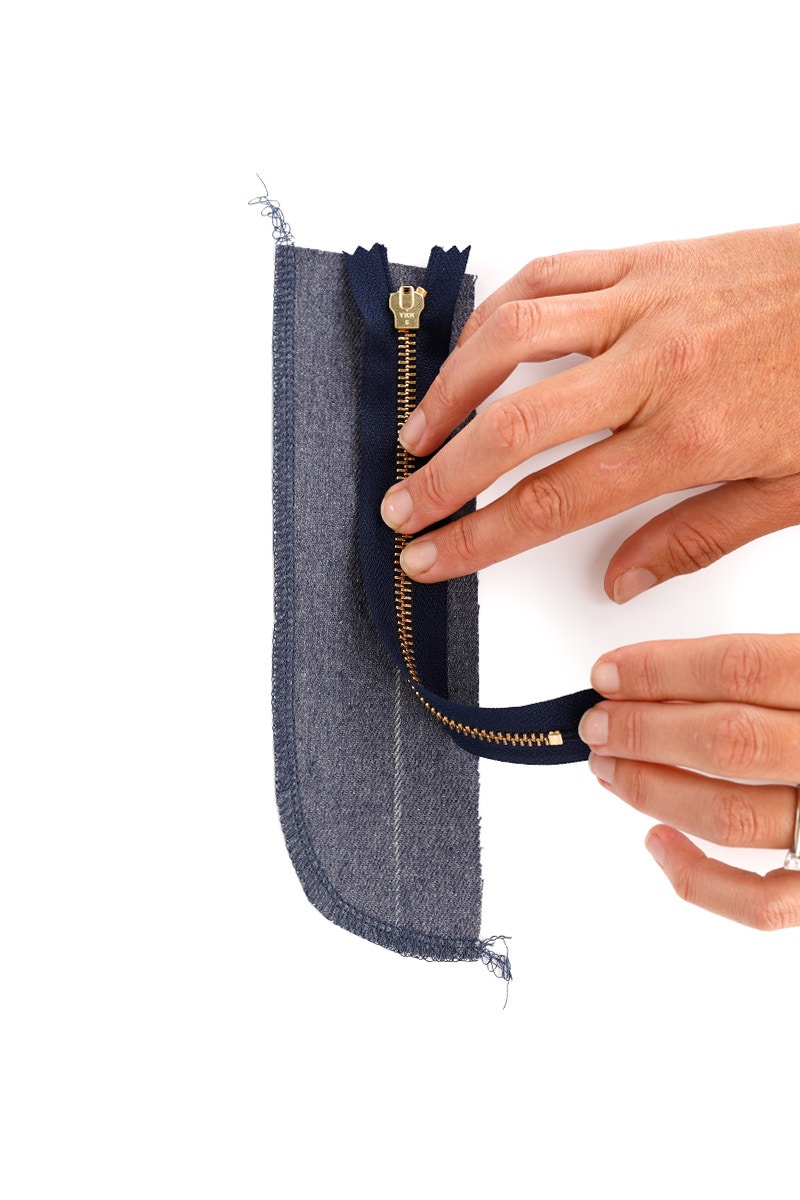
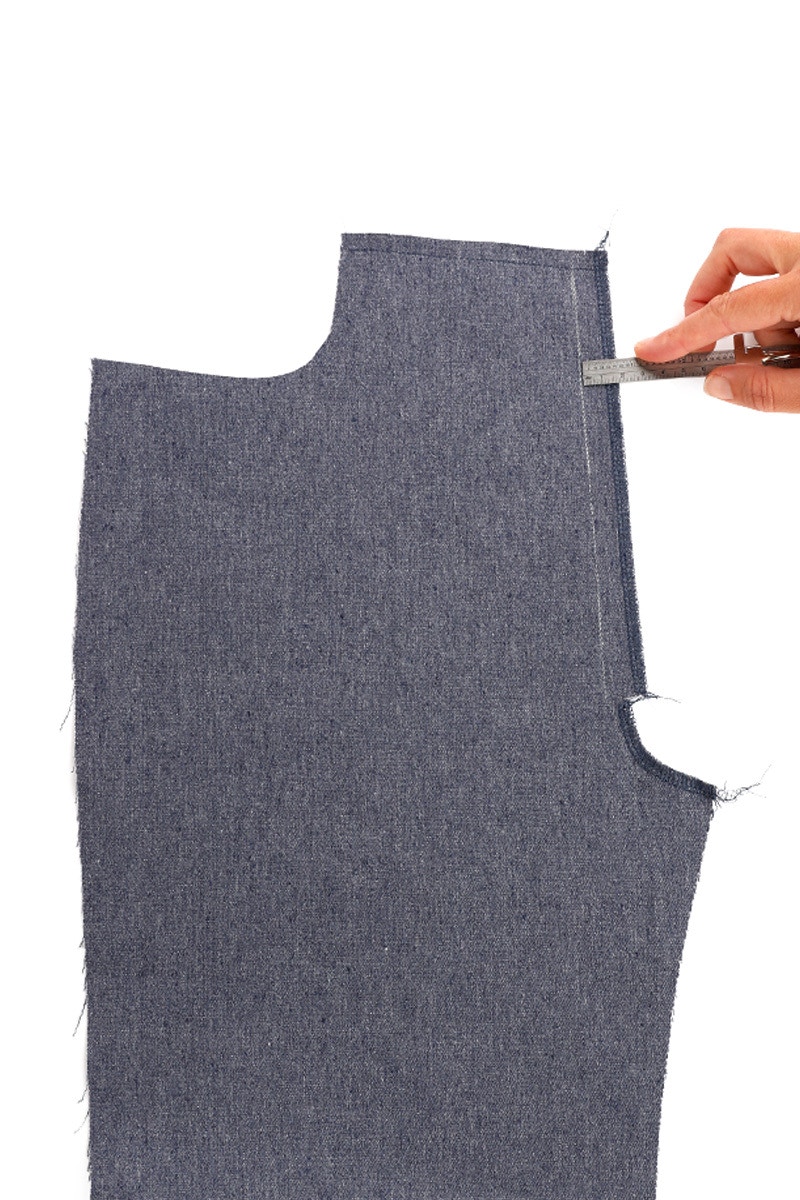
On the right side of the fly facing, mark in the line where zip teeth will sit with a fabric pen or tailor’s chalk. This is 2.3cm from the long, straight edge.
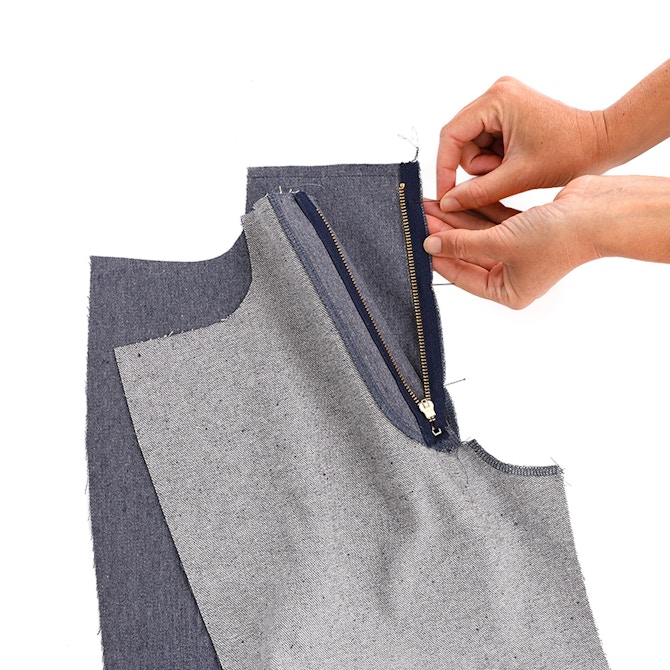
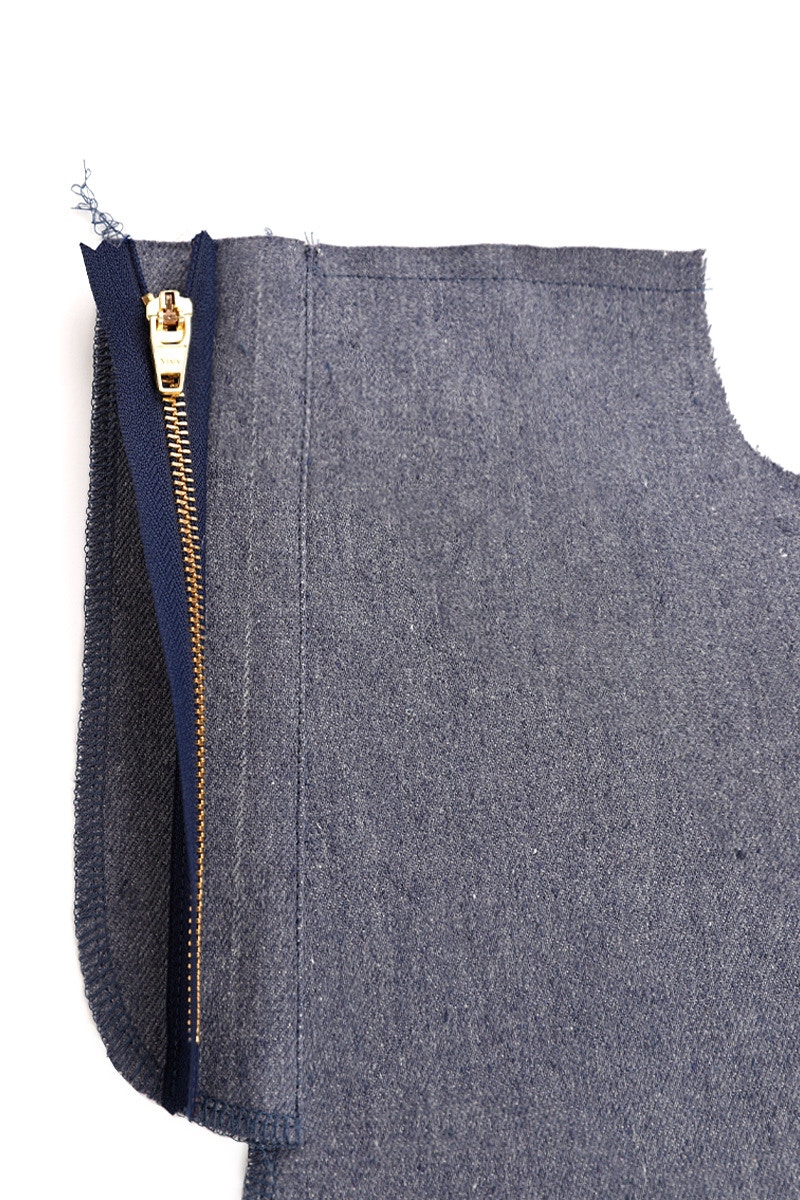
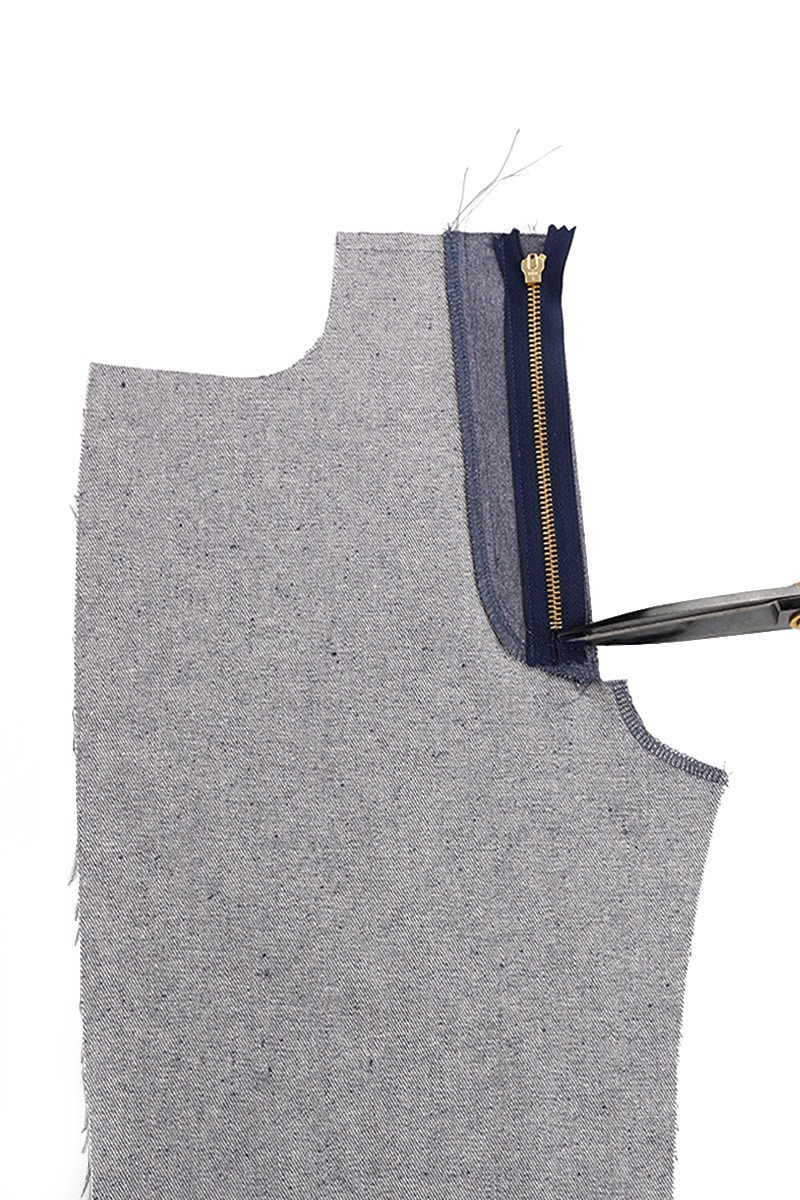
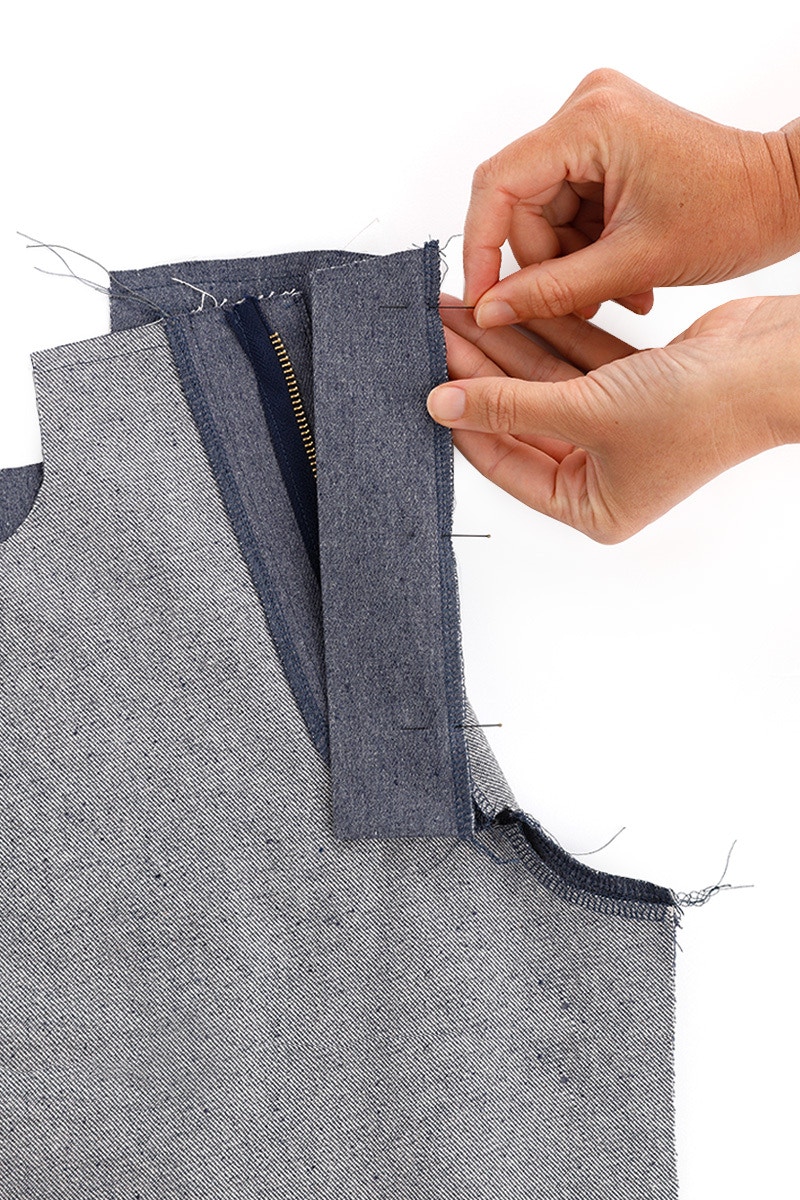
Lay the zip face down on the fly facing with the teeth centred on the line you just marked out. Pin the left side (as you are looking at it face down) of the zip tape to the fly facing. The top of the zip tape aligns with the top of the fly facing.
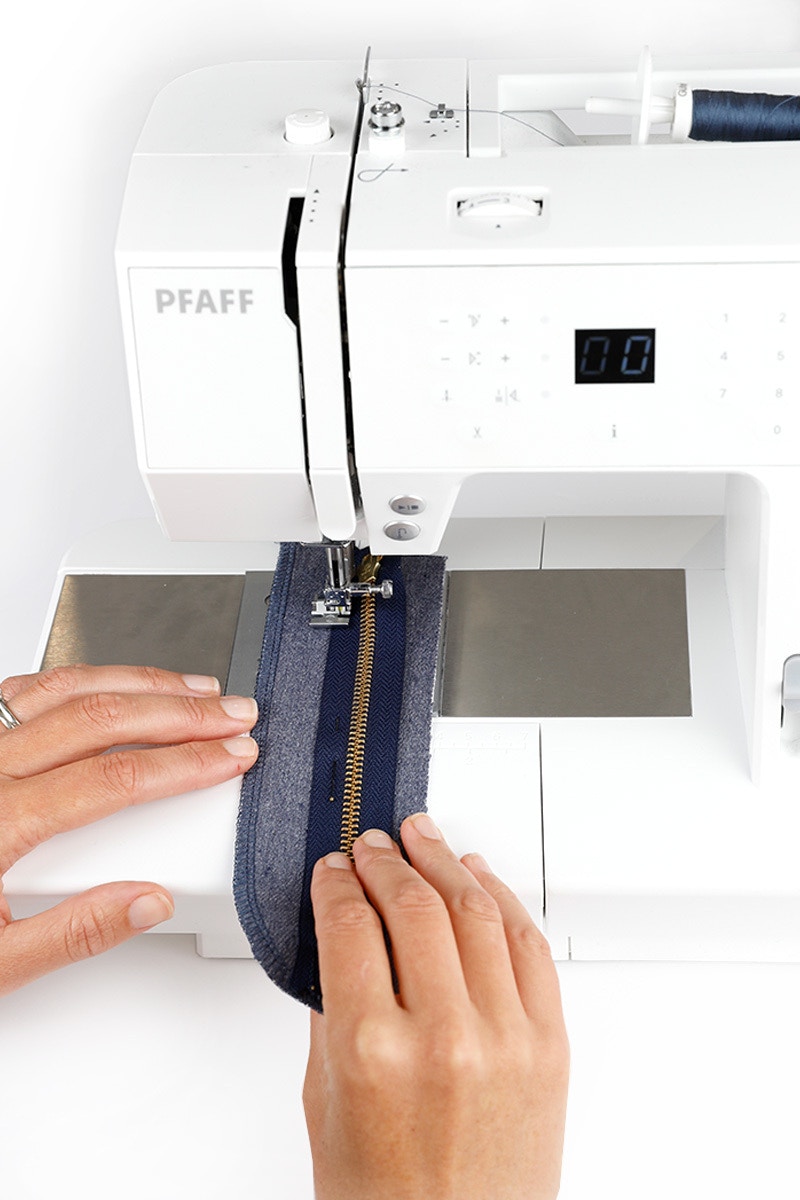
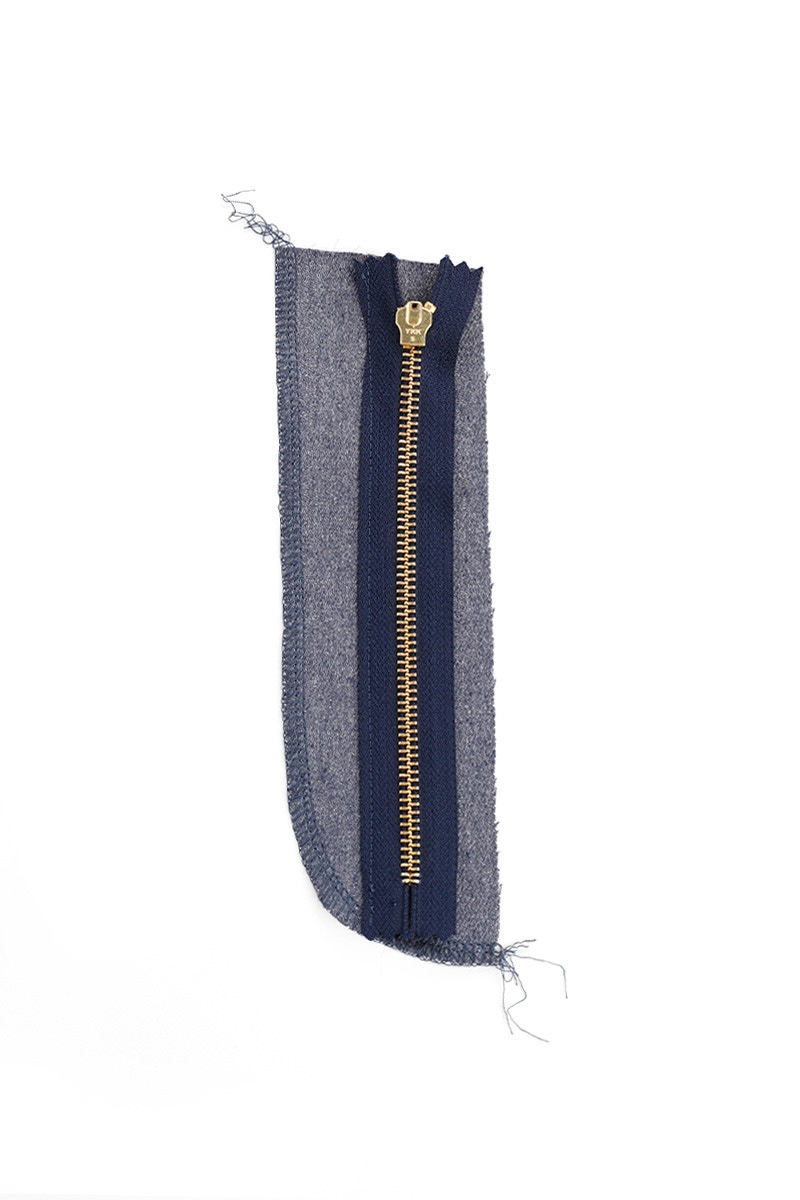
Edge stitch the left side of the zip tape to the fly facing.
Depending on the width of your presser foot you may need to use a zip foot to do this, and the following steps.
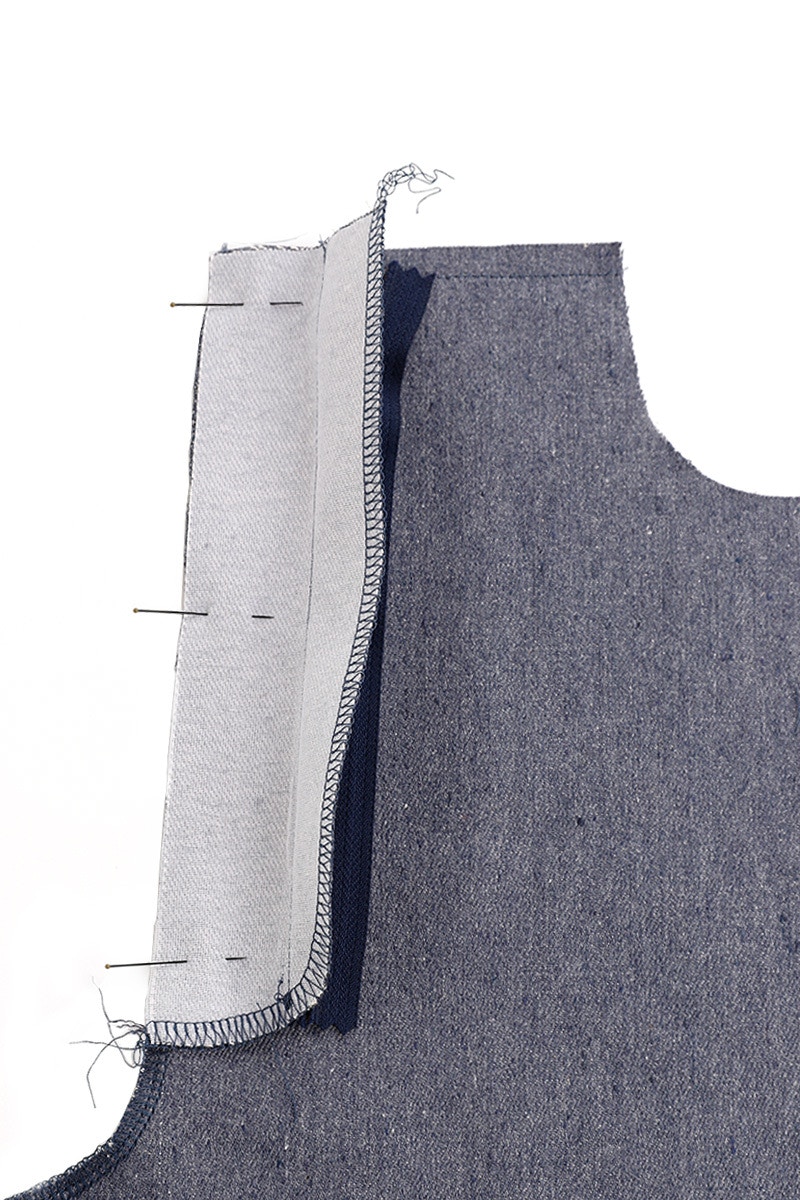
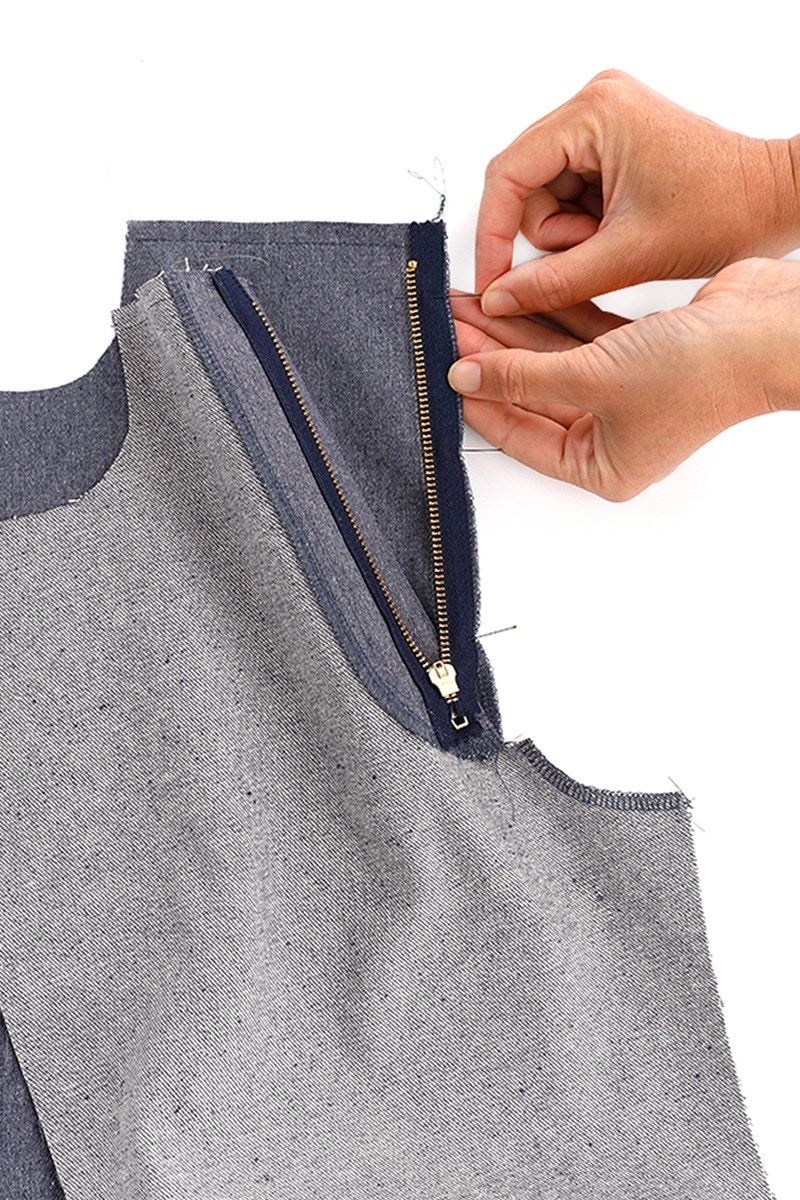
With the right sides together, lay the fly facing on the left front leg, aligning the centre fronts and waist edges. The bottom of the fly facing will match the notch on the left leg. Pin the two pieces together, then sew with a 1cm seam.
Take care not to catch your zip tape when sewing this seam.
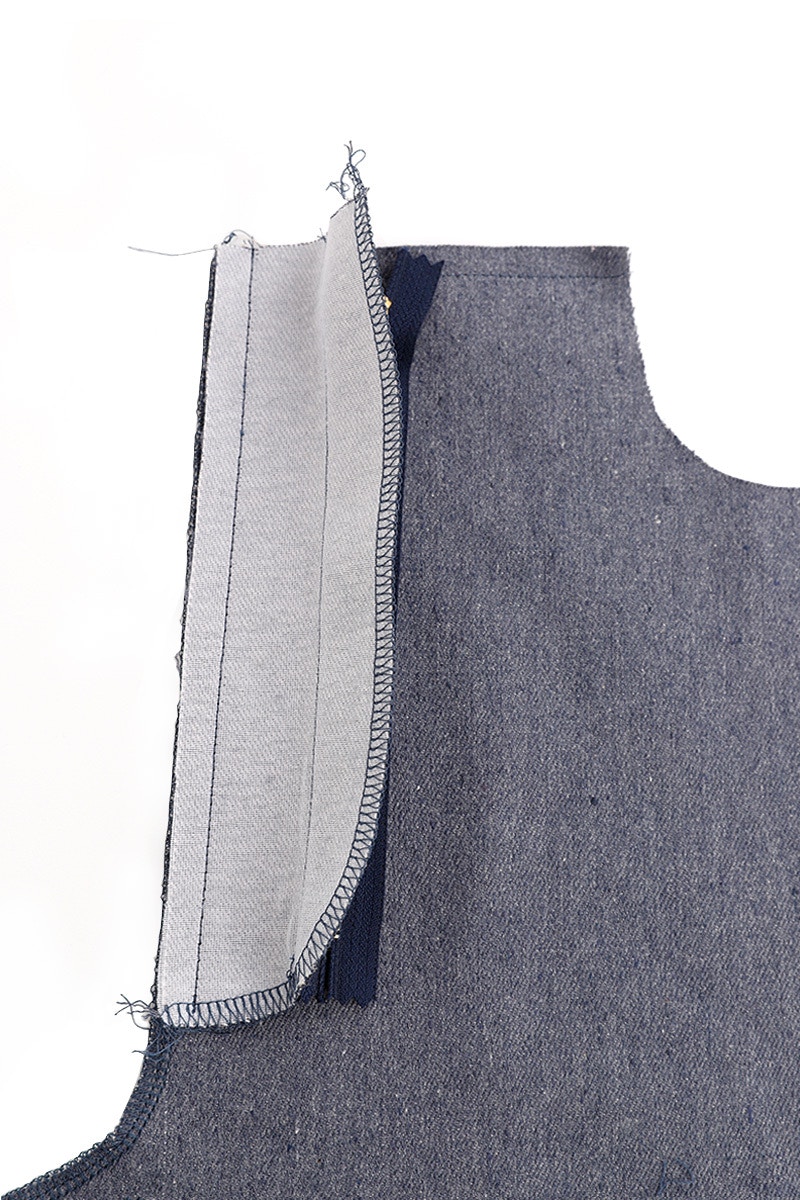
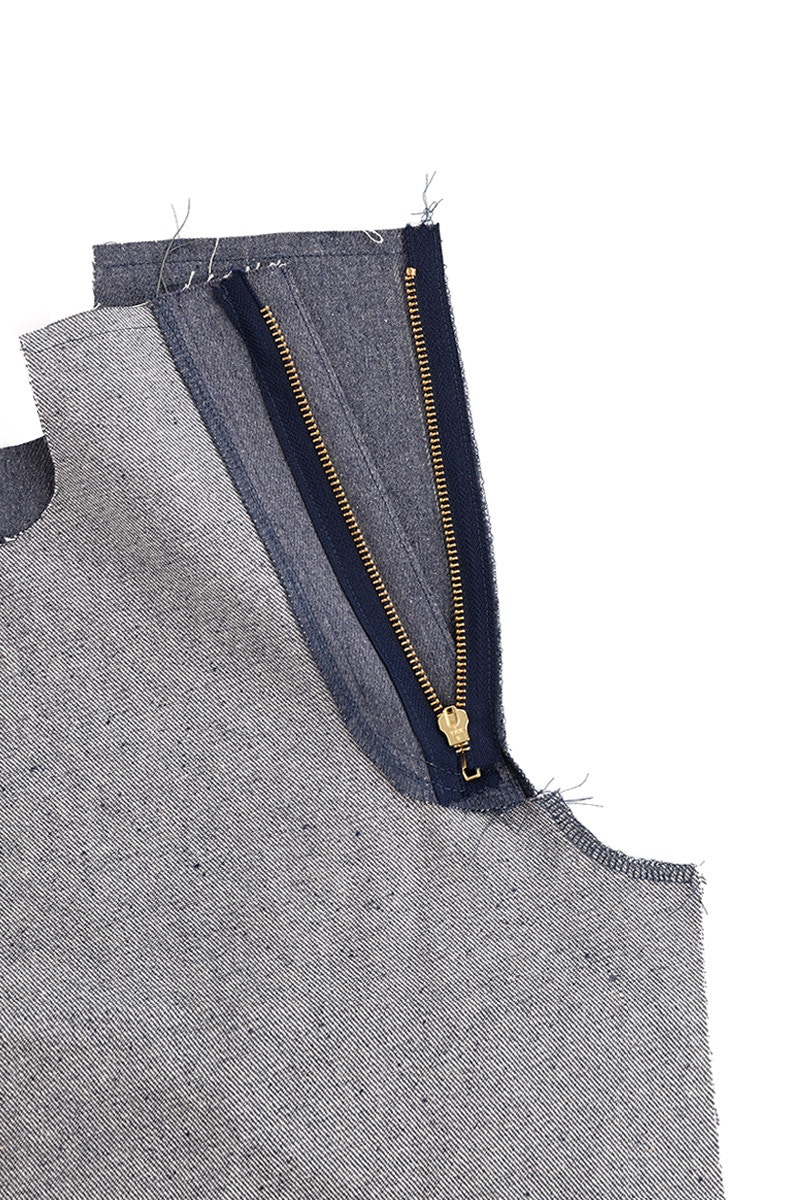
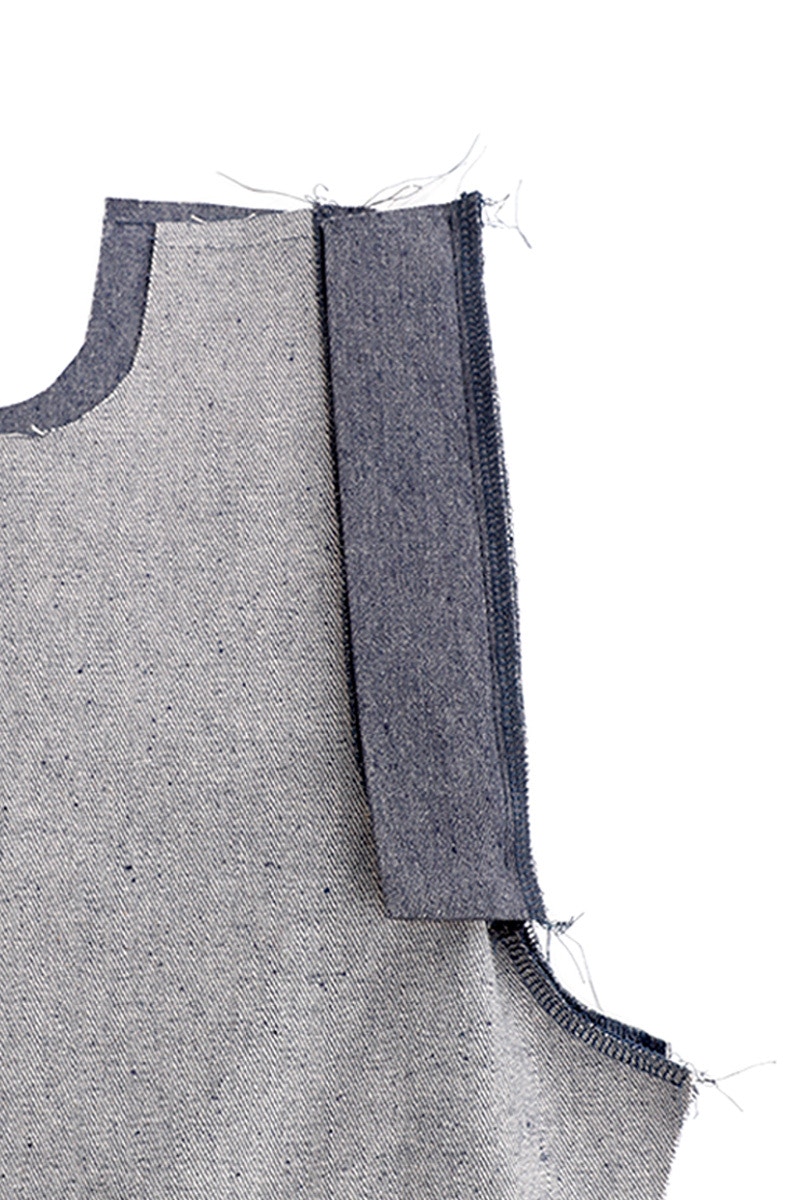
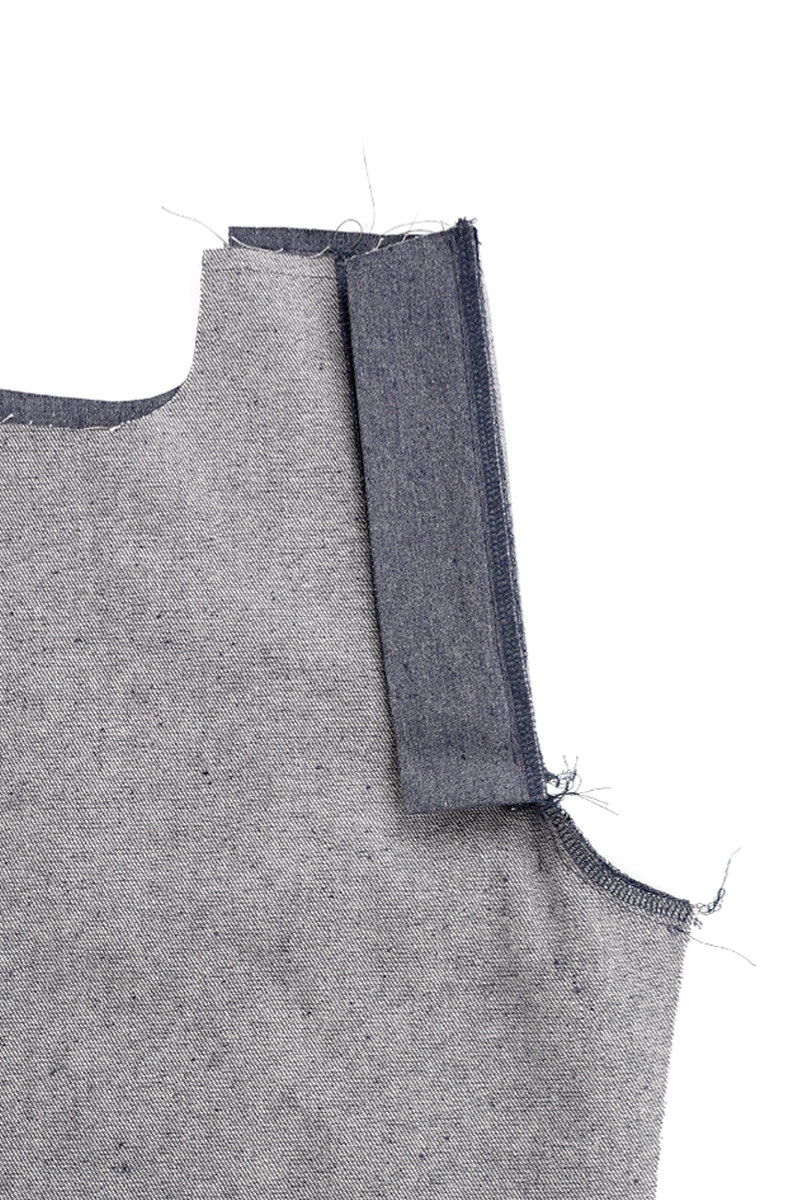
Now, fold the fly facing out and press the seam allowance towards the facing. Edge stitch on the fly facing at the centre front.
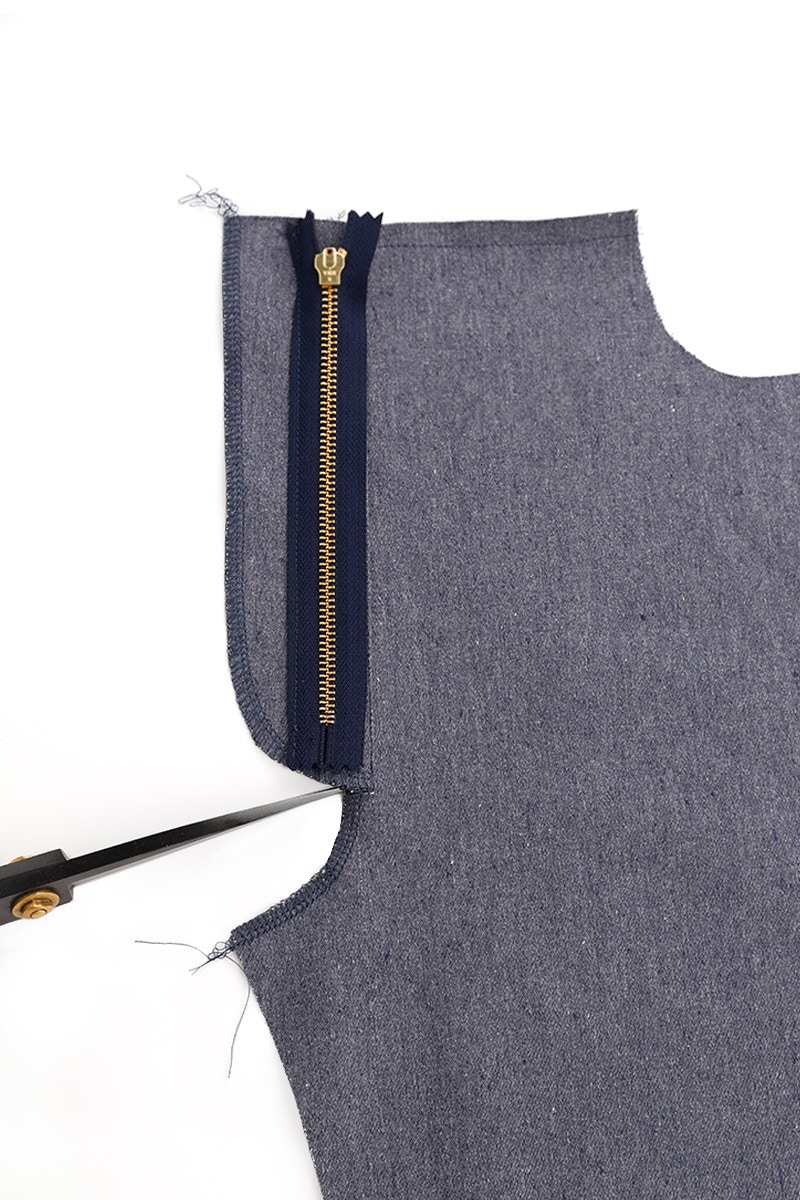
Clip into the left front leg exactly 1cm at the base of the fly facing.
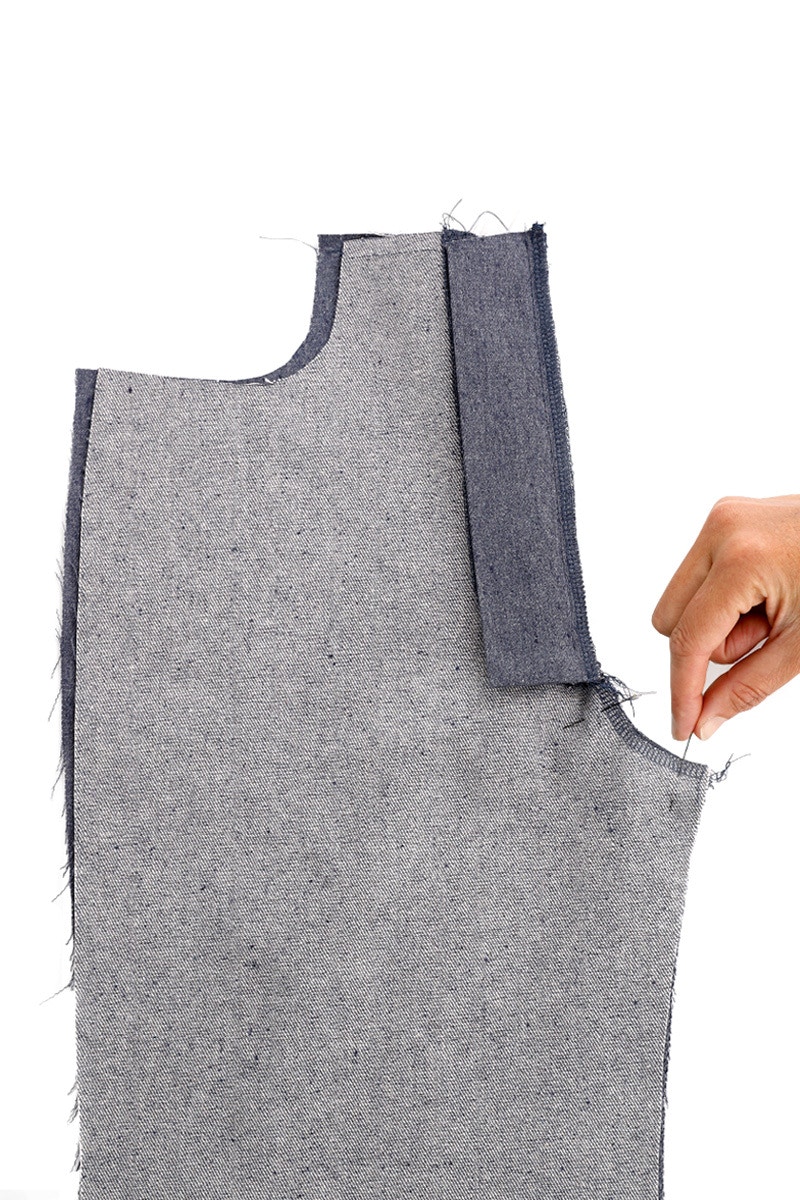
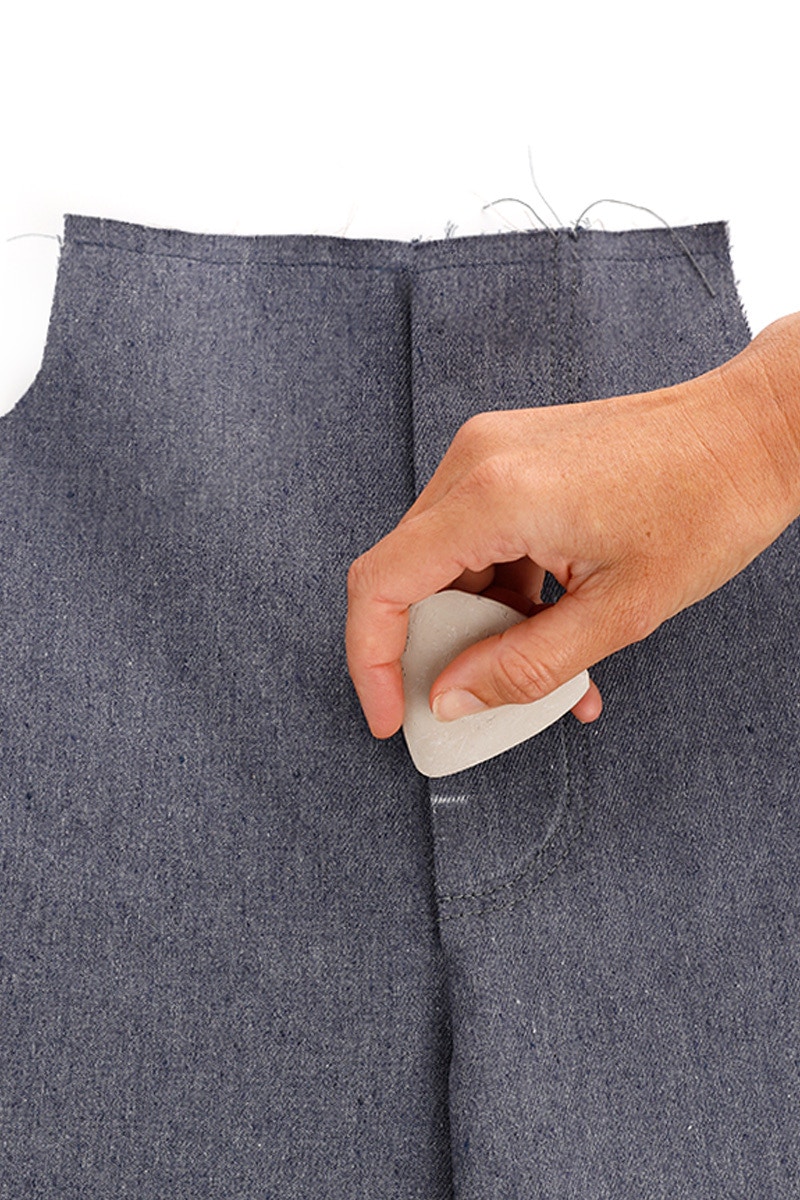
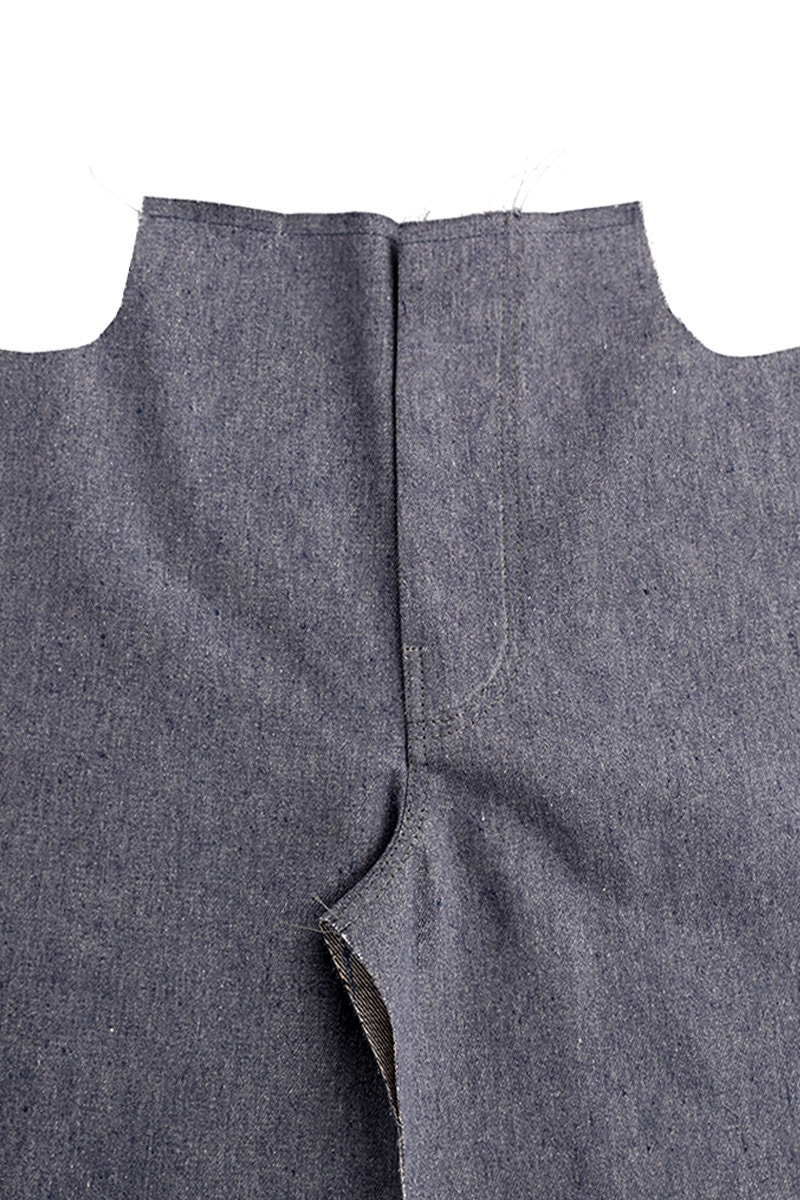
Fold the fly facing so the wrong sides are together and press. Pin the facing to the left leg.
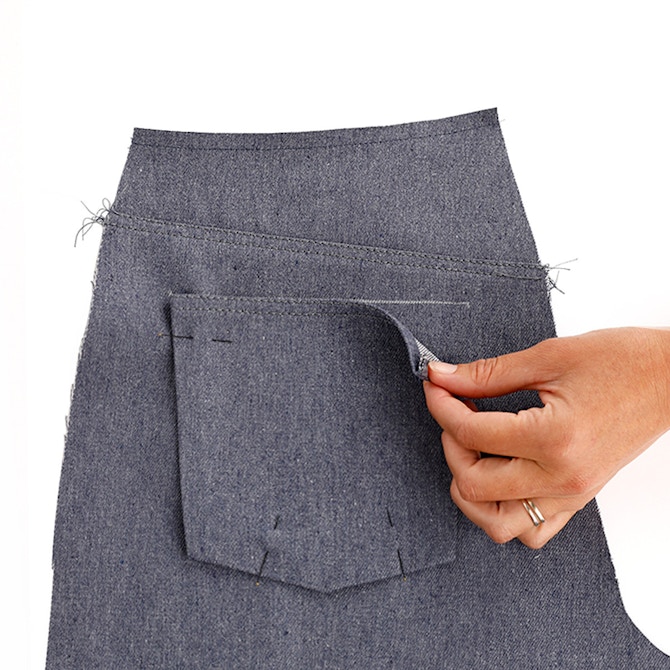
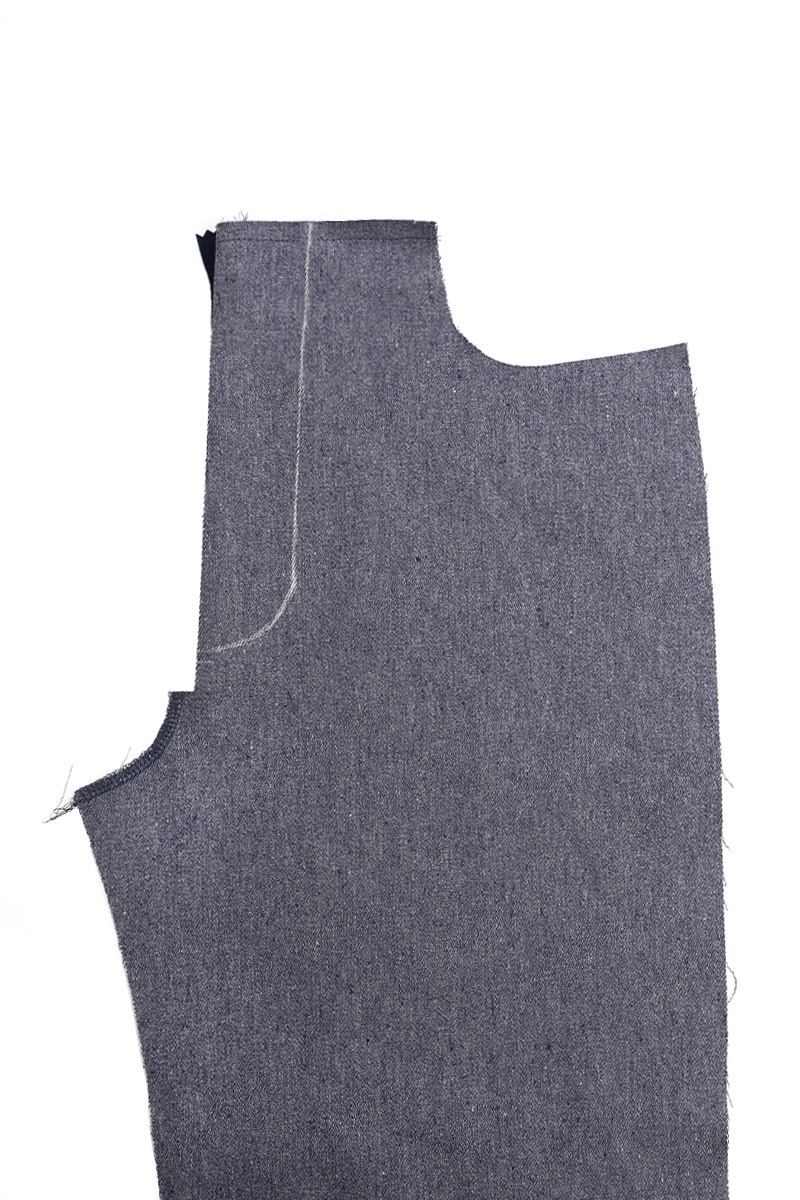
Using the fly facing pattern piece as a guide, mark the top stitching lines using a fabric pen or tailor’s chalk.
Make sure the top stitching is positioned so that you will catch the fly facing, and avoid the end of the zip teeth when sewing.
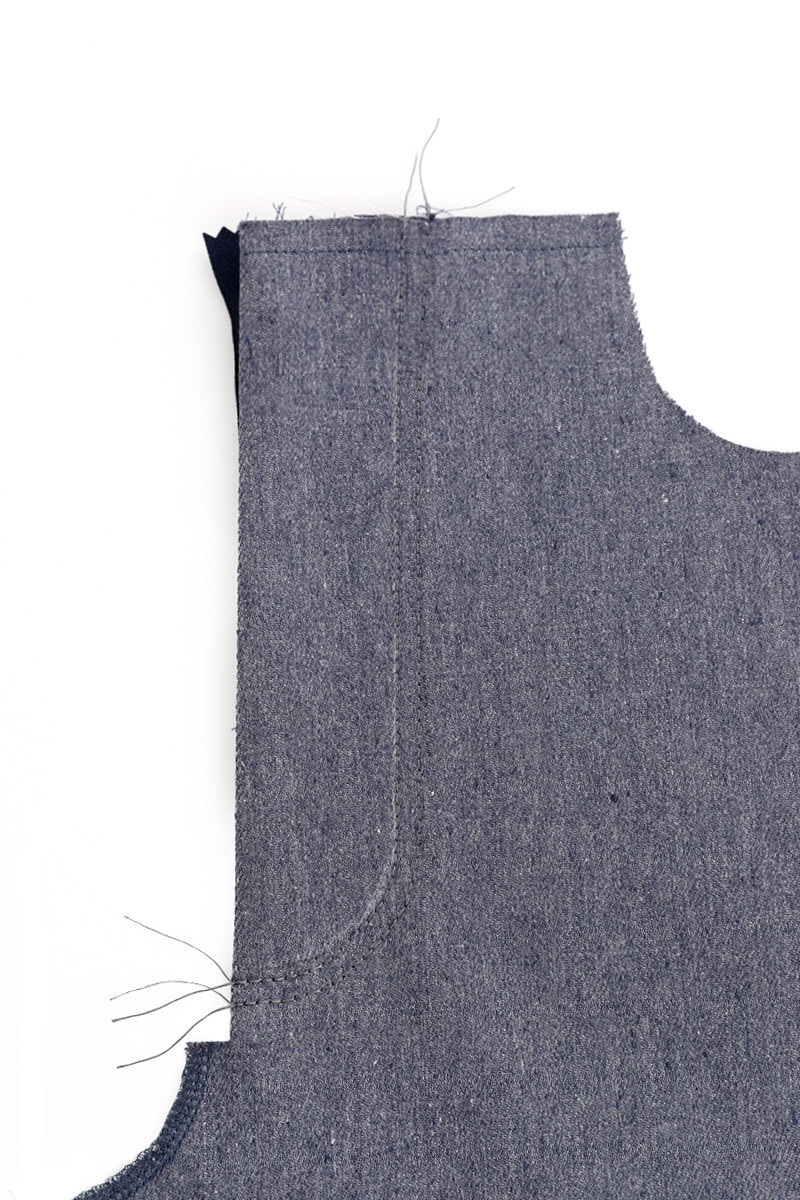
Using top stitching thread, sew two lines of stitching 6mm apart. Start at the waist edge and finish at the centre front. Do not back tack at the end of the seam. Instead, pull the thread through to the wrong side and knot them.
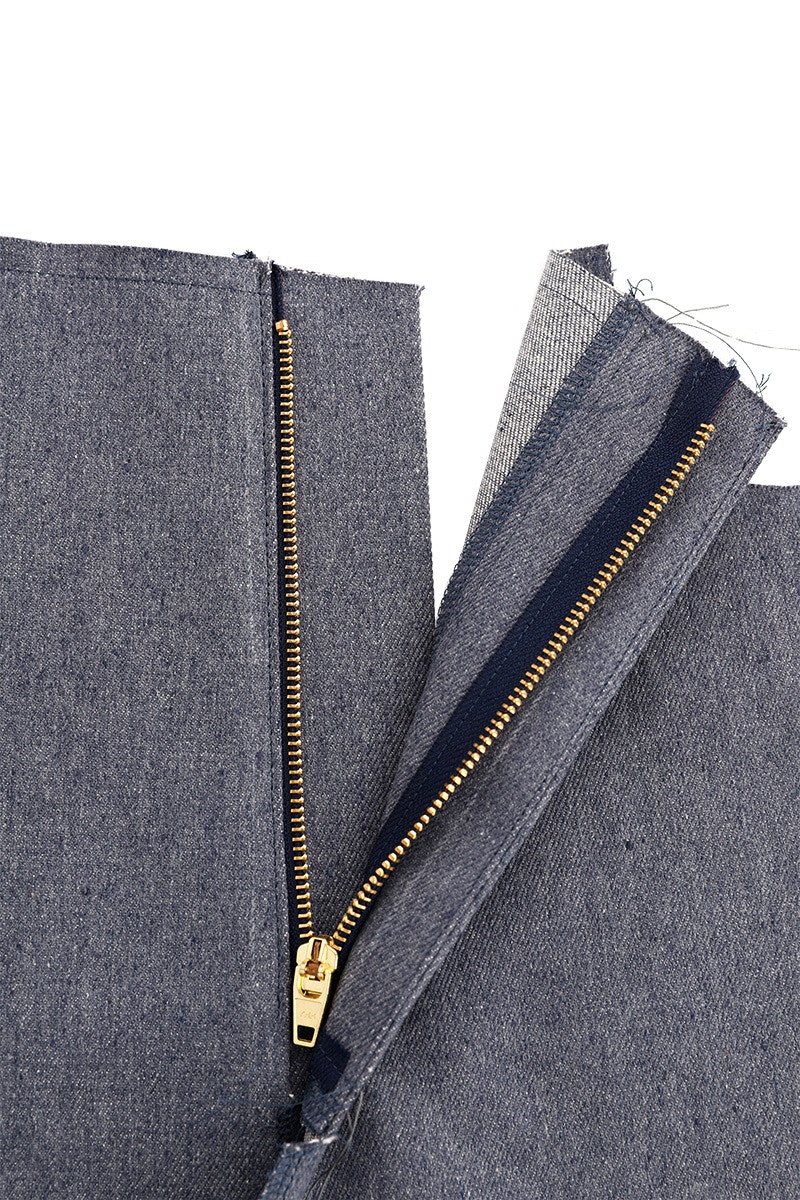
On the right side of the right front leg mark in the line where the zip teeth will sit with a fabric pen or tailor’s chalk. This is 1.5cm from the centre front edge.
If the bottom of the zip is caught in the top stitching, clip the right side zip tape just above the top stitching to free it.
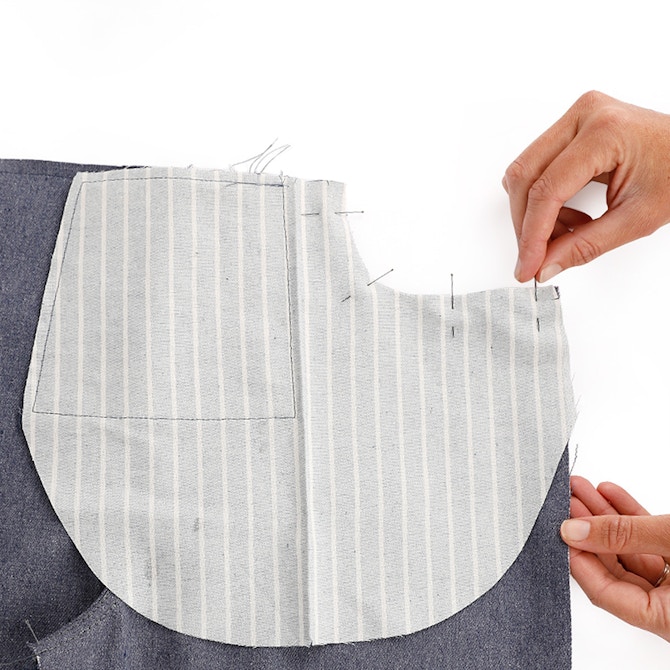
With the zip face down, pin it to the right side of the right front leg, aligning the teeth to the line you just marked.
Depending on the width of your zip tape, it may not align with the centre front edge of the right leg.
Edge stitch them together.
Lay the fly guard on top so the zip is sandwiched in between the fly guard and right front piece. Pin in place and stitch them together at 1cm, finishing 1cm before the bottom of the fly guard.
Turn your jeans right side up and fold back and press the right front leg at centre front. Using a zip foot, edge stitch down the centre front.
Pin the crotch closed and then using a 1cm seam, sew as far as you can towards the bottom of the zip.
Press the seam towards the left leg.
Now we will top stitch the front crotch seam.
Mark 3.5cm from the bottom of the top stitching with a fabric marker or tailor’s chalk.
Using top stitching thread, and starting at the crotch, edge stitch towards centre front. When you reach the mark you just made, stop with your needle down, turn your jeans 90 degrees and stitch in 6mm (2-3 stitches) towards the left leg. Stop again with your needle down and turn your jeans another 90 degrees and sew line of stitching at 6mm parallel to the line you just sewed.
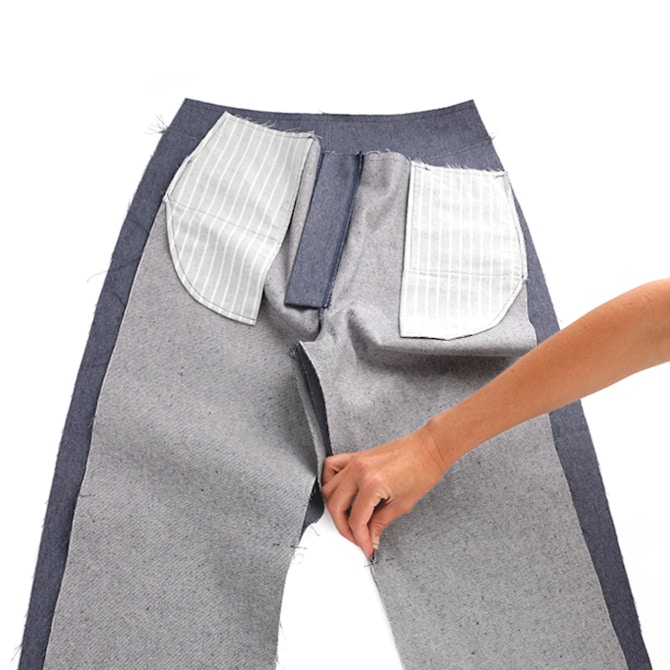
Next we will sew the front pockets.
Check out the May Jean pattern in our Online Store here.
Don't forget you can always email us via patterns@thefabricstore.co.nz if you need advice!
May makes from our wonderful community are also popping up over on Instagram, follow @makebytfs and use #TFSMay so others can check out your creations!